manuals.online logo
Brands
  1. Home
  2. •
  3. Brands
  4. •
  5. Inax
  6. •
  7. Bathroom Fixture
  8. •
  9. Inax AL-445V Instruction Manual

Inax AL-445V Instruction Manual

- 1 -
Giấy hướng dẫn
Vessel basin AL-445V/ L-445V T-screws
Installation instruction
and user’guide
Xin cảm ơn khách hàng đã tin dùng sản phẩm thiết bị vệ sinh INAX. Hãy đọc hướng dẫn sử dụng để lắp đặt đúng. Kiểm tra, vận hành thử
sau lắp đặt. Trao hướng dẫn lắp đặt và sử dụng này cho khách hàng và giải thích cho khách hàng phương vận hành.
Thank you for using INAX sanitary ware. Carefully read the manual for correct installation. Test run after installation. Give this installation and
usage instruction to the customer and explain to the customer the operating mode.
Đơn vị : mm * tham khảo
Unit : mm
Drain pipe Ø48
(class 2-TCVN)
Water Inlet pipe Ø21
Ống
L-445V
AL-445V
INSTALLA
nhà.
Không siết quá chặt các ren vặn.
ử dụng.
* Before installation, please check the product again for cracks or breaks during delivery
* Be sure to test operation and check for any breaks, cracks after installation has been completed.
* Any cracks may cause injury, damage, leakage or dirty the floor.
- Do not overtighten bolts.
Porcelain is subject to cracking, which may cause injury to installing person or users.
- 4 -
Nếu kiểm tra sản phẩm này, trong vòng hai năm bảo hành sau khi mua, công ty xác nhận rằng theo điều kiện sử dụng bình thường của vật liệu hay do lắp đặt.
Chúng tôi sẽ sửa chữa, hoặc thay thế sản phẩm khác cùng loại. Thời gian bảo h hẩm.
Công ty không chịu trách nhiệm bảo hành đối với các trường hợp sau:
2. Sản phẩm bị hư hỏng do bất cẩn hoặc bị phá hủy do tai nạn.
3. Những hư hỏng hoặc phá hủy gây ra do vận chuyển, lắp đặt, biến dạng, tai nạn, sai sót, hoặc thiếu sự bảo trì định kì.
4. Cước phí hoặc phí vận chuyển phát sinh với những sản phẩm trả về để sửa chữa hoặc thay thế ngoài những quy định bảo hành trên.
(Được tính từ ngày khách hàng mua hàng hoặc xác nhận qua phiếu bảo hành hoặc hóa đơn bán hàng)
at its option exchange the product.
2. Consequential or incidental damages.
5. Discontinuous products.
- Các chú ý được trình bày dưới đây tùy trường hợp mà có thể gây ra sự cố nghiêm trọng. Các vấn đề nêu ra đều có nội dung liên quan đến an toàn nên nhất thiết phải tuân thủ.
- Sau khi hoàn tất việc lắp đặt, xác nhận xem thiết bị có hoạt động bình thường không.
- Yêu cầu quý khách hàng lưu giữ bản hướng dẫn lắp đặt và sử dụng để tham khảo trong suốt quá trình sử dụng.
- Read the instructions carefully before beginning.
- Cautions and notes below if not complied may lead to serious damange. Therefore, please follow strictly.
- After finishing installation, check out whether the facility operates properly or not.
- If possible, customer should to keep this instruction as reference in the future.
Không dùng dụng cụ vệ sinh sần sùi hoặc hóa chất chà, vệ sinh b lau sạch bề mặt men. Dùng nước sạch sau khi
vệ sinh xong và dùng vải mềm lau chùi sạch sẽ để bảo vệ tính chất ban đầu của vật liệu.
CORPORATION ning chlorine
*500
515
450
450
00
290
635
165
19
40
16
65
một
Hướng dẫn lắp đặt / Installation manual
3
- 2 -
- Chọn vị trí lắp chậu trên mặt bàn.
Đơn vị : mm
Unit : mm
TẠO LỖ CẮT TRÊN MẶT BÀN / DRILL HOLES ON THE
COUNTER TO INSTALL THE BASIN
- Ướm thử và khoét 3 lỗ trên mặt bàn với hình dạng như
trong hình sao cho vị trí các lỗ trùng với vị trí lắp ống thải,
bắt bu lông.
- Mark the installation position on the counter as
dimensions below.
- After that, cut one hole for drainage, two holes for
fixing T-bolts.
Lắp đặt chậu lên bàn
- Đặt chậu vào vị trí đã được khoét lỗ sẵn trên mặt bàn.
- Hai bu-lông bắt với chậu phải ăn khớp với hai lỗ trên bàn.
- Siết chặt đai ốc để cố định chậu.
Install the basin on the counter
- Put the basin into drilled holes on the counter.
lavatory.
- Turn the basin upside down, there are two holes ( mark A).
- Installation with the reference of the figure below.
- Lật ngược chậu, quý khách sẽ thấy 2 lỗ bắt ốc chữ T (lỗ A)
trên mặt sau của chậu.
- Lắp đặt theo hướng dẫn hình vẽ bên dưới.
- Trước khi lắp đặt phải đảm bảo đã lắp xong vị trí của ống cấp và ống thải.
- Trong quá trình lắp đặt vì vị trí ống chờ là vị trí thừa ra cho nên quý khách có thể cắt ngắn cho phù hợp với vị trí đường ống.
Chú ý: + Không nên xiết quá chặt có thể gây hỏng thiết bị.
+ Lực xiết nhỏ hơn 25N.m
- Cọ rửa định kỳ sản phẩm với chất tẩy rửa trung tính, các loại chổi cọ rửa mềm không làm xước bề mặt sản phẩm.
* Để phát huy hiệu quả lâu dài của Aquaceramic, yêu cầu quý khách hàng KHÔNG SỬ DỤNG các chất tẩy rửa sau:
- Chất tẩy rửa có tính kiềm mạnh PH>11.
- Chất rửa có bột mài.
- Chổi cọ rửa có gắn vật liệu có tính mài mòn.
- Periodically rub the product with neutral detergent and soft brushes that do not scratch the product surface.
* In order to remain long-lasting effect of Aquaceramic, please DO NOT use the following detergents:
- Strong alkaline detergent with pH≥11.
- Detergent with abrasive powder.
- Rubbing brushes with abrasion.
LẮP ĐẶT CHẬU LÊN BÀN / INSTALL THE BASIN
ON THE COUNTER
LẮP ĐẶT BULÔNG VÀO THÂN CHẬU/ INSTALL T-BOLT
INTO THE BASIN’S BODY
Xoay 90°
Lỗ bắt ốc (A)
Đai ốc cố định
Vị trí ống thải
Đệm cao su
Tường
Ống thải
Vị trí ống cấp
Dây cấp nước nóng
Dây cấp nước lạnh
Nắp trang trí
Mark (A)
Turn 90◦
Insert the T-bolt into
the A holes
Đặt bu lông vào vị trí
lỗ A ở mặt đáy của chậu
Turn 90 degree
Xoay bu lông 1 góc
90⁰
Cố định bu lông
bằng đai ốc
Fix the T-bolt by
a washer and a nut
Hướng dẫn lắp đặt / Installation manual
Hướng dẫn sản phẩm gia công Aquaceramic /
Instruction when using Aquaceramic Processed products
4
3
2 5
1
- 3 -
LẮP ĐẶT VÒI / INSTALL THE FAUSET
- Tùy vào điều kiện sử dụng mà người dùng có thể lắp đặt
với các loại vòi chậu khác nhau.
- Nếu lắp đặt với vòi của INAX, vui lòng xem hướng dẫn lắp
đặt vòi đi cùng sản phẩm.
- Chú ý: Trước khi lắp đặt cần vệ sinh sạch đường ống trong
nhà bằng cách xả nước ra ngoài cùng một lúc.
LẮP ĐẶT ỐNG THẢI VÀ NỐI DÂY CẤP NƯỚC / CONNECT DRAINAGE PIPE AND WATER SUPPLY HOSE
- Depending on users' demand to choose a suitable faucet.
- If INAX faucets are chosen, please follow the
installation manual attached in faucet.
Note: Make sure to clean the pipes inside thoroughly
before install by flushing for a while.
- Ensure to finish installing water supply hose and pipe before connecting to the lavatory.
- The pipe is can be adjusted to desired fit.
Note:
- Do not overtighten, otherwise, it may damage the product.
- The tightening force is lower than 25N.m
Rubber washer
Drain pipe postion
Mounting nut
Drain pipe
Hot
(water supply hose)
Decoration
cover
Cold
(water supply hose)
Supply hose
position
Wall
Chất rửa có tính
kiềm, tính bào mòn
Chất tẩy rửa
trung tính
Soft brushes
Alkaline detergent,
detergent with
abrasion
Neutral
detergent
Dụng cụ cọ
rửa (mềm)
Không sử dụng chất tẩy rửa
có tính kiềm mạnh, chất tẩy
rửa có tính bào mòn vì sẽ gây
xước, lớp men sẽ bị phân hủy
Please do not use strong alkaline
detergent, detergent with abrasion
because it will scratch the surface,
glaze will be decayed !!
A A
-Tighten the washers and nuts with T-bolts to fix the
245
270
Ø
9
0
9999
16
40 46 46
Hướng dẫn lắp đặt / Installation manual

This manual suits for next models

1

Other Inax Bathroom Fixture manuals

Inax NYSA-1-R-SET(WR)/FW1 User manual

Inax

Inax NYSA-1-R-SET(WR)/FW1 User manual

Inax CW-K31 User manual

Inax

Inax CW-K31 User manual

Inax L-2398V Instruction Manual

Inax

Inax L-2398V Instruction Manual

Inax AL-632V Instruction Manual

Inax

Inax AL-632V Instruction Manual

Popular Bathroom Fixture manuals by other brands

CUR AQUA 434-496 operating instructions

CUR AQUA

CUR AQUA 434-496 operating instructions

sealskin walk in A1 Assembling Instruction

sealskin

sealskin walk in A1 Assembling Instruction

Jacuzzi SYDNEY 32 manual

Jacuzzi

Jacuzzi SYDNEY 32 manual

Hans Grohe AXOR Urquiola 11422000 Instructions for use/assembly instructions

Hans Grohe

Hans Grohe AXOR Urquiola 11422000 Instructions for use/assembly instructions

Korpinen 65113.4 installation instructions

Korpinen

Korpinen 65113.4 installation instructions

Gessi VENTI2O 65082 manual

Gessi

Gessi VENTI2O 65082 manual

BELLOSTA Fabrique 4708/E Installation instruction

BELLOSTA

BELLOSTA Fabrique 4708/E Installation instruction

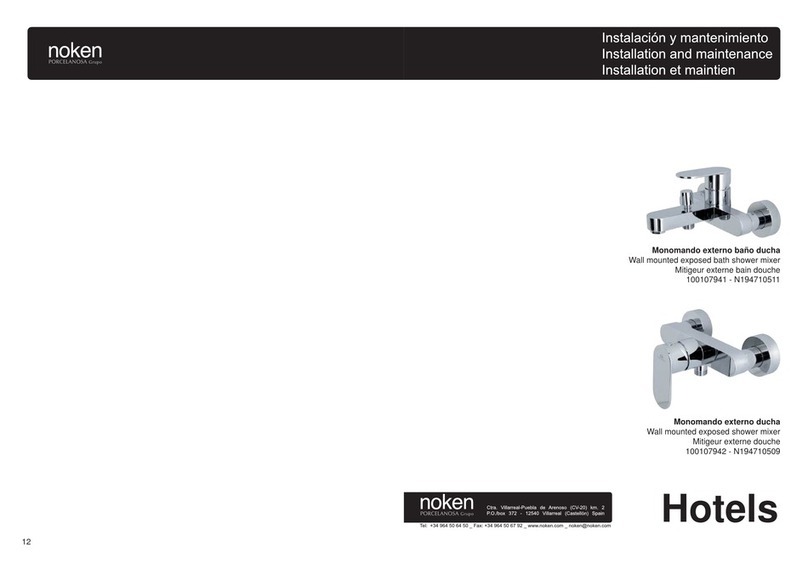
noken N194710511 Installation and Maintenance

noken

noken N194710511 Installation and Maintenance

Brizo Kintsu Series Installation sheet

Brizo

Brizo Kintsu Series Installation sheet

Hans Grohe Croma Select S 280 Showerpipe EcoSmart 26891... Instructions for use/assembly instructions

Hans Grohe

Hans Grohe Croma Select S 280 Showerpipe EcoSmart 26891... Instructions for use/assembly instructions

Gessi 316 Series manual

Gessi

Gessi 316 Series manual

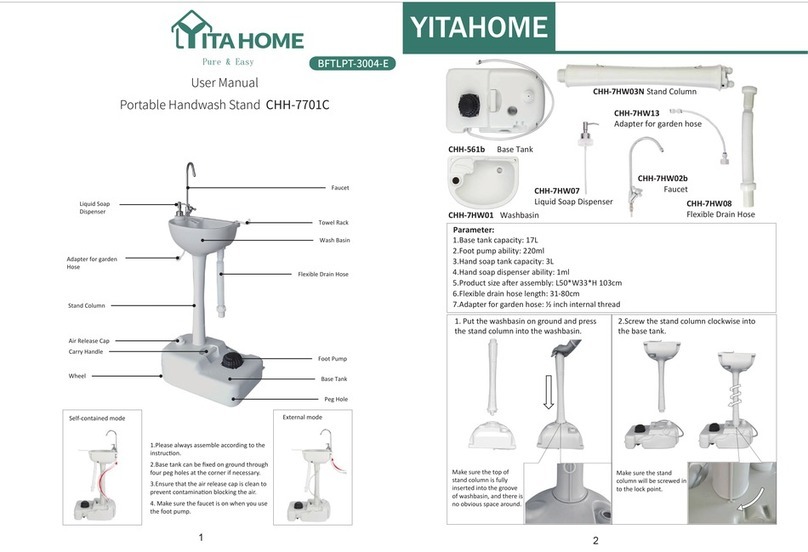
YitaHome CHH-7701C user manual

YitaHome

YitaHome CHH-7701C user manual

noken SMART BOXTERMO 100238407-N199999007 manual

noken

noken SMART BOXTERMO 100238407-N199999007 manual

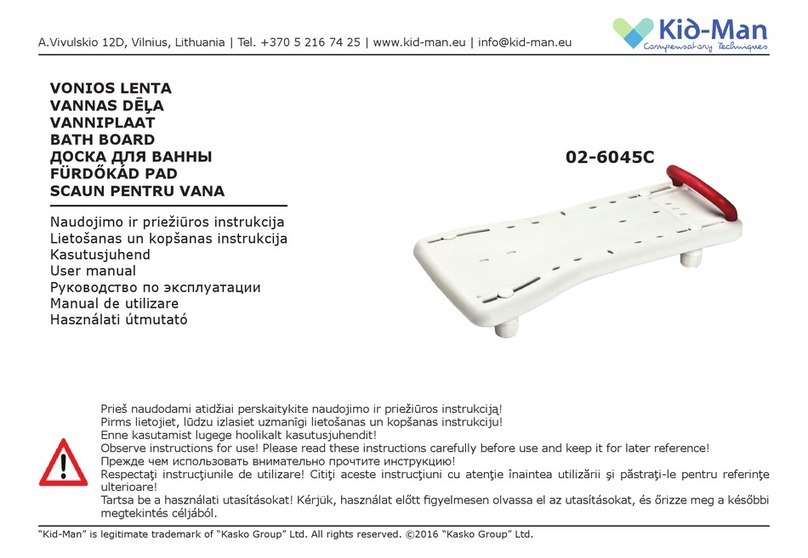
Kid-Man 02-6045C user manual

Kid-Man

Kid-Man 02-6045C user manual

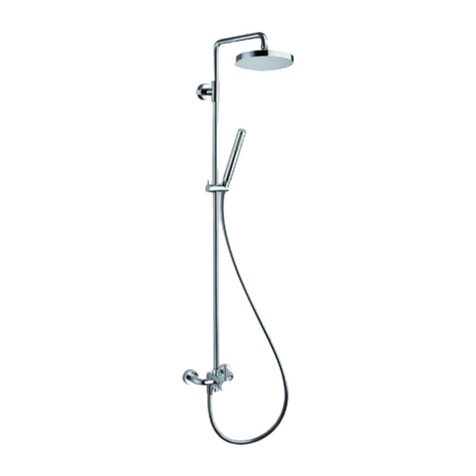
Hans Grohe Raindance Showerpipe Assembly instructions

Hans Grohe

Hans Grohe Raindance Showerpipe Assembly instructions

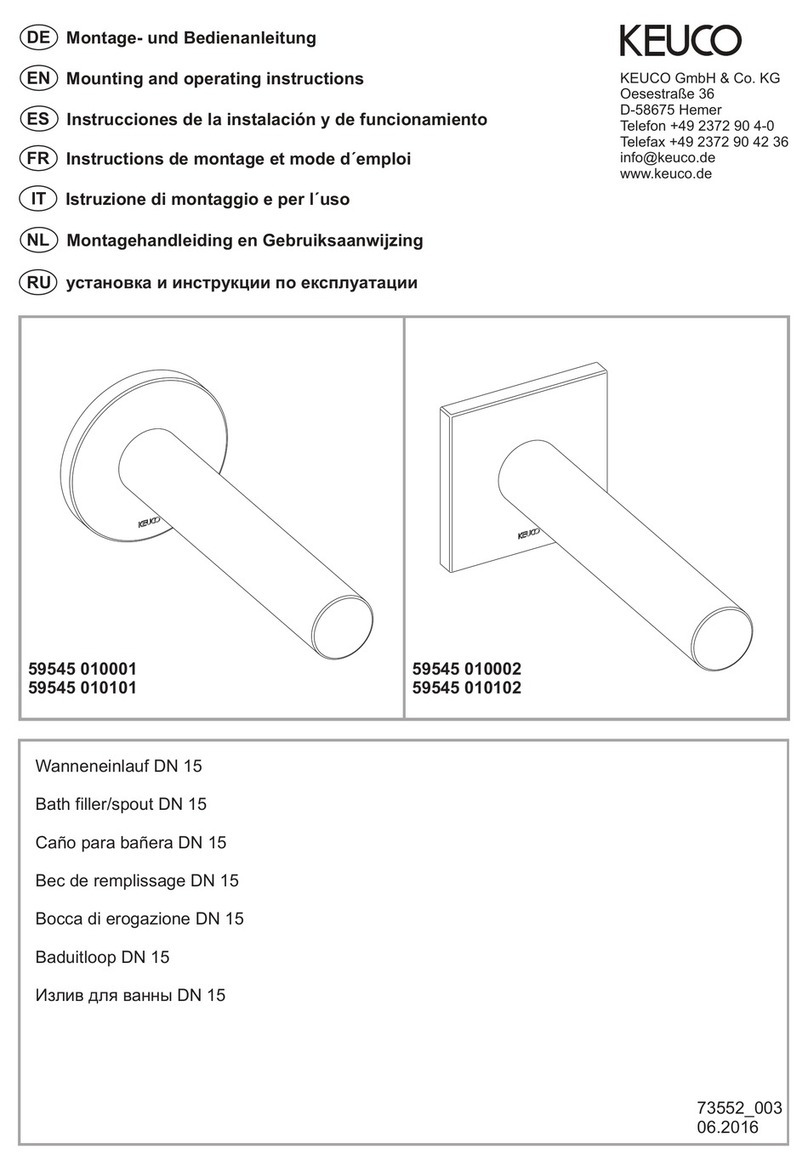
KEUCO IXMO 59545 010101 Mounting and operating instructions

KEUCO

KEUCO IXMO 59545 010101 Mounting and operating instructions

CRISTINA TRICOLORE VERDE CRITV409 installation instructions

CRISTINA

CRISTINA TRICOLORE VERDE CRITV409 installation instructions

Graff E-11557 L1 Series Instructions for assembly and use

Graff

Graff E-11557 L1 Series Instructions for assembly and use

manuals.online logo
manuals.online logoBrands
  • About & Mission
  • Contact us
  • Privacy Policy
  • Terms and Conditions

Copyright 2025 Manuals.Online. All Rights Reserved.