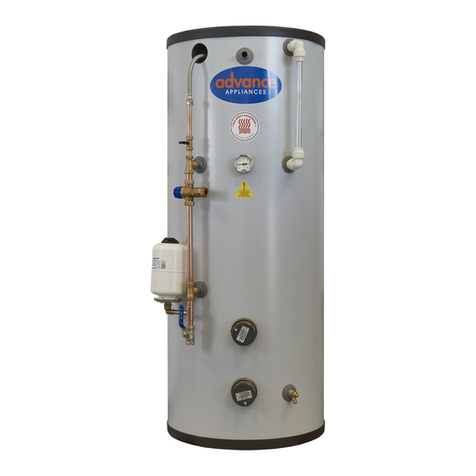
3.3 Freshwater connections (see schedule): The water heater is fed with fresh water from the electrical
fresh water pump. Max pressure 3 bar (42 psi). The hot water outlet, which also vents the water heater, should be
connected to a mixer tap at the sink and/or basin outlet. Cold water can be mixed with hot to avoid scalding. Set a
proper temperature on the thermostat mixing valve on the water heater, if fitted. A waste water hose can be
mounted on the safety valve and must always have a free outlet. There must be no valves or skin fittings, fitted to
the waste water hose. A small quantity of water may be expended via the safety valve during the heating up period.
This water can be led to the bilge or collected in a small plastic bottle.
3:4 Electrical connection: All internal connections are made in the factory. The mains power supply cable is
fitted with an international plug (EU plug), which should be fitted to a correctly installed socket. This socket as all
”high-voltage” installations on board, must be carried out to fulfil valid regulations. The Isotemp Basic water heater
is designed to meet EU regulations in this field.
Important! The water heater shall be connected to the mains power supply only when it is in service.
When leaving the boat for any length of a period, it is recommended to pull out the cable connector
from the socket to also disconnect the earth protection. This should be done even if the shore power
system is shut off, as there can be a potential difference, between the earth from shore and the sea
water earth of the boat. This can seriously damage, by stray current corrosion, the immersion
heater, water heater tank or the engine with its drive unit.
Installation of a insulation transformer in the shore power equipment eliminates the risk of galvanic
corrosion via the shore power connection.
4. Start up/Test: Start the engine and check the circulation of the cooling water. Secure the hoses after check-
ing. When using with a fresh water engine system, compensate with anti-freeze for the additional volume in hoses
and heat exchanger. Fill up the water heater with fresh water by starting the fresh water pump, leaving the hot wa-
ter tap open to air the system. Check there are no water leaks and finally connect the power cable when the water
heater is full. Check that the safety valve outlet is free to allow water to escape.
Note: the water expands during the heat up process, a small quantity can come out through the safety valve.
5. Maintenance:
5:1 Winter drain: When there is a risk of freezing temperatures, the water heater must be drained. This is
done by pulling the lever on the safety valve to its open position. Take off the hot water hose and/or open the air
bleeder screw on the mixer valve, to allow air coming into the tank.
The water heater can be left safely on board over winter.
5:2 Immersion heater: The immersion heater is on 750W. The thermostat has an integrated working ther-
mostat and a double over heat protection thermostat. This is manually re-settable, by pushing the white indicator
pin, under a white cap, at the top of the overheat thermostat. Also check why the overheat thermostat initially
tripped before re-connection the power supply.
When leaving the boat for long periods, it is recommended to disconnect the power supply cable plug. See at 3:4
above.
The immersion heater is also available in other versions of power rating as well as in 115 volt on special order.
5:3 Controls: Check regularly that there is no leakage in the connections.
