manuals.online logo
Brands
  1. Home
  2. •
  3. Brands
  4. •
  5. infra world
  6. •
  7. Plumbing Product
  8. •
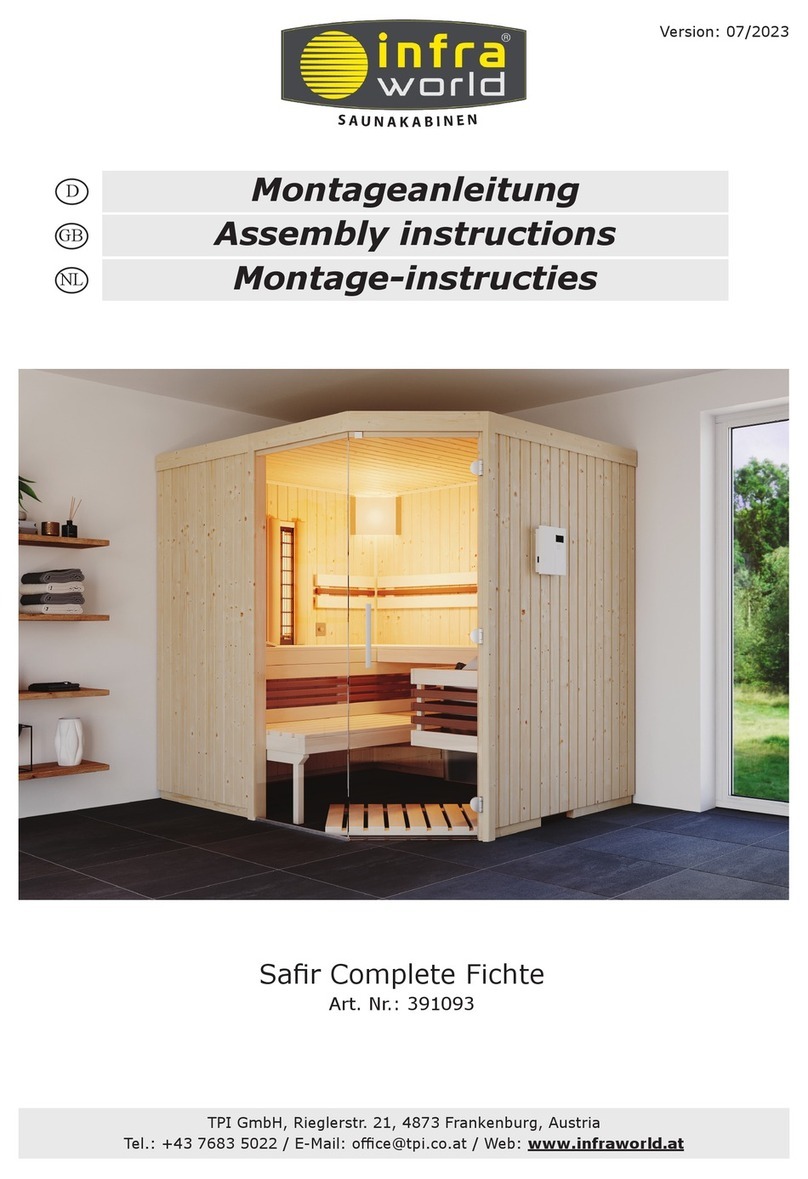
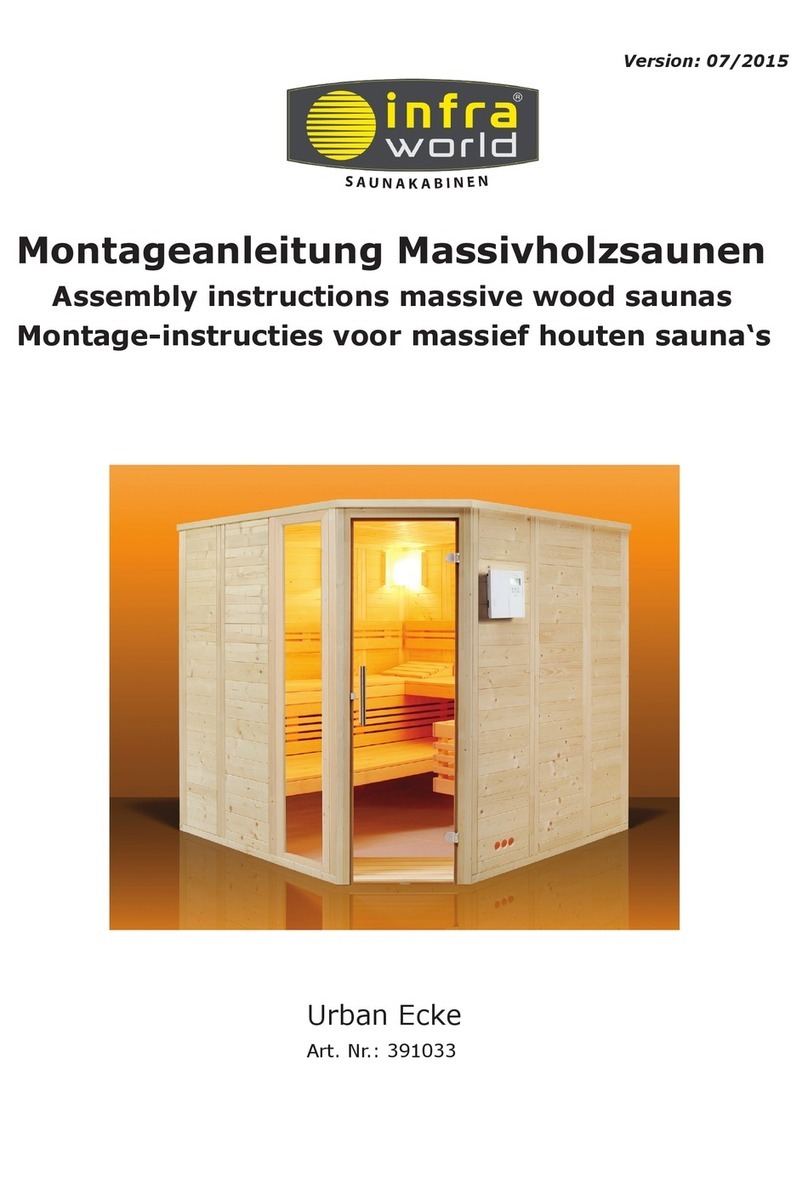
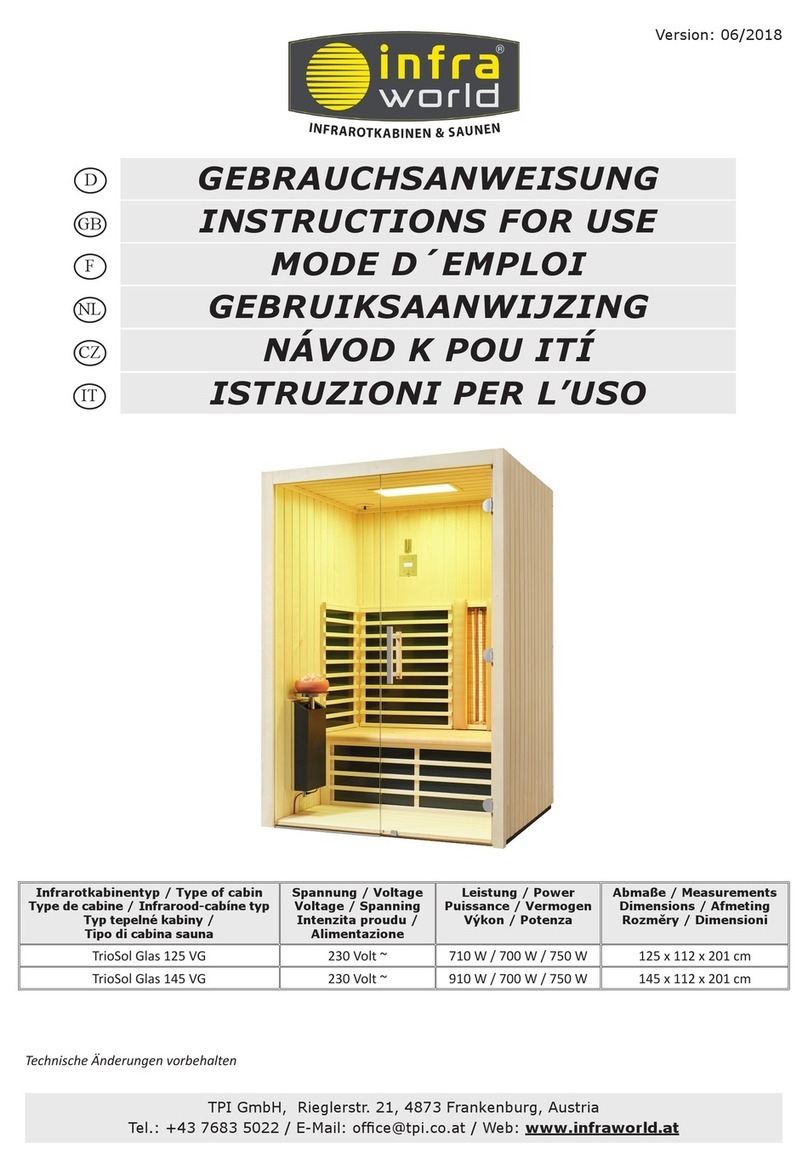
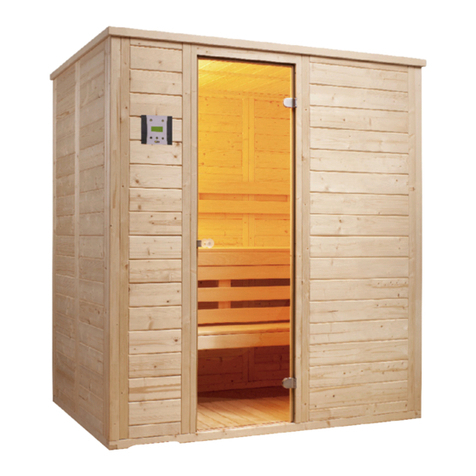
  9. infra world Fusion Glas 125 VG User manual

infra world Fusion Glas 125 VG User manual

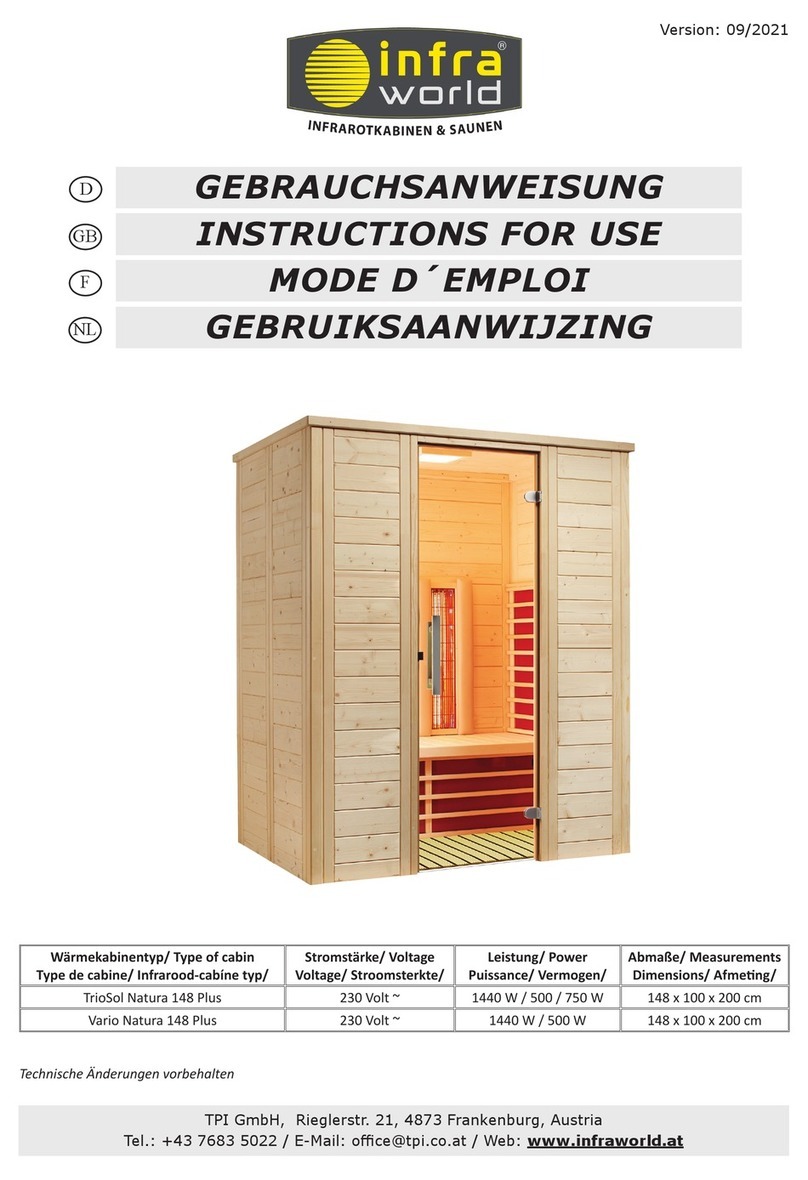
Infrarotkabinentyp / Type of cabin
Type de cabine / Infrarood-cabíne typ
Tipo di cabina sauna
Spannung / Voltage
Voltage / Spanning
Alimentazione
Leistung / Power
Puissance / Vermogen
Potenza
Abmaße / Measurements
Dimensions / Afmeting
Dimensioni
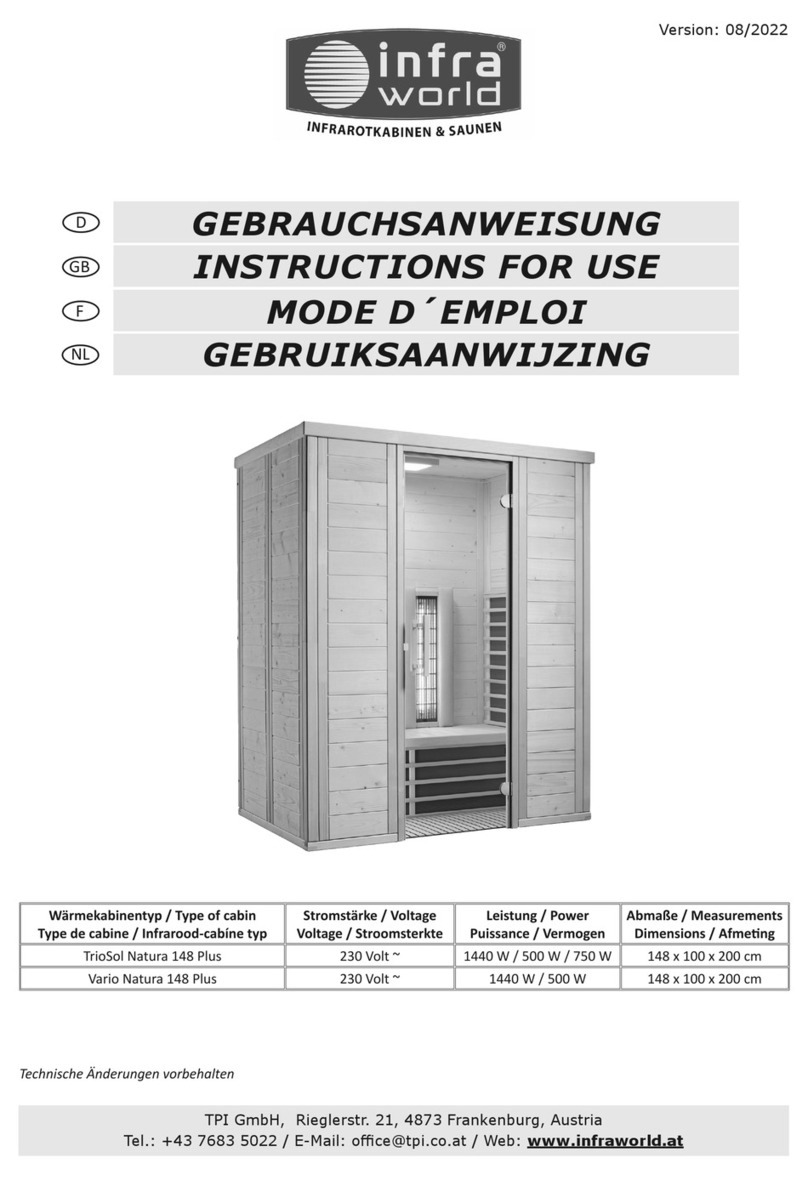
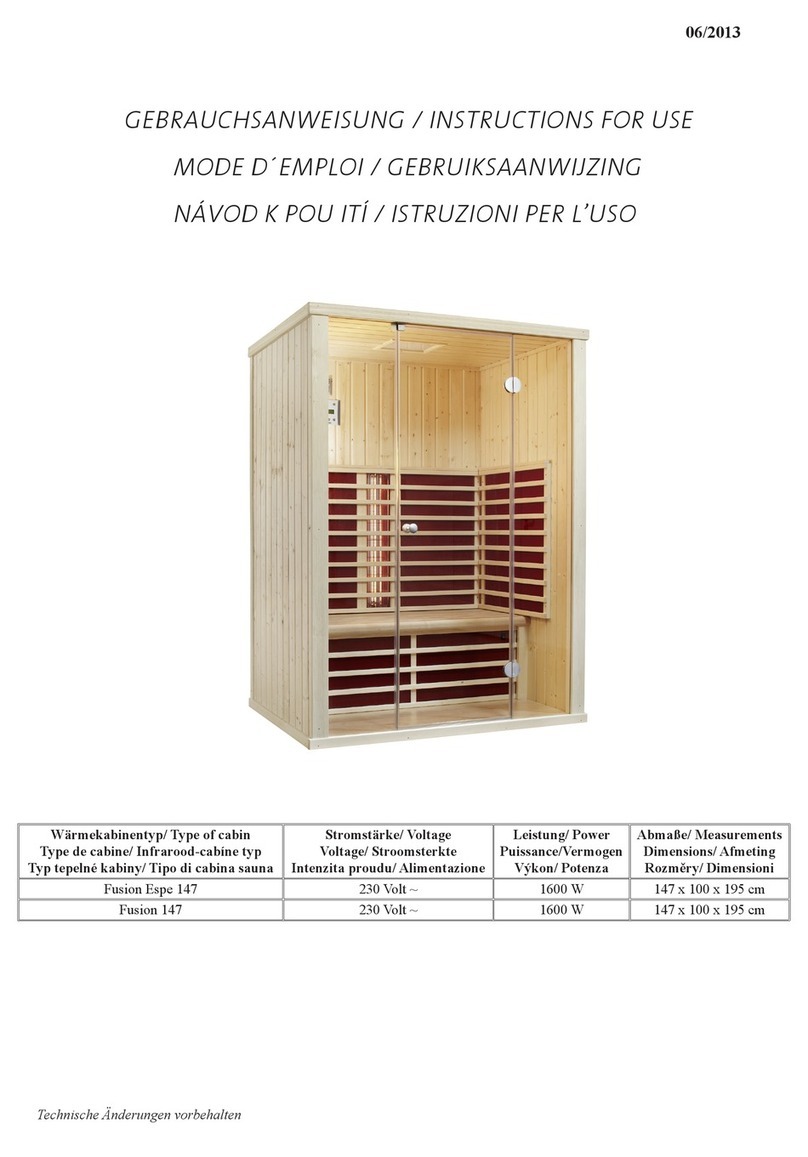
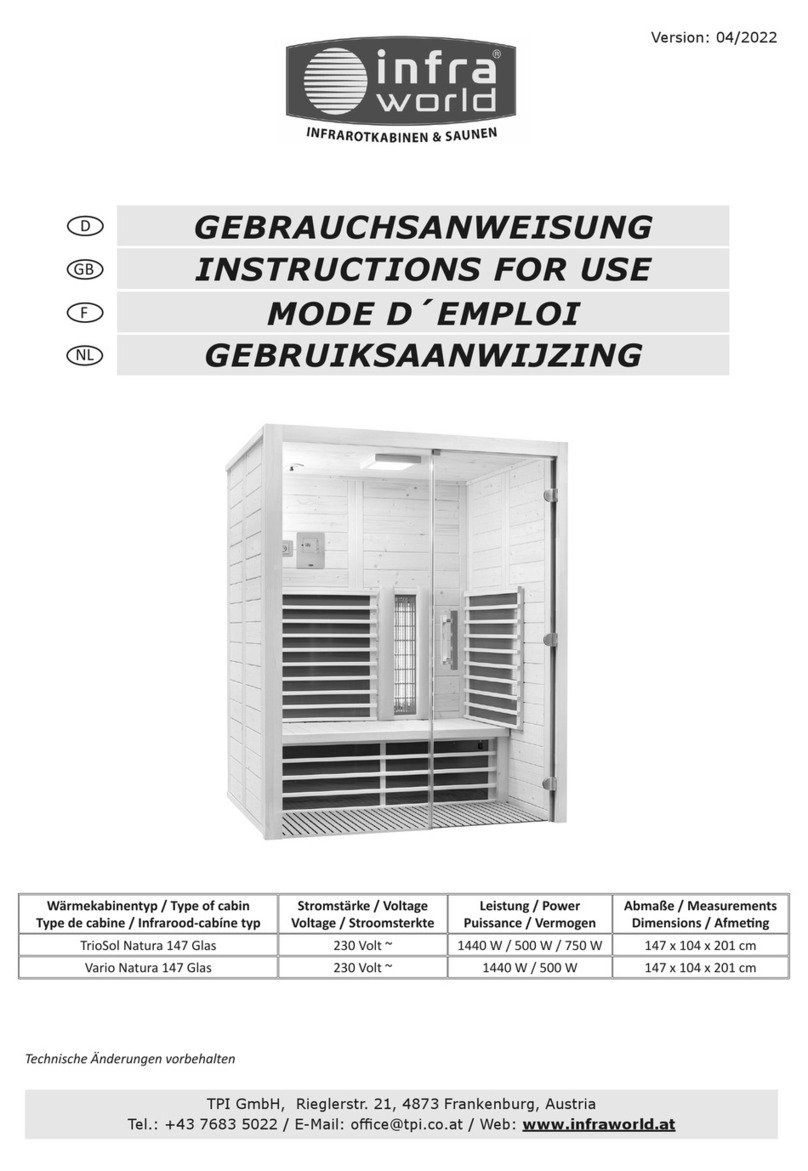
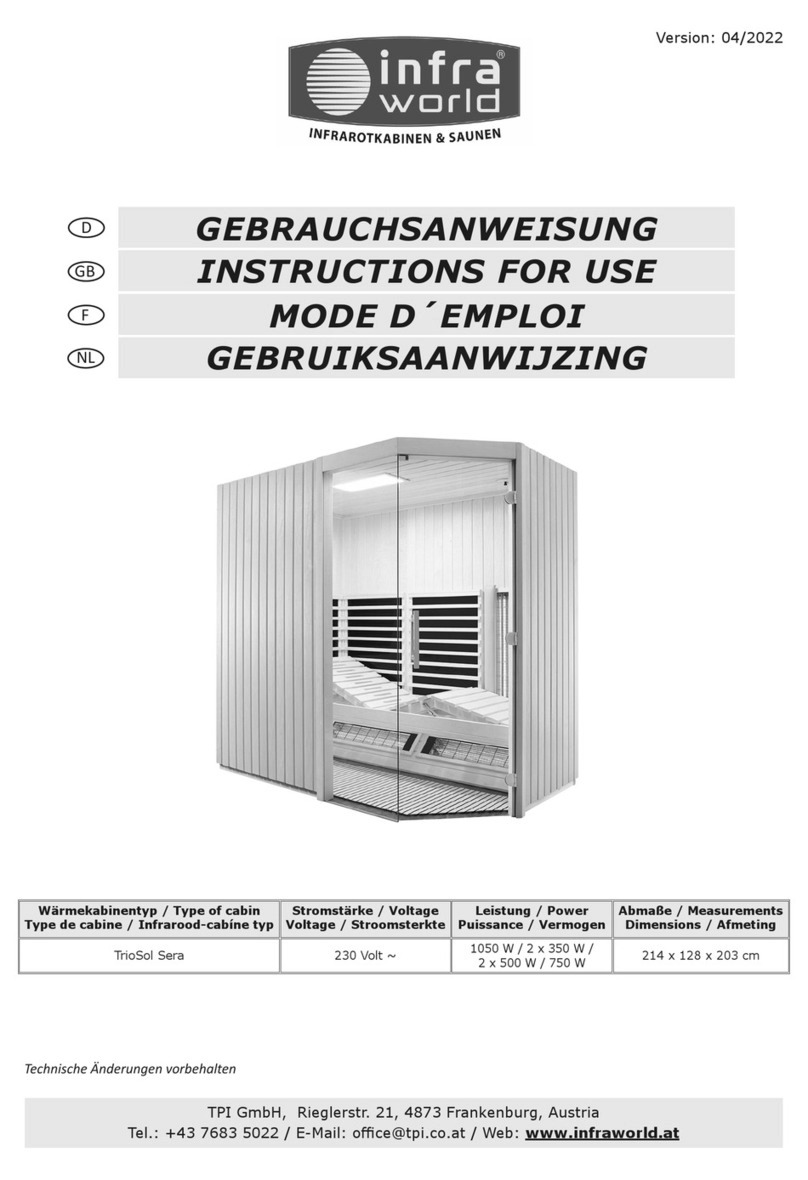
Fusion Glas 125 VG 230 Volt ~ 730 W / 700 W 125 x 112 x 201,5 cm
Fusion Glas 145 VG 230 Volt ~ 910 W / 700 W 145 x 112 x 201,5 cm
Version: 10/2020
TPI GmbH, Rieglerstr. 21, 4873 Frankenburg, Austria
Tel.: +43 7683 5022 / E-Mail: o[email protected] / Web: www.infraworld.at
Technische Änderungen vorbehalten
GEBRAUCHSANWEISUNG
INSTRUCTIONS FOR USE
MODE D´EMPLOI
D
GB
F
GEBRUIKSAANWIJZING
NL
ISTRUZIONI PER L’USO
IT
Sehr geehrter Kunde,
Kontrollieren Sie anhand der Stückliste, bevor Sie mit der Arbeit
beginnen, ob alle Einzelteile auch tatsächlich mitgeliefert wurden.
Sollten ausnahmsweise Einzelteile fehlen oder oensichtliche Beschä-
digungen durch den Transport etc. aufweisen, bien wir Sie uns sofort
zu benachrichgen. Beanstandungen können nur im nicht aufgebautem
Zustand bearbeitet werden!
Heben Sie den Lieferschein, die Rechnung und die Montageanleitung
für Rückfragen gut auf und noeren Sie bie die Seriennummer
(bendet sich unter der Sitzbank) auf der Rechnung.
Warnhinweise:
- Abdecken der Heizkörper verursacht Brandgefahr !
- Infrarotkabinen nicht länger als ca. 30 bis 40 min benützen
(je nach körperlicher Verfassung). Bei Infrarot A-Strahlern nicht
länger als 15 min.
- Kranke Personen sollten vor der Benützung einen Arzt befragen.
- Nicht von hilosen und wärmeempndlichen Personen oder Klein-
kindern benutzen.
- Gebrauchsinformaonen beachten.
- Vor Wärmekabinenbesuch die Haut nicht stark reiben oder
hautdurchblutungsfördernde Miel einnehmen.
- Keine Substanzen einnehmen, die das natürliche Hitzeschmerz-
empnden unterdrücken (Alkohol, Drogen, Medikamente).
- Bei zu hohem Hitzeempnden auf der Haut die Sitzposion ändern.
- Dieses Gerät ist nicht dafür besmmt, durch Personen (einschließlich
Kinder) mit eingeschränkten physischen, sensorischen oder geisgen
Fähigkeiten oder mangels Erfahrung und / oder mangels Wissen
benutzt zu werden, es sei denn, sie werden durch eine für Ihre Sicher-
heit zuständige Person beaufsichgt oder erhielten von Ihr An-
weisungen, wie das Gerät zu benutzen ist. Kinder sollten beaufsichgt
werden, um sicherzustellen, dass sie nicht mit dem Gerät spielen.
Hinweise:
- Nicht in Nähe von Badewannen und Duschen aufstellen (Mindest-
abstand: ca. 60 cm). Es sind hier die Sicherheitsvorschrien nach
VDE0100, vor allem der VDE0100-702 zu beachten. Zu Schwimm-
becken sind die Abstände nach ÖVE EN1 und die Sicherheitsvor-
schrien nach VDE0100-703 einzuhalten.
- Kabine ist nicht geeignet für öentliche Standorte, die frei zugäng-
lich sind und ohne regelmäßiger Aufsicht stehen (z.B.: Wohnblöcke,
Hotels ohne Rezepon,...).
- Kabinen nur auf sicherem Untergrund stellen, der feuchgkeits-
resistent ist (z.B.: Fliesen).
- Önen und Reparaturen dürfen nur von einem Fachmann durch-
geführt werden.
- Vor dem Önen der Steuerung oder vor einem Austausch der
Heizelemente immer den Netzstecker ziehen.
- Die Kabine immer in geschlossenen Räumen aufstellen - niemals
im Freien.
- Die Kabine sollte regelmäßig gereinigt werden. Vor der Reinigung
den Netzstecker ziehen. Zum Reinigen eignet sich am besten ein
Saunareinigungsmiel.
- Netzstecker musss nach dem Aufstellen der Wärmekabine leicht
zugänglich sein.
- Wenn die Anschlussleitung der Wärmekabine beschädigt wird, muss
sie durch den Hersteller, seinem Kundendienst oder von ähnlich
qualizierten Personen ersetzt werden.
Dear customer,
Before starng to work, please check with the help of the parts list,
whether all elements have actually been supplied. In the event, that
single parts are missing, please inform us immediately. Complaints can
only be dealt with before the cabin has been assembled.
Please keep the delivery note, the bill and the assembling instrucons
carefully in case of later quieries and make a note of the serial number
(which you nd below the bench) on your invoice.
Warnings:
- Covering heaters causes danger of re !
- Do not use heat cabins for more than approx. 30 to 40 min
(according to your personal health). Do not use for more than
15 min with infrared A radiators
- Ill people should ask a doctor before use.
- Not to be used by people who are helpless and sensive to heat or
by small children.
- Observe the instrucons for use.
- Do not rub your skin intensively nor take drugs, which smulate the
blood circulaon of the skin, before using the heat cabin.
- Do not take any substances, which suppress the natural sensivity to
heat and pain (alcohol, drugs, medicine).
- If you feel too much heat on the skin, change your sing posion.
- This appliance is not intended for use by persons (including children)
with limited physical, sensorial or mental capabilies or without the
necessary experience and/or knowledge, unless a person, who is
responsible for their safety, looks aer them or provides instrucons
on how to use the appliance. Children should be supervised to make
sure that they do not play with the appliance.
Notes:
- Do not put up near bath tubs and showers (minimum distance
approx.: 60 cm). The safety regulaons according to VDE100,
especially VDE100-702 have to be observed. Observe the distances
to swimming pools according to ÖVE EN1 and safety regulaons
accoring to VDE0100-703.
- The cabin is not suitable for public places, which are freely
accessible and without regular supervision (e.g.: residenal blocks,
hotel without recepon,...).
- Place the cabin only on safe foundaons, which is resistent to
humidity (e.g.: les).
- Only experts are allowed to open and repair.
- Take the mains plug out of the socket before opening the controls or
exchanging the heang elements.
- Always put the cabin in enclosed rooms - never in the open air.
- The cabin should be cleaned regularly. Take the mains plug out of
the socket before cleaning. Sauna cleaning agents are best for
cleaning.
- The mains plug must be easily accessible aer pung up the heat
cabin.
- If the connecng cable of this heat cabin is damaged, it must be
replaced by the manufacturer, the customer service or similar
qualied persons in order to avoid danger.
2
DGB
Cher client,
S.v.p., avant de commencer le travail, contrôlez à l’aide de la liste de
pièces si tous les éléments ont été vraiment livrés. S’ils y manquent
exceponnellement des pièces singulières, veuillez nous informer
tout de suite. Il est possible de traiter des réclamaons que dans un
état non assemblé.
Préservez le bon de livraison, la facture et le mode d’emploi pour des
demandes de précision.
Averssements:
- Recouvrir les radiateurs cause le risque d’incendie!
- Ne pas uliser la cabine thermique pendant plus d’env. 30 à 40 min
(selon l’état de santé). Ne pas s’exposer plus de 15 mn aux infra-
rouges A.
- Les personnes malades devraient consulter le médecin avant
l’ulisaon.
- Les personnes dépendant des autres et sensibles à la chaleur ou les
pets enfants ne doivent pas uliser la cabine.
- Suivre le mode d’emploi.
- Avant de visiter la cabine thermique ne pas froer fortement la
peau ni prendre de médicaments qui smulent la circulaon
sanguine dans la peau.
- Ne pas prendre de substances qui répriment la sensibilité naturelle
de chaleur et douleur (alcool, drogues, médicaments).
- En cas de forte chaleur sur la peau changer la posion du siège.
- Cet appareil ne doit pas être ulisé par des personnes (enfants
inclus) sourant de déciences physiques, sensorielles ou mentales,
manquant d’expérience ou des connaissances nécessaires, sauf si
elles sont surveillées par une personne chargée de leur sécurité ou
que celle-ci les informe, an qu’elles sachent se servir de l’appareil.
Il convient de surveiller les enfants pour s’assurer qu’ils ne jouent
pas avec l’appareil.
Notes:
- Ne pas poser près d’une baignoire ou une douche (distance mini-
male env. 60 cm). Il faut respecter les régulaons de sécurité selon
VDE0100, surtout d’après VDE0100-702. Il faut respecter les
distances aux grands bassins selon ÖVE EN1 et les régulaons de
sécurité selon VDE0100-703.
- La cabine n’est pas convenable pour des places publiques qui sont
librement accessibles et sans surveillance régulière (p. ex. : pâtés de
maisons, hôtels sans récepon,…)
- Ne poser la cabine que sur une surface sûre (p.ex. : sol carrelé)
- Seulement un expert est autorisé à ouvrir et réparer la cabine.
- Avant d’ouvrir la commande ou de changer les éléments de chaua-
ge, toujours débrancher le connecteur.
- Poser la cabine toujours dans une pièce fermée – jamais en plein air.
- Il fallait neoyer la cabine régulièrement. Déconnecter la che
avant le neoyage. Pour ceci un neoyant pour sauna est meilleur
apte.
- La che d’alimentaon doit être facilement accessible après avoir
posé la cabine thermique.
- Si la connexion de cee cabine thermique est endommagée, elle
doit être remplacée par le fabricant, son service après-vente ou par
d’autres personnes qualiées pour éviter des risques.
Geachte klant,
Controleer voordat u met de montage begint aan de hand van de
stuklijst of alle onderdelen ook daadwerkelijk meegeleverd zijn.
Wanneer er onverhoopt onderdelen ontbreken, dient u ons hiervan
direct op de hoogte te stellen. Reclamaes kunnen alleen worden
afgehandeld als het product nog niet is gemonteerd.
Bewaar aljd de aeveringsbon, de rekening en de montagehandlei-
ding voor eventuele vragen.
Veiligheidsvoorschrien:
- Afdekken van de verwarmingselementen veroorzaakt brandgevaar !
- De warmtecabine niet langer dan ca. 30 tot 40 minuten gebruiken
(al naar gelang lichamelijke toestand). Bij infrarood-A-stralers
niet langer dan 15 minuten.
- Mensen met een ziekte dienen voor gebruik eerst een arts te
raadplegen.
- Niet te gebruiken door hulpeloze personen, personen met over-
gevoeligheid voor warmte en door kleine kinderen.
- Gebruiksaanwijzing in acht nehmen.
- Voor het gebruik van de cabine de huid niet sterk wrijven of huid-
doorbloedingsbevorderende middelen innemen.
- Geen middelen nehmen die de natuurlijke warmtegevoeligheid
onderdrukken (alcohol, medicijnen, drugs).
- Bij een te hoge waarneming van warmte op de huid zitposie
veranderen.
- Dit apparaat mag niet worden gebruikt door personen (waaronder
kinderen) met verminderde lichamelijke, zintuiglijke of geestelijke
vermogens of met een gebrek aan ervaring en/of kennis, tenzij ze
onder toezicht staan van iemand die verantwoordelijk is voor hun
veiligheid of van deze persoon instruces voor het gebruik van het
apparaat hebben gekregen. Kinderen moeten onder toezicht staan
om te voorkomen dat ze met het apparaat gaan spelen.
Let op:
- Niet in de buurt van een bad of douche plaatsen (minimale af-
stand: ca. 60 cm). Hier dienen de veiligheidsvoorschrien conform
VDE0100, vooral VDE0100-702 te worden opgevolgd. Voor zwem-
baden dienen de afstanden conform ÖVE EN1 en de veiligheids-
voorschrien conform VDE0100-703 te worden nageleefd.
- De cabine is niet geschikt voor openbare plaatsen die vrij toegan-
kelijk zijn en waar geen regelmag toezicht kan worden gehouden
(bijvoorbeeld woonblokken, hotels zonder recepe,...).
- Plaats de cabine aljd op een stabiele ondergrond (bijvoorbeeld
tegels).
- De cabine mag alleen door een vakman worden geopend en
gerepareerd.
- Koppel aljd eerst de netstekker los voordat u de bediening opent
of de warmte-elementen vervangt.
- Plaats de cabine aljd in gesloten ruimten – nooit buiten.
- De cabine moet regelmag worden gereinigd. Koppel voor de reini-
ging de netstekker los. Voor het reinigen kunt u het beste een sau-
nareinigingsmiddel gebruiken.
- De netstekker moet na het plaatsen van de warmtecabine
gemakkelijk toegankelijk zijn.
- Als de aansluitkabel van de warmtecabine beschadigd is, moet deze
door de fabrikant, zijn klantenservice of soortgelijke gekwalice
erde personen worden vervangen.
3
NL
F
4
Genle cliente,
Prima di iniziare con i lavori, verichi di aver ricevuto tu i pezzi
indica nella disnta pezzi. Se mancano delle singole par in via ecce-
zionale, contaateci immediatamente. Possiamo riconoscere reclami
solamente nello stato scomposto della cabina.
In caso di domande, conservi la bolla di consegna, la faura e le istruzi-
oni per il montaggio e anno sulla faura il numero di serie (applicato
soo la panchina).
Avvertenze:
- La copertura dei radiatori causa pericolo d‘incendio!
- Non ulizzare nella cabina acqua oppure asciugamani bagna.
- Non ulizzare le cabine sauna per oltre 30 - 40 min circa (secondo
le condizioni siche).
- Persone malate dovrebbero rivolgersi a un medico prima dell‘ulizzo.
- È vietato l‘uso da parte di persone non indipenden o sensibili al
calore oppure bambini.
- Prestare aenzione alle istruzioni per l‘uso.
- Prima di una seduta nella cabina sauna, non stronare la pelle
oppure non assumere sostanze smolan l‘irrorazione sanguigna
della cute.
- Non assumere sostanze che riducono il naturale senso di sopporta
zione del calore (alcool, droghe, medicine).
- In caso di eccessivo senso di calore sulla pelle cambiare la posizione
di seduta.
Note:
- Non montare la cabina in prossimità di vasche da bagno e docce
(distanza minima: circa 60 cm). Rispeate una distanza di 2 m da
piscine.
- La cabina non è adaa al posizionamento in luoghi pubblici, facil-
mente accessibili e senza regolare vigilanza (p. es.: caseggia,
alberghi senza recepon,...).
- Posizionare le cabine solo su pavimento sicuro (p. es.: ceramica,...).
- L‘apertura e le riparazioni possono essere eseguite solo da personale
specializzato.
- Prima di aprire il sistema di comando o prima di sostuire i radiatori,
scollegare dall‘alimentazione elerica.
- Montare la cabina sempre in locali chiusi – mai all‘aperto.
- Pulire regolarmente la cabina. Scollegare l‘alimentazione prima della
pulizia. Per una migliore pulizia è adao un detergente per saune.
- Dopo l‘installazione della cabina sauna, la presa di alimentazione
deve essere facilmente accessibile.
- Se la linea di collegamento della cabina per la sauna è danneggiata
è necessario farla sostuire da personale del produore, del servizio
assistenza clien o da persone qualicate.
IT
D GB
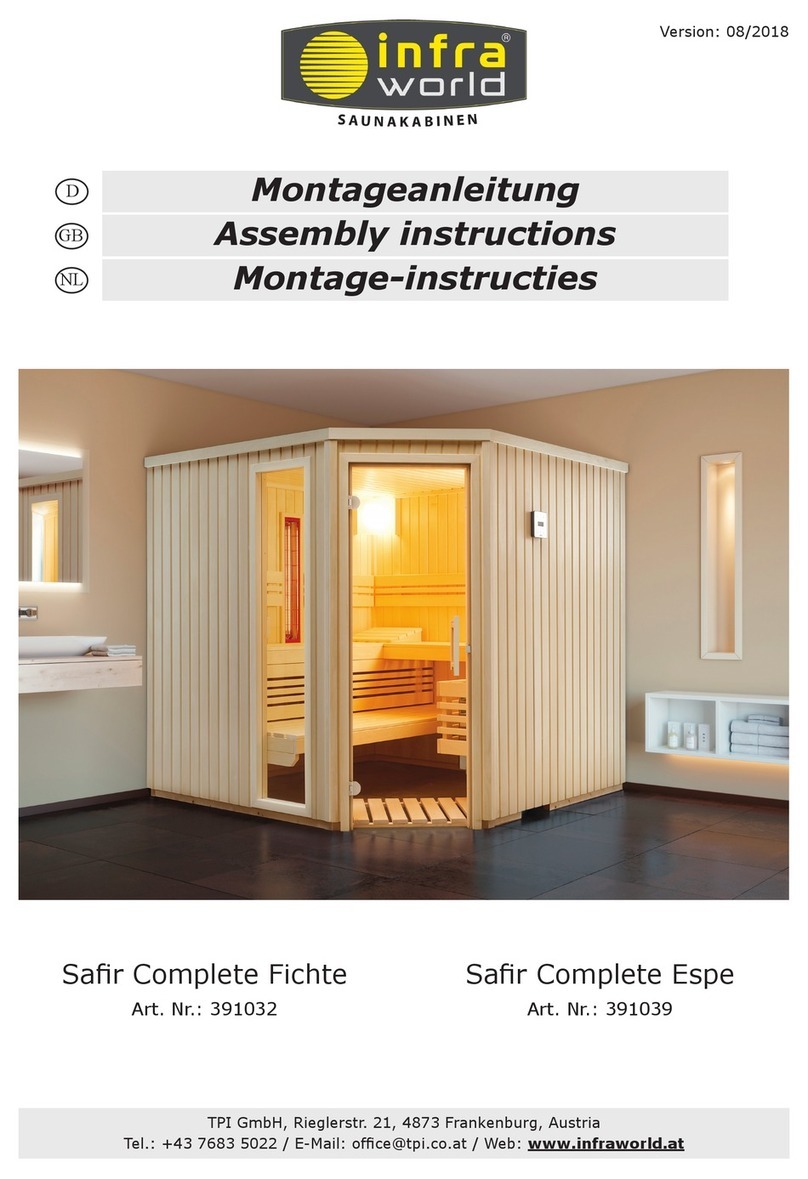
Pos Bezeichnung Stück Pos Descripon Quanty
1 Seitenwand links 1 Stk. 1 le side wall 1 pc.
2 Rückwand links 1 Stk. 2 le back wall 1 pc.
3 Rückwand rechts 1 Stk. 3 right back wall 1 pc.
4 Seitenwand rechts 1 Stk. 4 right side wall 1 pc.
5 Frontrahmen links 1 Stk. 5 le face frame 1 pc.
6 Frontrahmen rechts 1 Stk. 6 right face frame 1 pc.
7 Frontrahmen oben 2 Stk. 7 upper face frame 2 pcs.
8Schiene Boden 1 Stk. 8 oor rail 1 pc.
9 Seitenglas 1 Stk. 9 lateral glass 1 pc.
10 Glastür 1 Stk. 10 glass door 1 pc.
11 Abdeckung mit Heizstrahler unter Sitzbank 1 Stk. 11 cover with radiator under the bench 1 pc.
12 Sitzbank 1 Stk. 12 bench 1 pc.
13 Leiste für Sitzbank 1 Stk. 13 rail for bench 1 pc.
14 Bankauage links 1 Stk. 14 bench support strips le 1 pc.
15 Bankauage rechts 1 Stk. 15 bench support strips right 1 pc.
16 Dach 1 Stk. 16 roof 1 pc.
17 Rückenpolster 4 Stk. 17 back padding 4 pcs.
18 Hinterer Heizstrahler 1 Stk. 18 rear radiator 1 pc.
19 Seitlicher Heizstrahler 1 Stk. 19 lateral radiators 1 pcs.
20 Lüungsregler 1 Stk. 20 venlaon control 1 pc.
22 Montageleiste Bodenrost 1 Stk. 22 mounng rail oor grate 1 pc.
23 Bodenrost 1 Stk. 23 oor grate 1 pc.
24 Abdeckleisten 4 Stk. 24 cover baens 4 pcs.
25 Dachleisten 2 Stk. 25 roof baens 2 pcs.
26 Dichtung seitlich / oben 2 Stk. 26 lateral / on top seals 2 pcs.
27 Schraubensatz 1 Set 27 screw set 1 set
28 Montageanleitung 1 Stk. 28 assembling instucons 1 pc.
29 Lautsprecher 1 Set 29 loudspeakers 1 set
30 Audiosystem 1 Set 30 audio system 1 set
31 Netzteil, LED-Controller, Fernbedienung 1 Set 31 power adapter, LED-controller, remote control 1 set
5
Pos F Désignaon Quanté Pos NL Beschrijving Stuk
1 paroi latérale á gauche 1 1 zijwand links 1 st.
2 paroi arrière á gauche 1 2 achterzijde links 1 st.
3 paroi arrière á droite 1 3 achterzijde rechts 1 st.
4 paroi latérale á droite 1 4 zijwand rechts 1 st.
5 cadre frontal á droite 1 5 raam vooraan links 1 st.
6 cadre frontal á gauche 1 6 raam vooraan rechts 1 st.
7 cadre frontal en haut 2 7 raam vooraan boven 2 st.
8 barre de rail - sol 1 8 rail - vloer 1 st.
9 verre latérale 1 9 zijkant glas 1 st.
10 porte vitrée 1 10 glazen deur 1 st.
11 revêtement avec radiateur chauant sous la banquee 1 11 afdekking met hiestraler onder de zitbank 1 st.
12 banquee 1 12 zitbank 1 st.
13 plance pour la banquee 1 13 lijst voor zitbank 1 st.
14 listeaux de support pour banquees á gauche 1 14 linker banksteunen 1 st.
15 listeaux de support pour banquees á droite 1 15 rechter banksteunen 1 st.
16 toit 1 16 dakplaat 1 st.
17 dossier rembourré 4 17 rugkussen 4 st.
18 bassine distributrice 1 18 verdeelkast 1 st.
19 radiateurs latéraux 1 19 zijstralers 1 st.
20 regulateur de venlaon 1 20 regulateur 1 st.
22 barre de montage grille de sol 1 22 montagelijst grondrooster 1 st.
23 grille de sol 1 23 grondrooster 1 st.
24 linteaux de recouvrement 4 24 afdeklijste 4 st.
25 linteaux de toit 2 25 daklijsten 2 st.
26 joint latérale / en haut 2 26 afdichng zijdelings / boven 2 st.
27 lot complet de vis 1 27 complete schroevenset 1 set
28 instrucons de montage 1 28 montagehandleiding 1 st.
29 haut-parleur 1 29 luidspreker 1 set
30 système audio 1 30 audiosysteem 1 set
31 alimentaon électrique, contrôler de DEL, télécommande 1 31 adapter, led-controller, afstandsbediening 1 set
Pos IT Descrizione Pezzo
1 Parete laterale sinistra 1 pz.
2 Parete posteriore sinistra 1 pz.
3 Parete posteriore destra 1 pz.
4 Parete laterale destra 1 pz.
5Cornice lato anteriore sinistra 1 pz.
6Cornice lato anteriore destra 1 pz.
7Cornice lato anteriore disopra 2 pz.
8 Listello - fonda 1 pz.
9 Vetro laterale 1 pz.
10 Porta vetrata 1 pz.
11 Copertura con riscaldamento a irraggiamento soo la panchina 1 pz.
12 Sedile a panchina 1 pz.
13 Listelle per la sedile a panchina 1 pz.
14 Barra supporto panca sinistra 1 pz.
15 Barra supporto panca destra 1 pz.
16 Teo 1 pz.
17 Schienale 4 pz.
18 Riscaldamento a irraggiamento posteriore 1 pz.
19 Riscaldamento a irraggiamento laterale 1 pz.
20 Registro di venlazione 1 pz.
22 Listello di montaggio per la griglia per pavimento 1 pz.
23 Griglia per pavimento 1 pz.
24 Listelli di rivesmento 4 pz.
25 Listelli teo 2 pz.
26 Giunto laterale / disopra 2 pz.
27 Set di vi 1 set
28 Istruzioni per il montaggio e per l‘uso 1 pz.
29 Altoparlante 1 set
30 Sistema audio 1 set
31 Trasformatore, controller di LED, telecomando 1 set 6
4 x 5 x 90
4 x
2 x 4 x 50
1 x 4 x 50
4 x 4 x 50
4 x 5 x 90
4 x
8 x 5 x 70
8 x
1 2
43
7
8
9 x 4 x 70
3 x 3,2 x 30
3 x 5 x 70
3 x
56
7
8 x 3,5 x 15
8
9
8 x 4 x 70
9 10
11 12
10
13
4 x 3,5 x 40
14
4 x 3,5 x 40
12 x 3,2 x 50
15 16
2 x 4 x 70
17 18
11
19
20
12
9 x 4 x 30
21
13
Variante 1
Variante 2
6 x 3,2 x 50
14
22
15
23
Bedienungsanleitung Steuerung für
Infrarotkabine Fusion
1. Licht
Licht mit der -Taste EIN/AUS schalten.
2. Einschalten der Infrarotkabine
Durch Drücken der -Taste wird die Kabine EIN/AUS geschal-
tet. Es erscheint nun folgende Grundeinstellung bzw. die zuletzt
eingestellten Werte:
3. Einstellungen
1 x Mode - Infrarot A-Strahler 1
Durch Drücken der -Taste (1x) kann die Intensität des
„Strahlers 1“ verstellt werden. Mit und kann die
Strahlungsstärke von 40 - 100 % verstellt werden (Nach 5 sec
ohne Tastendruck springt die Anzeige wieder zurück).
2 x Mode - Infrarot A-Strahler 2
Durch Drücken der -Taste (2x) kann die Intensität des
„Strahlers 2“ verstellt werden. Mit und kann die
Strahlungsstärke von 40 - 100 % verstellt werden (Nach 5 sec
ohne Tastendruck springt die Anzeige wieder zurück).
3 x Mode - Raumtemperatur
Verstellen der gewünschten Raumtemperatur von 30 - 60 °C.
Bei einer Raumtemperatur von 60 °C werde zur Sicherheit alle
Strahler abgeschalten (bei 59 °C Raumtemperatur schalten sie
wieder ein).
4 x Mode - Flächenheizung
Einstellen der gewünschten Oberächentemperatur der Flächen-
heizelemente von 30 - 80 °C.
5 x Mode - Zeit
Einstellen der Zeit mit und von 10 min - 2 h
Wichtig: Nach 5 sec ohne Tastendruck wechselt die Anzeige
in den normalen Betrieb (rechts oben in der
Anzeige werden die 5 sec heruntergezählt).
Reset auf Werkseinstellung
Wollen Sie die Steuerung auf die Werkseinstellung zurück stellen
(Laufzeit: 60 min, Raumtemp.: 60 °C, FH: 80 °C, Infrarot A-
Strahler Intensität: 100 %).
+ + gleichzeitig gedrückt halten
Es erscheint am Display:
Zeit: 0:35:21s
Raum: 53:0°C
Fläche: 79:5°C
Strahler: 100%
A C H T U N G !
auf
Werkseinstellung
zurückgesetzt !
Operating instructions control for
infrared cabin Fusion
1. Light
Switch the light ON/OFF by using the -button.
2. Switching on the infrared cabin
By pressing the -button the cabin is switched ON/OFF. Then
the following basic setting or the last setting values will appear:
3. Settings
1 x Mode - Infrarot A radiator 1
By pressing the -button (1x) the intensity of „radiator 1“
is adjustable. With and the radiation intensity can
be adjusted from 40 to 100 % (The display resets after 5 sec.
without pressing a button).
2 x Mode - Infrarot A radiator 2
By pressing the -button (2x) the intensity of „radiator 2“
is adjustable. With and the radiation intensity can
be adjusted from 40 to 100 % (The display resets after 5 sec.
without pressing a button).
3 x Mode - Cabin temperature
Adjustment of the desired cabin temperature from 30 to 60 °C.
At a cabin temperature of 60 °C all radiators are automatically
switched o for safety reasons (at a cabin temperature of 59 °C
they are activated again).
4 x Mode - Surface heating
Adjustment of the desired surface temperature of the surface
heating elements from 30 to 80 °C.
5 x Mode - Time
Setting of the time with and from 10 min to 2 h
Important: The display returns to normal operation after 5
sec. without pressing a button (on the top right
side of the display the 5 sec. are counted down).
Reset to manufactory setting
If you want to reset to the manufactory settings (operating time:
60 min, cabin temp.: 60 °C, surface heating: 80 °C, infrared A
radiator intensity: 100 %).
Keep + + pressed at the same time
The display will show:
Time: 0:35:21s
Room: 53:0°C
Surface: 79:5°C
Radiator: 100%
A C H T U N G !
reset to
manufactory
setting!
16
A T T E N T I O N !
la conguration
d’origine est rétablie !
Mode d‘emploi de la commande de
cabine infrarouge Fusion
1. Eclairage
Allumez la lumière avec le bouton MARCHE/ARRÊT.
2. Mise en marche de la cabine infrarouge
En appuyant sur le bouton , vous mettez la cabine en MAR-
CHE/ARRÊT. Le réglage initial apparaît alors comme suit, ou les
valeurs réglées en dernier:
3. Paramètres
1 x Mode - Radiateur 1 à infrarouges A
L’intensité du «radiateur 1» se règle en appuyant sur le bouton
(1x). La puissance de rayonnement est réglable de 40 à
100 % à l’aide des boutons et (L’achage revient
en arrière si la touche n’est pas actionnée dans les 5 sec.).
2 x Mode - Radiateur 2 à infrarouges A
L’intensité du «radiateur 2» se règle en appuyant sur le bouton
(2x). La puissance de rayonnement est réglable de 40 à
100 % à l’aide des boutons et (L’achage revient
en arrière si la touche n’est pas actionnée dans les 5 sec.).
3 x Mode – Température ambiante
La température ambiante est réglable de 30 à 60 °C. Par mesure
de sécurité, tous les radiateurs s’éteignent lorsque la tempéra-
ture ambiante atteint 60°C. (Ils se rallument lorsque la tempé-
rature ambiante est de 59°C.
4 x Mode – Chauage de surface
La température de surface des éléments chauants se règle à
volonté de 30 à 80°C.
5 x Mode - Temps
La minuterie se règle à l’aide de et de 10 mn à 2 h
Important: l’achage revient au mode normal si la touche
n’est pas actionnée dans les 5 sec. (Le décompte
des 5 sec. est aché en haut à droite de l’écran).
Rétablir la conguration d’origine
Si vous désirez rétablir la conguration d´origine (durée: 60
min, température ambiante: 60°C, chauage de surface: 80°C,
intensité du radiateur à infrarouges A: 100 %).
Tenez appuyés simultanément + +
L’écran ache:
Temps: 0:35:21s
Cabine: 53:0°C
Surface: 79:5°C
Radiateur: 100%
Gebruiksaanwijzing besturing voor
infraroodcabine Fusion
1. Licht
Het licht met de toets in-/uitschakelen.
2. Inschakelen van de infraroodcabine
De cabine wordt in-/uitgeschakeld door op de toets te
drukken. Nu verschijnt de volgende basisinstelling of de laatst
ingestelde waarden worden weergegeven:
3. Instellingen
1 x mode - infrarood-A-straler 1
Door op de toets te drukken (1x), kan de intensiteit van
“straler 1“ veranderd worden. Met en kan de stra-
lingssterkte van 40 -100% veranderd worden (als er gedurende
5 seconden geen toets wordt ingedrukt, springt het display
weer terug).
2 x mode - infrarood-A-straler 2
Door op de toets te drukken (2x), kan de intensiteit van
“straler 2“ veranderd worden. Met en kan de stra-
lingssterkte van 40 -100% veranderd worden (als er gedurende
5 seconden geen toets wordt ingedrukt, springt het display
weer terug).
3 x mode - ruimtetemperatuur
Veranderen van de gewenste ruimtetemperatuur van 30 - 60 °C.
Bij een ruimtetemperatuur van 60 °C worden alle stralers veilig-
heidshalve uitgeschakeld (bij een ruimtetemperatuur van 59 °C
gaan ze weer aan).
4 x mode - oppervlakteverwarming
Instellen van de gewenste oppervlaktetemperatuur van de
oppervlakteverwarmingselementen van 30 - 80 °C.
5 x mode - tijd
Instellen van de tijd met en van 10 min - 2 h
Belangrijk: als er gedurende 5 seconden geen toets wordt
ingedrukt, schakelt het display over naar de
normale modus (rechtsboven op het display
worden de 5 seconden afgeteld.
Resetten naar fabrieksinstelling
Als u de besturing wilt terugzetten naar de fabrieksinstelling
(looptijd: 60 minuten, ruimtetemperatuur: 60 °C, oppervlakte-
verwarming: 80 °C, intensiteit infrarood-A-straler: 100%).
+ + tegelijkertijd ingedrukt houden
Op het display verschijnt de volgende tekst:
Tijd: 0:35:21s
Ruimte: 53:0°C
Oppervl.: 79:5°C
Straler: 100%
LET OP !
Teruggezet naar
fabrieksinstelling
17
Spracheinstellung Infrarot - Fusion
FUSION
Infraworld V1.1
--------------------
(Press ON/OFF)
Im Standby-Betrieb die -Taste 5 Sekunden gedrückt halten.
** LANGUAGE **
--------------------
German
+ Change, M Exit
Verändern der Sprache durch drücken der -Taste.
(German -> Englisch -> French -> Italian -> Dutch -> German...)
oder oder = Verlassen des Programmiermodus
GB
Language seng infrared - Fusion
Choix de la langue Fusion - infrarouge
In the standby mode hold the -buon pressed for 5 seconds.
Appuyer 5 secondes sur la touche de l’appareil en veille.
Change the language by pressing the -buon.
(German -> Englisch -> French -> Italian -> Dutch -> German...)
Changer de langue en appuyant sur la touche .
(German -> Englisch -> French -> Italian -> Dutch -> German...)
or or = exit the programming mode
ou ou = quier le mode de programmaon
D
D
GB
GB
GB
F
F
F
F
Impostazione della lingua cabine a infrarossi - Fusion
IT
In modalità di funzionamento standby, tenere premuto il pulsante per 5 secondi.
IT
Modicare la lingua premendo il pulsante .
(Tedesco -> Inglese -> Francese -> Italiano -> Olandese -> Tedesco...)
IT
o o = per abbandonare la modalità di programmazione
IT
Taalinstelling infrarood - Fusion
NL
In de stand-by-modus de toets 5 seconden ingedrukt houden.
NL
De taal wijzigen door de toets in te drukken.
(German -> Englisch -> French -> Italian -> Dutch -> German...)
NL
of of = de programmeermodus verlaten
NL
18
D
D
19
Fernbedienung:
EIN/AUS
PAUSE (bei Farbablauf)
MODUS WECHSELN (vor)
MODUS WECHSELN (zurück)
LEUCHTKRAFT ERHÖHEN
GESCHWINDIGKEIT VERRINGERN
LEUCHTKRAFT VERRINGERN
GESCHWINDIGKEIT ERHÖHEN
2 automasche Farbabläufe:
Der automasche Farbablauf beginnt beim 8 x Drücken der MODUS-Taste (siehe nachstehende Tabelle).
Modus Nr. Funkon
1 Farbe Rot *
3Farbe Blau *
5 Farbe Türkis *
7Farbe Weiß *
9Fließender 7 Farben-Farbablauf **
- Anhand des Mulcolor-Farbrades kann die gewünschte Farbe miels Touch-Sensor direkt auf der Fernbedienung ausgewählt werden.
- Um zwischen den einzelnen Modi zu wechseln, drücken Sie die Taste M+ (nach vor) oder M- (zurück).
- Der Controller merkt sich den Modus, der vor dem Ausschalten des LED-Farblichts akv war.
MULTICOLOR-FARBRAD
D
GB
Anmerkung
* Leuchtkra einstellbar, Geschwindigkeit nicht einstellbar
** Geschwindigkeit einstellbar, Leuchtkra nicht einstellbar
Modus Nr. Funkon
2 Farbe Grün *
4Farbe Viole *
6 Farbe Gelb *
8Fließender 3 Farben-Farbablauf **
Remote control:
On/o
Break (during colour change)
Change mode (forward)
Change mode (back)
Increase luminosity
Reduce speed
Reduce luminosity
Increase speed
2 automac colour changes:
The automac colour change starts when the MODE buon is pressed 8 x (see table below).
Mode no. Funcon
1Colour red *
3Colour blue *
5Colour turquoise *
7Colour white *
9 Smooth 7 colour change **
- The mul-colour wheel allows selecng the desired colour with a touch sensor directly on the remote control.
- For changing the individual modes press the buons M+ (forward) or M- (back).
- The controller remembers the mode which had been acve before the LED coloured light was switched o.
Mul-colour wheel
Remark
* Luminosity adjustable, speed not adjustable
** Speed adjustable, luminosity not adjustable
Mode no. Funcon
2Colour green *
4Colour violet *
6Colour yellow *
8 Smooth 3 colour change **
Télécommande:
Marche/Arrêt
Pause (enchaînement de couleurs)
Changer de mode (avance)
Changer de mode (retour)
Augmenter la luminosité
Réduire la vitesse
Réduire la luminosité
Augmenter la vitesse
2 enchaînements automaques des couleurs :
Pour enchaîner automaquement les couleurs, appuyer au moins 8 x sur la touche MODE (voir tableau ci-après).
Mode n° Foncon
1Couleur rouge *
3Couleur bleue *
5Couleur turquoise *
7Couleur blanche *
9 Fondu enchaîné de 7 couleurs **
- La roue chromaque permet de choisir la couleur souhaitée directement sur la télécommande par capteur tacle.
- Pour changer de mode, appuyer sur la touche M+ (avance) ou M- (retour).
- La commande garde en mémoire le mode acvé avant l’arrêt de la lumière colorée à LED.
Roue chromaque
F
NL
Remarque
* Luminosité réglable, vitesse non réglable
** Vitesse réglable, luminosité non réglable
Mode n° Foncon
2Couleur verte *
4Couleur violee *
6Couleur jaune *
8 Fondu enchaîné de 3 couleurs **
Afstandsbediening:
In/uit
Pauze (jdens kleurwijziging)
Modus wijzigen (vooruit)
Modus wijzigen (terug)
Lichtsterkte verhogen
Snelheid verminderen
Lichtsterkte verminderen
Snelheid verhogen
2 automasche kleurwijzigingen:
De automasche kleurwijziging start wanneer de MODUS-knop 8 x wordt ingedrukt (zie onderstaande tabel)
Modusnr. Funce
1 kleur rood *
3 kleur blauw *
5 kleur turkoois *
7 kleur wit *
9 Vloeiende 7 kleurenwijziging **
- Met het veelkleurige wiel kunt u op de afstandsbediening de gewenste kleur kiezen met een aanraaksensor.
- Om tussen de individuele modi te schakelen, drukt u op de knoppen M+ (vooruit) of M- (terug)
- De controller herinnert de modus die acef was voordat de gekleurde led werd uitgeschakeld.
Veelkleurig wiel
Opmerking
* Instelbare lichtsterkte, snelheid niet instelbaar
** Snelheid instelbaar, lichtsterkte niet instelbaar
Modusnr. Funce
2 kleur groen *
4 kleur violet *
6 kleur geel *
8 Vloeiende 3 kleurenwijziging **
20

This manual suits for next models

1

Other infra world Plumbing Product manuals

infra world Vitalis 148 Complete User manual

infra world

infra world Vitalis 148 Complete User manual

infra world Kristall Series User manual

infra world

infra world Kristall Series User manual

infra world TrioSol Natura 148 Plus User manual

infra world

infra world TrioSol Natura 148 Plus User manual

infra world Urban 164 User manual

infra world

infra world Urban 164 User manual

infra world TrioSol Natura 148 Ecke User manual

infra world

infra world TrioSol Natura 148 Ecke User manual

infra world PANORAMA 180 User manual

infra world

infra world PANORAMA 180 User manual

infra world TrioSol Alpina 150 User manual

infra world

infra world TrioSol Alpina 150 User manual

infra world Urban 164 User manual

infra world

infra world Urban 164 User manual

infra world Fusion Espe 147 User manual

infra world

infra world Fusion Espe 147 User manual

infra world 391093 User manual

infra world

infra world 391093 User manual

infra world TrioSol Cedar 125 User manual

infra world

infra world TrioSol Cedar 125 User manual

infra world Urban Ecke User manual

infra world

infra world Urban Ecke User manual

infra world TrioSol Glas 125 VG User manual

infra world

infra world TrioSol Glas 125 VG User manual

infra world Vitalis 148 User manual

infra world

infra world Vitalis 148 User manual

infra world Safir Complete Espe User manual

infra world

infra world Safir Complete Espe User manual

infra world TrioSol Natura 147 Glas User manual

infra world

infra world TrioSol Natura 147 Glas User manual

infra world TrioSol Alpina 150 User manual

infra world

infra world TrioSol Alpina 150 User manual

infra world TrioSol Natura 147 Glas User manual

infra world

infra world TrioSol Natura 147 Glas User manual

infra world TrioSol Sera User manual

infra world

infra world TrioSol Sera User manual

infra world TrioSol Natura 148 Plus User manual

infra world

infra world TrioSol Natura 148 Plus User manual

infra world Urban Complete 164 Ecke User manual

infra world

infra world Urban Complete 164 Ecke User manual

infra world TrioSol Natura 103 User manual

infra world

infra world TrioSol Natura 103 User manual

infra world Urban 228 corner User manual

infra world

infra world Urban 228 corner User manual

infra world SAFIR COMPLETE User manual

infra world

infra world SAFIR COMPLETE User manual

Popular Plumbing Product manuals by other brands

Sloan Royal 310 installation instructions

Sloan

Sloan Royal 310 installation instructions

Gerber D434437 installation instructions

Gerber

Gerber D434437 installation instructions

Moen 84240 SERIES Specifications

Moen

Moen 84240 SERIES Specifications

hykolity KS-1517S owner's manual

hykolity

hykolity KS-1517S owner's manual

Kohler K-1112 Homeowner's guide

Kohler

Kohler K-1112 Homeowner's guide

Grohe Chiara Series manual

Grohe

Grohe Chiara Series manual

Toto 0GU5020 Installation and owner's manual

Toto

Toto 0GU5020 Installation and owner's manual

Santec Caprie 9470EZ Installation instruction

Santec

Santec Caprie 9470EZ Installation instruction

Moen MOENTROL 82221 Specifications

Moen

Moen MOENTROL 82221 Specifications

Felton AXISS AXBMBA installation guide

Felton

Felton AXISS AXBMBA installation guide

Hans Grohe Talis M52 170 2jet 32841000 Instructions for use/assembly instructions

Hans Grohe

Hans Grohe Talis M52 170 2jet 32841000 Instructions for use/assembly instructions

Reliable Single Interlock Preaction System Instructions for installation

Reliable

Reliable Single Interlock Preaction System Instructions for installation

Hans Grohe Logis 40513 Series Instructions for use/assembly instructions

Hans Grohe

Hans Grohe Logis 40513 Series Instructions for use/assembly instructions

Spectrum Brands Pfister 015-4WD Quick installation guide

Spectrum Brands

Spectrum Brands Pfister 015-4WD Quick installation guide

Hans Grohe Talis Classic Assembly and use instructions

Hans Grohe

Hans Grohe Talis Classic Assembly and use instructions

Hansgrohe Axor Citterio Instructions for use/assembly instructions

Hansgrohe Axor

Hansgrohe Axor Citterio Instructions for use/assembly instructions

PEERLESS Parkwood P7935LF installation instructions

PEERLESS

PEERLESS Parkwood P7935LF installation instructions

Delta 25975 Series installation guide

Delta

Delta 25975 Series installation guide

manuals.online logo
manuals.online logoBrands
  • About & Mission
  • Contact us
  • Privacy Policy
  • Terms and Conditions

Copyright 2025 Manuals.Online. All Rights Reserved.