EN-1 TL-C5101-PIM_ed2
EN
Product Safety Information
Intended Use:
This Cordless Reciprocating Saw is designed for cutting plastics, berglass, composites, aluminum
and sheet metal.
⚠WARNING: Read all safety warnings, instructions, illustrations, and specications
provided with this power tool. Failure to follow the warnings and instructions may result in
electric shock, re and/or serious injury. Save all warnings and instructions for future reference.
●Responsibly recycle or dispose of batteries. Do not puncture or burn Batteries. Improper
disposal may endanger the environment or cause personal injury.
●Only use tools with appropriate voltage Ingersoll Rand batteries and charger. Use of any
other batteries may create a risk of re, personal injury or property damage.
For additional information, refer to Cordless Reciprocating Saw Product Safety Manual
Form 47559326001, Battery Charger Safety Information Manual Form 10567832 and
Battery Safety Information Manual Form 10567840.
Manuals can be downloaded from ingersollrand.com
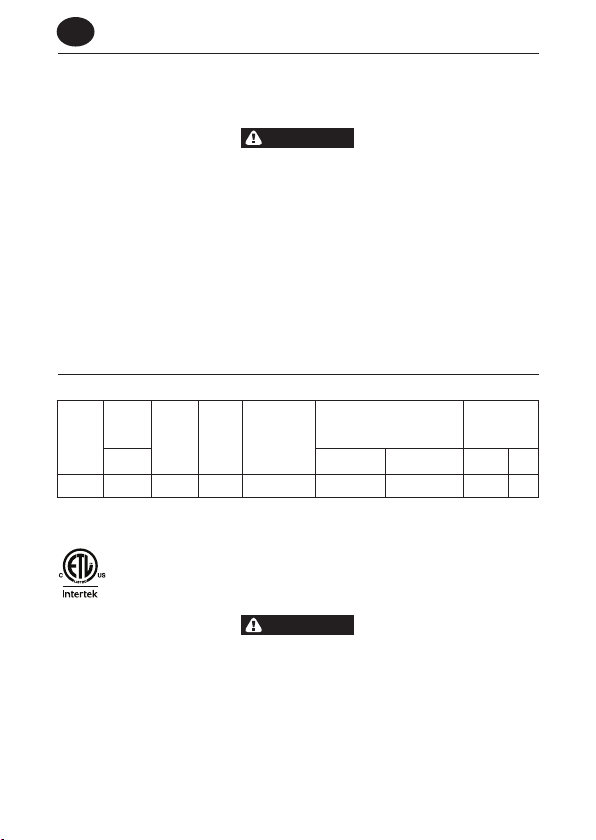
Product Specications
Model Voltage Battery
Model
Strokes
per
Minute
Stroke
Length
in. (mm)
Sound level dB(A)
(EN 62841)
Vibration (m/s2)
(EN 62841)
V, DC † Pressure (Lp) ‡ Power (Lw)Level *K
C5101 20 BL2022 3,012 1.22 (31) 85.2 93.2 12.1 1.5
† KpA = 3dB measurement uncertainty
‡ KwA = 3dB measurement uncertainty
* K = Vibration measurement uncertainty
Conforms to UL STD. 62841-1 & 62841-2-11.
Certied to CSA STD. C22.2 No. 62841-1 & 62841-2-11.
Sound and vibration values were measured in compliance with internationally recognized
test standards.The exposure to the user in a specic tool application may vary from these
results. Therefore, on site measurements should be used to determine the hazard level in
that specic application.
Blade Installation
Always remove the battery pack, before installing, removing or adjusting any accessory on
this tool, or before performing any maintenance on this tool or any accessory.
1. Rotate the Chuck Sleeve (B) and hold it.
2. Position the Saw Blade (A) into the Blade Holder (C).
3. Release the Chuck Sleeve (B) after the Saw Blade (A) in the right position.
Refer to Figure A on Page 3.