manuals.online logo
Brands
  1. Home
  2. •
  3. Brands
  4. •
  5. injen technology
  6. •
  7. Automobile Part
  8. •
  9. injen technology RD6061 User manual

injen technology RD6061 User manual

Part number RD6061
2004-09 Mazda 3 2.3L 4 cyl.
2004-09 Mazda 3 2.0L 4 cyl.
Important: Read the information on the
lower right hand side for vehicles that are
not CARB exempt.
1- 2 piece cold air intake
1- 3” injen/Amsoil dry filter(#1014)
2- 2.75” straight hose (#3043)
4- Power-Bands (.312) .040 (#4003)
1- 2”- 10mm hose (coupler) (#3077)
1- M6 vibra-mount (#6020)
2- M6 flange nut (#6002)
1- fender washer (#6010)
2- m4 x 10mm button head (#6047)
1- m6 x m16 hex bolt (#6005)
1- instruction
Note: Use only Injen replacement
parts when making any
changes to this kit.
Buy on-line at:
“injenonline.com”
Note: The C.A.R.B Exempt sticker
must be attached under the hood in
a manner such that it is easily viewed
by an emissions inspector
Congratulations! You have just purchased the best engineered,
dyno-proven cold air intake system available.
Please check the contents of this box immediately.
Report any defective or missing parts to the Authorized Injen
Technology dealer you purchased this product from.
Before installing any parts of this system, please read the instructions
thoroughly. If you have any questions regarding installation please
contact the dealer you purchased this product from.
Installation DOES require some mechanical skills. A qualified
mechanic is always recommended.
*Do not attempt to install the intake system while the engine is hot.
The installation may require removal of radiator fluid line that may be
hot.
Injen Technology offers a limited lifetime warranty to the original
purchaser against defects in materials and workmanship. Warranty
claims must be handled through the dealer from which the item was
purchased.
Injen Technology 244 Pioneer Place Pomona, CA 91768 USA
Note: Changes made to the cold air intake or any filter components may hinder the
performance of the intake and void current CARB exemption number.
IMPORTANT:
The following vehicles are excluded from this Executive order number:
These vehicles will be considered to be for off road use only, Look for the following
engine test group numbers listed below:
2005 & 2006 Mazda 3 2.0L 4 cyl. vehicles will not be CARB exempt
2007 & 2008 LEV2, SULEV Engine test group numbers - 7TKXV02.3NG1
- 8TKXV02.0NH1
- 8TKXV02.3NH1
Figure 1
Figure 1
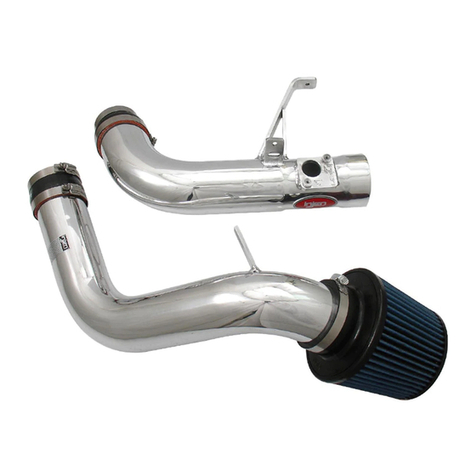
Figure 2
Figure 2 Figure 3
Figure 3
Figure 4
Figure 4 Figure 5
Figure 5
Figure 7
Figure 7
Figure 8
Figure 8 Figure 9
Figure 9
Once the mass air flow sensor has been fastened reconnect the harness clip
to the sensor until you hear it snap. Screw the vibra-mount into the bracket located on the side frame.
Note: The bumper will have to be removed in order to install
the vibra-mount and secondary intake.
Insert the mass air flow sensor into the machined adapter on the intake and
locate in place (A). Use the two supplied M4 bolts to fasten the sensor into the
machined adapter (B). Use a 2.5mm allen driver to tighen the M4 bolts to the
MAF (C)
Take the 2 inch-10mm coupler and press it over the air temperature sensor (A).
Press the coupler with the air temperature sensor over the 1/2” port on the
intake (B).
Insert the primary intake into the engine compartment and insert the top end
into the 2 3/4” hose on the throttle body. Semi-tighten the clamp on the intake
side just to hold it place.
Line up the solenoid with the locating pre-drilled tab to the bracket located on
the intake. Use the m6 x m16 bolt and flange nut to fasten the solenoid to the
bracket (B). Some models may not have this solenoid. If your vehicle is not
equipped with this solenoid, please skip to figure 6
Press the 2 3/4” straight hose over the throttle body. Use two clamps on the
2 3/4” hose but only tighten the clamp on the throttle body. Slip the remaining 2 3/4” straight hose over the end of the Primary intake. The
side opposite of the machined adapter and vacuum port is the end where the
hose will be placed, use a clamp to fasten the hose to the intake.
(A)
(A)
(B)
(B)
(A)
(A) (C)
(C)
(A)
(A)
(B)
(B)
(B)
(B)
Figure 6
Figure 6
Figure 10
Figure 10 Figure 11
Figure 11
Figure 12
Figure 12 Figure 13
Figure 13
Figure 14
Figure 14 Figure 15
Figure 15
Press the filter neck over the end of the secondary intake and tighten the clamp
on the filter neck. Congratulations! You have just completed the installation this Dyno-tested intake
system. Enjoy the added performance and be sure to follow proper maintenance
procedures.
View of the primary and secondary intake butted up together. The bracket on the end of the secondary intake is lined up to the vibra-mount
stud.
Take the secondary intake and insert the top end into the engine compartment by
way of the bumper opening. The bracket on the intake will be facing outward. The secondary intake will come up into the engine compartment. Line up and
insert the top section of the secondary intake into the end of the primary intake.
Press the primary and secondary intake together and semi-tighten the clamp.
1. Once the installation is complete, reconnect the negative battery terminal before you start the engine.
2. Align the entire intake system for best possible fit. Once the intake has been properly fitted continue to
tighten all nuts, bolts, and clamps.
3. Periodically, recheck the alignment of the intake system to make sure that there is proper clearance
around and along the length of the intake. Failure to follow proper maintenance procedures may cause
damage to the intake system and will void the warranty.
4. Start the engine and listen carefully for any odd noises, rattles and/or air leaks prior to taking it for a test
drive. If any problems arise go back and check the vacuum lines, hoses and clamps that maybe causing
leaks or rattles and correct the problem.
5. Check the filter for excessive dirt build up. Clean or replace the filter with an original Injen filter (can be
bought on-line at “injenonline.com”).
6. Congratulations! You have just completed the installation of the best intake system sold on the market.
Enjoy the added power and performance on your new intake system.
Page 3 of part# RD6061

Other injen technology Automobile Part manuals

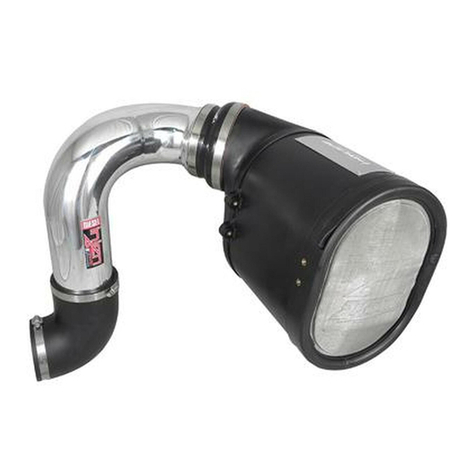
injen technology SP2106 User manual

injen technology

injen technology SP2106 User manual

injen technology SP1126 User manual

injen technology

injen technology SP1126 User manual

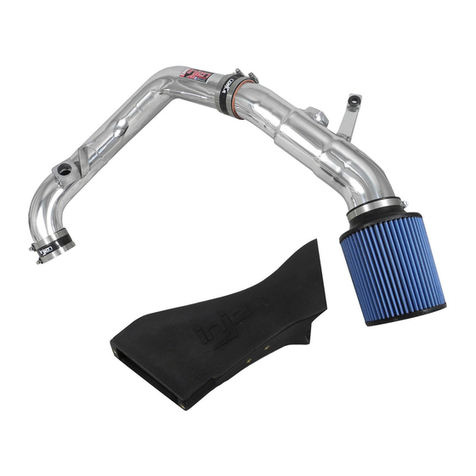
injen technology SP1202 User manual

injen technology

injen technology SP1202 User manual

injen technology SP1360 User manual

injen technology

injen technology SP1360 User manual

injen technology PF8075 User manual

injen technology

injen technology PF8075 User manual

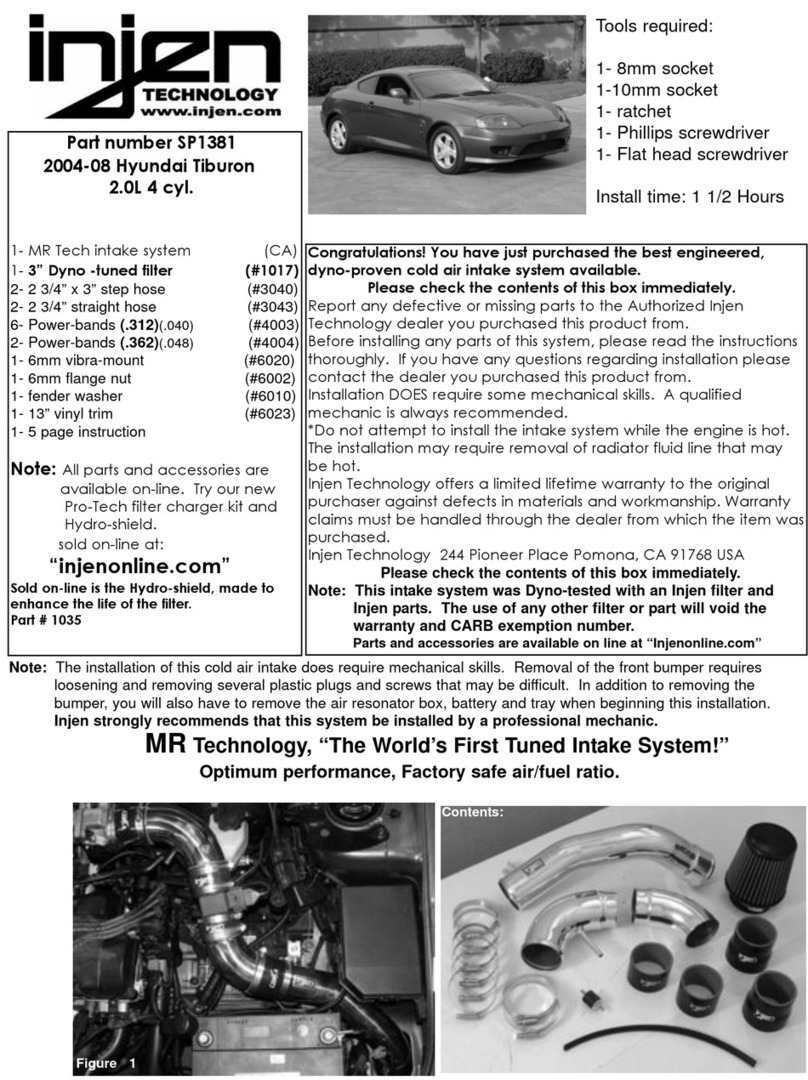
injen technology SP1381 User manual

injen technology

injen technology SP1381 User manual

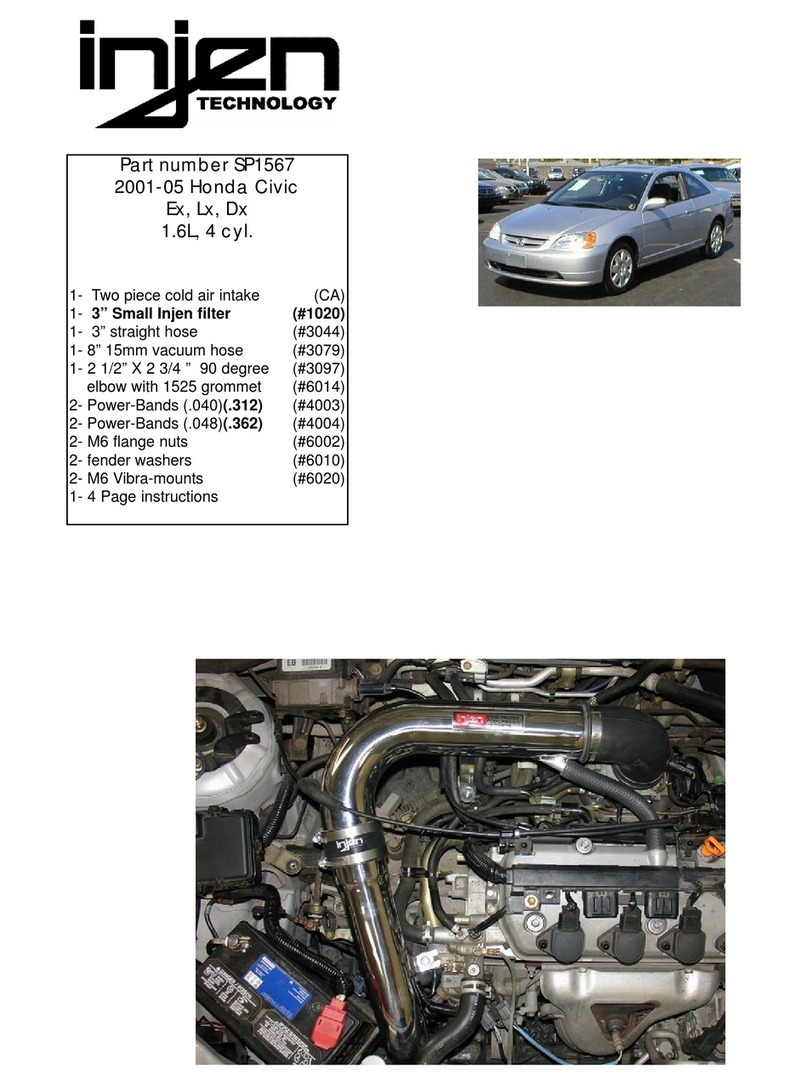
injen technology SP1567 User manual

injen technology

injen technology SP1567 User manual

Popular Automobile Part manuals by other brands

Edelbrock 1768 installation instructions

Edelbrock

Edelbrock 1768 installation instructions

Vintage Air 754562 manual

Vintage Air

Vintage Air 754562 manual

Edelbrock 71852 owner's manual

Edelbrock

Edelbrock 71852 owner's manual

Generac Power Systems FORD DURATEC 0F9765MNL Engine parts manual

Generac Power Systems

Generac Power Systems FORD DURATEC 0F9765MNL Engine parts manual

BENDIX ASA-5 AUTOMATIC SLACK ADJUSTER manual

BENDIX

BENDIX ASA-5 AUTOMATIC SLACK ADJUSTER manual

Edelbrock 5684 installation instructions

Edelbrock

Edelbrock 5684 installation instructions

Edelbrock 641570 installation instructions

Edelbrock

Edelbrock 641570 installation instructions

AEM 21-8223 Installation instructions & owner's manual

AEM

AEM 21-8223 Installation instructions & owner's manual

Holley Carburetor none installation instructions

Holley

Holley Carburetor none installation instructions

K&N Engineering KS-F160 instruction manual

K&N Engineering

K&N Engineering KS-F160 instruction manual

Atwood HYDRAULIC BRAKE MPD 85091 installation instructions

Atwood

Atwood HYDRAULIC BRAKE MPD 85091 installation instructions

PREVOST H3-41 Maintenance information

PREVOST

PREVOST H3-41 Maintenance information

Edelbrock 8126 installation instructions

Edelbrock

Edelbrock 8126 installation instructions

Edelbrock Qwikdata 91195 installation instructions

Edelbrock

Edelbrock Qwikdata 91195 installation instructions

Edelbrock 66662 installation instructions

Edelbrock

Edelbrock 66662 installation instructions

Fiat Aisin AF40-6 manual

Fiat

Fiat Aisin AF40-6 manual

Restomod Air Quantum instructions

Restomod Air

Restomod Air Quantum instructions

Edelbrock 72700 installation instructions

Edelbrock

Edelbrock 72700 installation instructions

manuals.online logo
manuals.online logoBrands
  • About & Mission
  • Contact us
  • Privacy Policy
  • Terms and Conditions

Copyright 2025 Manuals.Online. All Rights Reserved.