manuals.online logo
Brands
  1. Home
  2. •
  3. Brands
  4. •
  5. injen technology
  6. •
  7. Automobile Part
  8. •
  9. injen technology SP1202 User manual

injen technology SP1202 User manual

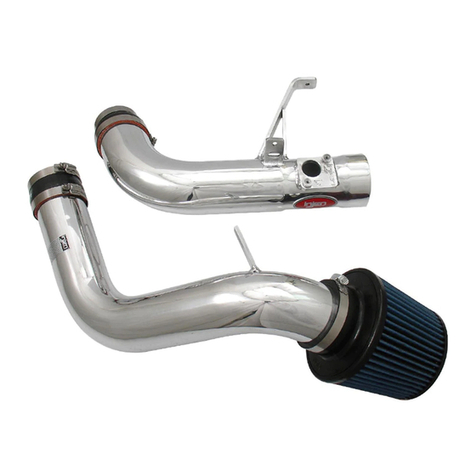
Part number SP1202
06-07 Subaru WRX 2.5L
04-07 Subaru STi 2.5L
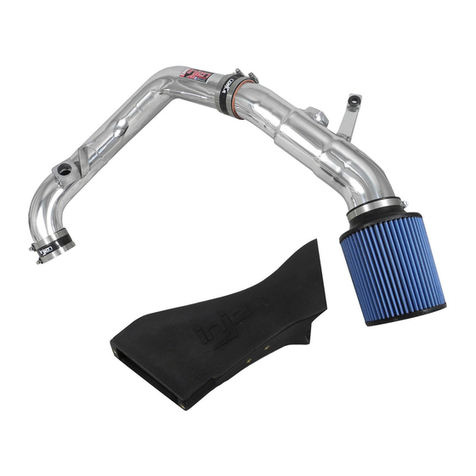
1- 2 pc. Injen cold air intake (CA)
1- 2.75” Injen filter (#1013)
1- 3” straight hose (#3044)
1- 2 3/4” straight hose (#3043)
2- Power-bands (.362) .048 (#4004)
2- Power-bands (.312) .040 (#4003)
1- M6 vibra-mount (#6020)
1- M6 flange nut (#6002)
1- fender washer (#6010)
1- 12” vinyl trim flex-grip (#6023)
1- 3 page instruction
Note:
Do to the sensitivity of the ECU, some
additional engine tuning maybe
required to correct short term fuel
and timing trims.
Congratulations! You have just purchased the best engineered,
dyno-proven cold air intake system available.
Please check the contents of this box immediately.
Report any defective or missing parts to the Authorized Injen
Technology dealer you purchased this product from.
Before installing any parts of this system, please read the instructions
thoroughly. If you have any questions regarding installation please
contact the dealer you purchased this product from.
Installation DOES require some mechanical skills. A qualified
mechanic is always recommended.
*Do not attempt to install the intake system while the engine is hot.
The installation may require removal of radiator fluid line that may
be hot.
Injen Technology offers a limited lifetime warranty to the original
purchaser against defects in materials and workmanship. Warranty
claims must be handled through the dealer from which the item was
purchased.
Injen Technology 244 Pioneer Place Pomona, CA 91768 USA
Please check the contents of this box immediately.
Note: This intake system was Dyno-tested with an Injen filter and
Injen parts. The use of any other filter or part will void the
warranty and CARB exemption number.
Parts and accessories are available on line at “Injenonline.com”
Note: The installation of this air intake does require mechanical skills. Removal of the front bumper requires
loosening and removing several plastic plugs and screws that may be difficult. In addition to removing the
bumper, you may also have to remove the air resonator box, battery and tray when beginning this installation.
Injen strongly recommends that this system be installed by a professional mechanic.
MR Technology, “The World’s First Tuned Intake System!”
Optimum performance, Factory safe air/fuel ratio.
Patent Pending “An air intake evolution”
Available in wrinkled Red
Process Developed and invented by Injen Technology.
Tri-step process with tuned adapter, calibrates the intake
for a desirable A/F ratio and ultimate power gains.
TPR magazine rates Injen #1 against 8 other manufacturers
Use the stock screws to fasten down the mass air
flow sensor (A), continue to press harness clip over
MAF sensor until you hear it snap in place (B).
Press the 2 3/4” straight hose over the end of the
primary intake. Use two .312 Power-bands and tighten
the clamp located on the intake side (A).
Take the primary intake and press the 3” end into
the inlet hose as shown above. The clamp is semi-
tightened to hold the intake in place.
Insert the MAF sensor into the machined sensor
adapter and use the same stock screws to secure the
sensor in place.
The front bumper and air intake resonator has been
removed for installation of the cold air intake. The vibra-mount is screwed into the fender wall just
above the round resonator opening. The vibra-
mount is screwed in until it bottoms out.
Remove air scoop from the top cross member and
resonator opening. This installation will require the removal of the front
bumper. Once the front bumper has been
removed continue to pull out plastic resonator box
as shown above.
>>>>
>>>>
Page 2 of part# SP1202
Loosen all clamp, then remove the entire air intake box
and the air intake duct all in one piece.
The 3” hose is placed over the air inlet duct and
two .362 power-bands are used (A). The clamp
on the inlet duct is tightened to prevent the hose
from slipping off (B)..
Remove stock screws from the Mass air flow sensor
pad (A). Continue to remove the mass air flow sensor
from the sensor housing (B).
Use the 12” vinyl flex trim to align the resonator
opening. The entire resonator opening must be cov-
ered to prevent the edge from cutting into the intake.
(A)
(B)
(B)
>>>>
>>>>
>>>>
>>>>
(A)
>>>>
>>>>
>>>>
>>>>
(A)
(B) (A)
Slip the filter over the end of the intake until it butts up
against the stop. Tighten the filter neck clamp to pre-
vent the filter from slipping off.
Once you have completed the installation and aligned
the intake for the best possible fit, continue to tighten
all nuts, bolts and clamps. Place the air scoop back to
its original position and tighten the bolts.
Insert the secondary intake in the resonator opening and
align the intake bracket to the vibra-mount stud. Align intake bracket to the vibra-mount stud (A).
Use the m6 flange nut and fender washer to hold
the intake in placed (B).
Page 3 of part# SP1202
Insert intake end into the inlet side as shown above.
Adjust the intake bracket to the vibra-mounts stud
and semi-tighten clamp.
The entire cold air intake is now installed. Continue
to adjust the entire intake assembly for best possible
fit, prior to moving on to the final instruction.
(A)
(B)
>>>>
>>>>
1. Upon completion of the installation, reconnect the negative battery terminal before you start the engine.
2. Align the entire intake system for the best possible fit. Once the intake has been properly fitted continue
to tighten all nuts, bolts and clamps.
3. Periodically, recheck the alignment of the intake system and make sure there is proper clearance around
and along the length of the intake. Failure to follow proper maintenance procedures may cause
damage to the intake and will void the warranty.
4. Start the engine and listen carefully for any odd noises, rattles and/or air leaks prior to taking it for a test
drive. If any problems arise go back and check the vacuum lines, hoses and clamps that maybe causing
leaks or rattles and correct the problem.
5. Check the filter for excessive dirt build up. Clean or replace the filter with an original Injen filter (can be
bought on-line at “injenonline.com”). Congratulations! You have just completed the installation of the
best intake system sold on the market. Enjoy the added power and performance of your new intake
system.

Other injen technology Automobile Part manuals

injen technology SP2106 User manual

injen technology

injen technology SP2106 User manual

injen technology SP1381 User manual

injen technology

injen technology SP1381 User manual

injen technology SP1126 User manual

injen technology

injen technology SP1126 User manual

injen technology SP1567 User manual

injen technology

injen technology SP1567 User manual

injen technology PF8075 User manual

injen technology

injen technology PF8075 User manual

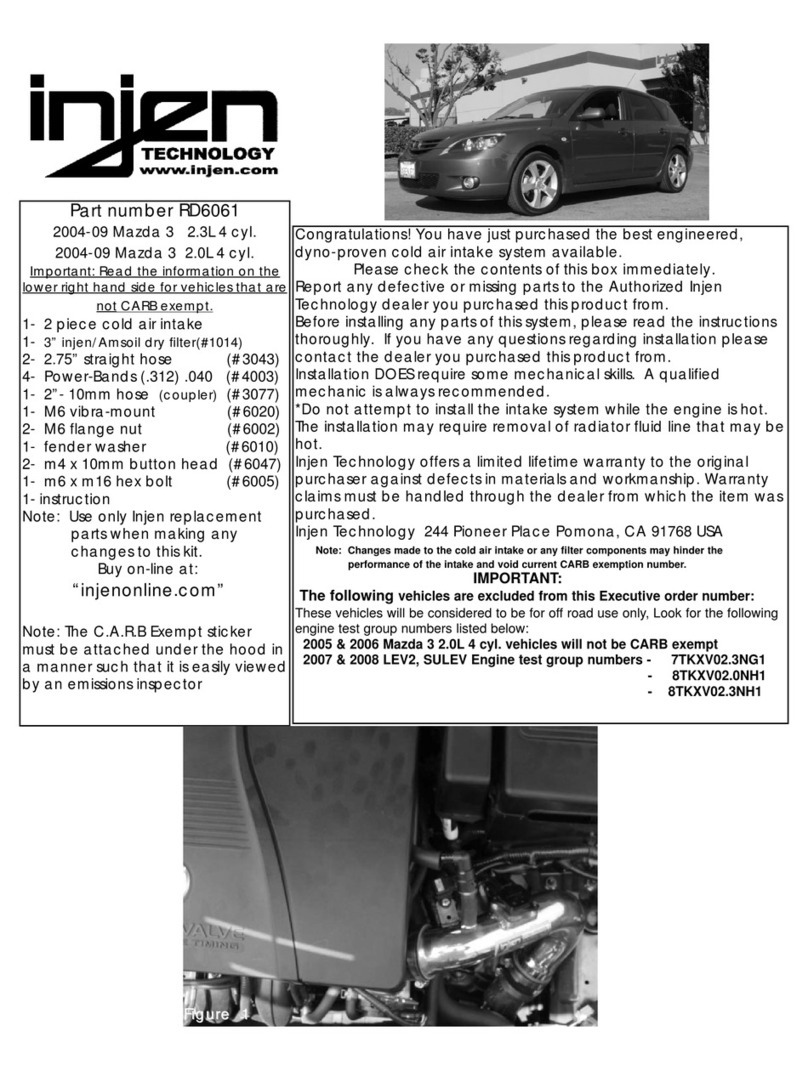
injen technology RD6061 User manual

injen technology

injen technology RD6061 User manual

injen technology SP1360 User manual

injen technology

injen technology SP1360 User manual

Popular Automobile Part manuals by other brands

AUTOTECH 10.297.400K-402K 410K-412K installation instructions

AUTOTECH

AUTOTECH 10.297.400K-402K 410K-412K installation instructions

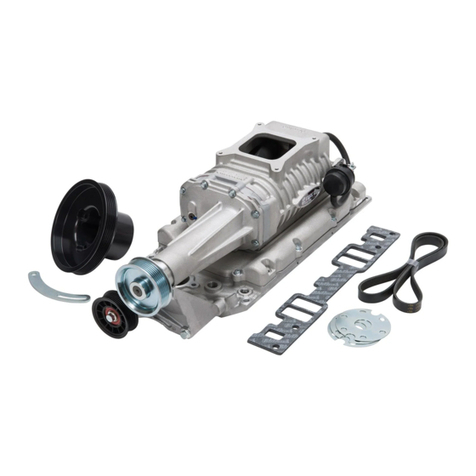
Edelbrock 1551 installation instructions

Edelbrock

Edelbrock 1551 installation instructions

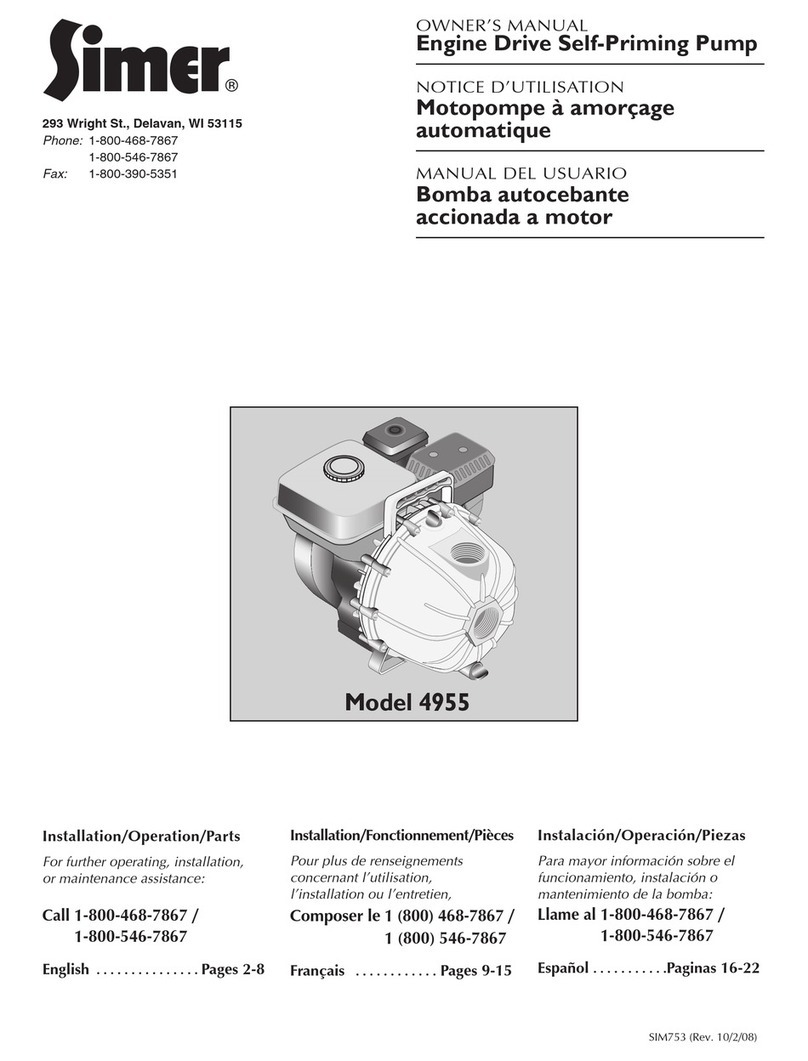
Simer 4955 owner's manual

Simer

Simer 4955 owner's manual

rough country JEEP 2018 JLU 4-Door Step manual

rough country

rough country JEEP 2018 JLU 4-Door Step manual

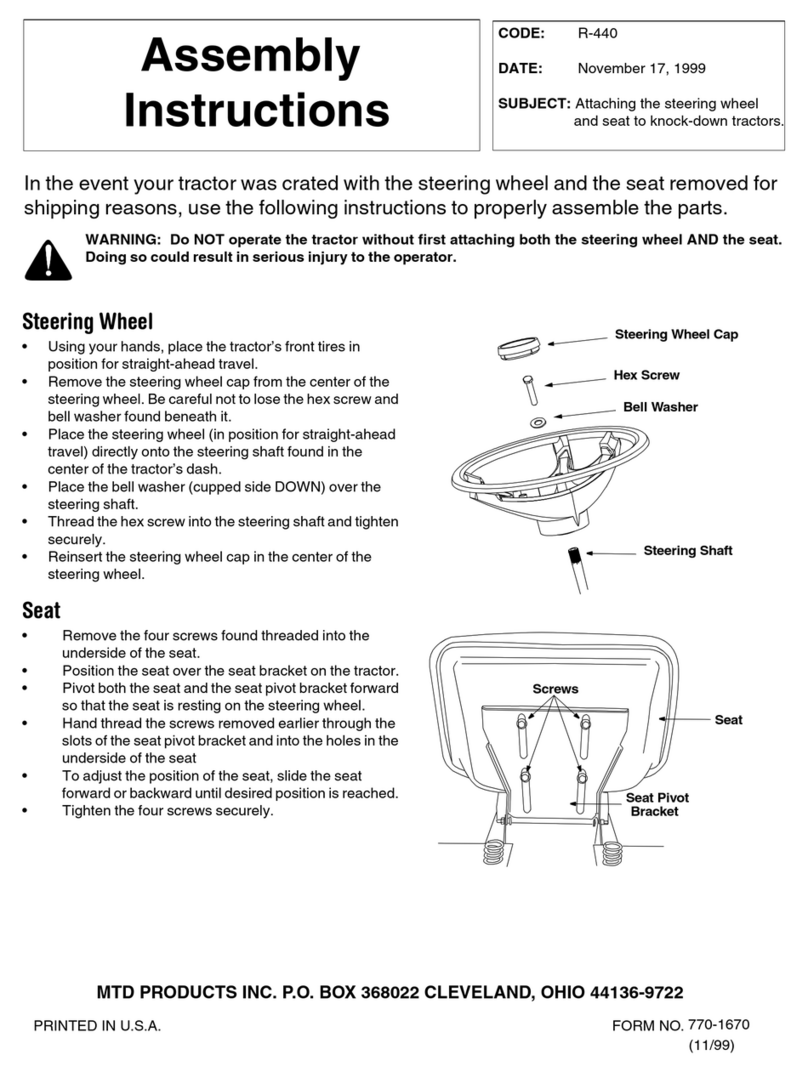
MTD R-440 Assembly instructions

MTD

MTD R-440 Assembly instructions

AEM 21-683 installation instructions

AEM

AEM 21-683 installation instructions

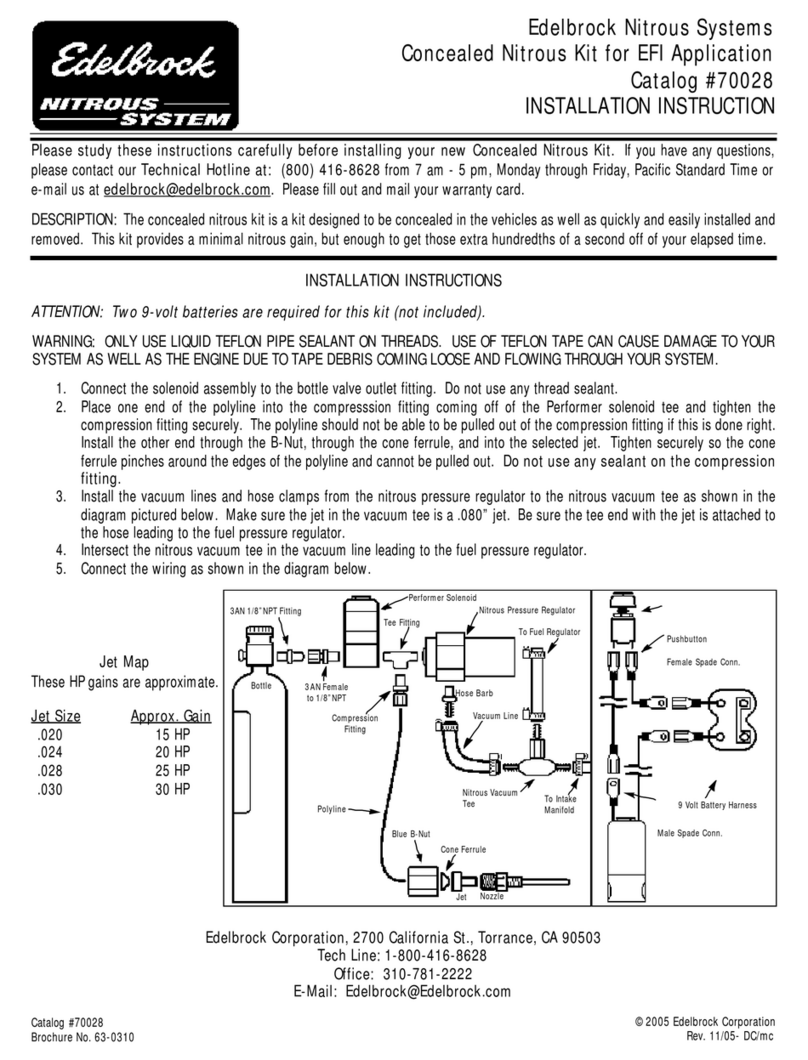
Edelbrock 70028 installation instructions

Edelbrock

Edelbrock 70028 installation instructions

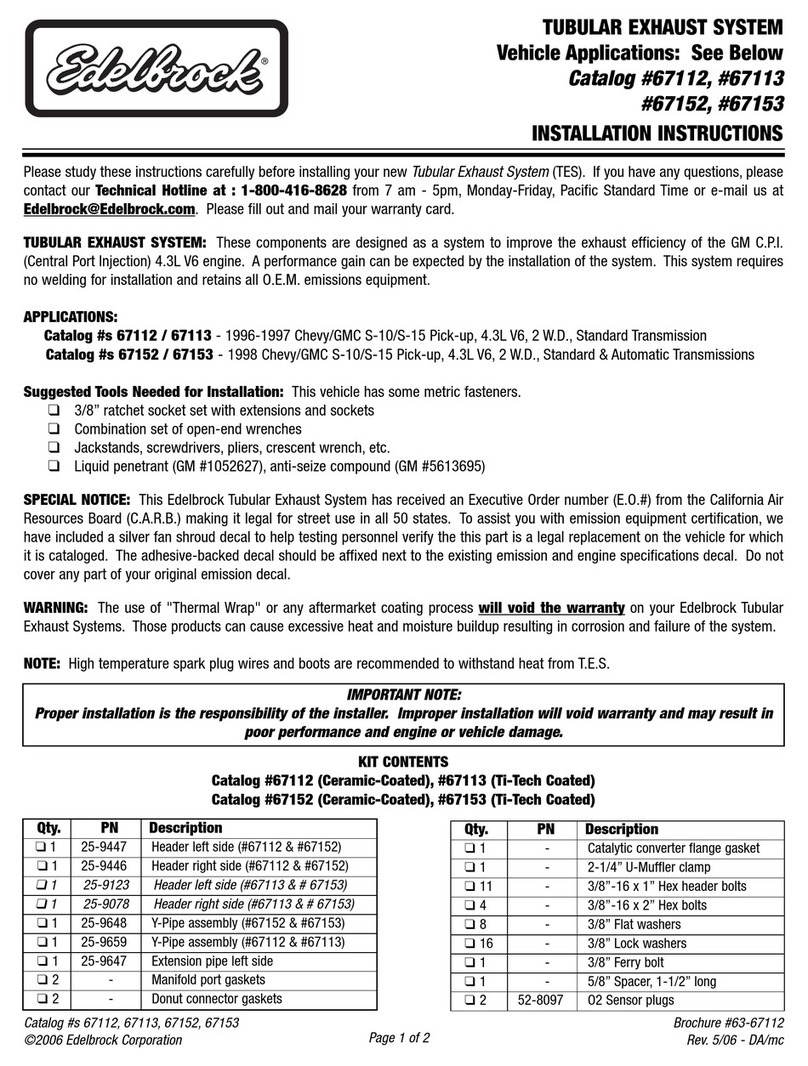
Edelbrock 67112 installation instructions

Edelbrock

Edelbrock 67112 installation instructions

Mitsubishi Lancer Evolution IV installation manual

Mitsubishi

Mitsubishi Lancer Evolution IV installation manual

Edelbrock VICTOR 8841 General instructions

Edelbrock

Edelbrock VICTOR 8841 General instructions

Prins VSI installation manual

Prins

Prins VSI installation manual

Edelbrock Honda XR400 Instruction supplement

Edelbrock

Edelbrock Honda XR400 Instruction supplement

Robin America R1200 Service manual

Robin America

Robin America R1200 Service manual

Central Hydraulics 54877 Assembly and operating instructions

Central Hydraulics

Central Hydraulics 54877 Assembly and operating instructions

Intellitronix AP10002 installation guide

Intellitronix

Intellitronix AP10002 installation guide

Bilstein E4-WM5-Y217A00 Mounting instruction

Bilstein

Bilstein E4-WM5-Y217A00 Mounting instruction

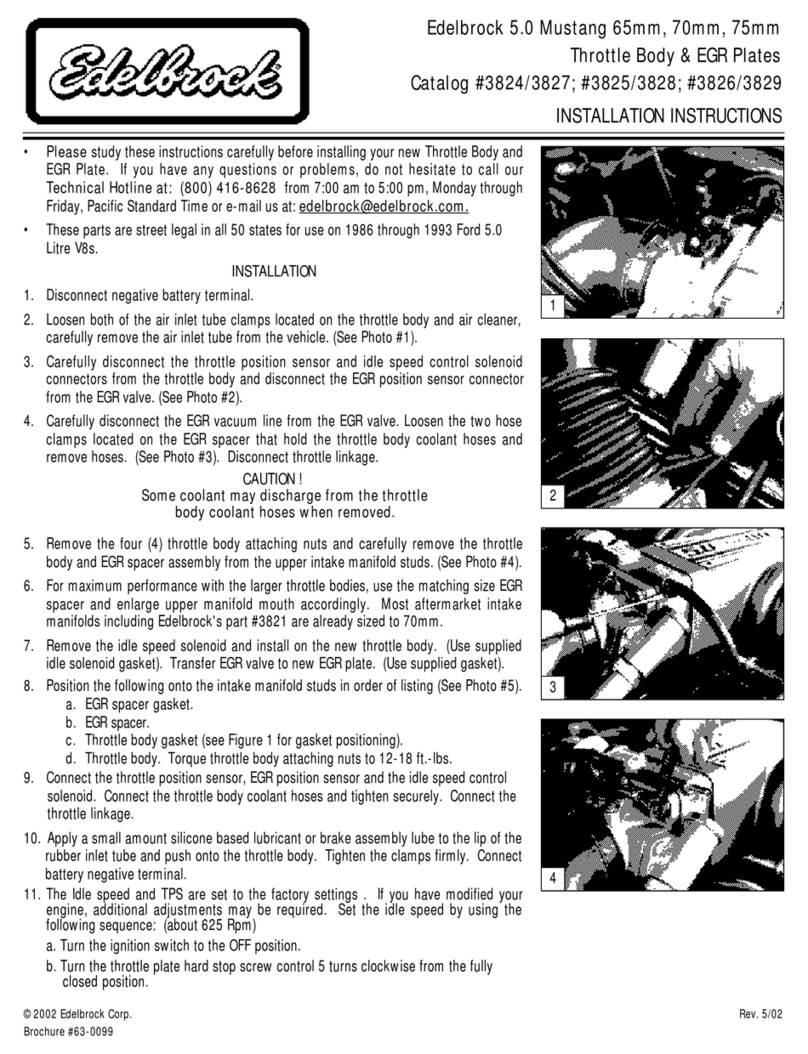
Edelbrock 3824 installation instructions

Edelbrock

Edelbrock 3824 installation instructions

Edelbrock 15017 installation instructions

Edelbrock

Edelbrock 15017 installation instructions

manuals.online logo
manuals.online logoBrands
  • About & Mission
  • Contact us
  • Privacy Policy
  • Terms and Conditions

Copyright 2025 Manuals.Online. All Rights Reserved.