Innovia EarCheck User manual

For answers to questions about use
or service, call our Customer Care depart-
ment toll-free at:
1 (888) EarChek • 1 (888) 327-2435
El Manual para el uso y cuidado está disponible
en español del departamento de Servicio al cliente
o se puede descargar de www.earcheck.com
USE & CARE MANUAL
www.earcheck.com
IMPORTANT: Read this manual
completely before using the EarCheck®
Middle Ear Monitor.
Save these instructions.
Middle Ear Monitor
Do Not Return Product to Store.
Call Customer Care at 1-888-EarChek.
(327-2435)
STOP
EarCheck EC2UCM_rA Manual 6-07.qxd 6/4/07 6:25 PM Page 1

EarCheck EC2UCM_rA Manual 6-07.qxd 6/4/07 6:25 PM Page 2

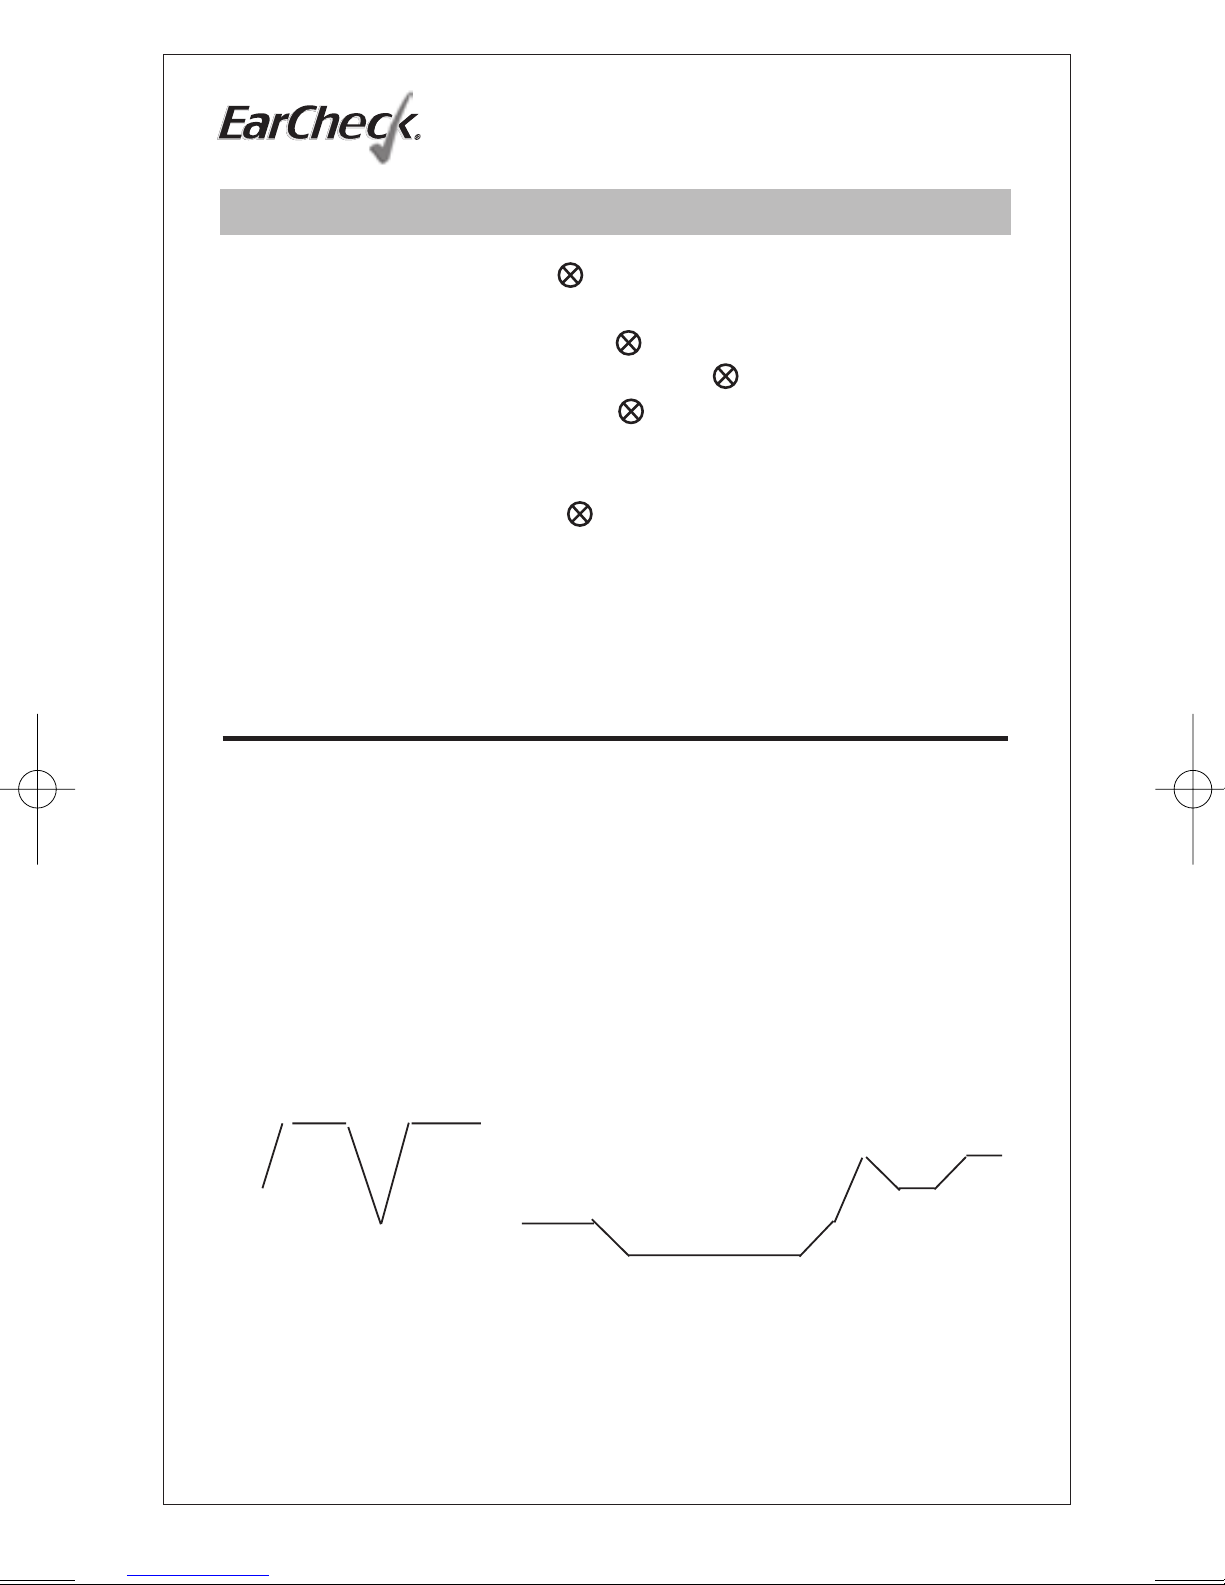
IMPORTANT SAFEGUARDS
When using electrical products, especially when children are present, basic safety
precautions should always be followed, including the following:
READ ALL INSTRUCTIONS BEFORE USING
DANGER – To reduce the risk of electrocution:
1. Do not use while bathing.
2. Do not place or store product where it can fall or be pulled into a
tub or sink.
3. Do not place in or drop into water or other liquid.
WARNING – To reduce the risk of burns, electrocution, fire, or
injury to persons.
1. Close supervision is necessary when this product is used by, on, or near
children or invalids.
2. Use this product only for its intended use as described in this manual.
Do not use attachments not recommended by the manufacturer.
3. Do not use EarCheck Middle Ear Monitor as a substitute for consulting
your doctor if your child needs medical attention or treatment.
4. Batteries can corrode and leak toxic liquid. Do not allow contact with
skin or get into eyes. Discard device appropriately.
5. There are NO User Serviceable Parts. Do not attempt to take device
apart or repair. Contact Customer Care.
CAUTION – The EarCheck Monitor should NOT be used for the
following children:
Children under 6 months of age
Children with ear tubes (ventilation tubes)
Children with water in the outer ear, such as those with swimmer’s ear
Children with known perforation or rupture of the eardrum
Children with facial or ear deformities
Children with visible drainage of pus or blood in the outer ear canal
SAVE THESE INSTRUCTIONS
a.
EarCheck EC2UCM_rA Manual 6-07.qxd 6/4/07 6:25 PM Page 3
EarCheck Use & Care Manual
Middle Ear Monitor
b.
Caring for your EarCheck Middle Ear Monitor
Your EarCheck is simple to use and easy to maintain. However, it must
be handled carefully to remain in good operating condition. Follow
these instructions at all times:
1. Do not drop your EarCheck Monitor. Damage to the instrument’s
electronics may result.
2. Never let your EarCheck get wet. It could become permanently
damaged if water or other liquids get inside.
3. If your EarCheck needs cleaning only use a soft dry cloth.
4. Do not introduce foreign objects into your EarCheck tip’s opening.
This can damage sensitive parts.
5. Do not take your EarCheck apart, as this will invalidate the
instrument’s warranty.
6. Do not expose your EarCheck to direct sunlight, temperature or
humidity extremes, moisture, or dust.
(See page 23 for operating conditions.)
7. Do not use cleaning solvents on product or tips. They may damage
instrument.
8. Always replace batteries when “Low Battery” symbol appears.
Low batteries or defective batteries can result in a false or
inaccurate reading.
Care, Cleaning and Storage
EarCheck EC2UCM_rA Manual 6-07.qxd 6/4/07 6:25 PM Page 4

EarCheck Use & Care Manual
Middle Ear Monitor
c.
Storing your EarCheck Middle Ear Monitor
Store in a dry environment away from dust, contamination and liquids.
Store at room temperature (50° - 95° F). Do not expose the instrument
to extreme temperatures or humidity. For example, do not store in a
car. If your EarCheck Monitor has not been stored at room
temperature, keep it at room temperature at least 60 minutes before
using it.
Care, Cleaning and Storage
Cleaning your EarCheck Middle Ear Monitor
To operate properly and to help prevent cross contamination, it is
important that you keep the EarCheck tip clean. As required, or after
each use if the optional Tip Cover is not used, gently wipe the surface of
the tip with a cotton swab or lint free soft cloth moistened with alcohol.
Allow the alcohol to completely dry prior to use of your EarCheck
device. Do not allow the alcohol or any objects to get inside the tip as
they may damage the sensitive electronics inside your EarCheck device.
EarCheck EC2UCM_rA Manual 6-07.qxd 6/4/07 6:25 PM Page 5

Middle Ear Monitor
1
IMPORTANT SAFETY INFORMATION . . . . . . . . . . . . . . . . . . . . . . . . a
Care, Cleaning and Storage . . . . . . . . . . . . . . . . . . . . . . . . . . . . . . . . . . . . . b
Table of Contents. . . . . . . . . . . . . . . . . . . . . . . . . . . . . . . . . . . . . . . . . . . . . . 1
Thank you for purchasing. . . . . . . . . . . . . . . . . . . . . . . . . . . . . . . . . . . . . . . 2
Quick Reference Guide. . . . . . . . . . . . . . . . . . . . . . . . . . . . . . . . . . . . . . . . . 3
When To Use The EarCheck Middle Ear Monitor . . . . . . . . . . . . . . . . . . 5
What You Should Know About Ear Infections . . . . . . . . . . . . . . . . . . . . . 6
Getting To Know Your EarCheck Middle Ear Monitor . . . . . . . . . . . . . . 8
Using Your EarCheck Middle Ear Monitor. . . . . . . . . . . . . . . . . . . . . . . . 9
Reading Your Results . . . . . . . . . . . . . . . . . . . . . . . . . . . . . . . . . . . . . . . . . 14
Monitoring The Child’s Ear Health . . . . . . . . . . . . . . . . . . . . . . . . . . . . . 16
Helpful Hints . . . . . . . . . . . . . . . . . . . . . . . . . . . . . . . . . . . . . . . . . . . . . . . . 17
Replacing Batteries . . . . . . . . . . . . . . . . . . . . . . . . . . . . . . . . . . . . . . . . . . . 18
Troubleshooting . . . . . . . . . . . . . . . . . . . . . . . . . . . . . . . . . . . . . . . . . . . . . . 19
Customer Care. . . . . . . . . . . . . . . . . . . . . . . . . . . . . . . . . . . . . . . . . . . . . . . 21
Warranty . . . . . . . . . . . . . . . . . . . . . . . . . . . . . . . . . . . . . . . . . . . . . . . . . . . . 22
Technical Specifications . . . . . . . . . . . . . . . . . . . . . . . . . . . . . . . . . . . . . . . 23
Index . . . . . . . . . . . . . . . . . . . . . . . . . . . . . . . . . . . . . . . . . . . . . . . . . . . . . . . 24
Home Monitoring Charts . . . . . . . . . . . . . . . . . . . . . . . . . . . . . . . . . . . . . . 25
Innovia Medical, LLC.
Customer Care
1 (888) EarChek • 1 (888) 327-2435
This Manual includes specific information as to your rights and
obligations under the warranty offered by the Manufacturer
EarCheck and EarCheck logo are trademarks of Innovia Medical, LLC.
©Innovia Medical 1997, 1998, 2007 All rights reserved.
Table of Contents
EarCheck Use & Care Manual
EarCheck EC2UCM_rA Manual 6-07.qxd 6/4/07 6:25 PM Page 1

EarCheck Use & Care Manual
Middle Ear Monitor
2
Thank you for purchasing
the EarCheck Middle Ear Monitor
Thank you for purchasing EarCheck. You have joined a family of over
70,000 satisfied parents and caregivers who regularly use EarCheck as
part of their child's health care. We hope that you find EarCheck helpful
in taking the guesswork out of ear infections. Only EarCheck features
the same patented proven technology used by thousands of physicians
since 1997 and a technique recommended by the American Academies
of Pediatrics and Family Physicians*. EarCheck has also been FDA
cleared and UL approved for your peace of mind.
Please read the entire Use & Care manual prior to using your EarCheck.
Keep it in a safe place so that you can refer to it in the future if needed.
For more information, please visit our website at www.earcheck.com or
call our Customer Care Team at 888-Ear-Chek (327-2435).
*The AAP/AAFP have not specifically recommended the EarCheck device.
EarCheck EC2UCM_rA Manual 6-07.qxd 6/4/07 6:25 PM Page 2

EarCheck Use & Care Manual
Middle Ear Monitor
3
Quick Reference Guide
Use this Quick Reference Guide only after reading
the Use & Care Manual completely.
1. Test Before Using.
Insert your EarCheck tip firmly into the
Verification Tube.
Press the SCAN button. An audible tone and each
Level indicator will light up briefly in sequence,
followed by the Red Level 5 indicator. This tells
you the EarCheck Monitor is ready for use. If Red
Level 5 indicator is not displayed, take a
second reading.
If Red Level 5 is still not displayed, or if Error
Symbol appears, refer to “Troubleshooting”
section of User’s Manual.
2. Stabilize the Child.
Place child in an upright position, sitting or stand-
ing. If necessary, you may hold the child in your lap
in an upright position.
Do not lay the child down as this may
affect accuracy.
3. Firmly Pull the Ear Up and Back.
Tugging straightens the natural curve of the ear
canal and allows your EarCheck Monitor to send
sound waves straight down the ear canal for an
accurate reading. Hold “ear tug” through Step 5.
Verification Tube
Tip
SCAN
Button
1. Testing the EarCheck Monitor
3. Pull ear up and back
4. Position EarCheck
EarCheck EC2UCM_rA Manual 6-07.qxd 6/4/07 6:25 PM Page 3
EarCheck Use & Care Manual
Middle Ear Monitor
4
Quick Reference Guide
4. Carefully Insert EarCheck Tip.
Gently place EarCheck tip over the child’s ear
canal. Hold the tip against the ear canal, pointing
down the canal’s opening. Completely cover the
ear canal. Your EarCheck monitor tip is designed
for safety to prevent it from being inserted too far
into the ear.
5. Press the Scan Button.
With EarCheck tip in place, continue to hold the
ear back. Press the scan button. Your EarCheck
Monitor will make a soft chirping sound. You will
hear a series of short tones followed by one long
tone when the scan is complete. You may find it
helpful to slowly move the EarCheck tip in a small
circular motion. If the child’s ear were a clock,
rotate the EarCheck from 4:00 to 8:00 o’clock.
6. Read Results.
Remove EarCheck tip from ear and read the
results. Level will remain displayed for about 5
seconds after the scan has been completed.
5. Press Scan Button
6. Read Results
7. Reading Your Results. (See page 14 for more detail)
Level Color Probability of Middle Ear Fluid
5 RED Consult Doctor High
4 RED Consult Doctor Moderate to High
3 RED Consult Doctor Moderate
2 YELLOW Monitor Low to Moderate
1 GREEN Fluid Unlikely Low
12
12
8 4
12
84
EarCheck EC2UCM_rA Manual 6-07.qxd 6/4/07 6:25 PM Page 4

EarCheck Use & Care Manual
Middle Ear Monitor
Indications for Use
EarCheck is an advanced medical instrument which is designed to detect
the presence of middle ear fluid (i.e., otitis media with effusion) that
may be associated with an acute ear infection. Middle ear effusion may
be associated with temporary hearing loss in some children. The device
is intended to assist the user in determining when to seek professional
medical attention. The EarCheck monitor is designed for use in the
home by parents and other caregivers on children from 6 months to
young adult.
Read all instructions carefully before using your EarCheck.
After reading this Use & Care Manual, practice using your EarCheck
device on a healthy child to become familiar with the proper technique
for using the instrument.
Description
Your EarCheck uses a gentle sound (chirping) to check your child’s ear.
It will help you:
Detect the presence of middle ear fluid, a key sign of a
possible ear infection.
Detect the presence of middle ear fluid remaining after an
ear infection has cleared up.
Determine when your child should be seen by a doctor
for middle ear fluid.
When To Use The EarCheck Middle Ear Monitor
About Otitis media
Otitis media is a general term referring to the inflammation
of the middle ear space. The inflammation is often
associated with fluid in the middle ear. Fluid may arise with
or without infection.
5
EarCheck EC2UCM_rA Manual 6-07.qxd 6/4/07 6:25 PM Page 5

Why Children get Ear Infections
In a healthy child, the middle ear is filled with air. Sound waves enter the ear
canal, causing the eardrum to vibrate and allowing the child to hear. If the
middle ear is filled with fluid (which doctors call “effusion”), the eardrum’s
vibrations are restricted. This can result in temporary hearing loss (called
“conductive” hearing loss).
The air in the middle ear travels through a tube that connects the ear to the
back of the nose. It is called the Eustachian tube. The Eustachian tube helps
drain and control fluids in the middle ear.
A young child’s Eustachian tube is shorter, wider and more horizontal than an
adult’s. As a result, infected fluids from the back of the nose may reach the
middle ear more easily. That is why children are more likely to have middle ear
fluid and develop ear infections.
When the middle ear becomes inflamed, the condition is called “Otitis Media.”
When the middle ear is infected, the condition is called “Acute Otitis Media.”
Acute Otitis Media is what we normally think of as an ear infection. It is often
accompanied by pain, fever, and other symptoms.
When fluid is present in the middle ear without active infection, the condition is
called “Otitis Media with Effusion.” Otitis Media with Effusion may be the
result of a child recovering from an ear infection or may be associated with an
oncoming ear infection. Fluid may persist in the middle ear for weeks to months
after an episode of acute otitis media.
Although Otitis Media with Effusion does not generally cause symptoms such as
pain and fever, it may impair the child’s hearing. Because the child does not
appear to be sick, you may not realize the condition exists.
EarCheck Use & Care Manual
Middle Ear Monitor
6
What You Should Know About Ear Infections
EarCheck EC2UCM_rA Manual 6-07.qxd 6/4/07 6:25 PM Page 6

Hearing and Child Development
A child’s brain develops through the use of the five senses: sight, hearing, taste,
smell and touch. The loss of any one of the senses may affect the child’s
development. For example, the loss of hearing may lead to speech delays, read-
ing delays and learning disabilities, even after the condition is corrected. Middle
ear fluid that remains in the ear and results in conductive hearing loss can have a
long-term impact on child development.
Checking a Child’s Ears
The EarCheck Middle Ear Monitor can be a useful instrument to check a child’s
ears in a number of situations:
If the child is sick, it can help you determine if the symptoms are associated
with middle ear fluid.
IMPORTANT: DO NOT USE EARCHECK AS A SUBSTITUTE FOR
CONSULTING YOUR DOCTOR IF YOUR CHILD NEEDS MEDICAL
ATTENTION OR TREATMENT.
If the child is being treated for an ear infection, it can help you determine
whether or not the middle ear fluid is going away. Although antibiotics can
clear up an ear infection in several days, fluid can remain for weeks.
Monitoring the fluid can help you and your doctor ensure that the condition
is resolving.
If the child has a cold, it can help you monitor the presence of middle ear
fluid, which often follows upper respiratory infections (colds). This will help
you and your doctor know when an ear infection may be developing.
If the child has frequent ear infections, it can help you and your doctor follow
the duration of middle ear effusion.
CAUTION: The EarCheck Middle Ear Monitor is a home health care product
designed to accurately detect the presence of middle ear fluid that may be
associated with ear infection. It should not be used for any other purpose.
EarCheck Use & Care Manual
Middle Ear Monitor
7
What You Should Know About Ear Infections
EarCheck EC2UCM_rA Manual 6-07.qxd 6/4/07 6:25 PM Page 7

EarCheck Use & Care Manual
Middle Ear Monitor
8
Your EarCheck package includes:
The EarCheck Middle Ear Monitor
Verification Tube
Use & Care Manual with Quick Reference Guide
Owner Registration Information
2 AA Alkaline Batteries (installed)
Study this diagram
(Figure 1 & 2) to
become familiar
with your EarCheck.
Getting To Know
Your
EarCheck Middle Ear Monitor
SCAN
Button
Display Panel
Level indicators
Low Battery Indicator
Error Indicator
Retry Indicator
Battery Door
Verification Tube
Figure 1.
Figure 2.
EarCheck EC2UCM_rA Manual 6-07.qxd 6/4/07 6:25 PM Page 8
EarCheck Use & Care Manual
Middle Ear Monitor
9
Step 1. Test to make sure your EarCheck is
functioning properly.
Before using your
EarCheck monitor, test
with the Verification
Tube to make sure it is
functioning properly:
Insert your EarCheck
tip firmly into the
Verification Tube.
(Figure 3)
Press the
SCAN button.
Listen for an audible tone and observe that each Level indicator lights
up briefly in sequence, followed by the Red Level 5 indicator. This tells
you the EarCheck Monitor is ready for use. If Red Level 5 indicator is
not displayed, take a second reading.
CAUTION: If you still do NOT get a Red Level 5 reading or if the
ERROR symbol is displayed, do not use your EarCheck. Refer to
the Troubleshooting section on Page 19 for more information.
CAUTION: Your EarCheck monitor uses sound waves to detect middle
ear fluid and should be used in a quiet environment. Excessive noise
may prevent a reading from being taken and cause the Retry Symbol
to be displayed.
WARNING: To prevent possible choking hazard keep Verification Tube
away from young children.
Using Your EarCheck Middle Ear Monitor
Verification Tube
Tip
SCAN
Button
Figure 3 Testing the EarCheck Monitor
EarCheck EC2UCM_rA Manual 6-07.qxd 6/4/07 6:25 PM Page 9
EarCheck Use & Care Manual
Middle Ear Monitor
10
NOTE:
For your convenience, your
EarCheck will work properly
without a disposable Tip
Cover installed. Tip Covers are
designed for one time use.
If you are using a disposable Tip
Cover, install by holding the new
Tip Cover at its base with your
thumb and forefinger. Press the
Tip Cover firmly over your
EarCheck monitor tip until you
feel the Tip Cover snap into
place (Figure 4).
To remove the disposable Tip
Cover, grasp the base of the Tip
Cover with your thumb and
forefinger and pull firmly until
the Tip Cover releases from you
EarCheck monitor tip. Dispose
of the old Tip Cover appropriately.
WARNING: To prevent possible choking hazard keep Tip Covers away
from young children.
Using Your EarCheck Middle Ear Monitor
Step 2. Install the Optional Disposable Tip Cover.
Figure 4 Installing a
Disposable Tip Cover
Tip
Tip Cover
EarCheck EC2UCM_rA Manual 6-07.qxd 6/4/07 6:25 PM Page 10

EarCheck Use & Care Manual
Middle Ear Monitor
11
Step 3. Properly position child and instrument.
Place child in an upright position, sitting or standing. If necessary, you
may hold the child in your lap in an upright position.
CAUTION: Do NOT lay the child
down. This position may affect
ear fluid levels and give
an incorrect reading.
Grasp the outer edge of the
child’s ear. Firmly pull the ear
up and back (See Figure 5).
Hold this “ear tug” through
completion of Step 5.
If the Retry Symbol is
displayed at Step 5, tug ear
straight back or straight back
and down. Tugging straightens
the natural curve of the ear
canal and allows your
EarCheck to send sound waves
straight down the ear canal for
an accurate reading.
Gently place EarCheck tip
over the child’s ear canal.
Hold the tip against the ear
canal, pointing down the
canal’s opening. Completely
cover the ear canal. (See Figure 6.)
NOTE: The EarCheck monitor tip is designed for safety to prevent it
from being inserted too far into the ear. However, at any indication or
sign of discomfort, immediately remove the EarCheck tip from the
child's ear and check for possible causes.
Using Your EarCheck Middle Ear Monitor
Figure 5 Pull ear up and back
Figure 6 Position EarCheck
EarCheck EC2UCM_rA Manual 6-07.qxd 6/4/07 6:25 PM Page 11

EarCheck Use & Care Manual
Middle Ear Monitor
12
Step 4. Press the SCAN button.
Press the Scan button. (See
Figure 7). Your EarCheck will
make a soft chirping sound.
The Level indicators will light
up in sequence followed by a
Level reading. You will hear a
series of short tones followed
by one long tone when the
scan is complete.
You may find it helpful to
slowly move the EarCheck tip
in a small circular motion. If the child’s ear were a clock, rotate the
EarCheck from 4:00 to 8:00 o’clock.
CAUTION: Excessive noise such as a crying child may affect the
performance of your EarCheck.
Step 5. Read Results.
Remove the EarCheck tip from
child’s ear.
Read results. (See Figure 8)
CAUTION: Do NOT remove
EarCheck tip from the ear with-
out first hearing the long tone or
you may get an incorrect reading.
EarCheck’s Level readings will
remain displayed for about 5
seconds after the SCAN has
been completed.
Using Your EarCheck Middle Ear Monitor
Figure 7 Press Scan button
Figure 8 Read Results
12
12
8 4
12
84
EarCheck EC2UCM_rA Manual 6-07.qxd 6/4/07 6:25 PM Page 12
EarCheck Use & Care Manual
Middle Ear Monitor
13
What to do if “Retry” Symbol appears:
It is not unusual for a Retry symbol to appear as you learn to use
your EarCheck monitor. If the Retry symbol appears, repeat Steps 3
to 5 (pages 11 - 12). If Retry symbol reoccurs, refer to the
Troubleshooting section of this manual (page 19).
IMPORTANT: If Retry symbol continues after taking all of the
above steps, scan both ears. If the Retry symbol appears for one ear, but
a Level reading appears for the other ear, consult your doctor. An ear
condition that EarCheck Monitor cannot measure may exist.
(See Warning, page a.)
Step 6. Record results on Home Monitoring Chart.
This Use & Care Manual includes a Home Monitoring Chart that allows
you to track and record the presence of fluid in your child’s ears
(page 25). Record daily your child’s EarCheck reading on the Home
Monitoring Chart. By recording these readings over a period of time,
you can track the progress of fluid resolution and provide your doctor
with a more complete picture of the presence of middle ear fluid in
your child.
Example:
Using Your EarCheck Middle Ear Monitor
Day 5 6 7 8 9 10 11 12 1314 15 16 17 18 19 20 21 22 2324 25 26
●●●➄●● ● ➄➄➄➄➄➄➄➄➄➄➄➄➄➄➄
➃➃➃➃➃➃ ➃➃➃➃➃➃➃➃➃➃➃●➃➃●●
➂➂➂➂➂➂ ➂➂➂➂➂➂➂➂➂➂➂➂●●➂➂
➁➁➁●➁➁ ➁ ● ● ● ➁ ➁➁ ➁➁ ➁ ● ➁ ➂ ➂ ➂ ➁
➀➀➀➀➀➀ ➀➀➀➀●●●●● ●➀➀➀➀➀➀
Right
Ear
Level
DIAGNOSED WITH EAR INFECTION
➞
FOLLOW-UP VISIT
➞
IMPORTANT: If you take more than one reading within a few
minutes and the results differ, a borderline condition may exist.
Use the higher Level.
EarCheck EC2UCM_rA Manual 6-07.qxd 6/4/07 6:25 PM Page 13
EarCheck Use & Care Manual
Middle Ear Monitor
14
Compare the Level indicated on your EarCheck display panel with the
chart below.
Level Color Probability of
Middle Ear Fluid
5 RED Consult Doctor High
4 RED Consult Doctor Moderate to High
3 RED Consult Doctor Moderate
2 YELLOW Monitor Low to Moderate
1 GREEN Fluid Unlikely Low
Interpreting Level Readings
Level Indication What To Do Next
RED This Result May Appear With:
Levels A sick child (a child with pain, Consult doctor.
3-5 fever or other signs of illness) with
an untreated ear infection.
A sick child who has been treated Consult doctor.
for an ear infection, but is not
responding to antibiotics within
reasonable time.
A sick child who is getting better. Continue monitoring
daily. If reading
level does not
continue to decrease
within reasonable
time, consult doctor.
Reading Your Results
EarCheck EC2UCM_rA Manual 6-07.qxd 6/4/07 6:25 PM Page 14

EarCheck Use & Care Manual
Middle Ear Monitor
15
Interpreting Level Readings (continued)
Level Indication What To Do Next
YELLOW This Result May Appear With:
Level 2 A sick child whose signs of illness Monitor.
warrant medical attention. Consult doctor, if
Level does not
decrease within
reasonable time.
A sick child who is getting better. Continue monitoring
or daily. If reading
A well child. level does not
(Note: Some well children continue to decrease
will always have Level 2 as a within reasonable
normal reading.) time, consult doctor.
GREEN This Result May Appear With:
Level 1 A well child. No action required.
A sick child who does not have Consult doctor if
middle ear fluid. signs of illness
warrant a
medical opinion.
Note: Fluid may remain in the middle ear for several weeks after an ear
infection has cleared. If it does, you should consult your doctor.
IMPORTANT: When you consult your doctor, be sure to describe any
other signs and symptoms of illness the child may have, such as fever,
pain, pulling or rubbing the ear, etc. Your doctor is your best source of
information on your child's health. At any time that you have a question
or concern about your child's health, contact your doctor.
Reading Your Results
EarCheck EC2UCM_rA Manual 6-07.qxd 6/4/07 6:25 PM Page 15
Other manuals for EarCheck
1
Table of contents
Popular Blood Glucose Meter manuals by other brands

Kinetik Wellbeing
Kinetik Wellbeing BG-710 quick start guide

Contour
Contour PLUS ONE Pairing guide

ForaCare
ForaCare Pet Gluc owner's manual

Bayer HealthCare
Bayer HealthCare Contour link user guide

Bayer HealthCare
Bayer HealthCare CONTOUR Quick reference guide

Ascensia Diabetes Care
Ascensia Diabetes Care Eversense Take Home Instructions


