Inoi HD363N User manual
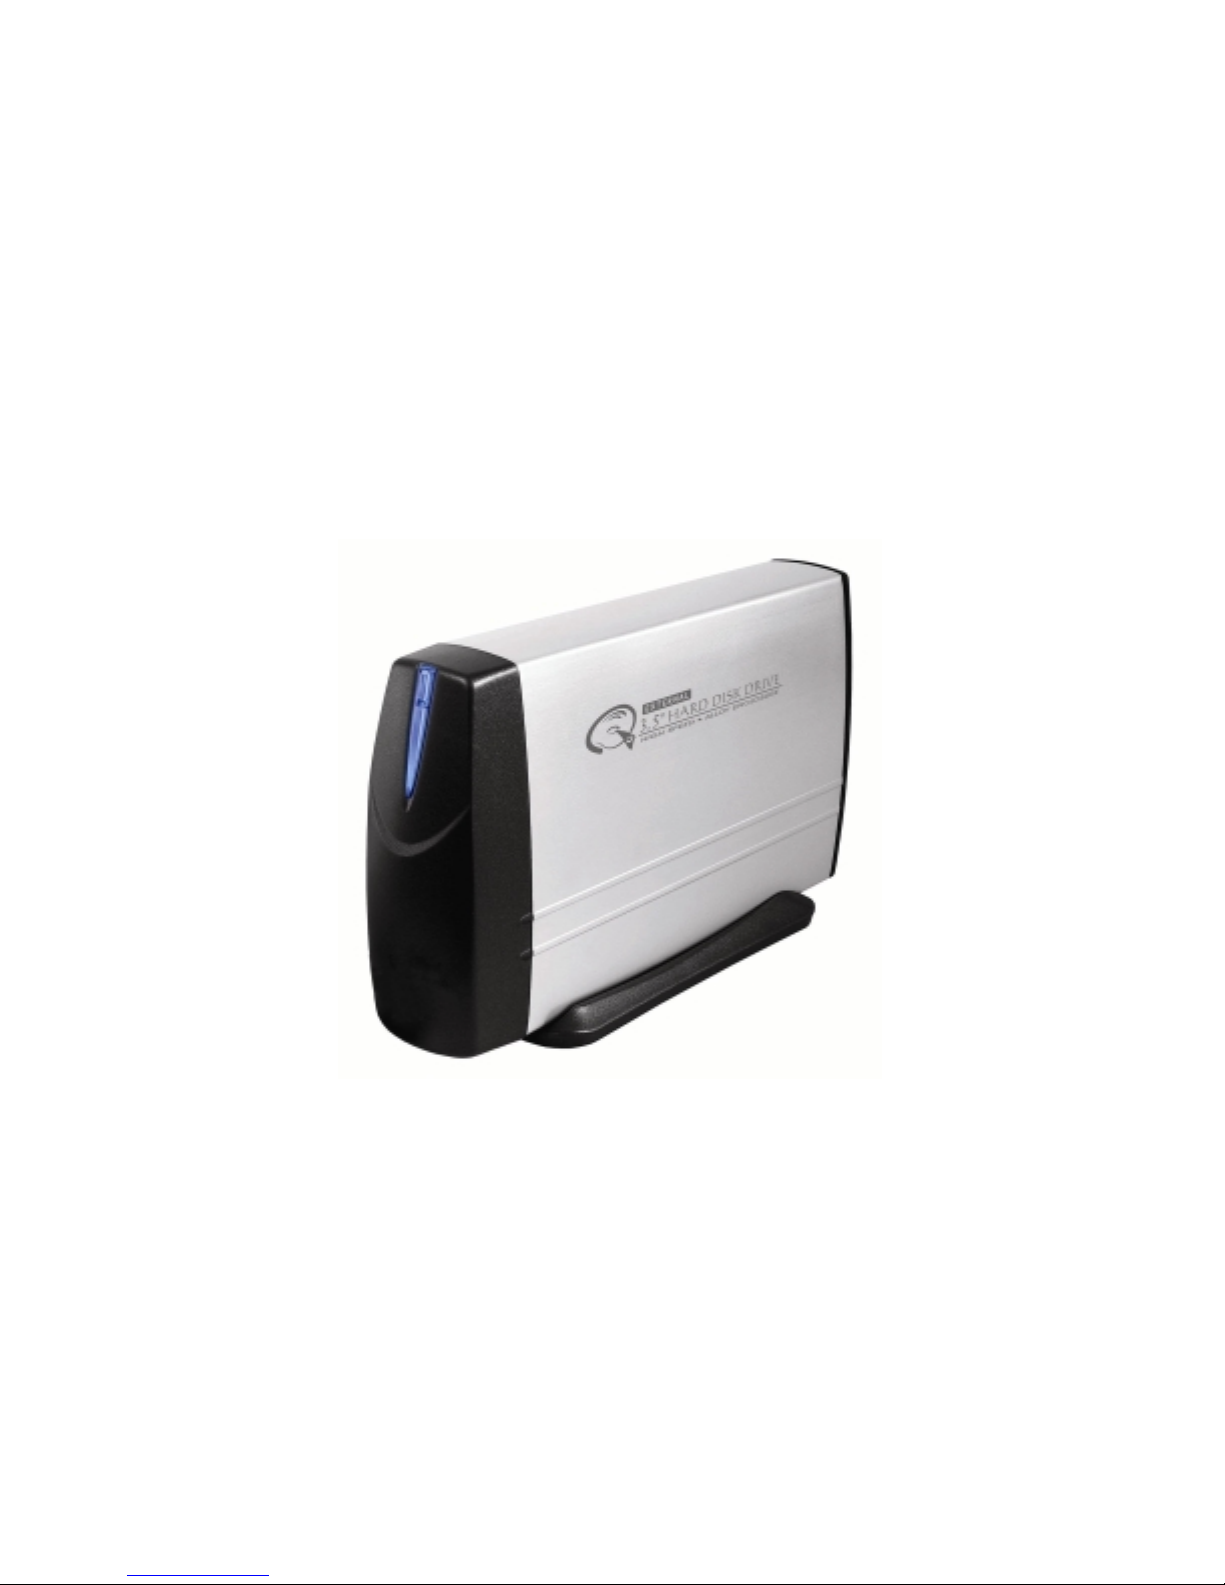
3.5” EXTERNAL NETWORK HDD
User’s Manual

2
Table of Content
Before You Use
Key Features
H/W Installation
Illustration of Product
LED Definition
NETWORK HDD Assembly
Setup the Network HDD
Home
Disk Utility
Folder Sharing
FTP Service
IP Configuration
Maintenance
Log
Map Your NETWORK HDD
NETWORK HDD Application
Personal Data Backup
Network File Sharing
FTP Remote Backup
Trouble Shooting

3
Before you use
Thank you for purchasing NETWORK HDD, the network storage device. Now you can
easily add NETWORK HDD into your Network. Before using this device please read the
Key Features below.
The NETWORK HDD is a flexible, economical and powerful unit for your Network. Follow
the instructions to help you connect, set it up, and configure it.
Key Features
Support 3.5” IDE hard disk over 250 GB.
Compatible with Windows 98SE/ME/2000/NT4.0/XP
Support DHCP server.
Under network environment, it supports one 10/100Mbps Ethernet port.
Easy configuration and firmware upgrade under web-based GUI
Support CIFS/SMB for Microsoft Network remote users to retrieve files thru My
Neighborhood.
Support Hardware Reset function by pressing the Power On/Off key for five
seconds.
Support FTP server.
Support Samba server, by which the server hosts 64 clients on line.
Support up to 5 FTP users at the same time.
Password management provides secure access to HDD and web management.
4
H/W Installation
Illustration of Product
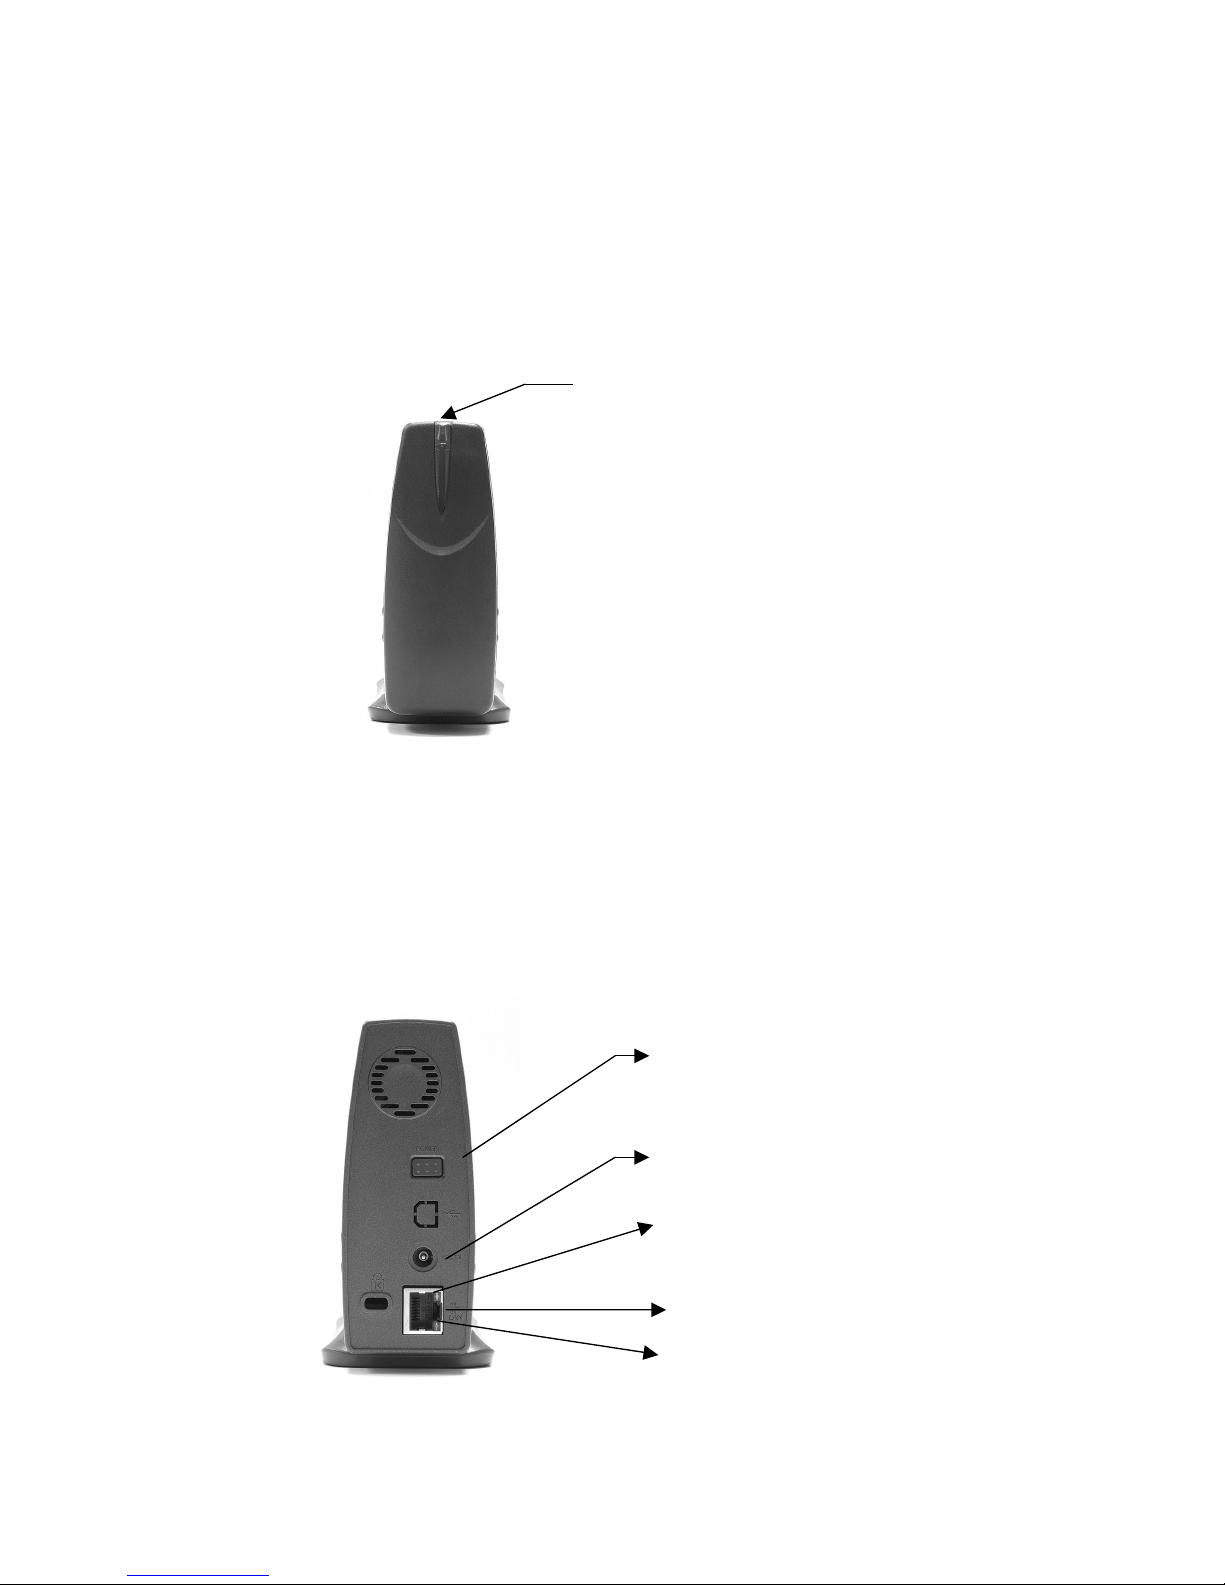
Front Panel
LED—Power-on and Data-access indicator
Rear Panel
Power Switch—Press this button to switch On/Off NETWORK HDD.
External Power Jack—Connect to the AC adapter.
Ethernet Port—Connected to RJ45 cable
Link LED—Link status of Ethernet
Activity LED—Activity status of Ethernet
LED
Power Switch
External Power Jack
Ethernet Port
Link LED
(
ex
p
lained in the followin
g
chart
)
A
ctivity LED (explained in the following chart)
5
LED Definition
LED Name Operating Status LED Color
Power ON Green
Power Off No signal
HDD Accessing Blinking in Green
Hard Disk Status LED
(LED in front panel)
Warning Blinking in Red
Link to the Ethernet Green
Link LED Disconnected No signal
Accessing the Ethernet Orange
Activity LED Not Accessing No signal
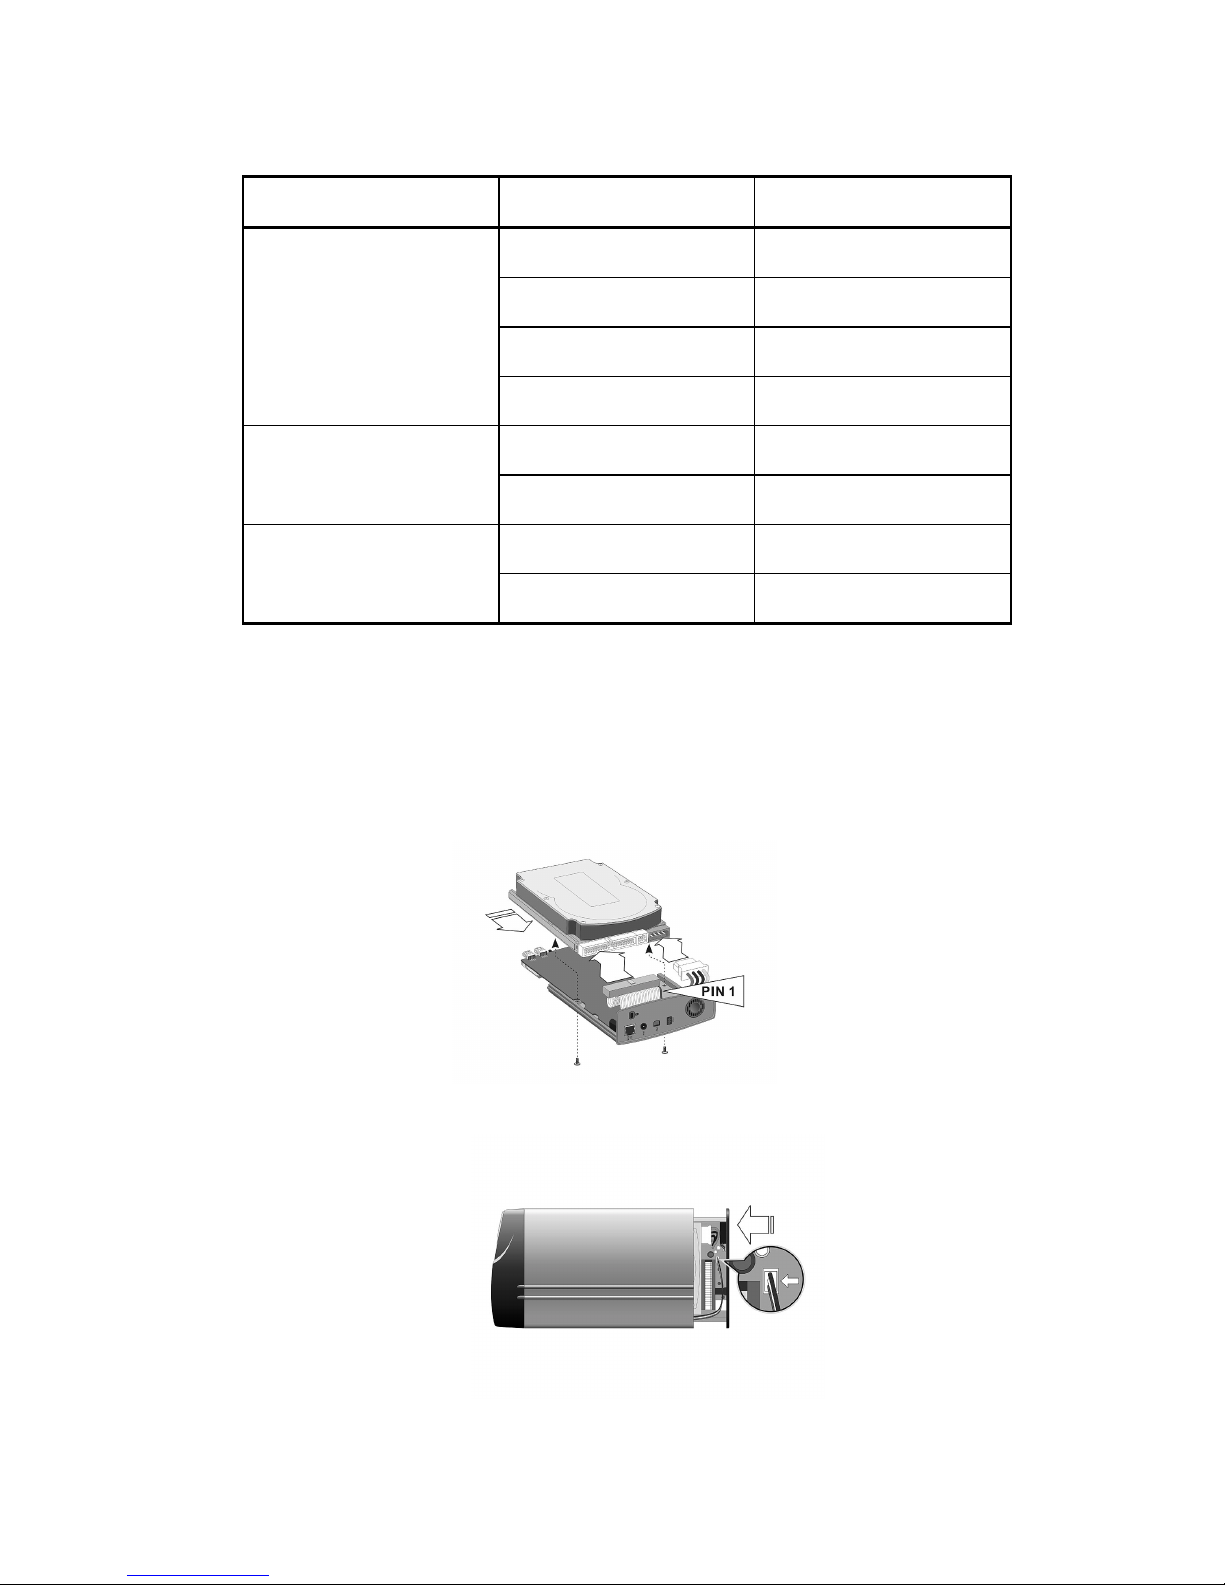
Network HDD Assembly
1. Connect the IDE cable and power cable to the hard disk drive, and then fix
the PCB and drive with screws.
2. Plug the cable of LED into the connector on PCB.
6
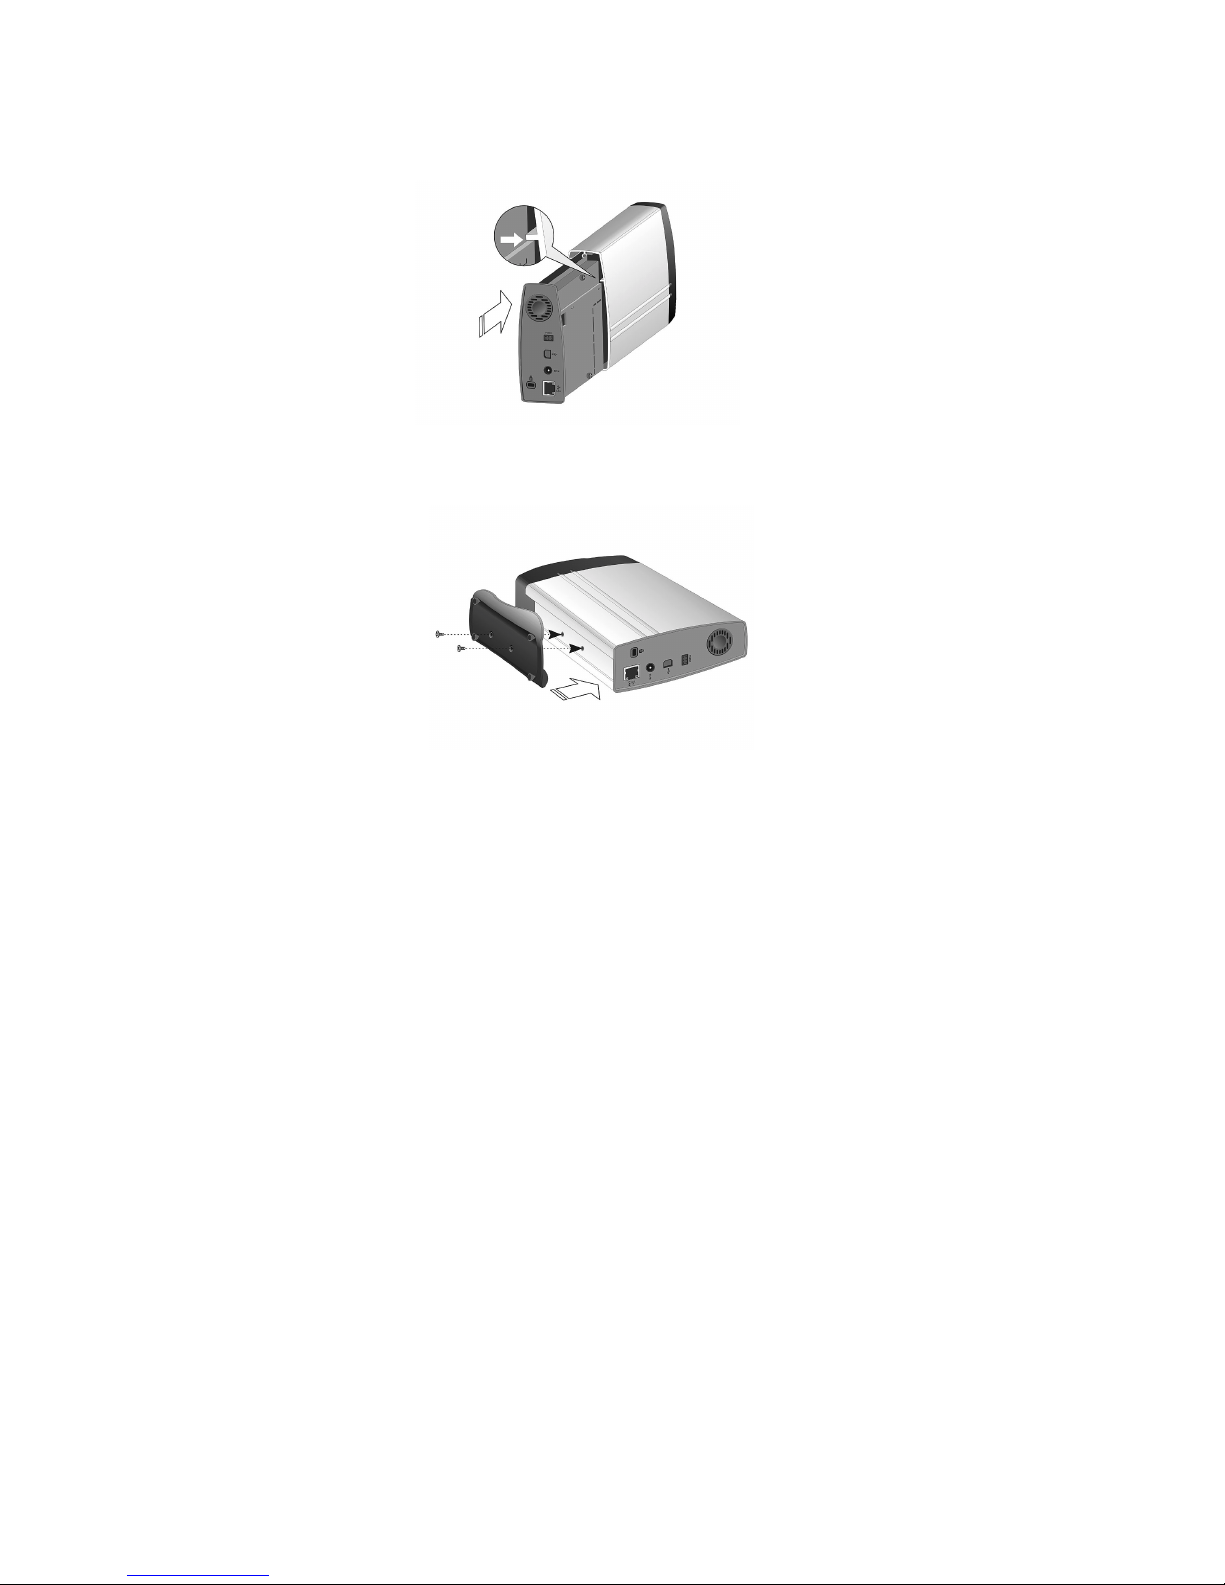
3. Push the Hard Disk and the plastic base back into the case. (Watch out for
the alignment as illustrated.)
4. Use a screw driver to secure the case and stand with screws.
Having completed above steps, please now plug the power cord to NETWORK
HDD. The other end of the power cord should be connected to a power outlet.
Turn on the power switch of NETWORK HDD to boot it up. The LED will flash
during Self-Test. Then the LED will turn green.
7
Setup the Network HD
Configure your NETWORK HDD through web browser
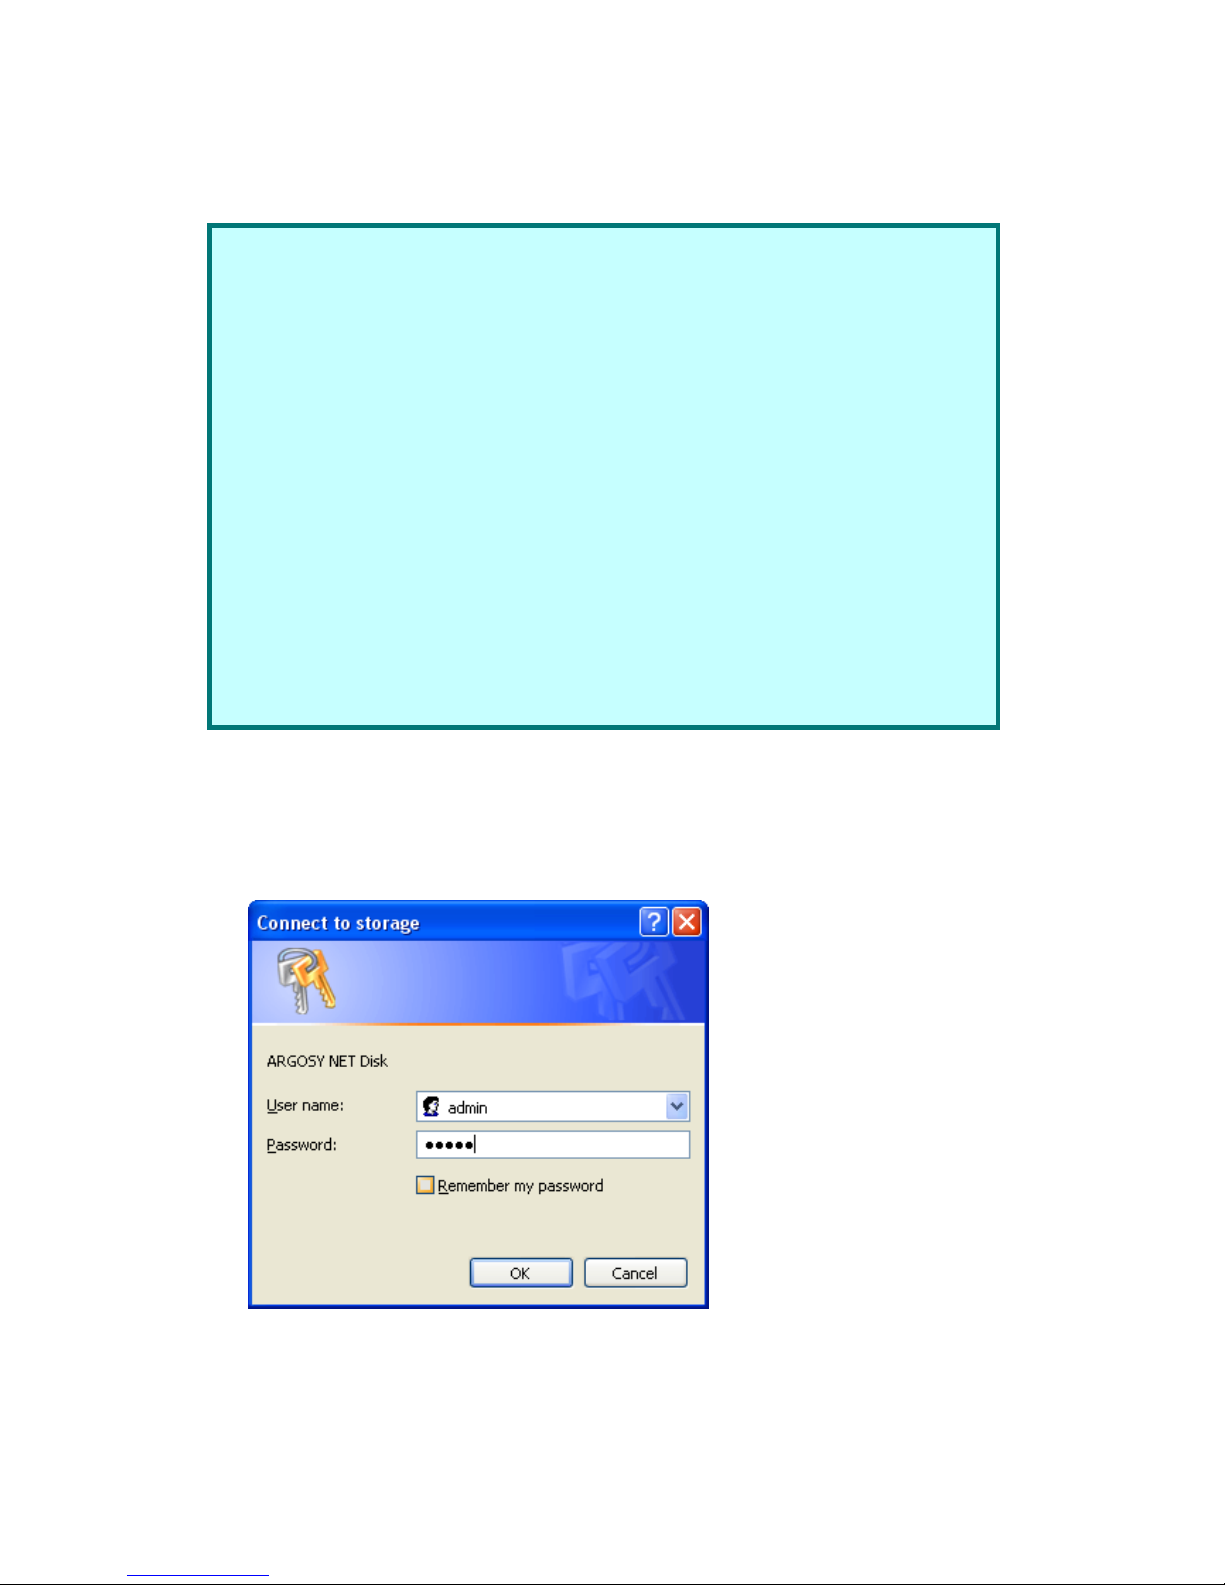
1. Enter in URL
Key in http://storage/ in IE and then press Enter, the following window will appear.
2. Enter “admin” in the User Name Column.
3. Enter “admin” in the Password Column.
4. Click OK button.
The 3 setup conditions you can choose:
Setup NETWORK HDD as DHCP Client:
If your NETWORK HDD operates under a built-in DHCP server router
(ex. Internet Sharing Hub), it will obtain an IP from DHCP Server
automatically.
Setup NETWORK HDD as DHCP Server:
If your operating environment does not support DHCP server,
NETWORK HDD will immediately act as DHCP server and assign an
IP for installation.
The default IP is 169.254.71.254.
In Static IP environment:
You need first configure the IP for NETWORK HDD to operate in the
Static IP environment.
For Configuring details, please refer to the Trouble Shooting section.
8
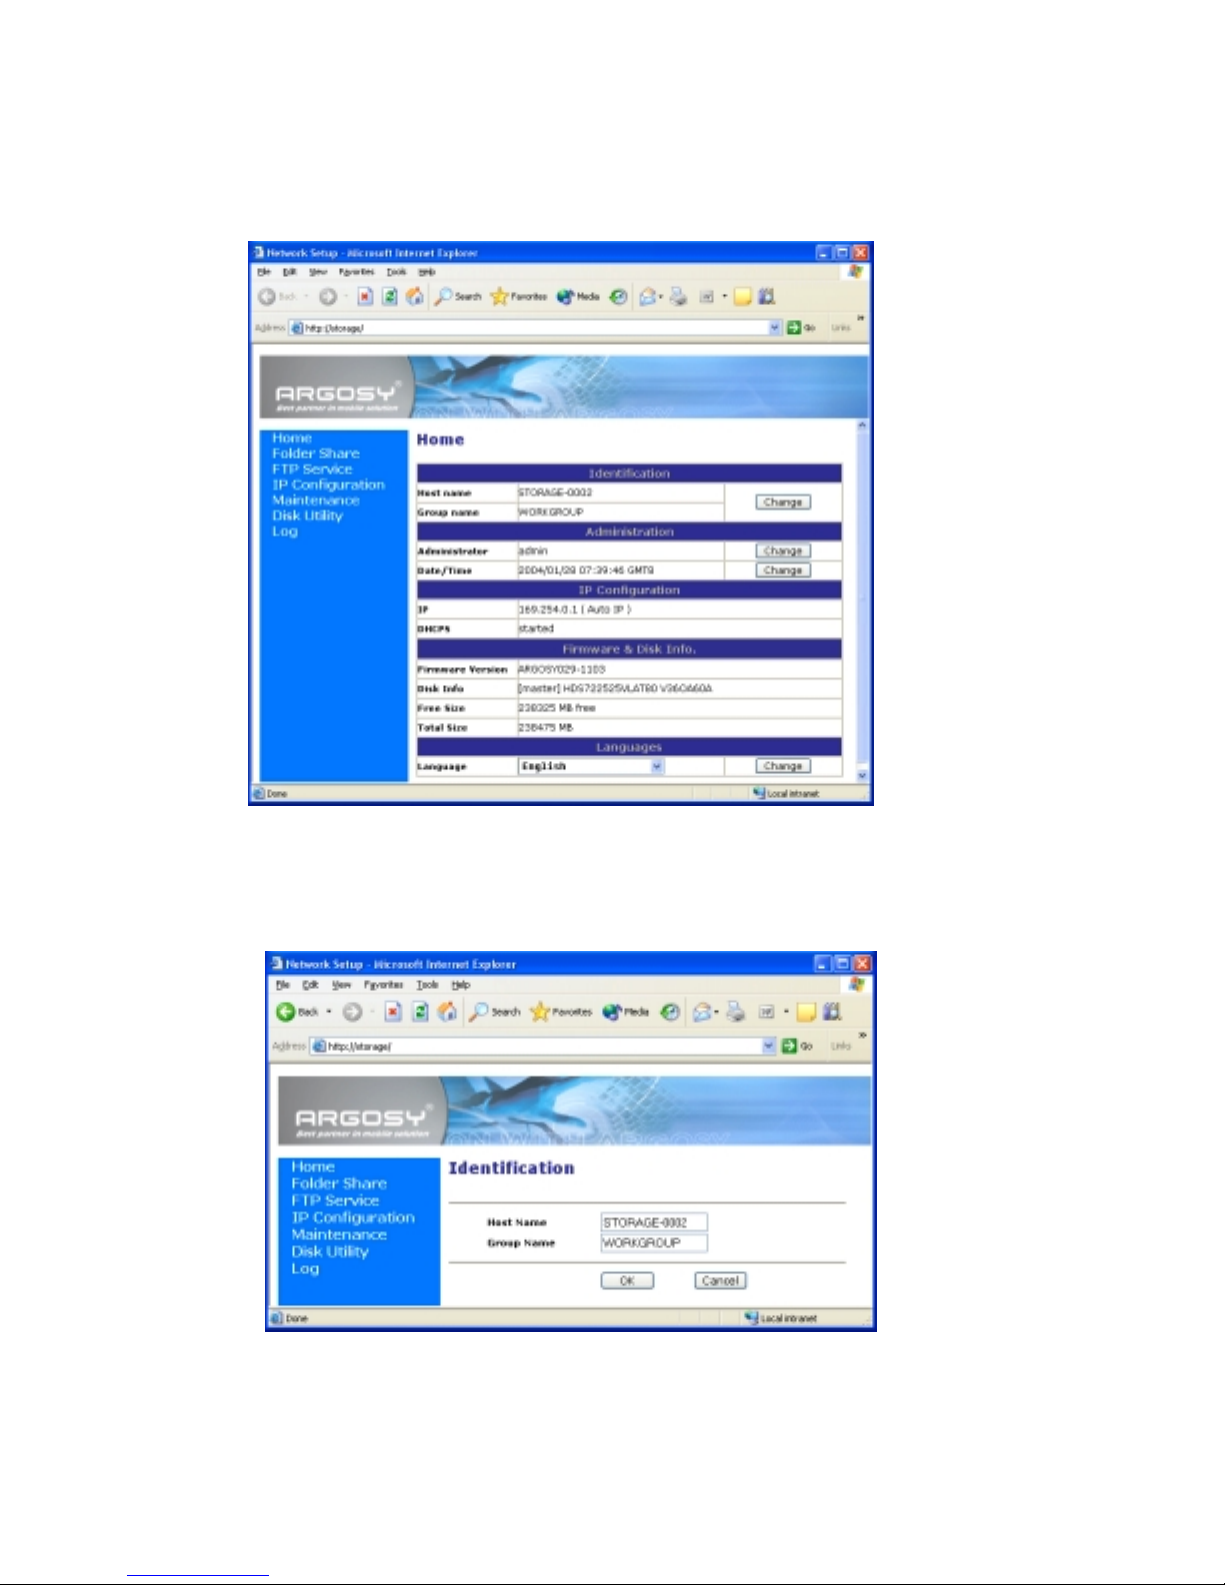
The GUI setup window will show up as below.
Home
Home window allows you to view NETWORK HDD’s status.
Identification segment in Home window
Press the Change button in this segment to enter into Identification window.
Host Name: The default setting is STORAGE OR STORAGE-XXXX. The last four
digits is Mac Address.
9
Group Name: WORKGROUP is the default setting.
Enter a new name into Group Name column and click OK button to change to a
new group.
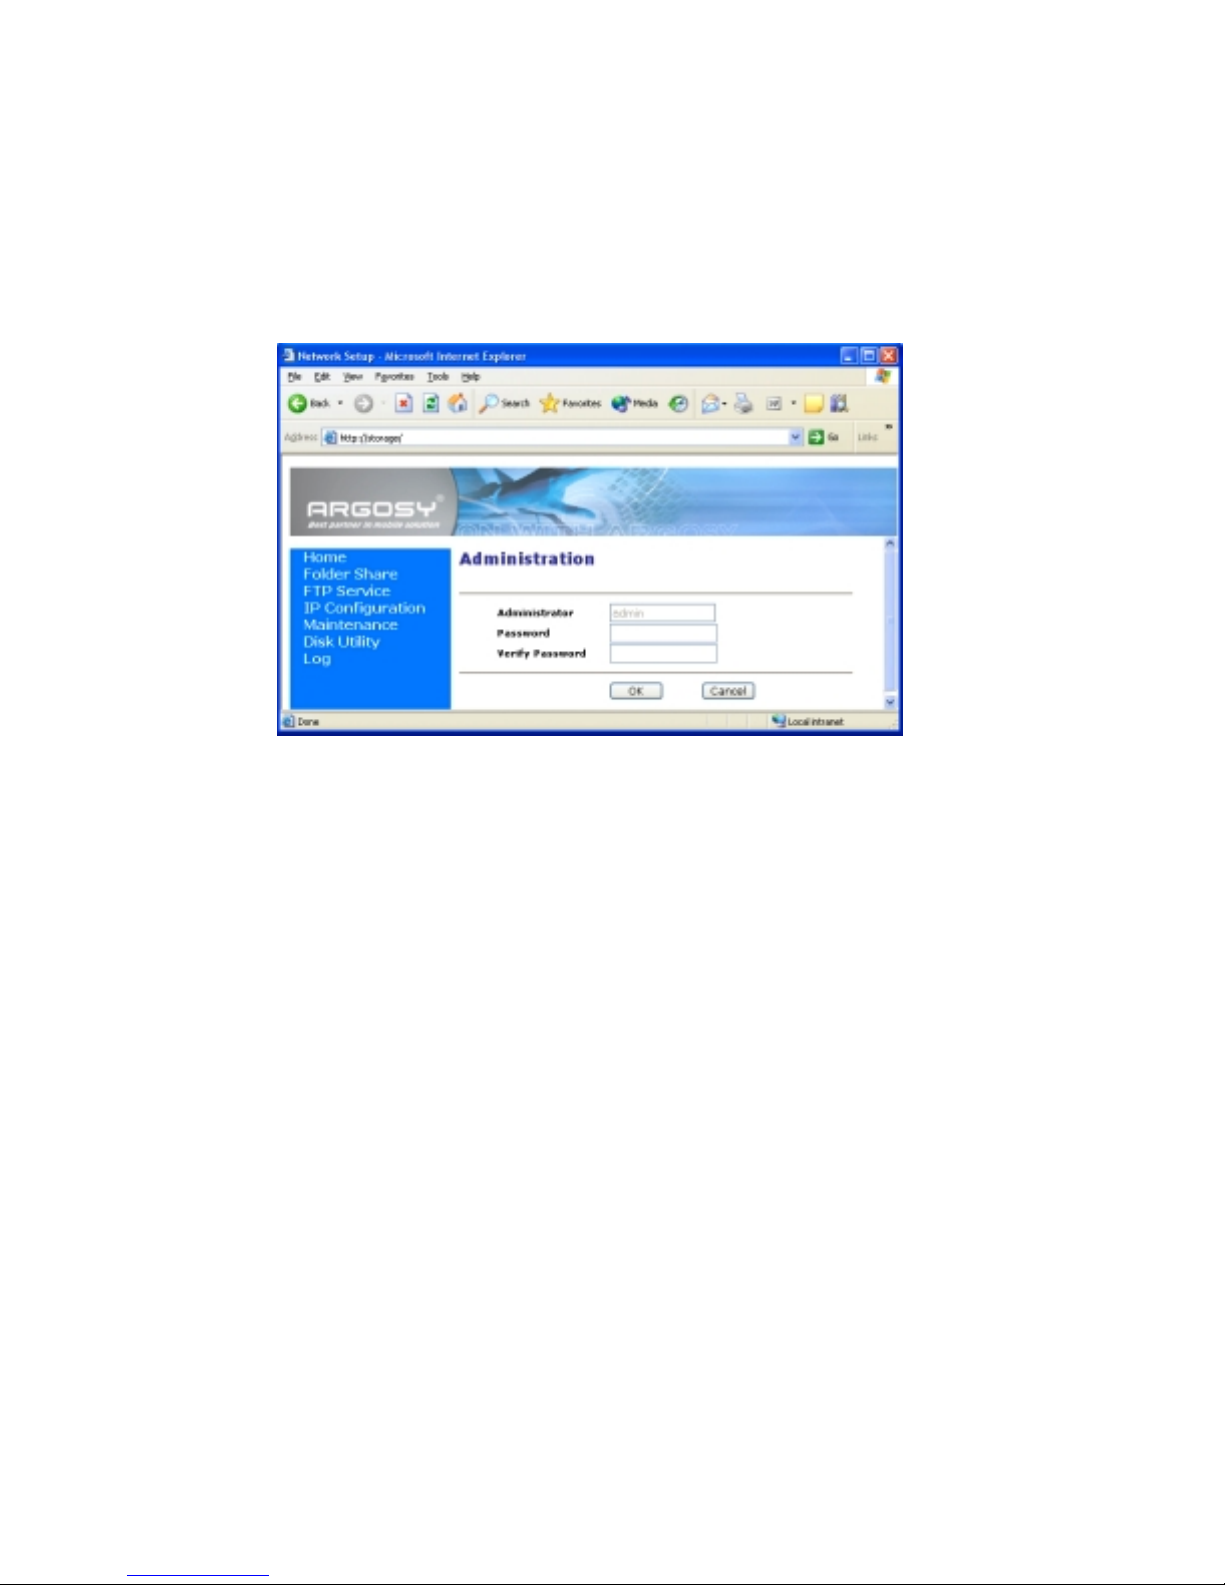
Administration segment in Home window
Press the Change button following Administrator to enter into Administration
window.
Administrator: admin (default)
Password: admin (default)
This Administration window allows you to change your Password setting. If you
have made any changes, you will need to enter new Password to enter into the
GUI setup window next time.
10
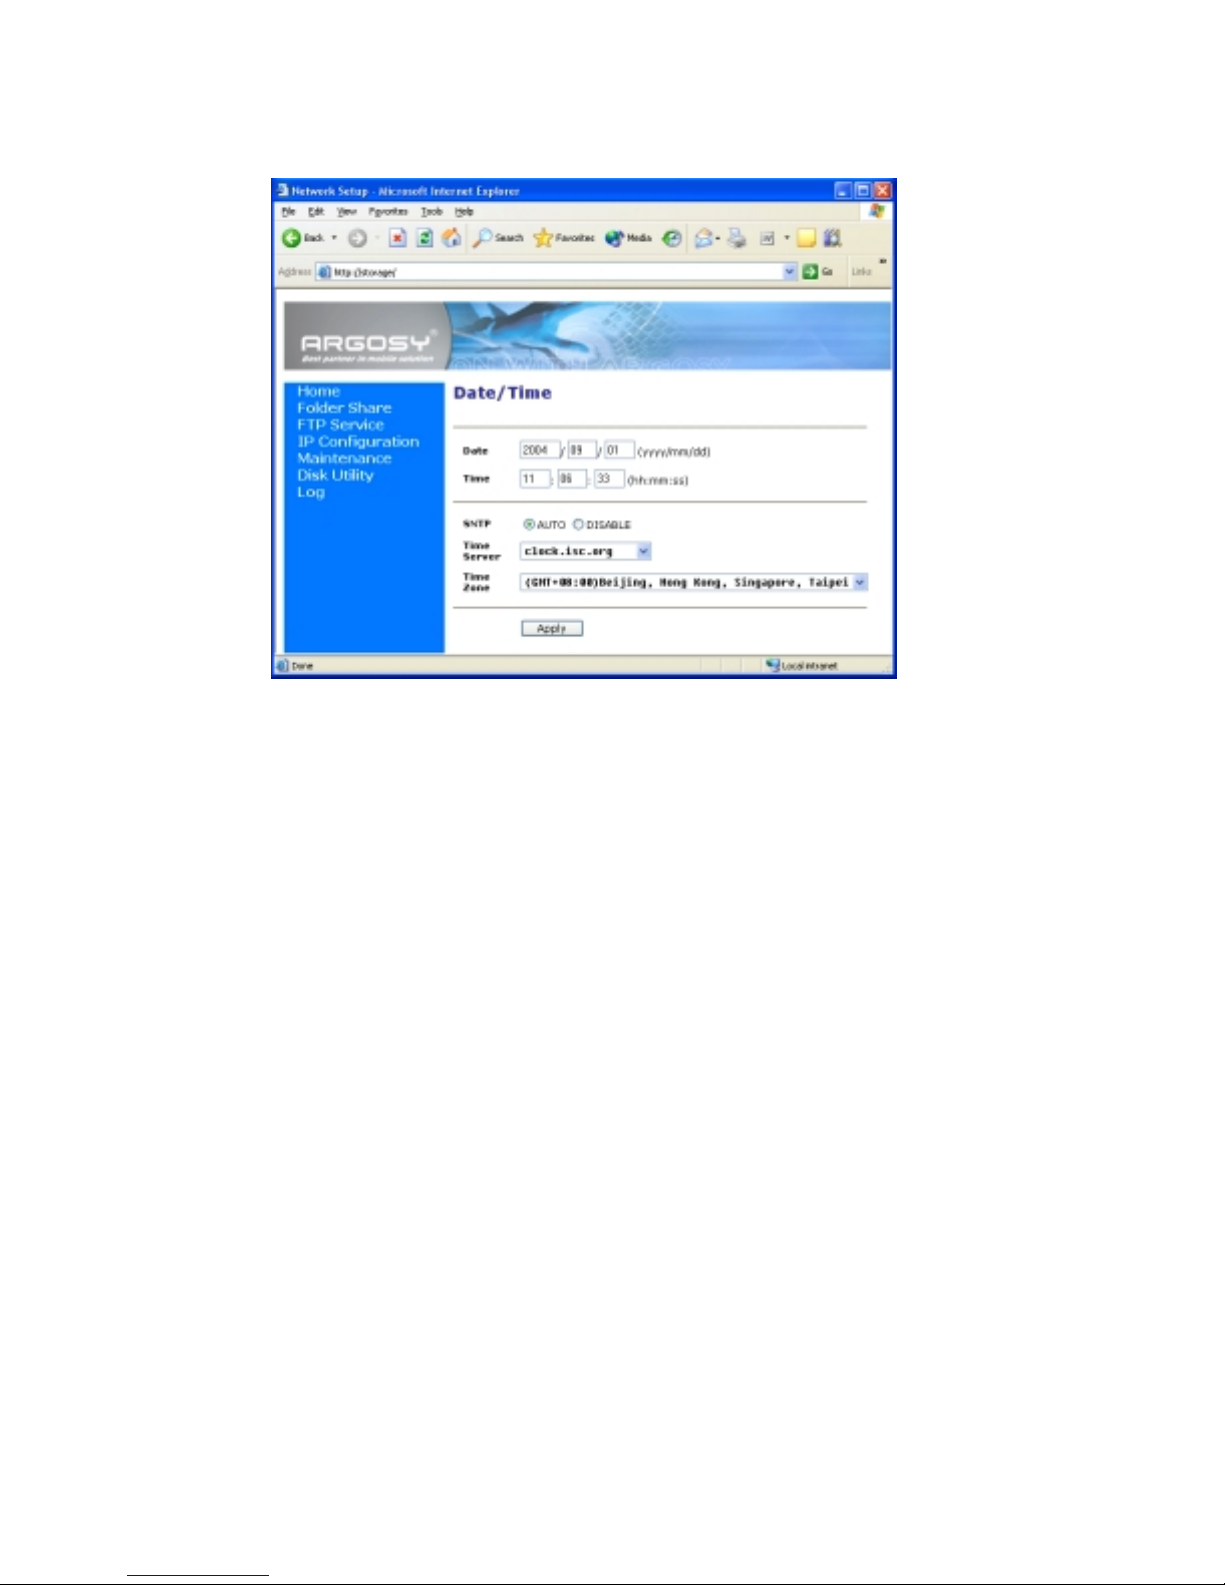
Press the Change button following Date/Time to enter into Date/Time window.
You can set up the Date/Time/SNTP/Time Server/Time Zone information in this
window.
IP Configuration segment in Home window
This segment shows IP/DHCPS information.
Firmware & Disk Info segment in Home window
Firmware version Show the built-in version from factory.
Disk Info Show the model of the HDD built in.
Free Size Show the still available capacity of the HDD.
Total Size Show the total capacity of the HDD.
Languages Support English/Shift JIS (Japanese)/Tradition Chinese

11
Disk Utility
Click on Disk Utility shown on Home’s menu to enter into the window below.
If your HDD is an unformatted new drive, you need to format the drive via this
utility. Please note that NETWORK HDD only support FAT32 Format.
1. Press Format button to start formatting your HDD.
Warning:
All your data and partitions will be deleted if the format button is pressed.
If the file size of the new HD is zero and the drive could not be found, you
have to utilize the Disk Utility to format the HD as FAT 32 format.
2. After the HD is formatted, please reboot your NETWORK HDD and refresh
the IE.
3. Running the Scan Disk program will check the file system. And correct any
errors found. This program should be run regularly. Press the Start button,
and the results will show on the column.

12
Folder Share
Click on Folder Share shown on Home’s menu to enter into the window below.
You can manage your share folders and their passwords in this window.
1. If your NETWORK HDD has previously been formatted using Disk Utility
feature in Home menu, the default folder “PUBLIC” will show in this window.
If your NETWORK HDD has not been formatted, you can still create new
folders now.
2. By clicking on Create Folder, Delete Folder, Rename Folder and Password,
you can manage you share folders.
3. The folders being set with password will show ****** mark on the window.
The folders not being set with password will show ------ on the window.

13
FTP Service
Click on FTP Service shown on Home’s menu to enter into the window below.
Press on Add Account button to add FTP user’s account.
You can setup each FTP user’s Account, Password, Status and Access right in
the window.
After completing the settings, press ADD button to add a new account.
Each FTP user’s account status will show on FTP Service window after setup.

14
The following figure is an example.
IP Configuration
Click on IP Configuration shown on Home’s menu to enter into the window below.
On this window, the IP obtained by DHCP server will show up as default setting.
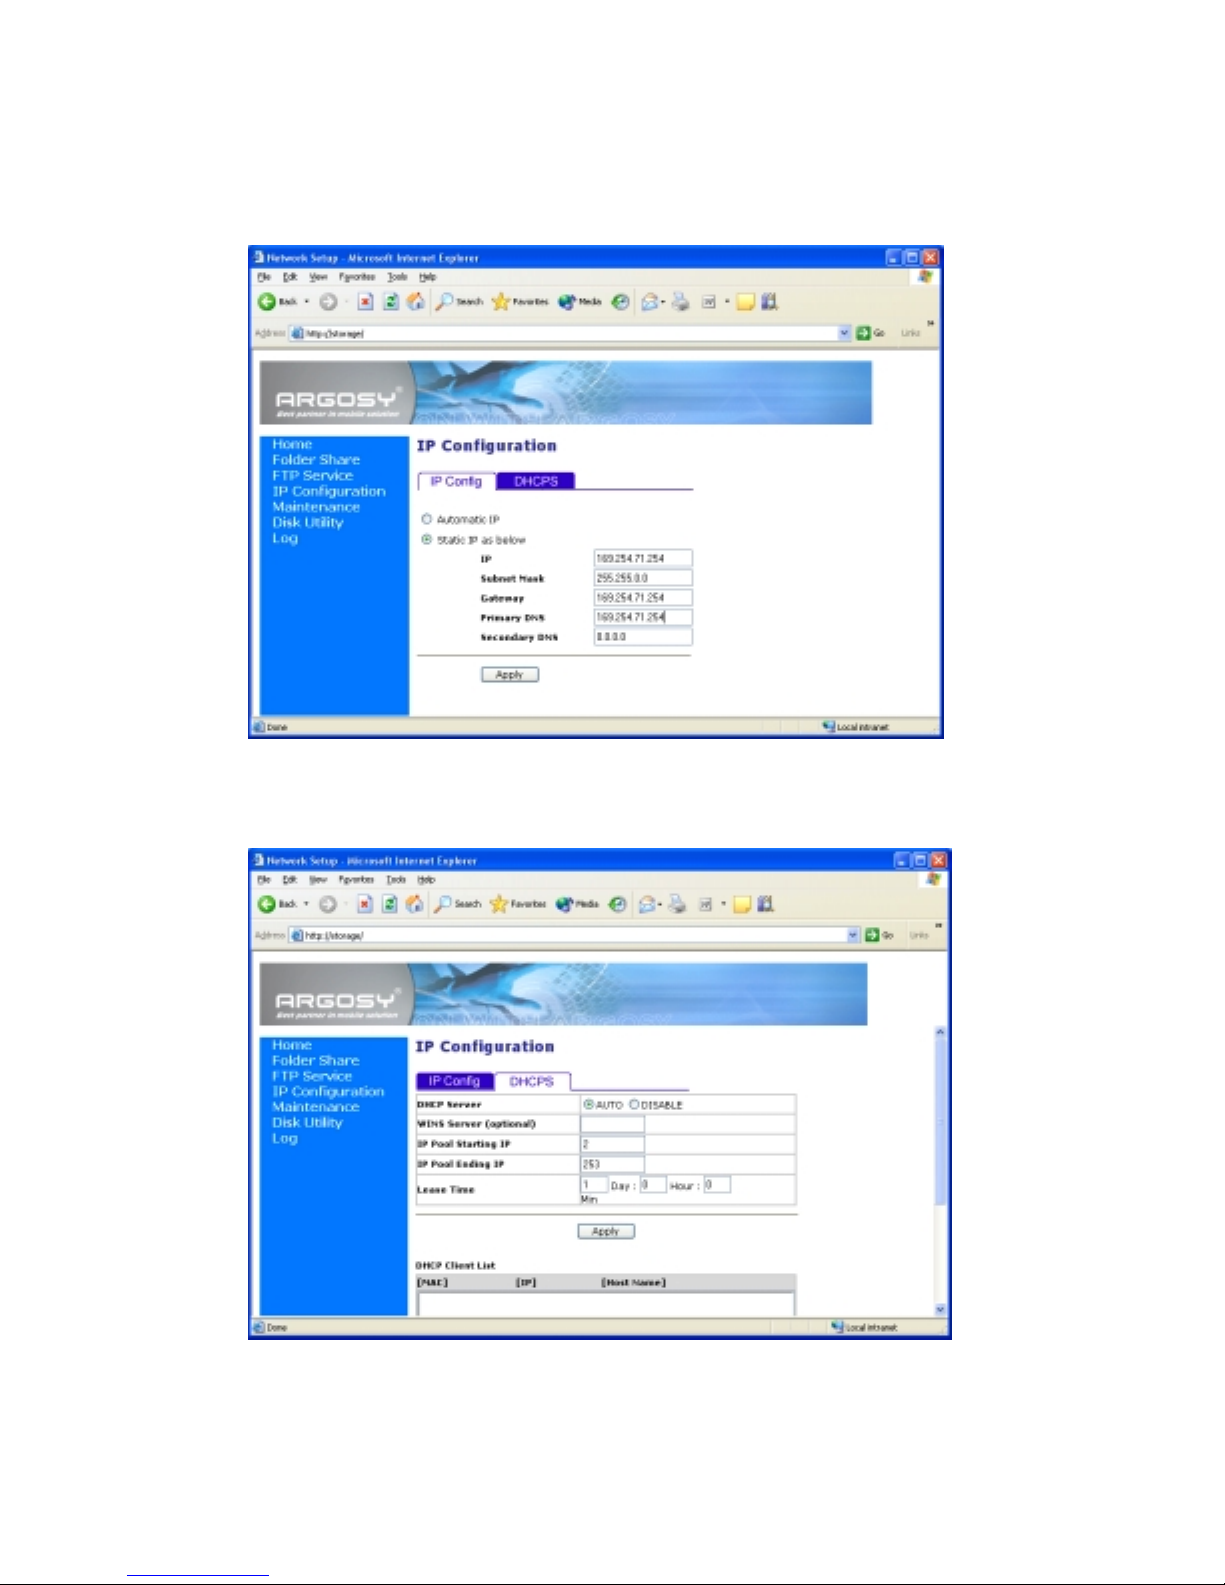
15
You can change the default IP setting by ticking on Static IP as below button,
entering your IP information in each column and then pressing on the Apply
button to complete setting up your static IP.
DHCPS: Click on DHCPS menu beside IP Config, the following window will show
up.
You can setup the DHCPS IP from this window.
16
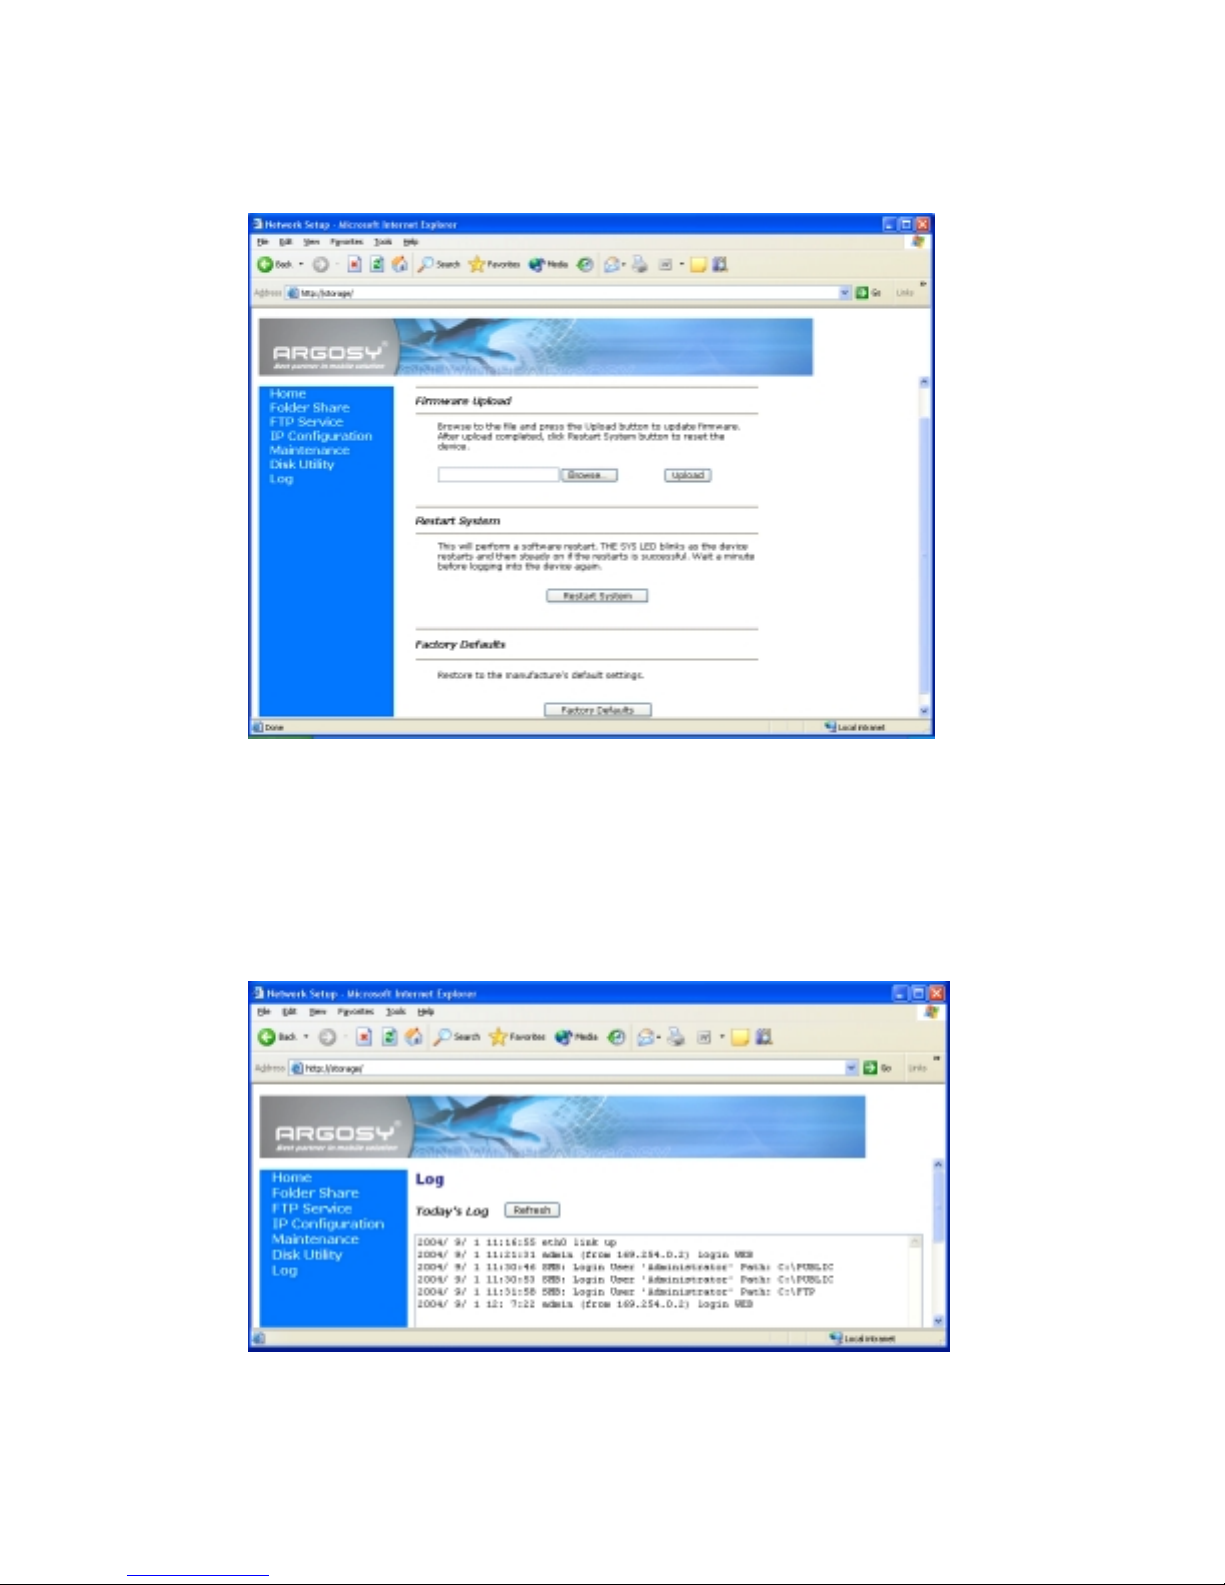
Maintenance
Click on Maintenance shown on Home’s menu to enter into the window below.
Read the instructions on the window to upload the firmware, restart system or go
back to the factory default settings.
Log
Click on Maintenance shown on Home’s menu to enter into the window below.
This window shows all the operation records for NETWORK HDD.
Click the Refresh button to update the latest operations.

17
Map your Network HD
By mapping your NETWORK HDD, you can access it easily in My Computer.
Press Start button on Windows desktop => Press Search => Press Computer or people
=> Press A computer on the network and a new window will appear. => Type Storage in
the Computer Name column and then press Search button.
You will see the following window.
Point to the “Storage-xxxx”, double click the mouse.
Choose the folder you want to map, click mouse on its right button and click Map
Network Drive.

18
The following window will appear.
Choose a Drive letter you want to map.
Press Finish button to complete mapping.
As the following window illustrates, you can now access NETWORK HDD easily in My
Computer.

19
Network HDD Application
Personal Data Backup
For a single user, you can use NETWORK HDD as an external hard disk to store your data
thru the Ethernet.
Network File Sharing
NETWORK HDD could also be connected to a 10/100 Base-T switch, hub, or router to be
shared among group users.
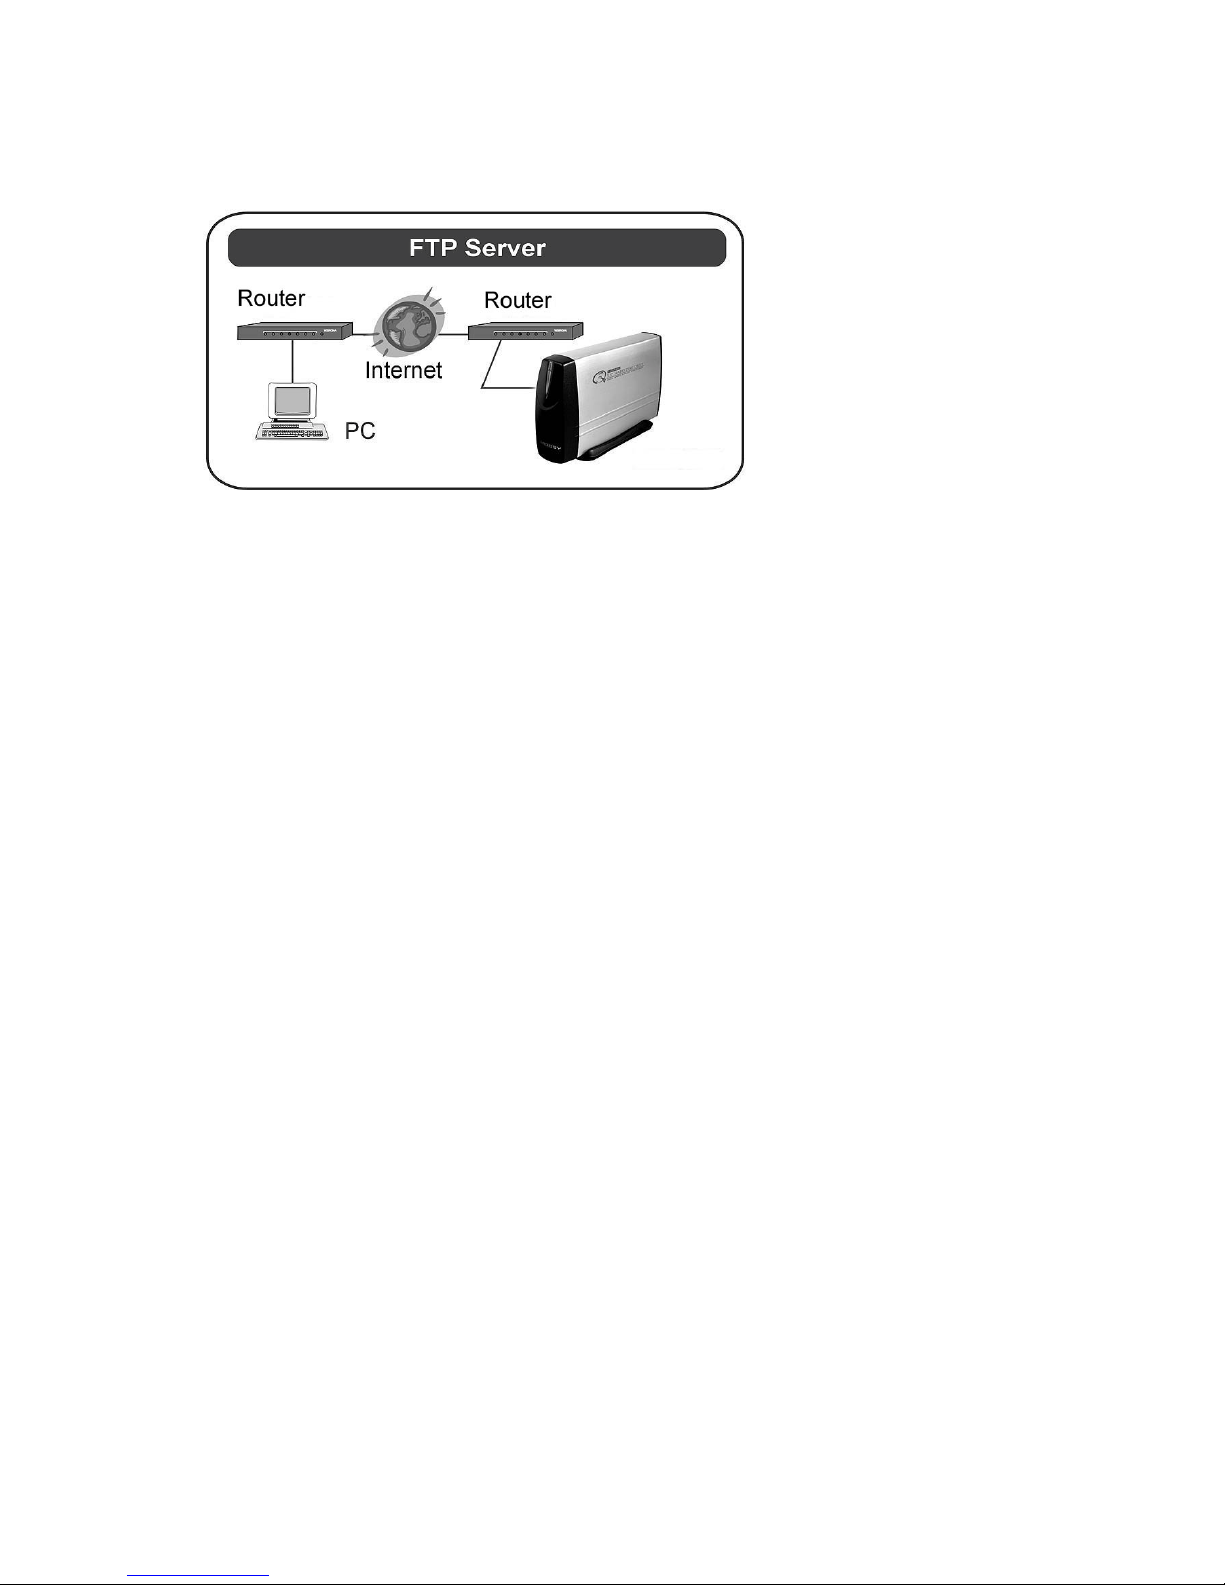
FTP Remote Backup
NETWORK HDD packs the power of FTP function and this will give you the remote
backup feature.
If you plan to use the FTP, use the FTP supported by Browser.
Type ftp://domain name or IP/ (ex. Storage) in Browser’s address and press enter.
20
You will get into the authentication window and then you can key in the User name and
Password.
Table of contents
Other Inoi Storage manuals


Popular Storage manuals by other brands

Western Digital
Western Digital My Book Home Edition user manual

HP
HP VS80 - StorageWorks DLT VS 80 Tape Drive user guide

NEC
NEC ST1240 Configuration guide

Overland Storage
Overland Storage ULTAMUS Read me first

Transcend
Transcend Tsonic 630 1GB Specification sheet

Dell
Dell PowerVault MD3600f Series Support Matrix

Palmako
Palmako EL12-1207FSC installation manual

IBM
IBM TotalStorage Enterprise 3592 Maintenance information

LECTRO
LECTRO VL-FD16GB owner's manual

Pylontech
Pylontech PowerCube-X1-V2 Operation manual

HP
HP C737990900 Technical reference manual
-4300 datasheet")
Silicon Systems
Silicon Systems SILICONDRIVE II SSD-D32G(I)-4300 datasheet


