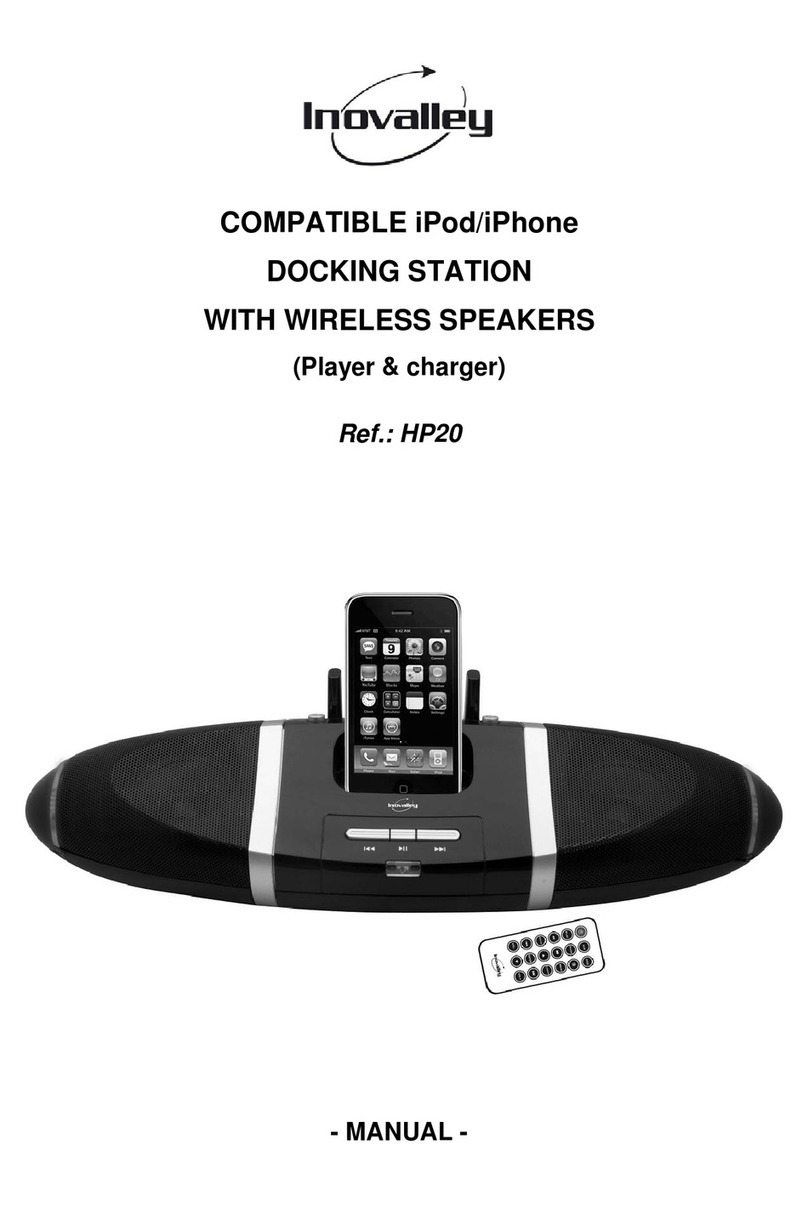
Inovalley R75 User manual

MP3 DOCKING STATION
iPod / iPhone COMPATIBLE
WITH RADIO ALARM-CLOCK
(Player & Charger)
Ref.: R75
- USER’s MANUAL -

2
IMPORTANT SAFETY INSTRUCTIONS
1. Read the instructions. All uses guidelines must be read before start device.
2. Keep the instructions for future use.
3. Attention, use and security guidelines must be respected.
4. The device must not be used near water or be put in contact with moisture.
5. Make sure has no liquid is spilled on device and device openings.
6. Move device carefully, avoid shocks.
7. Do not block the breakdown of the device outputs.
8. Do not place the device near from a heat source (e.g. radiator). Do not expose it to the
Sun.
9. Plug the device as indicate on this information form.
10. This device has a connection with overload protection (security device)
decision-making. If the replacement of decision-making is required, please you send has
an experienced or the device manufacturer technician.
11. For cleaning the device, please follow the recommendations of the notice.
12. The sector cord should be unplugged a long period of use.
13. Device shall be repaired by a qualified person when:
A. The taken or the power cord is damaged,
B. Objects fell inside of the camera or a liquid was reverses in inside of the camera.
C. Device was exposes to the rain,
D. Device does not work correctly without notable exterior change,
E. Device fell and the subwoofer is broken.
14. The user shall not try to maintain device beyond that which is described in this
information form. The guarantee would negate.
NOTA : It is possible that the products of last generations type iPhone 4
do not answer in the same way as the former generations.
Some cuts can occur, without concern for your telephone.
If your iPhone stops in the course of musical reading, to start again the
reading.

3
I/ OUTSIDE DRAWING

4
REMOTE CONTROL
FUNCTI ONMUTE
MENU
REPEAT
ENTER
SLEEP
VOL+/ AL2VOL- / AL1
FOLDER-
CL OCK
FOLDER+
SNOOZE
COLOR
OFF/ ON
Mode swi t ch
MEMO
Do wn
Mut e swi t ch
Seven color light
mode choosi ng
Mode swi t ch
Seven col or
l i ght swi t ch
Snooze f unct i on
Sl eep t i me
adj ust i ng
FM channel +
Ne x t
En t e r menu
Vol +/ Al ar m2
St andby swi t ch
Pl ay/ Pause
Repeat pl ay
FM channel
memor y
Ti me adj ust i ng
FM channel -
Up
Pr ev
Vol ume- / Al ar m1
II/ POWER SUPPLY

5
- AC power: 230V ~ 50Hz (with AC adaptor included)
- DC power: 9V DC 2A for the back-up system (no included)
An alkaline type battery is recommended. For optimum performance, this battery should
be replaced every 6 months.
1) Connect the mains lead to the AC MAINS socket and the standard AC wall outlet
2) Press the DC power ON/OFF button to ON position to turn the unit on.
3) Connect the 2 x AAA1.5V batteries (not included) inside the compartment at the rear of
the unit respecting the polarity.
Remarks: The music box can charge your IPOD/IPHONE while connecting with suitable
charger.
Back-up system
Ensures that the unit will continue to operate as normal during an AC power disruption (in
order to preserve the battery life the display will not light). All clock settings will be kept in
the memory, however, the clock time may require adjustment for exact accuracy.
If this battery is not installed, the display 0:00 blinks to indicate that you have to reset the
time and alarm settings.
HOW TO OPERATE THE SEVEN COLOR LIGHT
1) Long press button LIGHT on the machine or short press button ON/OFF on the
remote control to turn on or turn off the the light.
2) Short press button LIGHT on the machine or button COLOR on the remote control to
switch the color of the light.
III/ SETTING THE TIME
In real-time clock, press the MODE button 2 seconds to adjust the time.
Press Play/Pause button to confirm the setting.
1) Press button PREV or NEXT to adjust hour.
2) Press button VOL+ or VOL- to adjust minute.
3) And it will quit the time setting mode automatically if there is no any
operation about the setting for 10 seconds.
SETTING THE ALARM TIME AND WAKE UP MODE
1) Two alarms can be set.
2) In real-time clock mode, press and hold AL1 or AL2 to set alarm 1 clock or Alarm 2
clock.
3) In set alarm clock mode, press PREV or NEXT button to choose on or off the alarm
function.
4)When it is in ON status, press PLAY/PAU to set the time.
5)Press PREV or NEXT to adjust hour.
6)Press VOL+ or VOL- to adjust minute.

6
7)Press button MODE to choose sound source. (if the sound source chosen is invalid, the
product will choose the BB sound as the default sound.) Press PLAY/PAU to save and
quit the setting.
8)And it will quit and save the setting if there is no any operation about the setting for 10
seconds.
CHECKING THE WAKE UP TIMES
Whenever you want to check the wake up time, pls enter the real-time status firstly ,then
simply press and hold either the AL1 or AL2 setting button. The display will change from
correct time to wake up time if the alarm is on.
Press the PLAY/PAUSE button to return to correct time.
STOPPING THE ALARM
The alarm will continue for 1 hour and 59 minutes.
1) Press SNOOZE button to stop the alarm for 10 minutes, then the alarm turns ON again.
( SNOOZE will show on the LCD display)
2) Press the MODE button to stop the alarm for 24 hours. It will turn ON again at the
same time on the following day.
3) To close the alarm , enter AL1/AL2 setting to close the alarm.
SLEEP TO MUSIC
1) In real-time clock,Press and hold the SNOOZE button.(or press SLEEP button on
remote control) . The display shows OFF.
2)Press button NEXT/PREV to open or close the sleep function.
3)When it is in ON status, press PLAY/PAU to set the time.(Sleep will show on the LCD
display)
4) To increase the Sleep time by 10 minutes, press the NEXT button.
5) To decrease the Sleep time, press the PREV button.
6)Press MODE TO Choose the soundsource.
7)The current sound source will be shut off when it reach the sleep time setted before.
8)To close sleep function, enter into Sleep setting to close the sleep time,
IV/ LISTENING TO THE RADIO
1) Press the MODE button switch to Radio mode.
2) Press and hold the PLAY/PAUSE button to scan channel.
3) Press the PREV/NEXT button to choose the channel.
4) Press the VOL+/VOL- to adjust the volume level.
5) When finished listening press the MODE button switch to other mode.
For Better Reception
Fully extend the FM antenna cord and adjust its direction and position.
V/ LISTENING TO iPod

7
1) Press the MODE button switch to IPod mode or dock your iPod through the iPod dock
connector directly.
2) Press PLAY/PAUSE button to start the music or pause the current track.
3) Press the VOL+/VOL- to adjust the volume level.
4) When finished listening set the MODE button switch to other mode.
5) Press NEXT button to skip to next track or press PREV button to the previous track.
6) To remove your iPod, simply stop the playback and gently unplug it from the dock
connector.
Remarks
-The output volume is controlled by the unit setting and not by iPod volume level
-Make sure that your iPod is securely docked into system, failure to do so may cause
damage to your iPod
VI/LISTENING TO USB/SD
1) Press button MODE to choose USB/SD or input the USB/SD directly.
2) Press PLAY/PAUSE button to start the music or pause the current track.
3) Press the VOL+/VOL- to adjust the volume level.
4) When finished listening set the MODE button switch to other mode.
5) Press NEXT button to skip to next track or press PREV button to the previous track.
6) To remove your USB/SD, simply stop the playback and gently unplug it from the
USB/SD port.
VII/LISTENING TO LINE IN
1) Press button MODE to choose LINE IN state, and it will display on the LCD.
2) Press PLAY/PAUSE button to start the music or pause the current track.
3) Press the VOL+/VOL- to adjust the volume level
4) When finished listening set the MODE button switch to other mode.
REMARKS
- If you are using an iPod without a docking port or other MP3/digital audio player, you can
still play it on the unit via the AUX IN cable.
- Press MODE button until AUX mode appears on the display or plug audio cable into the
AUX-in jack directly.
- Plug one end of the 3.5mm audio cable (included) into the headphone or line out jack on
your player, plug the other end of cable into the unit AUX-IN jack located on the back of
the unit.
- Turn on the external audio source and play your device.
- Press the VOL+ or VOL- button to raise up/lower the volume level. You may need to
adjust your player volume if it is connected via the headphone jack of your audio device.
DETAILS AND PRECAUTIONS ON THE USE OF BATTERIES
- Discard a used battery in nature or garbage pollutes and prevents the recovery of

8
recyclable materials. It is therefore important to limit consumption of batteries and
follow these guidelines:
focus on alkaline batteries (that last longer than the saline batteries) and when
possible rechargeable batteries
deposit batteries and accumulators in specific containers arranged among traders.
For example, metals will be valued and polluted the environment because they
contain heavy metals hazardous to health and the environment primarily (cadmium and
nickel)
- The piles must installation by respecting the polarity indicated on the apparatus and the
pile.
An incorrect positioning can is to damage the apparatus, is to cause escapes on the level
of the pile, is to the extreme to cause a fire or the explosion of the pile.
- To ensure proper operation, the batteries must be in good condition. In case of
abnormality in the functioning of the device, put fresh batteries
- Never attempt to recharge non-rechargeable batteries. They could run, warm up,
causing a fire or explosion.
- Replace all batteries at the same time. Never mix zinc batteries with alkaline batteries
or rechargeable batteries
- The batteries must be removed from the device
- Also, remove the batteries from your device if you do not use it for a long time, if the
batteries may leak and cause damage.
- Never try to short-circuit the battery terminals
- Never dispose of batteries in fire, they might explode
- Charging of batteries is to be performed by an adult.
- Remove batteries from the device before reloading.
- We recommend an adult to supervise children when they change the batteries so that
these instructions are complied with or to make himself the replacement of batteries.
- If a battery is swallowed, immediately consult a doctor or poison control center nearest
you. Do not forget to carry the product with you.
Table of contents
Other Inovalley Docking Station manuals
Popular Docking Station manuals by other brands

Kicker
Kicker ZK500 owner's manual
Dension
Dension ice-Link:Plus user manual

Krell Industries
Krell Industries MP3 Docking Station user manual
StarTech.com
StarTech.com USB6N1DOCK Instruction guide
Directed Electronics
Directed Electronics Executive Desktop Docking Station user manual
Datalogic
Datalogic ELF quick start guide
