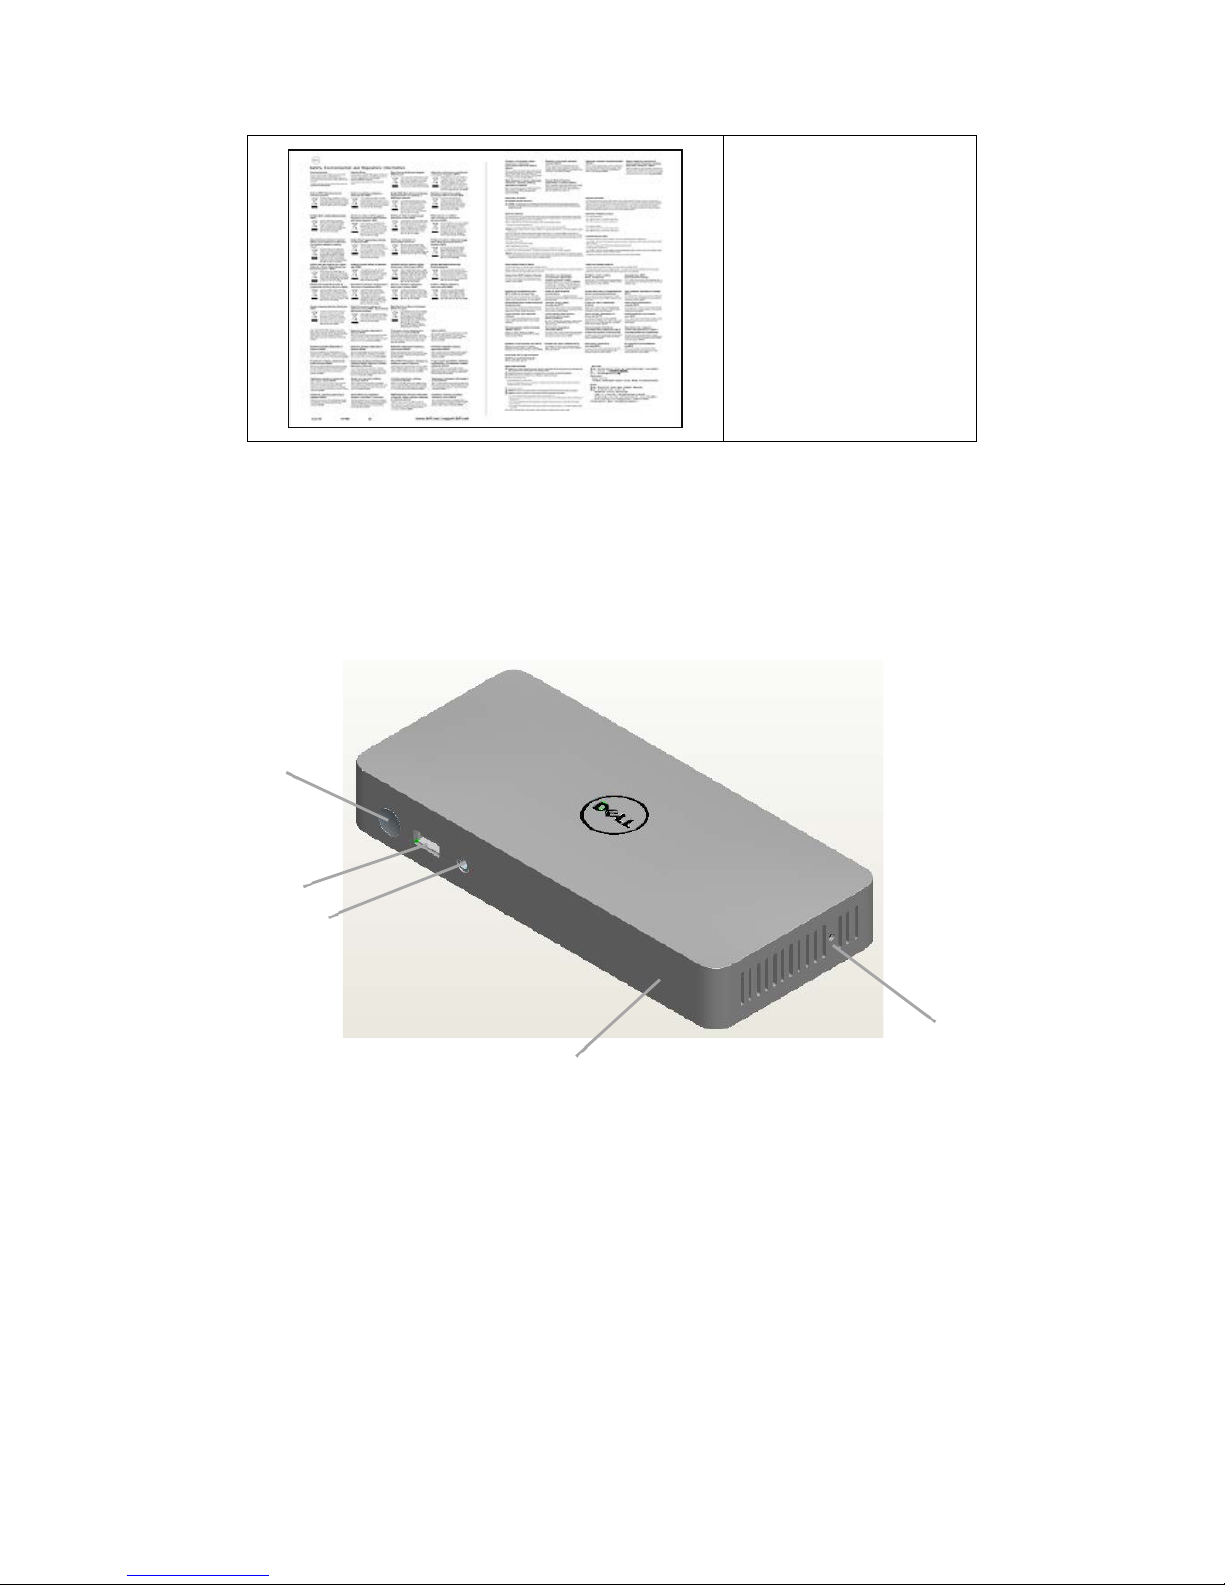
Dell D5000 User manual

Dell Wireless Dock
D5000
User Manual
Ver. 1.0
February 2013

A
Information in this publication is subject to change without notice.
© 2013 Dell Inc. All rights reserved.
Reproduction of these materials in any manner whatsoever without the written
permission of Dell Inc. is strictly forbidden.
Trademarks used in this text: Dell™ and the DELL logo are trademarks of
Dell Inc. Microsoft® and Windows®are either trademarks or registered
trademarks of Microsoft Corporation in the United States and/or other
countries.
Other trademarks and trade names may be used in this publication to refer to
either the entities claiming the marks and names or their products.
Dell Inc. disclaims any proprietary interest in trademarks and trade names
other than its own.

B
Table of Contents
1. Introduction................................................................ 1
1.1 Package Contents...................................................................................1
1.2 Identifying Parts and Controls ............................................................2
1.3 Product Specifications..........................................................................3
2. Quick Setup of Hardware .......................................... 5
3. Working on the Dell Wireless Dock D5000.............. 6
3.1 LED Status Indicators............................................................................6
3.2 I/O Connectors on the Dell Wireless Dock D5000..........................6
3.3 Resetting the Dell wireless dock D5000 ...........................................9
4. Connecting to the Dell Wireless Dock D5000 ....... 10
4.1 Installing the Software.........................................................................10
4.2 Scanning for the Dell Wireless Dock D5000..................................11
4.3 Connecting to a Dell Wireless Dock D5000 ...................................13
4.4 Managing the Dell wireless dock D5000.........................................15
4.5 Using Devices Connected to the Dell wireless dock D5000 .....18
4.6 Exit or Shutdown the Wireless Docking Software.......................19
5. Appendix A Troubleshooting.................................. 21
6. Bluetooth Networking Overview ............................ 23
6.1 Setup Requirements ............................................................................23
6.2 Turn the Bluetooth Adapter On and Off..........................................24
6.3 Terminology ...........................................................................................24
7. Getting Started......................................................... 27
7.1 Installing the Bluetooth Windows Suite .........................................27
7.2 Launching the Bluetooth Windows Suite.......................................28
7.3 Uninstalling the Bluetooth Windows Suite....................................28
8. Adding Bluetooth Devices ...................................... 29
8.1 Discovering and Pairing with a Bluetooth Device .......................29
8.2 Adding a Bluetooth Device ................................................................30

C
8.3 Removing a Bluetooth Device...........................................................30
9. Bluetooth Settings................................................... 32
9.1 General Settings ...................................................................................32
9.2 Add or Delete a Communications Port ...........................................32
9.3 Manage My Local Bluetooth Adapters ............................................33
9.4 Set Rules for Sharing Files and Equipment ..................................33
9.5 Set Rules for Sending and Receiving PIM Items..........................35
9.6 Display the Device Properties...........................................................36
10.Managing Bluetooth Devices.................................. 37
10.1 Bluetooth Operations.......................................................................37
11. Wireless Network Overview.................................... 44
11.1 To Setup a Wireless Network.........................................................44
11.2 Wireless Networking Basics ..........................................................44
11.3 To Turn Radio ON and OFF.............................................................46
12.Operational Information .......................................... 47
12.1 Wireless Interoperability .................................................................47

1
1. Introduction
1.1 Package Contents
Your docking station ships with the components shown below. Ensure that you
have received all the components and contact Dell (see your invoice for
contact information) if something is missing.
Wireless Dock
DP-VGA Dongle
Power Adapter
Power Cord
Quick Setup Guide
(QSG)

2
Safety, Environmental,
and Regulatory
Information
1.2 Identifying Parts and Controls
Front View
1
2
5
3
Figure 1. Front View
1. Pairing button 2. USB 3.0 port
3. audio/microphone
combo connector
5. reset button
4. docking status indicator
4

3
Back View
8
6
5
4
2
1
3
7
Figure 2. Back View
1. power switch 2. power connector
3. network port 4. USB 3.0 port
5. USB 3.0 port 6. HDMI
7. DisplayPort (DP) 8. security-cable slot
1.3 Product Specifications
Docking Specifications
Standard WiGig 1.1
IEEE 802.11ad
Video Ports
DisplayPort x 1 (supports DP 1.1)
HDMI x 1 (supports HDMI 1.3)
IO Ports USB 3.0 x 3
Gigabit Ethernet
Audio Jack x 1 (Microphone-in and line-
out via
combo connector)
Buttons
Pairing button
Reset
LEDs Wireless status indicator
Pairing status

4
Environmental
Characteristics
Temperature
Operating: 0 °C to 40 °C
Non-operating:
Storage: -20 °C to 60 °C
(-4 °F to 140 °F)
Shipping: -20 °C to 60 °C
(-4 °F to 140 °F)
Humidity
Operating: 10% to 80%
(non-condensing)
Non-operating:
Storage: 5% to 90%
(non-condensing)
Shipping: 5% to 90%
(non-condensing)
Power Supply
19.5 V / 3.34 A (65 W)
Dimension
190 mm x 86 mm x 30.7 mm
DP-VGA Dongle Specifications
High Video Resolution
1920 x 1200 @ 60Hz, 1920 x 1080p @ 60Hz
1600 x 1200 @ 60Hz
Input Voltage
3.3V± 10%
Output Voltage
5V ± 10% (Max 90 mA)
Rated Current 175 mA
Power consumption
575 mW
Standby current
50 mA
Hardware Requirements
Before using the docking station, ensure that your notebook or PC has a WiGig
module and antenna to enable one-to-one wireless connection.

5
2. Quick Setup of Hardware
1. Connect the AC adapter to the AC adapter connector on the Dell Wireless
Dock D5000 and to the electrical outlet.
Figure 3. AC Adapter
2. Turn on the power switch to the “I” status.
Figure 4. Power switch

6
3. Working on the Dell Wireless Dock D5000
3.1 LED Status Indicators
The Dell Wireless Dock shall include multiple LED status indicators on the unit.
3.1.1 Docking Status Indicator
The Docking Status Indicator is Amber when the device is powered on but not
connected to a host. When a WiGig connection is active, this indicator is ON
and turns from Amber to White. When there is a connection error, the indicator
will blink Amber for 5 seconds.
3.1.2 Pairing Button
The Pairing Button is an easy way for the user to connect to the docking
station. The user just pushes the pairing button on the docking station and the
host will automatically connect to this docking station. There is a backlit LED
on the button. The Pairing LED will be White for the success state and Amber
for the error state.
Blink Solid
White
In Progress
Success
LED should stay solid until pairing is In Progress
again.
Amber
Error
The LED should blink for
120 seconds and then
revert back to solid state.
No link
Dock station is powered on.
3.2 I/O Connectors on the Dell Wireless Dock D5000
Once a wireless connection is built, these I/O connectors are virtually built into
your computer. You can use them in the same way as you use on your
computer.

7
The Dell Wireless Dock D5000 has the below I/O connectors:
Video Ports DisplayPort x 1
HDMI x 1
Input/Output
Ports
USB 3.0 x 3
Gigabit Ethernet
Audio Jack x 1 (Microphone-in and line-
out via combo
connector)
If the wireless link between the computer and the Dell Wireless Dock
becomes weak, move the computer closer to the Dell Wireless Dock or rotate
the computer to find a position with a stronger wireless link. For example, if you
find that the wireless signal strength is reduced when the notebook lid is closed,
you can try to rotate the notebook to find the best reception.
Note: The wireless connection works best if your computer lid (logo side)
directly faces the front side of the docking station and there is a line-of-sight
between the computer and the docking station.
3.2.1 Using The Network Port
When you want to use Internet via the network port of the docking station, you
just plug the network cable into the network port of the docking station. The
meanings of the LED indicators on the network port are listed below:
Link Speed Indicator Ethernet Activity Indicator
Green = 10/100 Mb Yellow Flashing
Orange = 1 Gb
Figure 5. Ethernet

8
3.2.2 Using the Video/Audio Port
The video quality is similar to that of a notebook/PC connected to a TV/Monitor
via a real cable. When you want to use HDMI/DisplayPort on the docking
station to make a video output, just use the HDMI/DisplayPort cable to connect
the docking station to the monitor/TV. You can enjoy HD video on a big-sized
screen. The Dell Wireless Dock D5000 also has an audio jack to output audio
and MIC input. The Dell Wireless dock can support simultaneous HDMI and
DisplayPort output.
Figure 6. Video/Audio Port
Note: It is recommended that your wireless docking station be placed next to a
TV/Monitor. Do not place the wireless dock behind a TV/Monitor or any other
object.
Note: The wireless docking station does not support HDCP to play video from
a DVD/BD player on the TV/Monitor.
3.2.3 Using the USB 3.0 Port
When you want to access an external Hard Drive or Flash Drive, just plug them
into the USB 3.0 ports of the docking station for data transfer.

9
Figure7. USB 3.0 Port
3.3 Resetting the Dell wireless dock D5000
To delete all associated settings stored on your Dell Wireless Dock, press and
hold down the reset button for 10 seconds. All dock settings will be deleted and
you will have to re-establish a connection. To re-establish a connection to a
wireless dock, you must repeat the connection process.
Figure 8. Reset Button
Reset button

10
4. Connecting to the Dell Wireless Dock D5000
The Dell Wireless Dock or Wireless Bus Extension (WBE) is an easy-to-use
software which allows you to connect to the Dell wireless dock D5000 using 60
GHz frequency band in parallel to other Wi-Fi access. The Wireless Docking
software uses WiGig’s WBE PAL leveraging the latest technology in
transmitting the data wirelessly. Using this software you can enjoy wireless
high-speed data, audio, and video transfer between your PC/laptop and Dell
wireless dock D5000 securely. The software supports WPA2 security.
Once you establish a connection between your PC/laptop and the Dell wireless
dock D5000, all the devices like printers, display devices, external hard drives,
etc. attached to the dock are available to you. You can access them wirelessly
using your PC/laptop. The Device Manager on your PC/laptop shows all the
devices attached to the Dell wireless dock D5000, as if they are attached to
your PC/laptop.
The following sections explain in detail how to install the software, connect to
Dell wireless dock D5000, and use the devices attached to the dock.
4.1 Installing the Software
The software comes pre-installed on your PC/laptop. In case if you need to
install the software, contact Dell support or download the software from the
following location:
http://www.dell.com/support/home/us/en/19?c=us&s=dhs&cs=19&l=en
In order to install the Wireless Docking software, navigate to the Wireless
Docking software folder on the downloaded software and run the setup file
(*.exe). The installation wizard starts installing the software. Follow the
instructions on the wizard to complete the installation.
You will be prompted to install the Qualcomm Atheros Ethernet driver, Display
Link, and Fresco Logic USB 3.0 Host controller driver. Select Yes to install
these drivers. These drivers are required by the devices attached to the Dell
wireless dock D5000 to work properly.

11
Note: If you select No, you may need to install all the three drivers manually
from the location c:/program files/Wilocity/Dock_Drivers. Run *.exe from the
respective folders to install the drivers.
Once the Wireless Docking software is installed, an icon is created in the
taskbar notification area and the software runs automatically. You can also
access the Wireless Docking software through a desktop icon on your
PC/laptop.
4.1.1 Uninstalling the Software
You can uninstall the Wireless Docking software using the Windows Control
Panel and by selecting Uninstall or change a program window option.
4.2 Scanning for the Dell Wireless Dock D5000
The Wireless Docking software runs automatically and scans for available
docks when your PC/laptop boots. An icon is displayed in the taskbar
notification area. For easy identification, the color of the icon changes when a
dock is connected.
Note: If the taskbar notification icon is hidden, expand the taskbar by selecting
You can also see the SSID and signal strength of the connected dock when
you move the mouse over the icon. The following table describes the color
status of the Wireless Docking software’s taskbar notification icon:
Icon Color
Description
Green
Connected to a dock
Blue
Disconnected from the dock
Red
Error of any kind
Orange
Airplane Mode is ON or Hardware switch is
OFF on your PC/laptop
Grey
Your PC/laptop does not support wireless
docking using 60 GHz frequency
Note: If the Wireless Docking software taskbar identification icon does not
change from red color to blue color or green color, first restart your PC/laptop.
If this still does not resolve the issue, you need to re-install the Wireless
Docking software again.

12
Note: The symbol in the Wireless Docking software’s taskbar notification icon
shows that there are docks available for connection.
Figure 1 Connection Manager - Disconnected
Figure 2 WiGig Connection Manager - Connected
The Wireless Docking software automatically scans for available docks at a
pre-set interval of time. You can modify the time interval of this scan using the
Wireless Hub Connection Manager. All the available docks are displayed when
you click on the Wireless Docking software icon in the taskbar notification
area.
You can also manually scan for available docks at any time. First, click on the
Wireless Docking software icon in the taskbar notification area and then click
on the circular arrows as shown in Figure 3. The following table shows the auto
scan behavior:
Auto
connect Auto scan
Automatic
Connection
possible
Manual Scan
Required
Manual Connect
Required
Yes
Yes
Yes
No
No
Yes
No
Yes
Yes
No
No
No
No
Yes
Yes
Note: Manual scan is not available when a dock is connected to your
PC/laptop. You need to disconnect the dock to scan manually.

13
Note: Only the docks that are available for connecting are displayed. If a dock
is already connected to your PC/laptop, the dock is not displayed in the
available list. You need to disconnect the dock to view it in the available list.
Figure 3 Scanning Manually
4.3 Connecting to a Dell Wireless Dock D5000
The Wireless Docking software allows you to connect to the Dell wireless dock
D5000. While connecting to the Dell wireless dock D5000, you can select the
checkbox Connect Automatically. This allows the Wireless Docking software
to remember the connection settings and connects to the Dell wireless dock
D5000 automatically if the dock is available. Once the dock is connected, all
the devices attached to the dock are available to you.
Note: You can connect to only one dock at a given time. Other users cannot
see the connected dock while scanning, until you disconnect the dock.
Depending on the security level and hardware capabilities of the Dell wireless
dock D5000, the following are the secured ways you can connect to a
Dell wireless dock D5000:
WPS Encryption: When trying to connect to Dell wireless dock D5000, you
will be prompted to enter an encryption password. Once the password is
entered and verified, the Dell wireless dock D5000 will be connected to your
PC/laptop and a profile with all the information will be created.
Note: The Dell wireless dock D5000 comes with the following pre-configured
SSID and password. The same is printed on a label behind the Dell wireless
dock D5000.

14
SSID : D5000_xxxxxx (xxxxxx represents 6 alpha numeric)
Password : 12345678
WPS Push Button: This option allows you to connect to the Dell wireless dock
D5000 without a password. You need to manually push the WPS Push button
present on the Dell wireless dock D5000 to complete the connection between
your PC/laptop and the Dell wireless dock D5000. For more information see
3.1.2 Pairing Button
4.3.1 How to connect to the Dell wireless dock D5000
To connect to the Dell wireless dock D5000, follow these steps:
1. Click the Wireless Docking software icon in the taskbar notification area.
The Dock Station dialog appears and displays all the available docks.
2. Select the Dell wireless dock D5000. The available options for the Dell
wireless dock D5000 are displayed.
3. (Optional) Select the check box Connect Automatically if you want to
connect to the Dell wireless dock D5000 automatically from the next time.
4. Select Connect, you will be prompted to enter a password or push the
paring button on the Dell wireless dock D5000 and press return key on your
PC/laptop.
5. The Dell wireless dock D5000 is now connected to your PC/laptop.
Figure 4 Connecting to a Dock

15
Once the dock is connected, the Wireless Docking software allows you to view
the status of the connected Dell wireless dock D5000 and also update the
firmware of the dock. You can also restore the Dell wireless dock D5000 to
factory settings.
Select to expand the Dell wireless dock D5000 Settings dialog. The
following options are available to you:
•Status: Displays the current status between your PC/laptop and the
Dell wireless dock D5000. Also, it displays the duration of the
connection, the speed at which the data is transferred between your
PC/laptop and dock, the SSID of the Dell wireless dock D5000, the
channel through which your PC/laptop and the Dell wireless dock
D5000 are communicating, the security mode of the connection, and
the firmware version of the Dell wireless dock D5000.
•Setup: Allows you to modify the SSID of the Dell wireless dock D5000,
channel, the security mode, the connection key, the Dell wireless dock
D5000 password, the Dell wireless dock D5000 firmware upgrade, and
restore to factory settings. To upgrade the firmware, select "....", browse
to the firmware image location on your PC/laptop, select the image file,
and select Start.
Note: The configuration is stored individually for respective docks and the dock
is managed via a wireless connection from your PC/laptop.
4.4 Managing the Dell wireless dock D5000
Using the Wireless Hub Connection Manager, the Wireless Docking software
allows you to manage the Dell wireless dock D5000. You can modify the profile
of the Dell wireless dock D5000, change the auto scan preferences, upgrade
the host firmware, change the look and feel of the Connection Manager dialog,
and view the version of the Wireless Docking software.
To access the Wireless Hub Connection Manager, click the Wireless Docking
software icon in the taskbar notification area and click the settings button
on the Wireless Hub Connection Manager.

16
Figure 6 Dell wireless dock D5000 settings
4.4.1 Profile Management
You can access profile management through the Wireless Hub Connection
Manger. The profiles of all the connected Dell wireless dock D5000s are stored
on your PC/laptop. You can set the priority of the docks that can be connected,
if one or more docks are available. You can also add, delete, or edit a profile
for a particular dock.
To set Priority, follow these steps:
1. Click the Wireless Docking software icon in the taskbar notification area.
The Wireless Hub dialog appears.
2. Click on the Wireless Hub dialog. The Settings dialog appears.
3. Select Profiles. The profiles of all the connected docks are displayed.
4. Select the profile you want to prioritize and select Move UP until the
desired profile is displayed as the first profile.
To Delete a profile, follow these steps:
1. Follow the steps 1 to 3 from above.
2. Select the profile you want to delete and select Delete in the options on the
dialog. The profile is deleted.
Note: If you delete a profile for a dock, you will be prompted to enter the setup
key before connecting to the dock.
Table of contents
Other Dell Docking Station manuals

Dell
Dell E-Port Plus II User instructions

Dell
Dell D6000 User manual

Dell
Dell K10A User manual

Dell
Dell WLD15 User manual

Dell
Dell WLD15 User manual

Dell
Dell thunderbolt TB16 User manual

Dell
Dell LOB Latitude XT2 Installation instructions

Dell
Dell D6000 User manual

Dell
Dell Venue 11 Pro User manual

Dell
Dell WD19 Dual Cable User manual

Dell
Dell E-Port Plus User manual

Dell
Dell PR01X - Advanced Port Replicator 2U442 User manual

Dell
Dell K10A User manual

Dell
Dell WD15 User manual

Dell
Dell WD19TBS User manual

Dell
Dell D3100 User manual

Dell
Dell E-Port Plus User manual

Dell
Dell LOB Latitude XT2 User manual

Dell
Dell WD19 Dual Cable User manual

Dell
Dell thunderbolt TB16 User manual