manuals.online logo
Brands
  1. Home
  2. •
  3. Brands
  4. •
  5. Insignia
  6. •
  7. Camera Accessories
  8. •
  9. Insignia NS-MPKIT50 User manual

Insignia NS-MPKIT50 User manual

QUICK SETUP GUIDE
Mobile
Photography
Kit
NSMPKIT50
PACKAGE CONTENTS
• LED video light
• USB charging cable
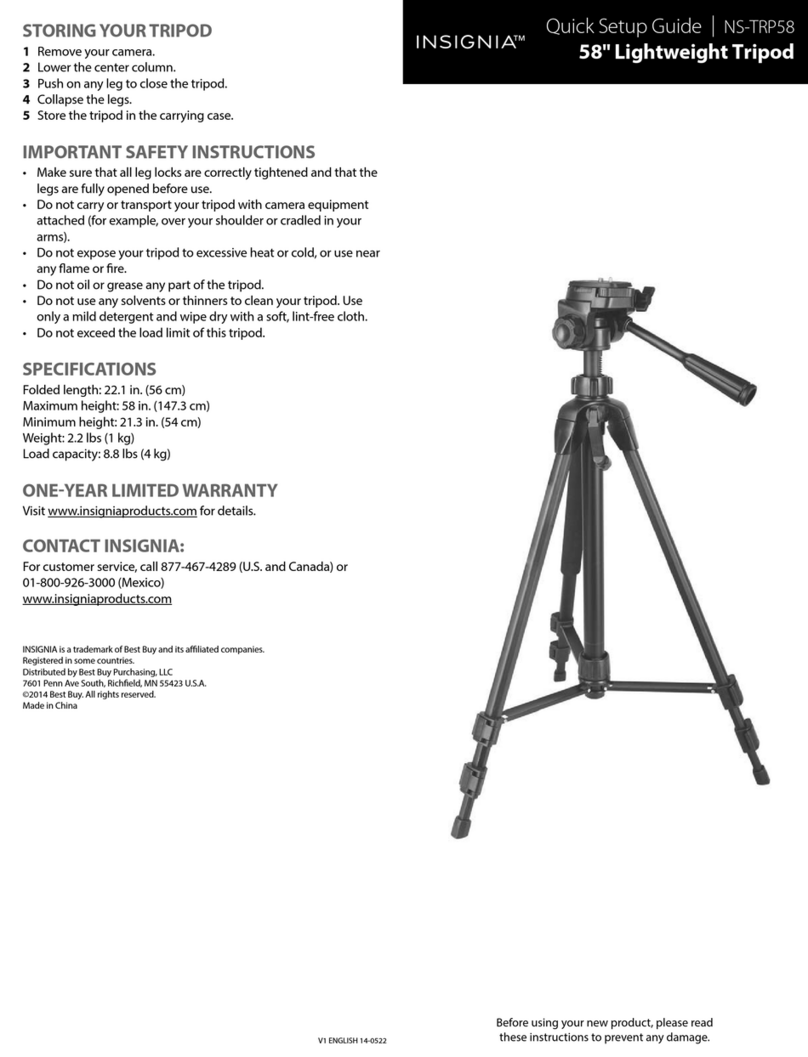
• Directional microphone
• Carrying pouch
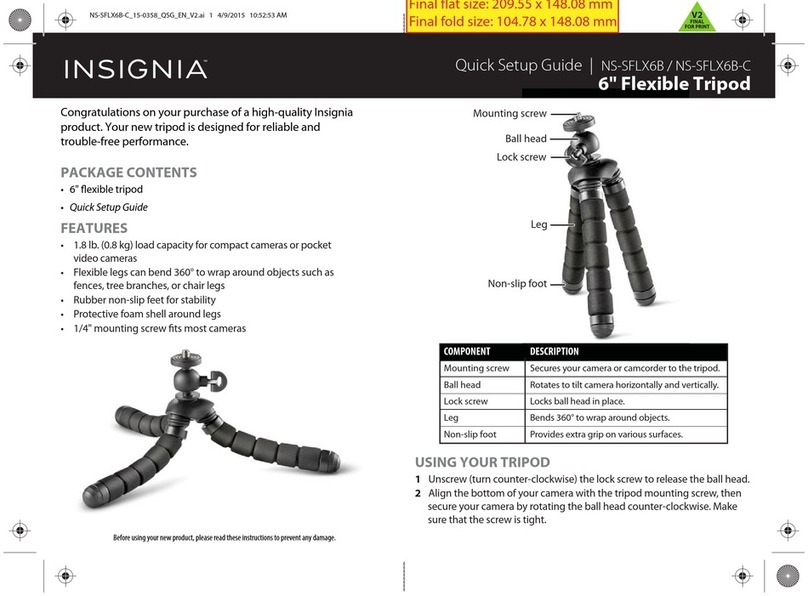
• Flexible smartphone tripod
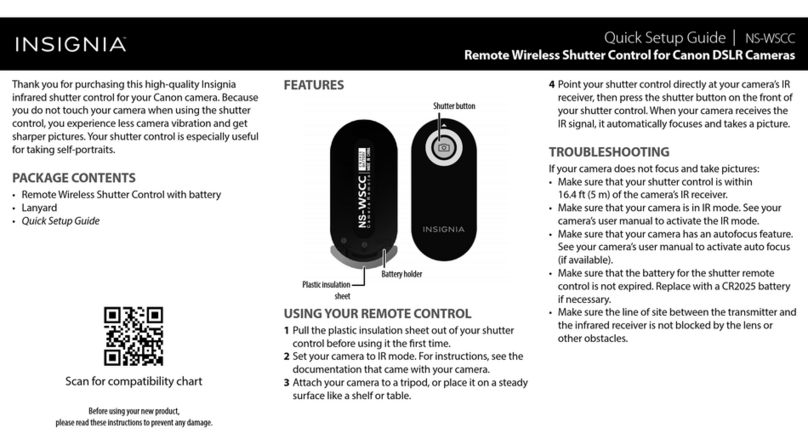
• Bluetooth® shutter remote (CR2032 battery
included)
• 3 lenses (macro, wide-angle, and sheye)
• Lens clip
• 3 lens cap sets
• Soft storage pouch
• Quick Setup Guide
Note: Each product has its own model number. The
model number of this entire kit is NS-MPKIT50.
Before using your new product,
please read these instructions to prevent any damage.
LED VIDEO LIGHT NSM16LED10
Extremely bright and vibrant light for videos and
photos, can be used with both front and rear
camera. Built-in battery won’t drain your phone. 3
brightness settings for maximum versatility. Plugs
into standard headphone jack for convenience. No
app required for use.
CHARGING THE BATTERY
1 Slide the power switch OFF.
2 Connect the USB charging cable from your video
light’s micro USB port to a power source (such as
a computer or USB power adapter (not included)).
The charging LED is red while charging, then
turns o when nished (about 2 hours).
USING YOUR VIDEO LIGHT
1Connect the 3.5 mm connector to your mobile
device’s audio jack.
Note: The 3.5 mm connector is only used to secure the
light to your phone. It does not interface with your
phone. You may hold the light in your hand if there is
glare or your phone doesn't have a headphone jack.
2Slide the power switch ON.
3Direct the video light at your subject and slide the
brightness switch to adjust the brightness, as
needed.
4Use your mobile device to capture video or
images.
MAINTENANCE
• Do not squeeze or operate the video light with
excessive force.
• Keep the video light in a dry and cool place.
• To maintain battery life, charge the video light at
least once every ve months.
SPECIFICATIONS
SAFETY INFORMATION
• Keep the power switch in the OFF position when the light is not in use.
• Do not store or transport when the LED light is illuminated.
• There are no serviceable parts inside. Do not disassemble.
DIRECTIONAL MICROPHONE
NSMDMIC20
Plug in and point the microphone at the sound you
want to record. Background sound is rejected, and
you hear only what you want in breathtaking clarity.
Works with existing recording apps on your phone,
no separate download needed.
COMPATIBILITY
Designed for mobile phones and tablets.
Compatibility with other devices is not guaranteed.
Note: Before using this microphone, record a short audio
segment to make sure that the microphone is working
correctly.
USING YOUR MICROPHONE
1Plug the 3.5 mm connector into your recording
device’s audio input jack.
2Tilt and turn the microphone towards the subject
you want to record.
NOTE: Sound is primarily picked up through the 7 round
holes on the front of the microphone.
3Turn on your recording device, then record a short
audio segment to make sure that the microphone
is working correctly:
• If sound is too quiet, move the microphone
closer.
• If sound is distorted, the audio is too loud.
Move the microphone farther away.
4Use your recording device to record the audio you
need.
Low 4 hours Medium 2 hours High 1 hour
Approximate Battery life (for each brightness setting)
2 × 1.9 × 0.5 in.
51 × 46.8 × 12.5 mm
17g (0.6 oz.)
Built-in lithium battery
3.7 V 200 mAh
Low: 4 hours
Medium: 2 hours
High: 1 hour
Approximately 2 hours (from
empty battery)
Dimensions (including
3.5mm plug)
Net weight
Battery
Approximate
battery life (for each
brightness setting)
Charge time
TROUBLESHOOTING
Too much ambient noise is picked up
• Move the microphone closer to the subject. A
certain amount of ambient noise is unavoidable
in loud environments.
• Make sure that the microphone is tilted towards
the subject.
Microphone does not record audio
• Make sure that the 3.5 mm connector is
connected to your recording device’s INPUT jack.
• Make sure that the 3.5 mm connector is fully
inserted into the audio jack. You may need to
remove your device's case.
• Make sure that your device is recording audio.
• Move the microphone closer to the subject.
SPECIFICATIONS
TRIPOD AND REMOTE SHUTTER
NSMTRIBT10
Use by itself or with the included tripod for group
shots or triggering your phone from a distance. No
app needed!
Mount your phone on the tripod for easy group
shots, blur-free night-time shots, or stable video.
Flexible legs allow tripod to be wrapped or hung for
placement anywhere. Works with phones with up to
a 5.5" screen.
USING YOUR TRIPOD
1Turn the lock screw counter-clockwise to loosen
the clip.
2Push the folded clip into a horizontal position,
then tighten the lock screw.
3.5 mm connector
Microphone
Polar pattern
Frequency pattern
Signal/Noise
Sensitivity
Connector
Weight
Omni-directional
35-18KHz (±3 dB)
76dB SPL
-30dB (±3dB)
3.5mm TRRS connection
0.6 oz. (18 g)
Tripod Bluetooth
remote control
LED
Power
switch
Shutter
Clip top
Clip body
Lock screw
Leg
Non-slip foot
Charging LED
3.5 mm connector
LED lights
Front:
Left side: Right side:
Brightness
switch
Power switch
Micro USB port
Flat size (W×H): 18 × 7.5 in. (457.2 x 190.5 mm)
Final folded size: 3 × 7.5 in. (76.2 x 190.5 mm)
NS-MPKIT50_16-0082_QSG_V1_EN.ai 1 4/13/2016 11:06:43 AMNS-MPKIT50_16-0082_QSG_V1_EN.ai 1 4/13/2016 11:06:43 AM
3Push the body of the clip into a vertical position,
then fold the top of the clip up.
4Insert your smartphone into the clip in a
landscape position.
5Place the tripod on a table, oor, or other stable
location.
OR
Wrap all three tripod legs around an object like a
tree branch or railing.
Caution: Placing the tripod on an unsteady object or
not attaching securely could damage your tripod or
smartphone.
6 Adjust the clip and tripod to point your phone in
the direction you want.
USING YOUR REMOTE CONTROL
Pairing to your smartphone
1Slide the remote control's power switch ON. The
remote enters pairing mode and the LED blinks
rapidly.
2On your smartphone, turn on Bluetooth, then
put it in pairing mode. For more information, see
the documentation that came with your phone.
3On your smartphone, select NS-MTRIBT10. The
remote control pairs with your smartphone and
the LED blinks slowly.
Note: Pressing the (shutter) button when your
phone is not in camera mode may cause unwanted
functionality (such as changing the volume). Turn o
the remote control when it is not in use.
Taking a photo
1Pair your smartphone to the remote control. See
“Pairing to your smartphone” for more
information.
2Open your smartphone’s camera app.
3Press (shutter) to take a single picture.
OR
Press and hold (shutter) to take a series of
photos (if your smartphone supports this
feature).
4When nished, slide the power switch OFF.
Note: The remote enters sleep mode and the LED turns
o after 10 minutes of inactivity. Press (shutter) to
wake.
Replacing the remote battery
Note: The LED blinks quickly when the battery is low.
1Use a Phillips screwdriver to remove the screw,
then slide o the battery cover and remove the
old battery.
2Insert a new CR2032 battery with the + facing up,
then slide on the battery cover and replace the
screw.
TROUBLESHOOTING
Remote control will not pair with my phone
• Move your phone and remote control within ve
feet of each other.
• Make sure that your remote control is not paired
to another phone.
• Make sure that you selected NS-MTRIBT10 on
your phone.
• Turn your remote o, then on. Re-pair your
remote control and phone.
• The remote control battery may be depleted.
Replace the battery.
“NS-MTRIBT10”does not appear on my phone
• Move your phone and remote control closer
together.
• Put your remote control in pairing mode, then
refresh your list of Bluetooth devices. For more
information, see the documentation that came
with your phone.
SAFETY INFORMATION
• Do not store or expose these devices to excessive heat or cold, or use
near any ame or re.
• Do not oil or grease any part of these devices.
• Do not use any solvents or thinners to clean these devices. Use only a
mild detergent and wipe dry with a soft, lint-fee cloth.
• Do not exceed the load limit of the tripod (10 oz.).
• Do not use or store these devices in extremely hot environments (such
as a parked car).
• Do not squeeze or drop these devices.
• Recycle or dispose of your batteries in accordance with your local
regulations.
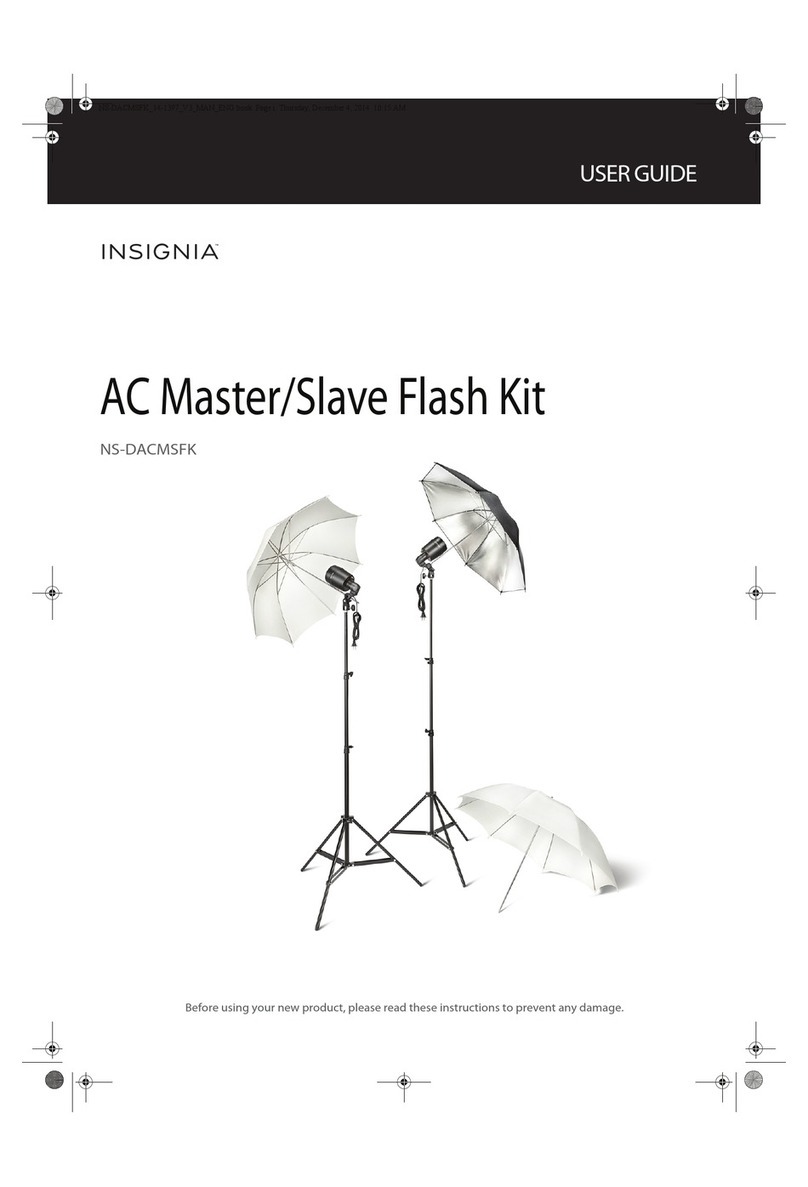
CAMERA LENS KIT NSM3LENS10
The macro lens makes the tiny seem large, the
wide-angle lens takes breathtaking panoramas,
and the sheye lens captures an amazing
wrap-around perspective. Universal design quickly
clips on most phones, even over cases.
Note: The following images simulate product function.
SELECTING A LENS
TAKING A PHOTO
1Select a lens, remove its caps, then screw the lens
onto the clip.
Shutter
2Squeeze the clip to align the lens over your
mobile device’s camera.
Note: If the lens is not aligned correctly, there may be
shadows or blurriness on one side of the image.
3Open your photo app, then take a photo.
4When nished, remove the clip, unscrew the
lens, then cover with front and rear caps.
MAINTENANCE
· Take care when cleaning the lenses.They are precise glass lenses and
can scratch. If dirt or ngerprints need to be cleaned, rst wipe gently
with a clean, lint-free cloth. If further cleaning is required, a camera
lens cleaning kit can be used. Eyeglass cleaning products are also
suitable.
· Do not use harsh chemicals such as window glass cleaner, as they can
permanently damage the lenses.
· Do not submerge lenses in liquid for cleaning, as water can be
permanently trapped inside the lens.
Macro: Captures more detail (10x)
in close-up photos. Ideal for owers,
insects, and jewelry.
Note: Focusing is only possible within a
few inches of the subject. Macro lens
cannot be used for standard pictures at
further distances.
Wide-angle: Captures 30-50% more
than a normal phone camera. Ideal for
landscapes or tight indoor shots.
Fisheye: Capture extreme
ultra-wide photos with a dramatic
depth of eld. Ideal for artistic
shots of everyday scenes.
Images are representative only.
LEGAL NOTICES
FCC Statement
CAN ICES-3 B/NMB-3 B
This device complies with Part 15 of the FCC Rules. Operation is subject
to the following two conditions: (1) this device may not cause harmful
interference, and (2) this device must accept any interference received,
including interference that may cause undesired operation.
1. FCC Caution - §15.21:
Changes or modications not expressly approved by the party
responsible for compliance could void the user's authority to operate the
equipment.
2. FCC Statement - §15.105(b):
This equipment has been tested and found to comply with the limits for
a Class B digital device, pursuant to Part 15 of the FCC Rules.These limits
are designed to provide reasonable protection against harmful
interference in a residential installation. This equipment generates, uses
and can radiate radio frequency energy and, if not installed and used in
accordance with the instructions, may cause harmful interference to
radio communications. However, there is no guarantee that interference
will not occur in a particular installation. If this equipment does cause
harmful interference to radio or television reception, which can be
determined by turning the equipment o and on, the user is encouraged
to try to correct the interference by one or more of the following
measures:
• Reorient or relocate the receiving antenna.
• Increase the separation between the equipment and receiver.
• Connect the equipment into an outlet on a circuit dierent from that
to which the receiver is connected.
• Consult the dealer or an experienced radio/TV technician for help.
ONEYEAR LIMITED WARRANTY
Visit www.insigniaproducts.com for details.
CONTACT INSIGNIA:
For customer service, call 877-467-4289 (U.S. and
Canada) or 01-800-926-3000 (Mexico)
www.insigniaproducts.com
INSIGNIA is a trademark of Best Buy and its aliated companies. Registered in some countries. Distributed by
Best Buy Purchasing, LLC, 7601 Penn Ave South, Richeld, MN 55423 U.S.A.
©2016 Best Buy. All rights reserved.
Made in China
BC
V1 ENGLISH 16-0082
NS-MPKIT50_16-0082_QSG_V1_EN.ai 2 4/13/2016 11:06:44 AMNS-MPKIT50_16-0082_QSG_V1_EN.ai 2 4/13/2016 11:06:44 AM

Other Insignia Camera Accessories manuals

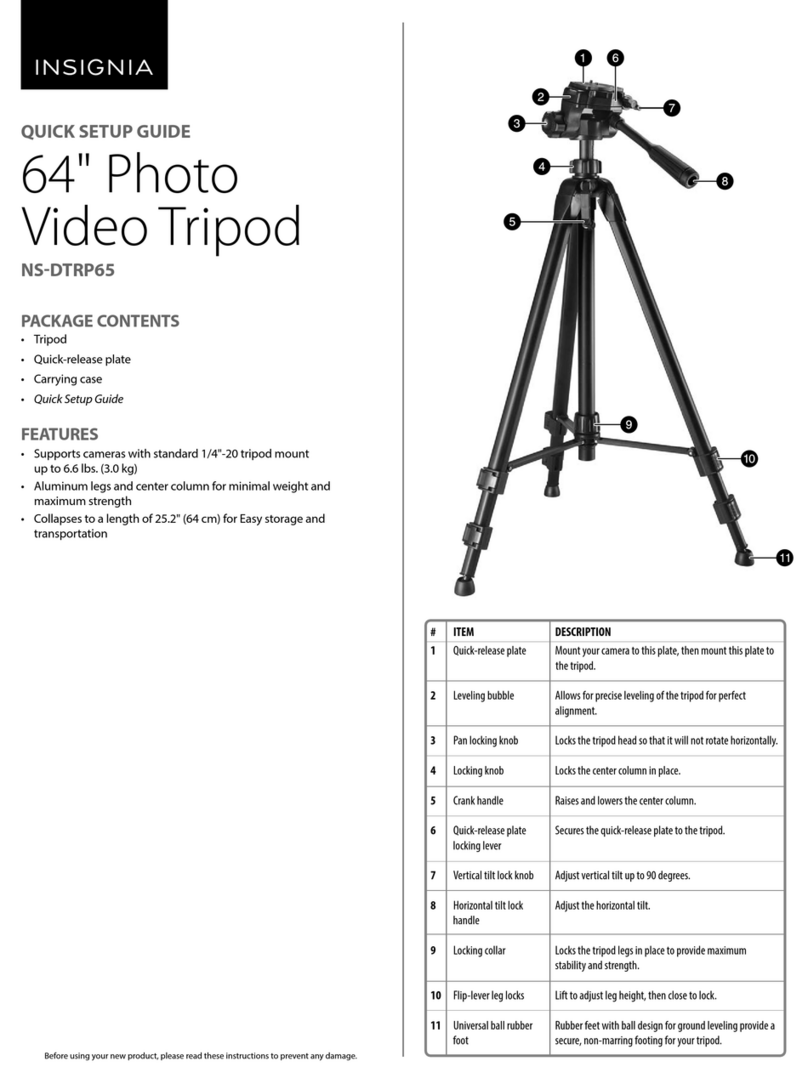
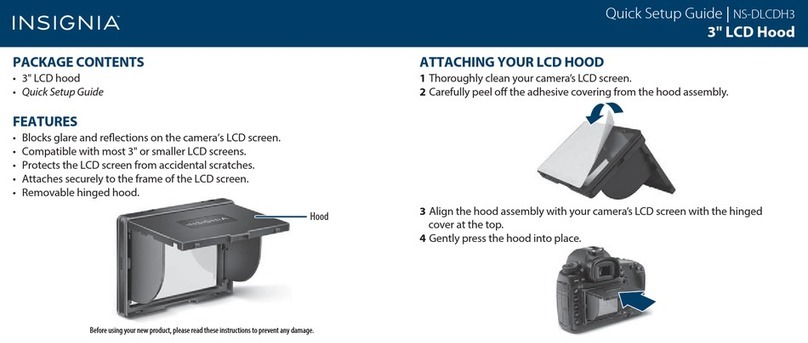
Insignia NS-DLCDH3 User manual

Insignia

Insignia NS-DLCDH3 User manual

Insignia NS-DTRP65 User manual

Insignia

Insignia NS-DTRP65 User manual

Insignia NS-DFD04 User manual

Insignia

Insignia NS-DFD04 User manual

Insignia NS-DGPCS10-C User manual

Insignia

Insignia NS-DGPCS10-C User manual

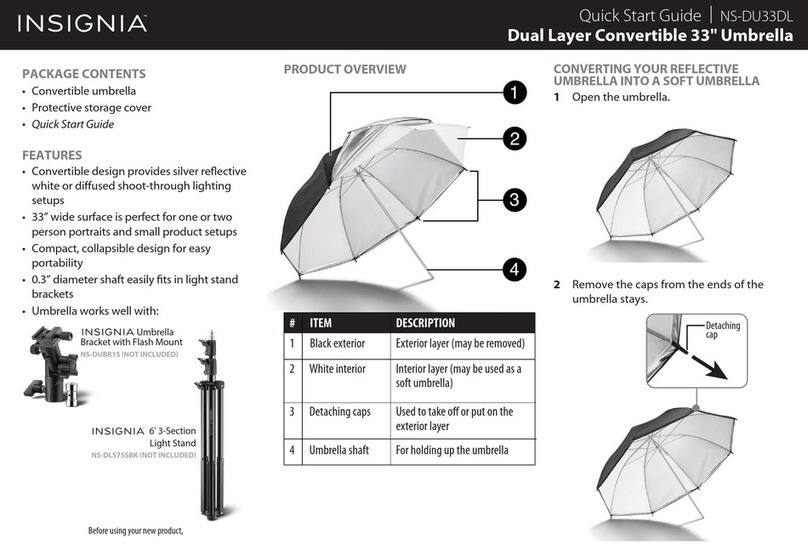
Insignia Dual Layer Convertible Umbrella User manual

Insignia

Insignia Dual Layer Convertible Umbrella User manual

Insignia NS-TPR58 User manual

Insignia

Insignia NS-TPR58 User manual

Insignia NS-M16LED10 User manual

Insignia

Insignia NS-M16LED10 User manual

Insignia NS-SFLX6B User manual

Insignia

Insignia NS-SFLX6B User manual

Insignia NS-DACMSFK User manual

Insignia

Insignia NS-DACMSFK User manual

Insignia NS-DGPSMC10 User manual

Insignia

Insignia NS-DGPSMC10 User manual

Insignia NS-DGPHS10 User manual

Insignia

Insignia NS-DGPHS10 User manual

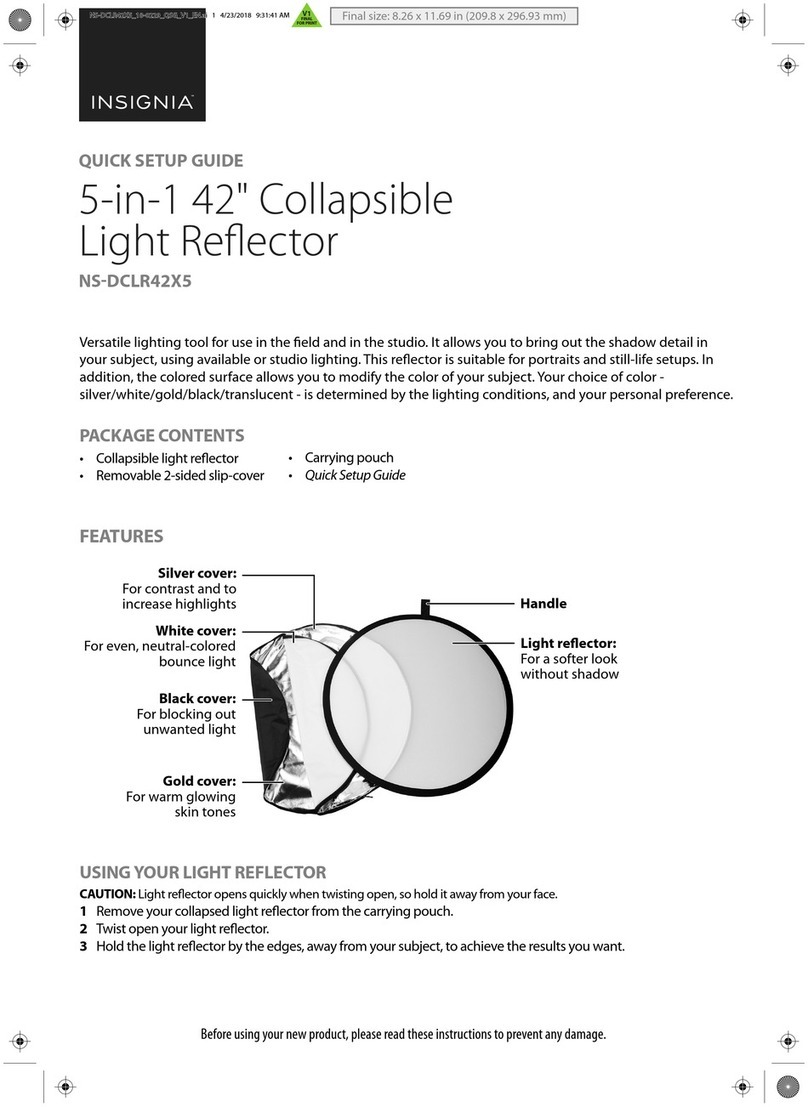
Insignia NS-DCLR42X5 User manual

Insignia

Insignia NS-DCLR42X5 User manual

Insignia NS-WSCC User manual

Insignia

Insignia NS-WSCC User manual

Insignia NS-DGPSMC10 User manual

Insignia

Insignia NS-DGPSMC10 User manual

Popular Camera Accessories manuals by other brands

Zircon SuperScan M1 user manual

Zircon

Zircon SuperScan M1 user manual

Fantasea Nano Premium instruction manual

Fantasea

Fantasea Nano Premium instruction manual

Zhiyun WEEBILL 3 quick start guide

Zhiyun

Zhiyun WEEBILL 3 quick start guide

Inkee Falcon quick start guide

Inkee

Inkee Falcon quick start guide

Kaiser Slimlite plano 2454 operating instructions

Kaiser

Kaiser Slimlite plano 2454 operating instructions

Libec ALX KIT operating manual

Libec

Libec ALX KIT operating manual

Moza iFocus M user manual

Moza

Moza iFocus M user manual

Sony SPK-HCA release note

Sony

Sony SPK-HCA release note

Peak ForgeC manual

Peak

Peak ForgeC manual

Sony VCL-ST30 Supplemental notes

Sony

Sony VCL-ST30 Supplemental notes

Tamiya LF1100-6.6 manual

Tamiya

Tamiya LF1100-6.6 manual

Walther INR18650 operating instructions

Walther

Walther INR18650 operating instructions

DataSafe HX Series Installation, operation and maintenance instructions

DataSafe

DataSafe HX Series Installation, operation and maintenance instructions

Kino Flo Kamio 6 Operation manual

Kino Flo

Kino Flo Kamio 6 Operation manual

Genaray RGB Series user manual

Genaray

Genaray RGB Series user manual

Celestron StarSense AutoAlign 94006 manual

Celestron

Celestron StarSense AutoAlign 94006 manual

Nodal Ninja EZ-Leveler II Fanotec Quick reference guide

Nodal Ninja

Nodal Ninja EZ-Leveler II Fanotec Quick reference guide

KiloVault HAB 7.5 V4 Installation & user manual

KiloVault

KiloVault HAB 7.5 V4 Installation & user manual

manuals.online logo
manuals.online logoBrands
  • About & Mission
  • Contact us
  • Privacy Policy
  • Terms and Conditions

Copyright 2025 Manuals.Online. All Rights Reserved.