INSTEON 2845-x22 User manual

®
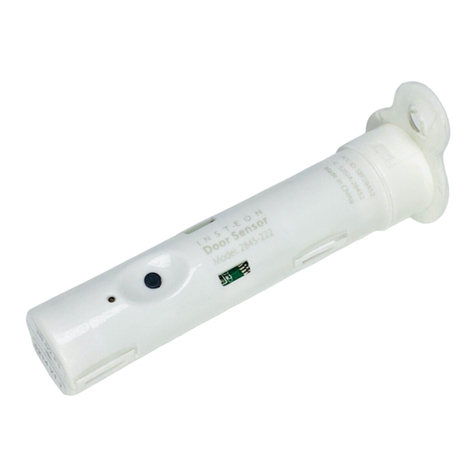
INSTEON Door Sensor 2845-x22

Contents
Getting Started
INSTEON Door Sensor 4
Device Overview
Tools Needed for Installation
Test Your Location First
Install in a Window Frame
Installation
Link First 6
Locate the Hole
Drill the Hole
Test the Fit
Using the Spacer 7
INSTEON Links
Understanding Linking 9
Linking to the INSTEON Hub 11
Linking to Control Another Device 12
Five-Tap Linking to Control Another Device 13
Multi-Linking or Making a Scene 15
Unlinking a Device 16
Multi-Unlinking or Removing a Scene 17
Programming Wheel
About the Programming Wheel 20
Programming Wheel 21
Factory Reset
Factory Reset 23
Software-Only Features
Enable Group 1 & 2 Broadcast 25
Disable Local Programming
Disable LED and Beeper
Adjust Heartbeat Interval
Low Battery Warning 26
Appendix
29
Troubleshooting 32
33
Product Warranty 35

3
Everything you need to quickly get up and running.
Getting Started

4
®
Door Sensor
Model: 2845-222
Device Overview Tools Needed for Installation
INSTEON Door Sensor
Door Sensor in it’s intended location and try
add a Range Extender.
Power Drill
3/4-inch Auger Drill Bit
(Recommended)
®
Door Sensor
Model: 2845-222
X
X
Test Your Location First Install in a Window Frame
®
Door Sensor
Model: 2845-222
®
Door Sensor
Model: 2845-222
Set
Button
Status
LED
Spacer Spacer Screw
Plunger
AAA Battery
Phillips Screwdriver

5
Installation
Test linking in the intended
location
Link with all devices you wish
to control
Drill a mounting hole and test
secure with a screw
device? See 5-Tap Linking.

6
can link
Test the FitDrill the Hole
Link First Locate the Hole
Installation
low will still work.
assistant hold the door steady.
1 2
43
?
X
X
now complete.

7
Using the Spacer
Slide the spacer over Door Sensor to
with the screw provided.
®
Door Sensor
Model: 2845-222

8
INSTEON Links

9
are created are one-way.
The switch will turn on the Lamp Dimmer to
A SwitchB Lamp Dimmer
®
75%
controller are called responders.
®
®
Neutral
On
Off
Set
N
N
Load L1
Line L
RespondersControllers
Links Remember a Device’s StateLinks are One-Way
Understanding Linking
®
®
®
Door Sensor
Model: 2845-222

10
Controller-Only
other devices.
Sensor.
Responder-Only
Some devices cannot control other devices;
Some devices can only link as
responders to devices and scenes.
LED Bulb Dimmer Switch
X
Understanding Linking
Grouping Devices Use Cross Linking
You may want to group together two
each direction.
To mirror Switch A and B so that they each
control one another and the connected
Link Switch A to Switch B and repeat to link
Switch B to Switch A.
A BLoad
Motion Sensor
®
X
Dimmer Switch
A B

11
®
Door Sensor
Model: 2845-222
Linking to the INSTEON Hub
2
1
3 4
devices.
Rooms
All Devices Check-In Favorites
Bathroom Bedroom Hallway
Kitchen Living Room Outside
72º
Add Device
LED Bulb Thermostat
Door Sensor Open/Close
Sensor
All Devices
Back Door Bathroom Bedroom
Font Door Garage Door Garage Light
Motion Sensor Outside Lights
72º
Add
3
Status may
not report
properly during
Preview
For Hardware Preview
Your Door Sensor is now added

12
®
Door Sensor
Model: 2845-222
®
Door Sensor
Model: 2845-222
Linking to Control Another Device
2Adjust your responder to the desired
1
®
®

13
Five-Tap Linking to Control Another Device
If Your Door Is Already Open If Your Door Is Closed
??
1
OR
or close the door without exiting
linking mode.
Linking process.
Press and release Door Sensor’s contact
plunger twice then hold the contact
Hold
Linking
Unlinking
Exit
®
Door Sensor
Model: 2845-222
®
Door Sensor
Model: 2845-222
®
Door Sensor
Model: 2845-222
®
Door Sensor
Model: 2845-222
®
Door Sensor
Model: 2845-222
®
Door Sensor
Model: 2845-222
®
Door Sensor
Model: 2845-222
®
Door Sensor
Model: 2845-222
®
Door Sensor
Model: 2845-222

14
Five-Tap Linking to Control Another Device
2Adjust your responder to the desired
®
®
®
Door Sensor
Model: 2845-222

15
®
Door Sensor
Model: 2845-222
®
Door Sensor
Model: 2845-222
Multi-Linking or Making a Scene
2
3 4
Lamp 1
Lamp 3
Lamp 2
Appliance
1
50% 72%
30% ON
®
A
B
ONCE
Your Door Sensor will now control
your scene.

16
®
Door Sensor
Model: 2845-222
®
Door Sensor
Model: 2845-222
Unlinking a Device
1
2
3Press and hold the controlled
®
®
X
Your Door Sensor will no longer
®
Door Sensor
Model: 2845-222

17
®
Door Sensor
Model: 2845-222
®
Door Sensor
Model: 2845-222
®
Door Sensor
Model: 2845-222
Multi-Unlinking or Removing a Scene
2
3 4
Press and hold the controlled
1
®

18
®
Door Sensor
Model: 2845-222
®
Door Sensor
Model: 2845-222
Multi-Unlinking or Removing a Scene
5
mode.
®
®
®
X
Your Door Sensor will no longer

19
Programming Wheel

20
About the Programming Wheel
Programming Wheel Features
device.
green
red
programming wheel presents even the most
Navigating the WheelAbout the Wheel
NEW
X
Other manuals for 2845-x22
1
Table of contents
Other INSTEON Accessories manuals

INSTEON
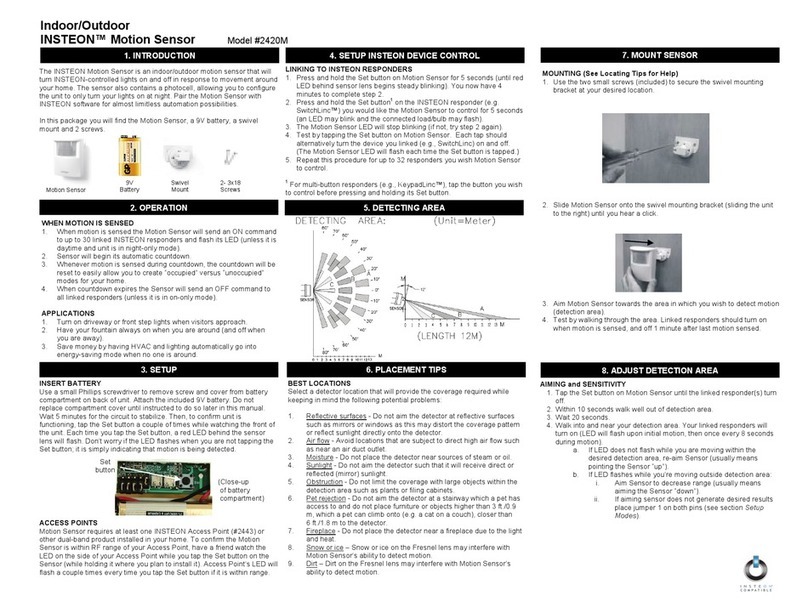
INSTEON 2420M User manual

INSTEON
INSTEON 2845-222 US User manual

INSTEON
INSTEON 2842-222 User manual

INSTEON
INSTEON 2421-222 User manual
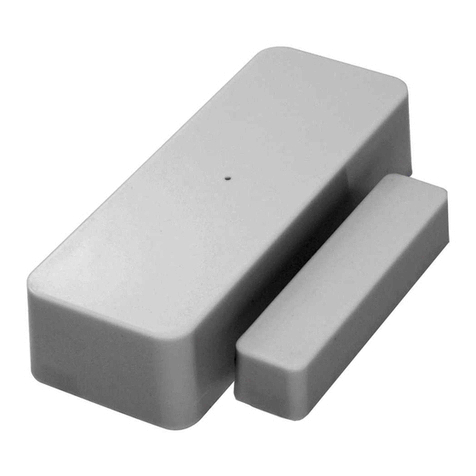
INSTEON
INSTEON 2845 22 Series User manual

INSTEON
INSTEON TriggerLinc 2843-2 User manual

INSTEON
INSTEON 2843-222 User manual
INSTEON
INSTEON OutletLinc 2472D User manual

INSTEON
INSTEON 2844-222 User manual

INSTEON
INSTEON 2663-222 User manual