Specifications
Specifications subject to change without notice.
Maximum Distance* 350 feet
Bandwidth DC to 1 MHz
Power No power required
Signals Transmitted Mouse data, mouse clock, keyboard data, keyboard clock, VCC,
ground
Unshielded Twisted Pair Maximum capacitance: 20 pf/foot
Cabling Specifications Impedance: 100 ohms @ 1 MHz
(24 gauge or lower solid Attenuation: 6.6 dB/1000 ft. @ 1 MHz
copper) Cat 5, Cat 5e, Cat 6, Cat 7 compatible
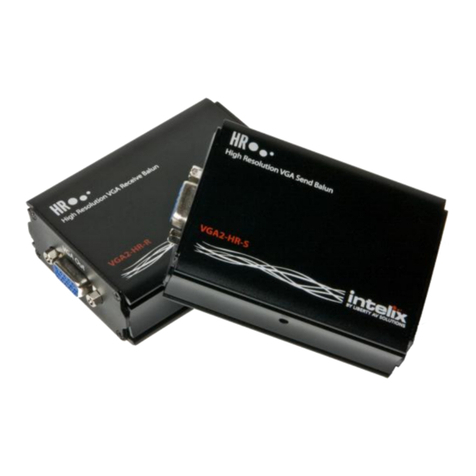
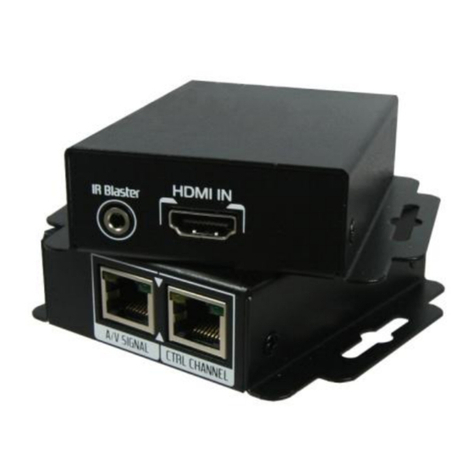
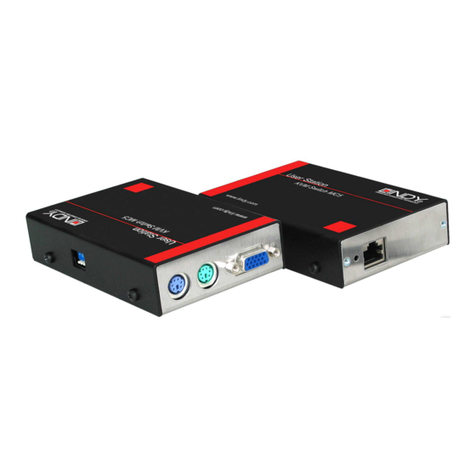
Connectors Send balun: Two (2) female 6-pin mini DIN to one (1) RJ45
Receive balun: Two (2) male 6-pin mini DIN to one (1) RJ45
Color Code Purple: Keyboard
Green: Mouse
RJ45 Pinout Keyboard: 7 & 8, pair 4
4 & 5, pair 1
Mouse: 1 & 2, pair 2
3 & 6, pair 3
Temperature Operating: 32 to 131 F (0 to 55 C)
Storage: -4 to 185 F (-20 to 85 C)
Humidity: up to 95% non-condensing
Enclosure ABS fire retardant black plastic
Dimensions Send balun: 2.4” x 2.3” x 1.0”
Receive balun: 2.0” x 1.0” x 1.0” with two 7.5” lead cables
Weight 1.6 oz (45 grams)
Ordering Information PS2, includes both send and receive baluns
Regulatory FCC, CE (pending)
Warranty 2 years
*Distances and picture quality may be affected by cable grade, cable quality, source and destination
equipment, RF and electrical interference, and cable patches. Intelix specifications are based on
straight-through cabling with standard-grade Cat 5.
Contact Information
Intelix
2222 Pleasant View Road
Middleton, WI 53562
Toll-free: 866-4-MATMIX
Phone: 608-831-0880
Fax: 608-831-1833
www.intelix.com
AV overCat5.com
Intelix PS/2 Keyboard and Mouse Extender
InsIns
InsIns
Instt
tt
tallation Manualallation Manual
allation Manualallation Manual
allation Manual
The Intelix PS2 balun extends a computer’s
PS/2 keyboard and mouse up to 350 feet
over structured cabling, such as Cat 5.
Typical applications include classroom and
educational facilities, corporate and board-
room audio-visual systems, digital signage,
collaborative PC systems, and bio-medical
information systems.
The Intelix PS2 contains both a send and receive balun. Both models are completely passive
and do not require a power supply.
To install the PS2 baluns, perform the following steps:
1. Turn off power and disconnect the computer and any other connecting equipement
by following the manufacturer’s instructions.
2. Connect the source keyboard to the purple connector on the send PS2 balun, then
connect the source mouse to the green connector on the send PS2 balun.
3. Connect the receive PS2 to the computer or destination equipment by connecting the
purple connector into the computer’s keyboard port and the green connector into the
computer’s mouse port.
4. Choose the structured cabling to be used. Verify the desired structured cabling is not
being used for other LAN or telephony equipment.
5. Complete the connection between the send and receive PS2 baluns using structured
cabling, such as Cat 5. Ensure the RJ45 connector pinout conforms to EIA/TIA 568
A or B crimp patterns.
6. Power on the computer or related equipment and test for correct operation.
Installation
Caution: Do not attempt to open the balun housing. There are no user-serviceable parts
inside the PS2. Opening the unit will void your warranty.
Caution: Do not connect the PS2 to a telecommunication outlet wired to unrelated
equipment. Making such a connection may damage the equipment and/or
balun. Please ensure all wiring is “straight-through.”
Caution: Do not mount the balun over equipment ventilation openings. Covering the
openings may cause the equipment to overheat.
