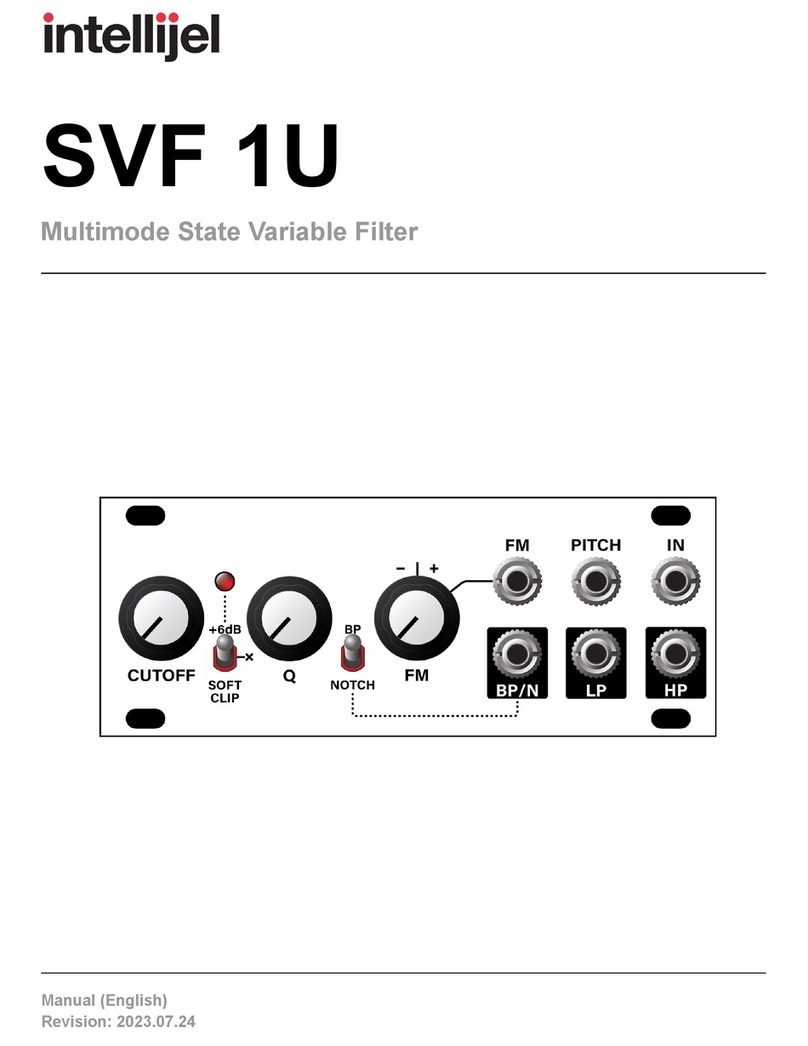
Intellijel Polaris User manual

Polaris Manual
Polaris
Versatile Multimode VCF / Phaser
Manual Revision: 2018.01.23

Polaris Manual
Table of Contents
Table of Contents
Overview
Features
Installation
Before Your Start
Installing Your Module
Front Panel
Controls
Inputs & Outputs
Multi Modes
Trimmers
Technical Specifications
Page 1

Polaris Manual
Overview
The Intellijel Polaris is a 4-stage cascaded OTA filter designed by David Dixon. It builds on the
lineage of the Dr. Octature and Atlantis filters, but with a totally revised core and resonance
control. Along with dedicated LP, HP and BP outputs it features a configurable MULTI output
capable of an unprecedented 27 different filter modes.
With drive turned down the Polaris is capable of buttery smooth filtering, and the cutoff control
range has been fine-tuned for playability. With the drive dialled up and the new asymmetric multi
distortion circuit engaged it creates a more aggressive sound. Not content to be just a filter, the
Polaris’s AP phaser mode combined with frequency modulation can be used to achieve a
phaser effect.
With so much versatility in a modest size, the Polaris is an ideal filter for a starter system and an
excellent addition to the tonal palette of a larger modular.
Features
●Dedicated LP, BP and HP outputs.
●MULTI output with 27 selectable filter types: 4 x LP, 5x BP, 4 x HP, 5 x Notch, 4x AP and
4 x Phaser (AP mode with inverted dry blend).
●Input drive control with soft clipping distortion.
●MULTI output asymmetric distortion.
Page 2

Polaris Manual
Installation
Intellijel Eurorack modules are designed to be used with a Eurorack-compatible case and power
supply.
Before Your Start
Before installing a new module in your case you must ensure your case’s power supply has
sufficient available capacity to power the module:
● Sum up the specified +12V current draw for all modules, including the new one. Do the
same for the -12 V and +5V current draw. The current draw will be specified in the
manufacturer's technical specifications for each module.
● Compare each of the sums to specifications for your case’s power supply.
● Only proceed with installation if none of the values exceeds the power supply’s
specifications. Otherwise you must remove modules to free up capacity or upgrade your
power supply.
You will also need to ensure you have enough free space (hp) as well as free power headers in
your case to fit the new module.
You can use a tool like ModularGrid to assist in your planning. Failure to adequately power your
modules may result in damage to your modules or power supply. If you are unsure, please
contact us before proceeding.
Installing Your Module
When installing or removing a module from your case always turn off the power to the case and
disconnect the power cable. Failure to do so may result in serious injury or equipment damage.
Ensure the 10-pin connector on the power cable is connected correctly to the module before
proceeding. The red stripe on the cable must line up with the -12V pins on the module’s power
connector. The pins are indicated with the label -12V, a white stripe next to the connector, the
words “red stripe”, or some combination of those indicators.
Page 3

Polaris Manual
Most modules will come with the cable already connected but it is good to double check the
orientation. Be aware that some modules may have headers that serve other purposes so
ensure the cable is connected to the right one.
The other end of the cable, with a 16-pin connector, connects to the power bus board of your
Eurorack case. Ensure the red stripe on the cable lines up with the -12V pins on the bus board.
On Intellijel power supplies the pins are labelled with the label “-12V” and a thick white stripe:
If you are using another manufacturer’s power supply, check their documentation for
instructions.
Page 4

Polaris Manual
Once connected, the cabling between the module and power supply should resemble the
picture below:
Before reconnecting power and turning on your modular system, double check that the ribbon
cable is fully seated on both ends and that all the pins are correctly aligned. If the pins are
misaligned in any direction or the ribbon is backwards you can cause damage to your module,
power supply, or other modules.
After you have confirmed all the connections, you can reconnect the power cable and turn on
your modular system. You should immediately check that all your modules have powered on
and are functioning correctly. If you notice any anomalies, turn your system off right away and
check your cabling again for mistakes.
Page 5

Polaris Manual
Front Panel
Page 6

Polaris Manual
Controls
1. MODE - This button cycles between the different filter modes of the MULTI output. The
LED's below the button indicate the currently selected mode. The modes are LP (Low
pass), BP (Band pass), HP (High pass), N (Notch), and AP (All pass). After AP there is a
6th “PHASER” setting which activates a special phaser effect that is a blend of the
all-passed signal and the original input.
2. TYPE - This button is used to cycle between filter types for the currently selected mode.
Each filter mode has up to 5 variations with different numbers of poles, this button cycles
between them. See the “MULTI Modes” section of the manual for more details.
3. CUTOFF - Sets the cutoff frequency of the filter. The knob position is combined with the
FM1 and FM2 inputs.
4. INPUT DRIVE - Sets the drive, or amplification, of the input signal. Unity gain is at the 12
o’clock position. At higher settings signal will begin to experience a clipped distortion.
5. Q - Sets the resonance of the filter. The knob position is combined with the Q input.
6. Q Attenuator - Attenuator for Q CV input.
7. MULTI DISTORT - When in the up position engages the distortion circuit on the MULTI
output.
8. FM1 - Controls the amount of attenuation of the FM1 input. The input tracks 1 V / octave
when this knob is fully clockwise.
9. FM2 - Controls the amount and polarity of the FM2 input. The input passes unmodified
when the knob is fully clockwise, inverted when fully counter-clockwise, and has no
effect when at the 12 o’clock position.
Inputs & Outputs
A. IN - Audio input to the filter.
B. Q - CV input for the Q control. The CV amount is attenuated by the black attenuator
connected to the Q knob.
C. FM1 - CV input for the cutoff frequency. Attenuation is controlled by the FM1 knob.
D. FM2 - CV input for the cutoff frequency. Attenuation is controlled by the FM2 knob.
E. LP - 4-pole (24 dB / oct) low pass filter output.
F. BP - 2-pole (12 dB / oct) band pass filter output.
G. HP - 4-pole (24 dB / oct) high pass filter output.
H. MULTI - Configurable filter output, configured by the MODE and TYPE buttons and
processed through the distortion circuit if it is enabled.
Page 7

Polaris Manual
Multi Modes
The MODE and TYPE buttons are used to select the filtered signal available at the MULTI
output. Pressing either button cycles through the respective options and the current selection is
indicated by the illuminated LED's. For the labels in between two LED's, such as modes BP and
N, the two LED's surrounding the label will both be lit to indicate that it is active. Not every mode
has 5 types of filters so some of the types may not be used.
The module remembers the last selected type for each mode as well as the last selected mode
when it power down.
The types for each mode are arranged such that the filter slope increases with each filter type.
For example LP mode A is a 1-pole low pass, B is a 2-pole, etc.
MODE
TYPE
Description
LP
A
1-pole 6 db/oct lowpass
LP
B
2-pole 12 db/oct lowpass
LP
C
3-pole 18 db/oct lowpass
LP
D
4-pole 24 db/oct lowpass
BP
A
1-pole 6 db/oct bandpass
BP
B
2-pole 12 db/oct bandpass
BP
C
3-pole 18 db/oct bandpass
BP
D
4-pole 24 db/oct bandpass
HP
A
1-pole 6 db/oct highpass
HP
B
2-pole 12 db/oct highpass
HP
C
3-pole 18 db/oct highpass
HP
D
4-pole 24 db/oct highpass
N
A
N
B
N
C
N
D
N
E
AP
A, B, C, D
Allpass. Varying phase
responses.
PHASER
Page 8

Polaris Manual
Trimmers
The side of the Polaris PCB has a resonance balance trimmer that can be used to set the balance of the
self-resonating feedback of the filter with the input signal. This trimmer can be adjusted to change the
sound of the filter when in self-resonance. Use a phillips head screwdriver to set the balance to taste.
The position of the trimmer is highlighted in the photograph below:
Page 9

Polaris Manual
Technical Specifications
Width
10 hp
Maximum Depth
40 mm
Current Draw
60 mA @ +12V
56 mA @ -12V
Page 10
Other manuals for Polaris
2
Table of contents
Other Intellijel Water Filtration System manuals
Popular Water Filtration System manuals by other brands
Livoo
Livoo DOM407AC1 instruction manual

AlkaZone
AlkaZone BHL-2100 Installation & operation manual
Sartorius
Sartorius Sartoclear 29XDL10-FCFFF Directions for use

Hozelock Cyprio
Hozelock Cyprio Trinamic 12,500 Installation and operating instructions
Panasonic
Panasonic ET-RFM100 operating instructions
Sharp
Sharp FZ-550HF Replacement parts
