Interacoustics Affinity2.0 User manual

8105216 - 1 - 12/2013
• IntroductiontoQuickGuides
• BasicAudiometry
• AC440ProtocolSetup
• PrintReport
• CustomisedPrintoutSetup
• TENTest
• QuickSIN
• ABeginnersGuidetoRealEarMeasures
• REMBSA
• REM440ProtocolSetup
• DirectionalityREM440
• RECD
• VisibleSpeechMapping
• HIT440Instructions
• HIT440ProtocolSetup
• SkullSimulator
• FMTransparency
• FMEarLevel
HearingAidFitting
Quick Guides
Anity2.0 &
Callisto™:


12/2013 Page 1of 1
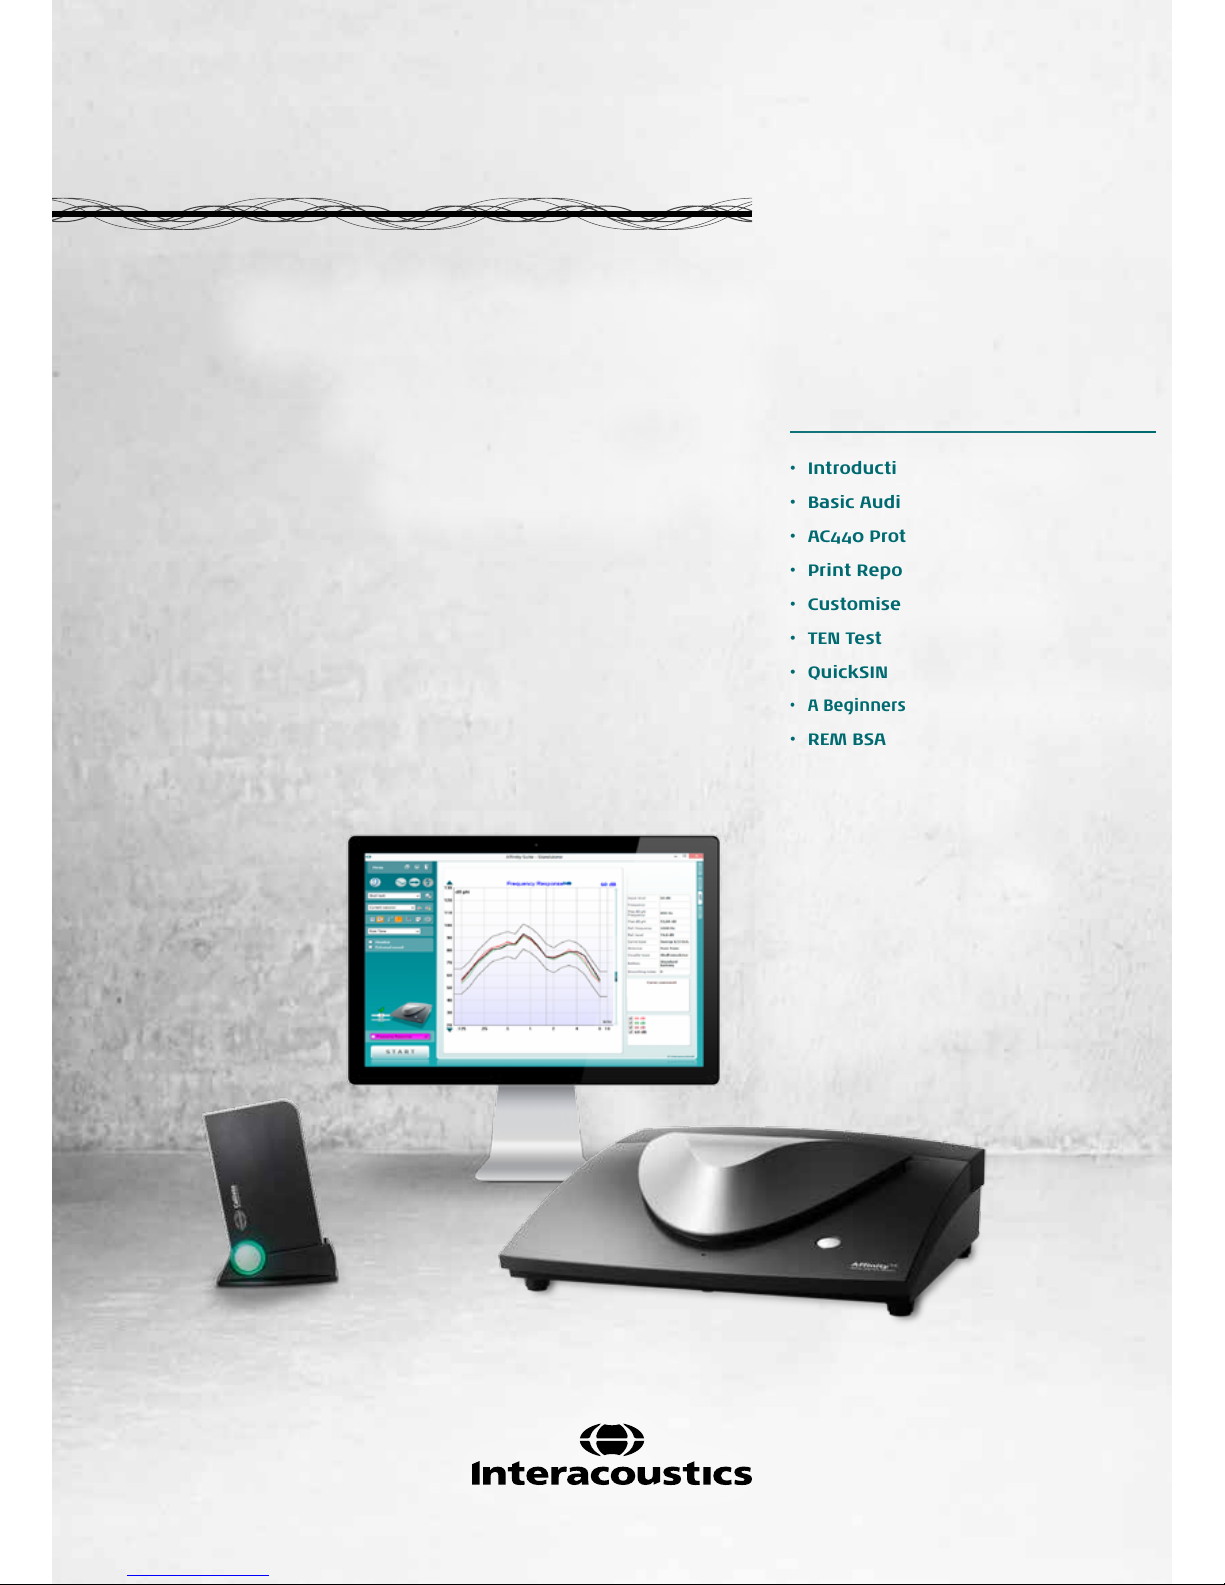
Introduction to the Affinity2.0 and Callisto™
Quick Guide Portfolio
The Affinity and Callisto are complete solutions as they can enable diagnosis and rehabilitation through hearing
aid fitting and further testing of a hearing loss. Hopefully these guides can inform you further on the tests you
currently perform and inspire you to begin using other tests which the Affinity and Callisto can perform as part of
your conventional practice. Whether you are based primarily in Adult or Paediatric Rehabilitation, these tests
and methods can help you to provide better diagnostic assessment, further quality for your appointment and
increased service to your patient.
Overall, Audiology is changing; it is now often the case that a pure tone audiogram alone cannot identify the
entirety of your patient’s problems. It is for that reason that Interacoustics have invested time and effort into
providing the additional tests and features outlined in this document within the Affinity and Callisto. They can
allow the tester to have a greater scope and insight when assessing and rehabilitating.
An example of where some of the tests and methods explained in this portfolio can be used, are when your
patients may not be gaining the benefit you would expect and may require further investigation or diagnostic
testing. This information can help you to change your approach in helping them to ensure that they are satisfied.
A brief overview of each quick guide has been provided below to explain its purpose and scope. Each guide is
written to inform you on the process and some of the underlying theory of each test. For further, more in-depth,
information on each of these aspects please seek the Operation Manual or Additional info.
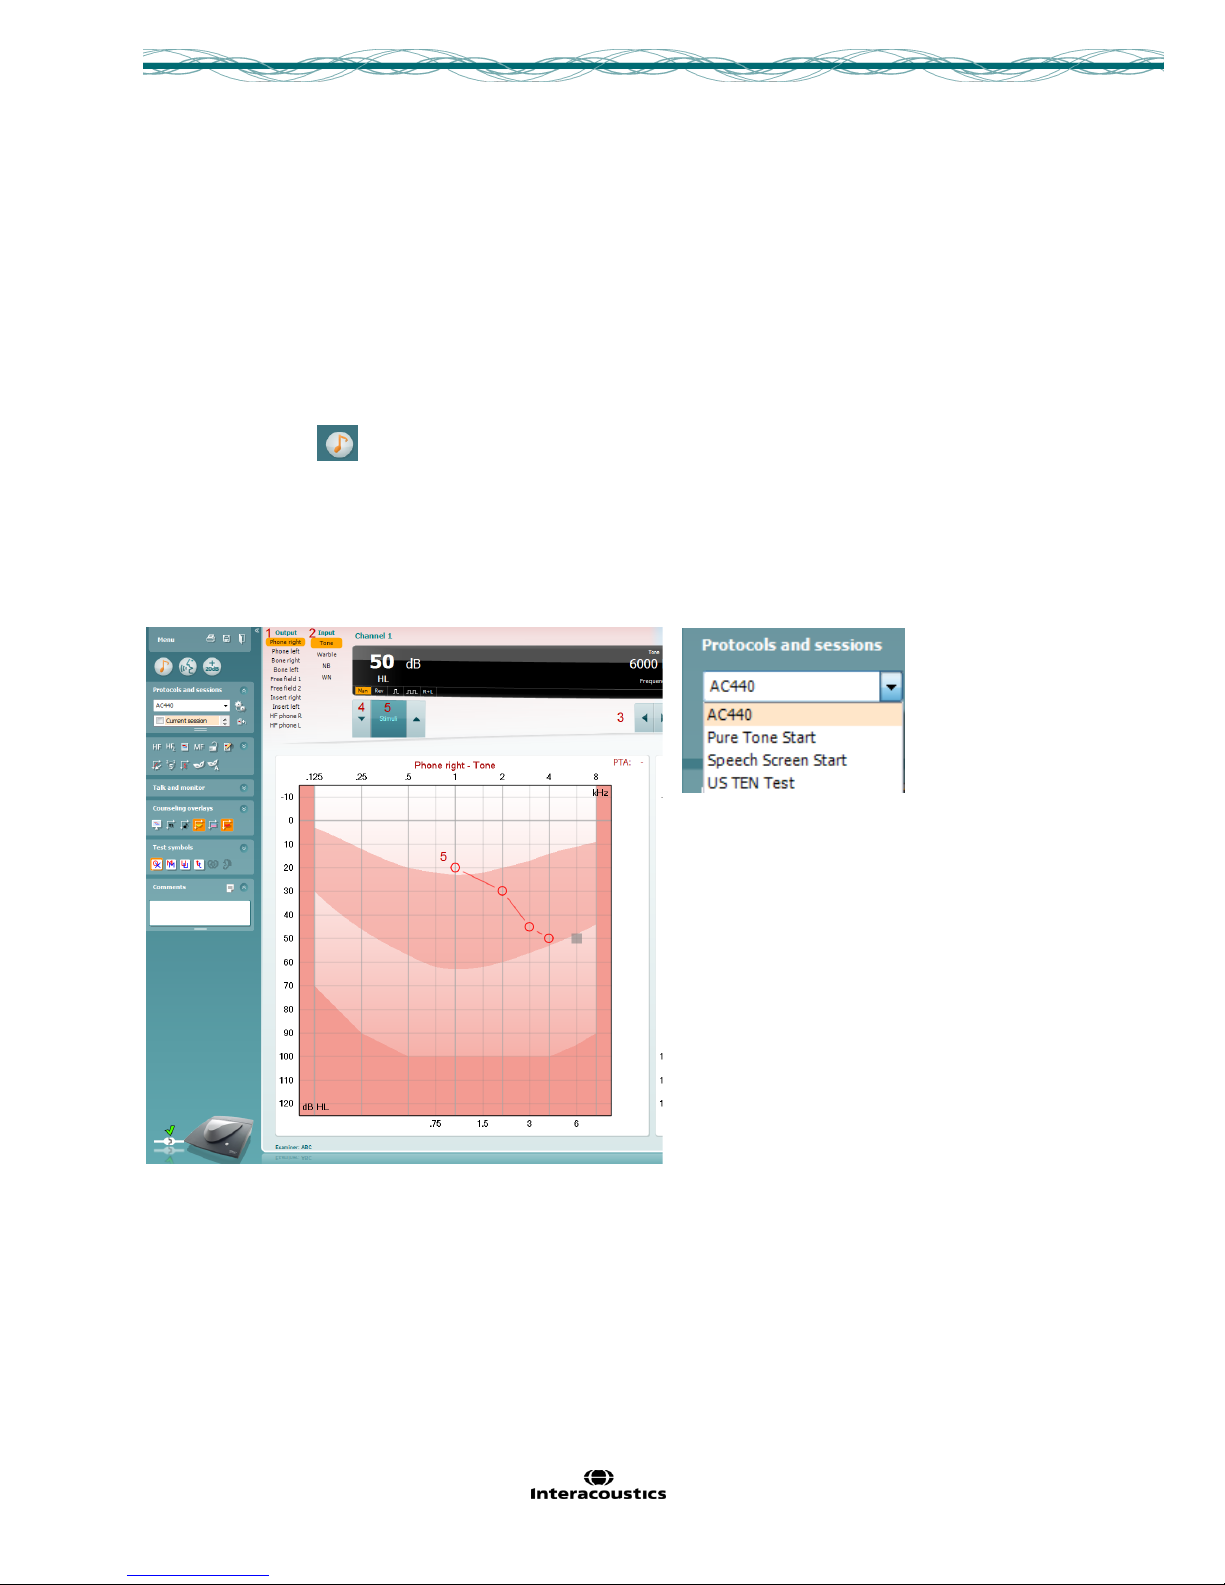
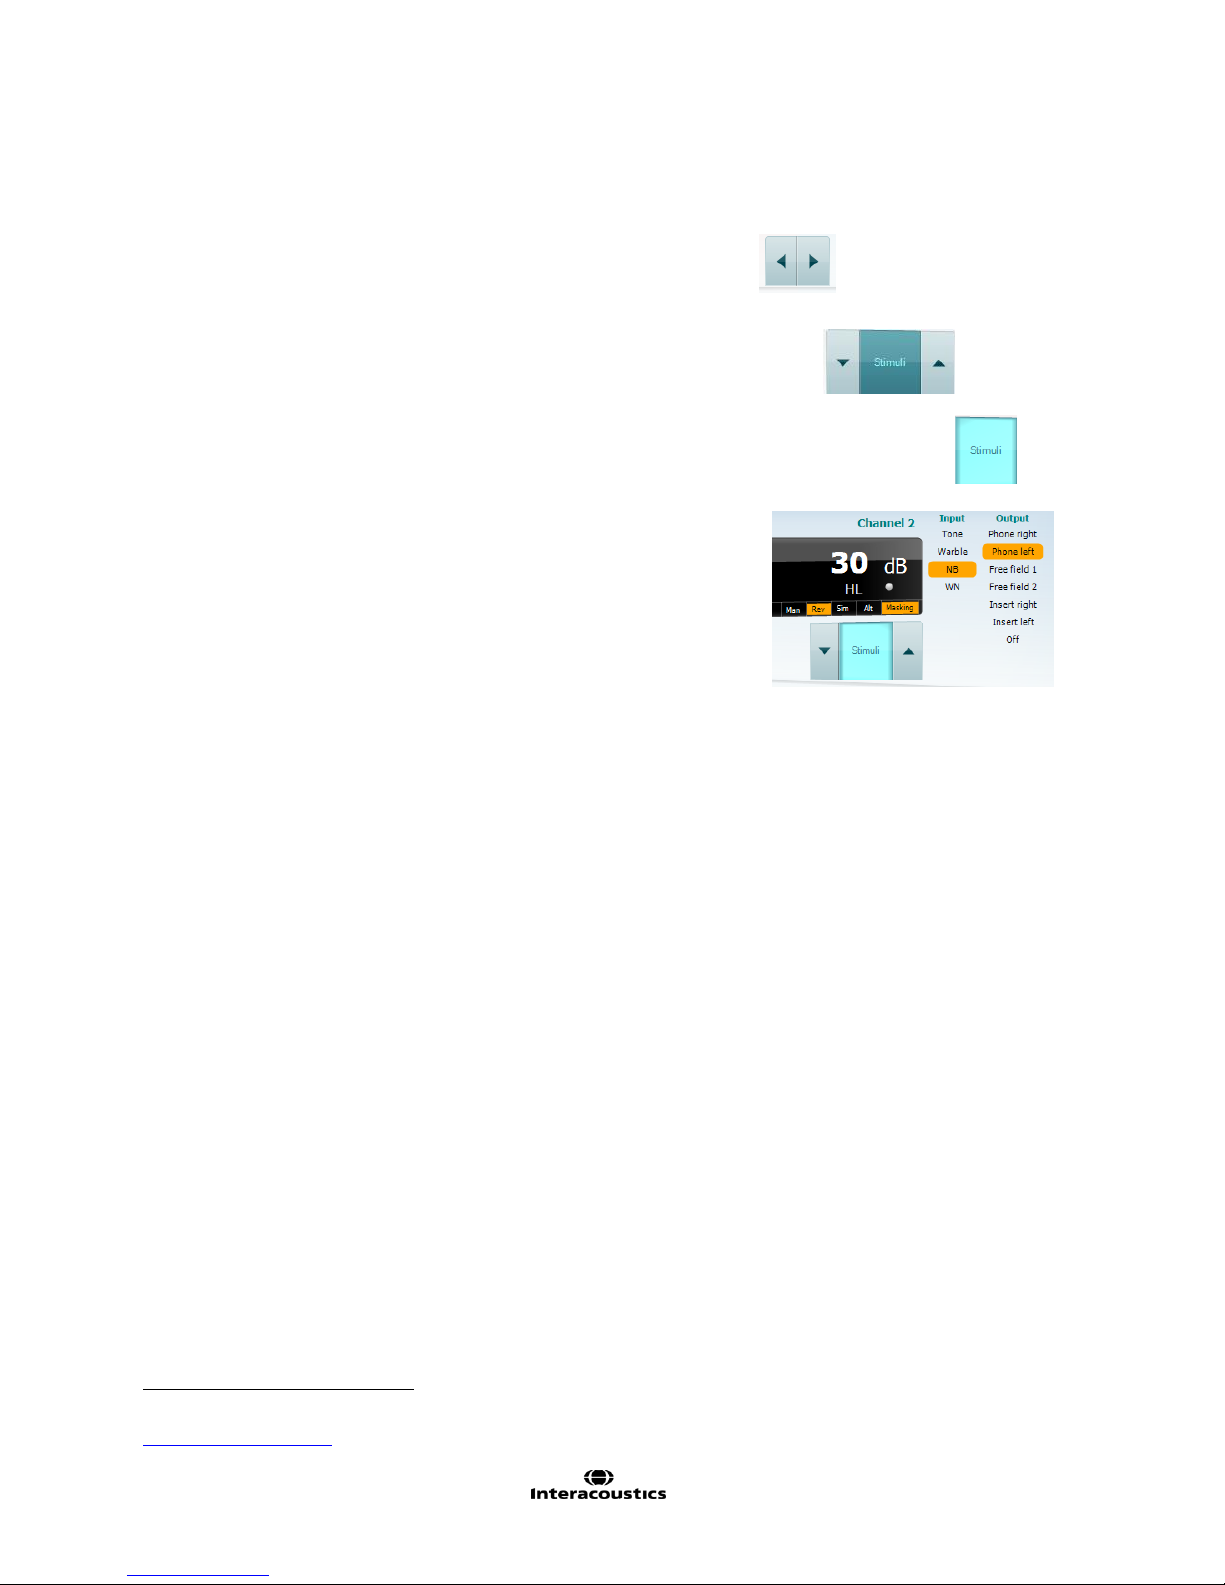
The first Guide, ‘Basic Audiometry’, outlines the fundamental steps in performing Audiometry via the Callisto or
Affinity. This is followed by, ‘AC440 Protocol Setup’, which details how to create and configure the AC440
protocols to set preferences and test methods in the AUD module.
There are then guides on Print reports which explain how to select and set default reports and a guide
explaining how the print reports can be customised and created from scratch.
The next two guides cover more complex tests within the AUD module, QuickSIN and TEN. These guides
explain the test process and some of the underlying theory of these methods.
Succeeding the initial six guides there are six guides on aspects within the REM module. These guides contain,
‘A Beginner’s guide to Real Ear Measures (REM)’ and the methodology of how to perform REM according to the
British Standard of Audiology (BSA) recommended guidelines. Succeeding this is then a section on how to
create custom REM440 Test protocols. There are then three guides which explain more complicated REM
procedures and their theory, these consist of the Directionality test, Real Ear to Coupler Difference (RECD) and
Visible Speech Mapping (VSPM).
The next three Quick Guides focus on the HIT module, they cover HIT440 Instructions and the different tests
which can be performed in this module, HIT440 Protocol Setup and how to create and configure custom test
box measurement test batteries. The final guide in this section is on the Skull Simulator and how to perform test
box measurements on Bone Anchored Hearing Devices (BAHD).
The final two Quick Guides explain two different methods of verifying Frequency Modulated (FM) system
accessories attached to hearing aids using the Affinity. These are called FM Transparency and FM Ear Level.


Item No. 8105081 –12/2013 Page 1of 3
Quick Guide - Basic Tone Audiometry
The purpose of this document is to provide a quick guide for basic functions of the AC440 Audiometry modules
for the Affinity2/Equinox2and Callisto™suites. This Quick Guide will focus on Tone Audiometry as well as a
basic introduction to the various icons, tools and menus available.
Starting up the AC440 Module
1. Launch the Affinity2/Callisto™Suite from Noah or OtoAccess™.
2. Click on the AUD tab on the upper right hand side of the screen.
3. Click on the icon to launch the tone audiometry screen, if Tone audiometry is not the default
screen.
4. Select the desired Audiometry protocol from the “Protocols and Sessions” drop down list.
Conducting Tone Audiometry
1. Choose the transducer type.
2. Choose the Stimulus type.

Item No. 8105081 –12/2013 Page 2of 3
3. Choose the test frequency :
PC Keyboard: right/left arrow keys.
Mouse mode: Left/Right arrow buttons.
4. Choose the intensity:
With PC keyboard: use the up/down arrow keys.
Mouse mode: Up/Down arrow buttons.
5. Presenting the stimuli
PC Keyboard: press on the space bar or left Ctrl button.
Mouse mode: hover the mouse over the Stimuli button.
6. If masking is necessary:
Turn on masking in Channel 2 by ensuring that the desired transducer is
selected for non-test ear.
Ensure that the word “Masking” is highlighted in orange.
Choose “Rev” to present the masking noise
continuously.
It is also possible to turn on Automasking or Masking
help
1
.
1
For more information on the Automasking/Masking Help, please refer to the Quick Guide, available on
www.interacoustics.com

Item No. 8105081 –12/2013 Page 3of 3
Navigation: Tools and functions
1. Menu: Click on Menu to access other Audiometry Special
tests by going to Menu│Tests.
2. Protocols and Sessions: Choose the desired test and
choose the session to display. Current Session is always the
active session. Highlight and select older sessions to be
displayed on the active audiogram for comparison.
3. Buttons: Access various tools and features for Tone
Audiometry, including High Frequency Audiometry,
Multifrequency Audiometry, Automasking, Masking Help and
many others.
4. Talk and Monitor: activate/deactivate the Talk Forward and
Monitor during testing.
5. Counseling Overlays: Activate/deactivate useful tools when
counseling patients about hearing loss.
6. Test symbols: Choose from the available symbols to display
on the audiogram, now also including the tinnitus symbol.
7. Comments/Report Editor: Use this feature to add comments
relevant to the session.
8. Click on to collapse/minimize the Tools and Function task
bar.
9. Right Click on the menus (except on protocol and sessions)
to show/hide the various tools and function.
For a more detailed description of how to use the AUD440 module, please refer to the following
documents:
- Instructions for Use for Affinity2/Equinox2.
- Instructions for Use for Callisto™.
- Additional Information for Affinity2/Equinox2.
- Additional Information for Callisto™.
1
2
3
4
5
6
7
8


Item No. 8105082 –12/2013 Page 1of 6
Quick Guide - AC440 Protocol Setup
Introduction
This Quick Guide is intended to provide basic instructions on how to work with protocol setups in the AC440
module in the Affinity2and Callisto™suites.
Working with Individual Setups (Test Protocols)
There are many different demands and wishes regarding how an audiometer should both function and appear
depending on the specific situation and national standards. One of the greatest advantages of the AC440
module is the flexibility, enabling you to tailor the system according to your specific preferences in the so-called
“test protocols”. Below describes basic functionality on how to work with the AC440 Protocols.
Selecting a Test Protocol:
1. Launch the Affinity2or Callisto™ Suite from Noah, OtoAccess™, or stand-alone.
2. Ensure you are in the AC440 screen. Click on the AUD tab if Audiometry is not the default startup screen.
3. Under Protocols and Sessions, both factory test protocols with standard/factory test parameters and
personalized test protocols can be selected.
Note: The protocols available in the drop down will depend on whether factory defaults or country specifics
defaults were chosen during the installation of the Affinity2or Callisto™Suite. Therefore, certain test protocols
may be hidden. To hide or un-hide protocols, go to Menu | Setup | Show/Hide Protocols.
The AC440 Main Setup:

Item No. 8105082 –12/2013 Page 2of 6
Once in the AC440 Setup, available tests will be listed to the left. Each test can be unfolded to access its
options. Each test contains the following options:
Startup: These are the settings in which the test will start up.
Common: Allows for setting up more general settings of the specific test.
Keyboard: Allows for setting up macros for the dedicated
Affinity2/Equinox2 audiometry keyboard (if this is used).
Add-ons: Allows for setting up add-on features/subtests if available for a
test. These require a special license.
NOTE: Some setup screens contain more than one tab offering multiple user controls.
In each setup screen, the following three buttons are found in the lower right corner:
Clicking OK will close the AC440 setup and save all changes.
Clicking Cancel will close the AC440 setup without saving any changes made.
Clicking Apply will save changes but without closing the AC440 Setup. The change will, however,
immediately be active and visible on the screen behind the setup dialog.
Ex: Tabs available in the
Tone│Common menu

Item No. 8105082 –12/2013 Page 3of 6
Creating new Protocols/Changing a Test Protocol Permanently
1. Click Menu | Setup | AC440 setup to enter the Main setup.
2. Click New to create a new test protocol.
3. A pop up window will appear, asking which settings to copy. Choose the protocol to be copied from the
drop down menu and re-name the new protocol. Click Apply.
4. The new protocol name will now appear in the list of protocols and it will now be possible to modify the
settings. Browse the options and amend as desired.
NOTE: For detailed setup options regarding each individual test available in the AC440, please refer to
the Affinity2and Callisto™ Additional Information documents.
5. When finished click OK (or Apply)to save the changes.
2
3

Item No. 8105082 –12/2013 Page 4of 6
Changing a Test Protocol Temporarily
To make changes to the setup temporarily:
1. From the drop down menu, ensure that the desired protocol to be changed is the chosen one.
2. Enter the Temporary Setup by clicking the button in the front screen (or alternatively select
Menu/Setup/Temporary setup).
3. The Temporary Setup is identical to the Main setup. Browse the setup options to make temporary changes
as if creating a test protocol and click OK.
After the temporary changes have been applied, there will be an asterisk (*) beside the protocol name.

Item No. 8105082 –12/2013 Page 5of 6
Importing and Exporting Test Protocols
The AC440 also allows you to import and export test protocols to other AC440 users.
Exporting a Test Protocol:
1. Go to the AC440 Setup (Menu | Setup | AC440 setup).
2. Click on Export.
3. Select if the file is to be saved as “read only”. In this case the protocol file is locked and the clinician
receiving it will not be able to make changes to it.
4. Browse for the location on the PC or USB where the test protocol is to be saved.
5. Click Save. Other AC440 users will now be able to upload the test protocol using the Import function.

Item No. 8105082 –12/2013 Page 6of 6
Importing a Test Protocol:
1. Go to the AC440 Setup (Menu | Setup | AC440 setup).
2. Click Import and browse to the location on the PC or USB where the test protocol file has been saved.
3. Click Open.
4. The test protocol will then appear under Name.
5. After saving it by clicking OK the test protocol can be selected in the List of defined protocols in the front
screen.
NOTE: If the protocols were exported as “Read Only”, imported protocols will not be able to be imported edited.

Item No. 8105083 –12/2013 Page 1of 2
Quick Guide –Print Reports
Using the Print Wizard
In the Print Wizard you have the option to create customized print templates which can be linked to individual
protocols for quick printing. The Print Wizard can be reached in two ways.
a. If you want to use a template for general use, or select an existing one for printing: Go to Menu/
File/Print Layout… in any of the Affinity2.0 Suite tabs (AUD, REM or HIT)
b. If you want to create a template or select an existing one to link to a specific protocol: Select the Module
tab (AUD, REM, or HIT) relating to the specific protocol and select Menu/Setup/AC440 setup,
Menu/Setup/REM440 setup, or Menu/Setup HIT440 setup. Select the specific protocol from the drop
down menu and select Print Setup at the bottom of the window.
There is an additional quick guide to explain how to create a template, it is titled ‘Quick Guide –
Customised Printout Setup’.
Now the Print Wizard window opens and shows the following information and functionalities:
1. Underneath Categories you can select
Templates to show all available templates
Factory defaults to show only standard templates
User defined to show only custom templates
Hidden to show hidden templates
My favorites to show only templates marked as a favorite
2. Available templates from the selected category are shown in the Templates viewing area.
1
2
3
4
5
6
11
12a
13
12b
7
8
9
10
0

Item No. 8105083 –12/2013 Page 2of 2
3. Factory default templates are recognized by the lock icon. They ensure that you always have a
standard template and do not need to create a customized one. However, in order to edit these default
templates, they need to be saved under a new name. User defined/created templates can be set to
Read-only (showing the lock icon), by right clicking on the template and selecting Read-only from the
drop down list. Read-only status can also be removed from User defined templates by following the
same steps.
4. Templates added to My favorites are marked with a star. Adding templates to My favorites allows
quick viewing of your most commonly used templates.
5. The template that is attached to the selected protocol when entering the print wizard via the AC440 or
REM440 window is recognized by a checkmark.
6. Press the New Template button to open a new empty template.
7. Select one of the existing templates and press the Edit Template button to modify the selected layout.
8. Select one of the existing templates and press the Delete Template button to delete the selected
template. You will be prompted to confirm that you want to delete the template.
9. Select one of the existing templates and press the Hide Template button to hide the selected template.
The template will now be visible only when Hidden is selected under Categories. To unhide the
template, select Hidden under Categories, right click on the desired template and select View/Show.
10. Select one of the existing templates and press the My Favorites button to mark the template as a
favorite. The template can now be quickly found when My Favorites is selected under Categories. To
remove a template marked with a star from My Favorites, Right-click on the template and press the My
Favorites button.
11. Select one of the templates and press the Preview button to print preview the template on screen.
12. Depending how you reached the Print Wizard, you will have the option to press
a. Print for using the selected template for printing or press
b. Select for dedicating the selected template to the protocol from which you got into the Print
Wizard.
13. To leave the Print Wizard without selecting or changing a template press Cancel.
Right clicking on a specific template provides a drop down menu offering an alternative method for performing
the options as described above:
Further information on this can be found in the Callisto and Affinity Additional Information Guides.

Item No. 8105084 12/2013 Page 1of 14
Quick Guide –Customised Printout Setup
Introduction
This Quick Guide is intended to give a brief introduction on how to create and configure custom print layouts in
the Affinity2and Callisto™software suites.
The Affinity2and Callisto™software suites have the ability to allow custom print layouts to be created and used
alongside the VIOT Suite and Titan™Suite. This enables data from various tests to be combined into one
convenient printout.
Creating a Custom Print Template
Opening the Print Wizard:
1. Open the Affinity2or Callisto™Suite from your patient management system, Noah, OtoAccess™, or stand-
alone.
2. You can access the setup for protocols from any of the AUD, REM or HIT (Affinity2only) tabs.
3. Press, Menu, Setup and then AC440 Setup (or REM440/HIT440 depending on which module you are in).
Performing this action will open a new window.

Item No. 8105084 12/2013 Page 2of 14
4. In the new window you will find Print Setup in the bottom left corner. Please press this to open the Print
Wizard.

Item No. 8105084 12/2013 Page 3of 14
Designing a New Customised Print Template
1. Now that you are in the Print Wizard you will see the below screen:
This screen is further clarified by the quick guide titled; ‘Quick Guide – Print Report’.
2. Click on the blank page in the top right of the screen to create a new print layout. This action will open a
new screen. You can alternatively right click on an existing print layout and select Edit to continue building
it.

Item No. 8105084 12/2013 Page 4of 14
3. Once in this new screen you will see the elements which you can add to the layout on the left of the screen.
These are ordered by their corresponding test module, for example everything to input into the print
template to do with the AUD module can be found under AUD.
All of these elements are able to populate on printing should the patient have these test types assigned to
their profile in your patient management system, Noah or OtoAccess™.
Other manuals for Affinity2.0
2
This manual suits for next models
1
Table of contents
Other Interacoustics Hearing Aid manuals