Interacoustics Callisto User manual

D-0101245-I – 2017/11
Instructions for Use – Part 1
Callisto™
Portable Audiometry & REM
EN Instructions for Use
DE Gebrauchsanweisung
SV Bruksanvisning
DA Brugsanvisning
FI Käyttöohje
NO Bruksanvisning


Instructions for Use - EN


Table of Contents
1 UNPACKING AND INSTALLATION ...................................................................................................... 1
1.1 About this manual ......................................................................................................................... 1
1.2 Intended use.................................................................................................................................. 1
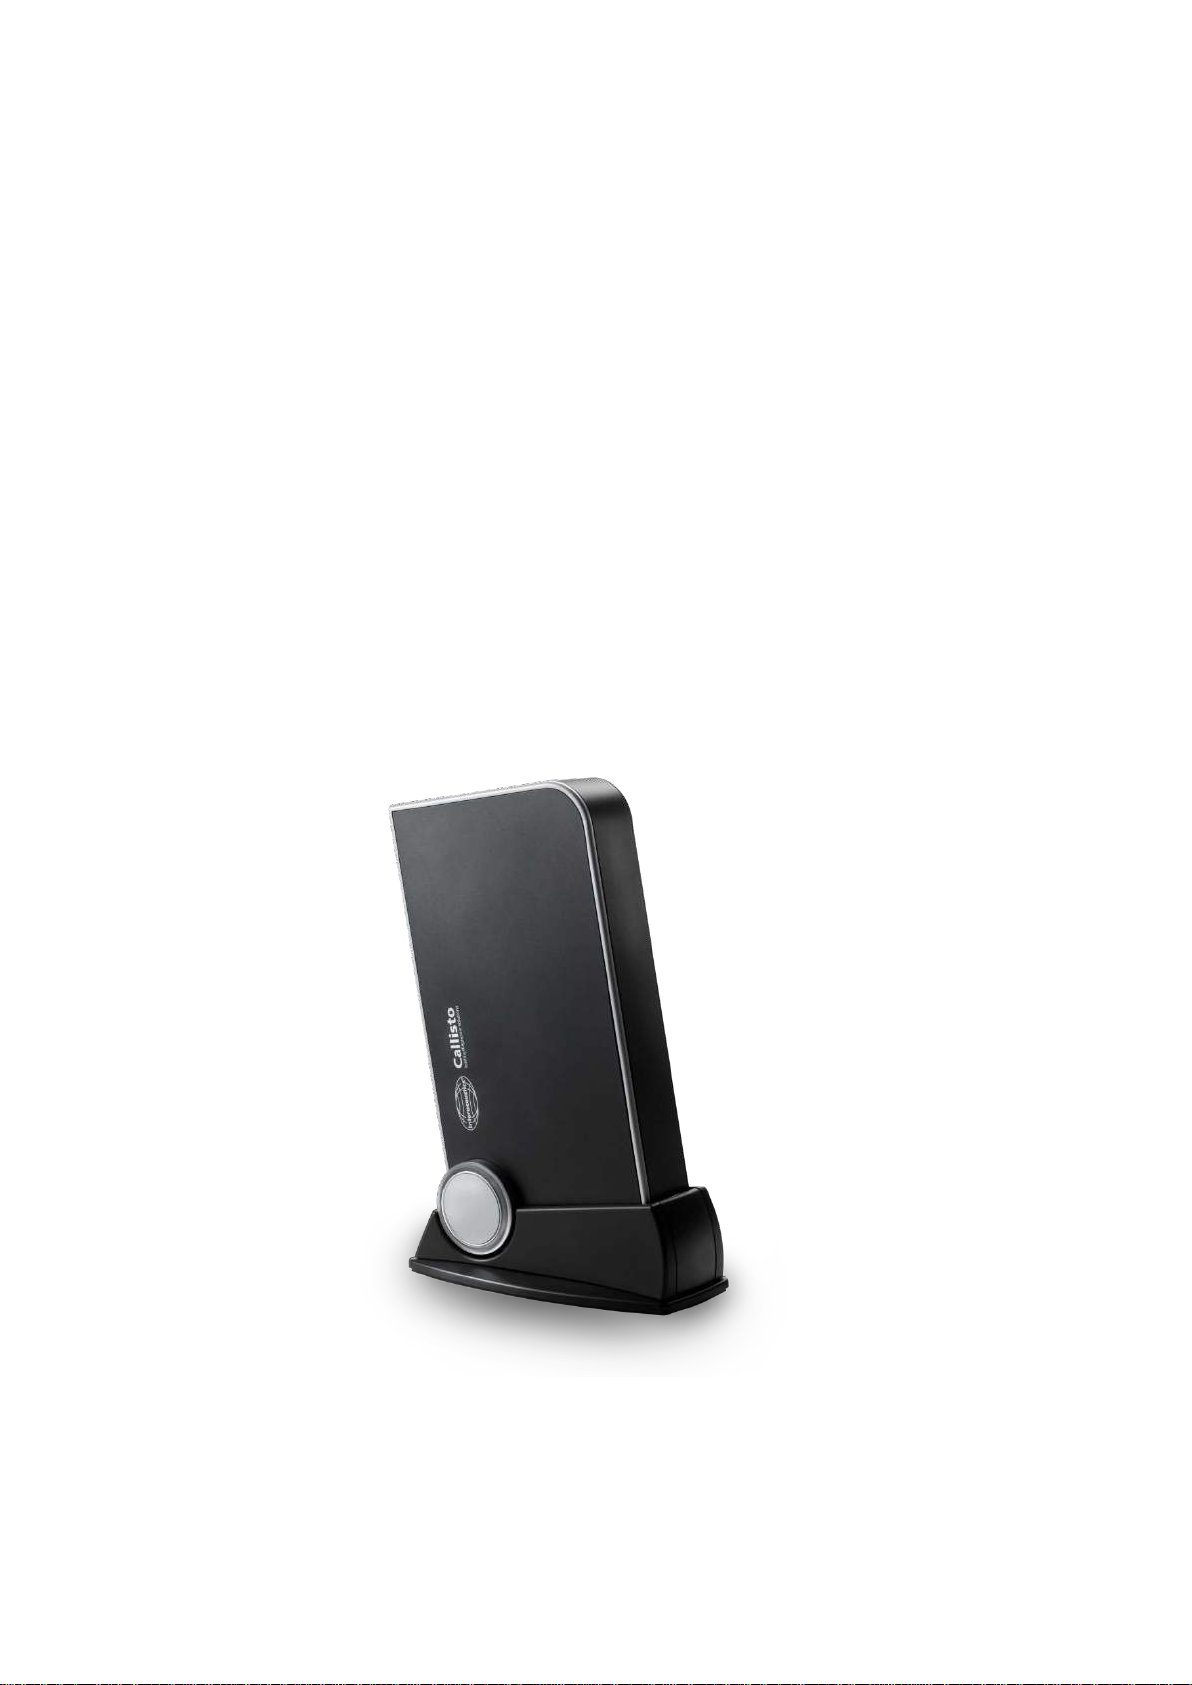
1.3 Product description ....................................................................................................................... 1
1.4 Included and optional parts and accessories................................................................................ 2
1.5 Warnings and precautions ............................................................................................................ 4
2. UNPACKING AND INSTALLATION........................................................................................... 7
2.1 Unpacking and inspection............................................................................................................. 7
2.2 Marking.......................................................................................................................................... 7
2.3 Callisto™ - connection panel dictionary........................................................................................ 8
2.4 Callisto™ - indicators:................................................................................................................... 8
2.5 Software installation...................................................................................................................... 9
2.5.1 Software installation Windows®7 and Windows®8 ........................................................10
2.5.2 Software installation Windows®8.1/ Windows®10 .........................................................14
2.6 Driver installation......................................................................................................................... 22
2.6.1 Sound device settings.....................................................................................................22
2.6.2 Sound device settings for Windows®7/ Windows®8/Windows®10................................23
2.7 Using with databases.................................................................................................................. 24
2.7.1 Noah 3.7..........................................................................................................................24
2.7.2 Noah 4.............................................................................................................................24
2.7.3 Working with OtoAccess™..............................................................................................24
2.8 How to install a shortcut for launching with standalone version ................................................. 25
2.9 Licenses ...................................................................................................................................... 25
3. OPERATING INSTRUCTIONS................................................................................................... 27
3.1 AC440 using the tone screen elements...................................................................................... 28
3.2 Using the speech screen............................................................................................................. 34
3.2.1 Speech audiometry in graph mode .................................................................................36
3.2.2 Speech audiometry in table mode...................................................................................37
3.2.3 PC keyboard shortcuts manager.....................................................................................39
3.3 REM440 screen elements........................................................................................................... 41
3.4 The HIT440 screen ..................................................................................................................... 49
3.5 Using the print wizard.................................................................................................................. 55
4. MAINTENANCE............................................................................................................................... 57
4.1 General maintenance procedures............................................................................................... 57
4.2 How to clean Interacoustics products ......................................................................................... 57
4.3 Concerning repair........................................................................................................................ 58
4.4 Warranty...................................................................................................................................... 58
5. GENERAL TECHNICAL SPECIFICATIONS ......................................................................... 59
5.1 Reference equivalent threshold values for transducers and maximum hearing level settings
provided at each test frequency.................................................................................................. 60
5.2 Pin assignments.......................................................................................................................... 60
5.3 Electromagnetic compatibility (EMC).......................................................................................... 60


Callisto™ Instructions for Use - EN Page 1
1. Introduction
1.1 About this manual
This manual is valid for the Callisto™. The product is manufactured by:
Interacoustics A/S
Audiometer Allé 1
5500 Middelfart
Denmark
Tel.: +45 6371 3555
Fax: +45 6371 3522
E-mail: info@interacoustics.com
Web: www.interacoustics.com
1.2 Intended use
The Callisto™ is intended for determination of hearing threshold levels and for verifying hearing aid
performance in the fitting situation.
Intended Operator
The Callisto™ is intended to be operated by an Audiologist, ENT professional or a person with equivalent
knowledge. Using the instrument without adequate knowledge may lead to erroneous results and may
endanger the patients hearing
Intended Patient Population
This instrument is intended for all patient groups regarding sex, age and health. For audiology examinations
the patient must be able to respond to the test signal in a rational way.
1.3 Product description
The Callisto™ is a Hearing Aid Analyzer that interfaces with integrated audiologic software modules on a
PC. Depending on the installed software modules they can perform:
•Audiometry (AC440)
•Real Ear Measurements (REM440) including Visible Speech Mapping

Callisto™ Instructions for Use - EN Page 2
1.4 Included and optional parts and accessories
Standard Parts for the Callisto™ Unit:
•CallistoTM Unit
•CallistoTM Suite DVD, incl. Instructions for use and Quick Guides.
•Callisto Carrying Bag
•Callisto Foam Insert (standard bag)
•Standard USB Cable (2m)
•Mouse Pad
Optional Parts for the Callisto™ Unit
•Wheeled Carrying Case
•Callisto™ Foam Insert (optional bag with wheels)
OtoAccess™ Database CD, Complete
AC440
REM440
HIT440
AC440 Standard Parts
•DD45 or TDH 39 Audiometric
Headset
•MTH400m Monitor Headset
•B71 Bone Conductor
•APS3 Patient response
button
AC440 Optional Parts
•TDH39 Audiometric Headset
•HDA300 Audiometric
Headset 30° plugs
•Eartone 3A Insert
earphones1)
•Eartone 5A Insert
earphones1))
•IP30 Insert earphones
•B71 Bone Conductor
•B81 Bone Conductor
•Talk Back Microphone
•Edifier – Loudspeaker + wire
•SP85A Loudspeaker
•SP90A Loudspeaker
Special Tests:
Optional special tests:
•High Frequency audiometry
(HF440)
•Multi Frequency module
(MF440)
•Speech from hard-drive
(SFH440)
•SISI test
•Master Hearing Aid
(MHA440),
REM440 Standard Parts
•IHM60 In-situ Headset (kit)
•Probe Tubes 36 pcs
•Edifier Loudspeaker + Wire
REM440 Optional Parts
•Extra Edifier Loudspeaker +
Wire
•Callisto™ Coupler Base Kit
which includes:
oCoupler Base
oCoupler Box
oReference Microphone
o2cc Coupler
o½” Microphone
oBTE Adaptor with O
oITE Adaptor with O
oBody Adaptor with O
oBTE Tubing 27mm for
BTE adaptor
oSPL60 In-situ Probe
Tip-set + Coupler
Adaptor1)
oCoupler Seal Wax
HIT440 Standard Parts:
•TBS10 Test Box
•2cc coupler with
microphone and
adaptors for ITE, BTE
and Body Style HA
•Coupler seal wax
•Reference
microphone
HIT 440 Optional parts:
•Couplers 1.2CC and
0.6CC: ITE, BTE, Ear
simulator
•Calibration adaptor

Callisto™ Instructions for Use - EN Page 3
•Hearing Loss Simulator
(HLS440)
•Loudness Scaling (LS440)
•QuickSIN
•TEN test
1) Note patient contact parts for single use.

Callisto™ Instructions for Use - EN Page 4
1.5 Warnings and precautions
Throughout this manual the following meaning of warnings, cautions and notices are used:
WARNING indicates a hazardous situation which, if not avoided, could result in
death or serious injury.
CAUTION, used with the safety alert symbol, indicates a hazardous situation
which, if not avoided, could result in damage of the equipment.
NOTICE
NOTICE is used to address practices not related to personal injury or damage
of the equipment.
When connecting this device to a computer it is essential to insert a galvanic
separation between the device and the computer, unless the computer is
battery operated or supplied by a medical approved power supply. If connecting
directly to a PC it must be supplied from a medical isolation transformer fulfilling
the requirements of IEC/ES 60601-1.
Please note that if connection is made to standard equipment like an active
speaker, special precautions must be taken in order to maintain medical safety.
If used without galvanic separation, it must be supplied from a medical isolation
transformer fulfilling the requirements of IEC/ES 60601-1.
Do not touch the patient while operating PC, printer etc.
No modification of this equipment is allowed without Interacoustics
authorization.
Interacoustics will make available on request circuit diagrams, component part
lists, descriptions, calibration instructions, or other information that will assist
service personnel to repair those parts of this.
Although the instrument fulfils the relevant EMC requirements precautions
should be taken to avoid unnecessary exposure to electromagnetic fields, e.g.
from mobile phones etc. If the device is used adjacent to other equipment it
must be observed that no mutual disturbance appears, e.g. unwanted noise in
headphones. If disturbances are observed, try to separate the Callisto from the
disturbing device. Please refer to the section for Electromagnetic Compatibility
(EMC).
Do not disassemble or modify the product as this may impact the safety and/or
performance of the device.
The internal battery shall be replaced by authorized personnel.
When using insert ear phones, make sure that foam or ear-tip is mounted
correctly.

Callisto™ Instructions for Use - EN Page 5
It is recommended that the disposable foam ear-tips supplied with the optional
E.A.R Tone 3A or E.A.R Tone 5A insert transducers are replaced after each
client tested. Disposable plugs also insure that sanitary conditions exist for each
of your clients.
It is recommended that parts which are in direct contact with the patient (e.g.
earphone cushions) are subjected to standard disinfecting procedure between
patients. This includes physically cleaning and use of a recognized disinfectant.
Individual manufacturer's instruction should be followed for use of this
disinfecting agent to provide an appropriated level of cleanliness.
The transducers (headphones, bone conductor, etc.) supplied with the
instrument are calibrated to this instrument - exchange of transducers requires
a new calibration.
Interacoustics will not make any guaranty to the functionality of the system if
any other software is installed, with exception of the Interacoustics
measurement (AC440/REM440) modules and AuditBase system4,
OtoAccess™ or a Noah3.7 compatible Office Systems or later releases.
NOTICE
If this apparatus is connected to one or more other devices with medical CE
marking, to make up a system or pack, the CE marking is only valid also for the
combination if the supplier has issued a declaration stating that the
requirements in the Medical Device Directive article 12 are fulfilled for the
combination.
The instrument is intended for continued use. However, there is a risk of
damaging the transducers if they are operated at the highest intensities for
longer periods.
The transducers (headphones etc.) supplied with the instrument are calibrated
to this instrument - exchange of transducers requires a new calibration.
No installation precautions are necessary to avoid unwanted sound radiation
from the audiometer.
There is no warm-up time for the instrument, but allow it to become
acclimatised before use.
Be sure to use only stimulation intensities, which will be acceptable for the
patient.
The reference and the probe microphones can be verified using the procedures
described in calibration software.
Within the European Union it is illegal to dispose of electrical and electronic
waste as unsorted municipal waste. Electrical and electronic waste may contain
hazardous substances and therefore have to be disposed of separately. Such
products will be marked with the crossed-out wheelie-bin image shown to the
left. User cooperation is important in order to ensure a high level of reuse and
recycling of electrical and electronic waste. Failure to recycle such waste
products in an appropriate way may endanger the environment and
consequently the health of human beings.
Only recorded speech material with a stated relationship with the calibration
signal should be used. In the calibration of the instrument it is assumed that the
calibration signal level is equal to the average level for the speech material. If
this is not the case, the calibration of the sound pressure levels will be invalid
and the instrument needs recalibration.

Callisto™ Instructions for Use - EN Page 6
To establish conformity with the IEC 60645-2 standard, it is important that the
speech input level is adjusted to 0VU. It is equally important that any free field
installation is calibrated at the site where it is used and under the conditions that
exists during normal operation.
Great care should be exercised by the handling of earphones and other
transducers, as mechanical shock may cause change of calibration.
The specification for the instrument is valid if the instrument is operated within
the environmental limits specified in technical specifications.
Supply voltage: USB-powered (USB Type B connector).
To prevent system faults take appropriate precautions to avoid PC viruses and
similar.

Callisto™ Instructions for Use - EN Page 7
2. Unpacking and installation
2.1 Unpacking and inspection
Check box and contents for damage
When the instrument is received please check the shipping box for rough handling and damage. If the box is
damaged it should be kept until the contents of the shipment have been checked mechanically and
electrically. If the instrument is faulty please contact your local distributor. Keep the shipping material for the
carrier’s inspection and insurance claim.
Keep carton for future shipment
The Callisto™ comes in its own shipping carton, which is specially designed for the Callisto™. Please keep
this carton. It will be needed if the instrument has to be returned for service.
If service is required please contact your local distributor.
Reporting Imperfections
Inspect before connection
Prior to connecting the product it should once more be inspected for damage. All of the cabinet and the
accessories should be checked visually for scratches and missing parts.
Report immediately any faults
Any missing part or malfunction should be reported immediately to the supplier of the instrument,along with
the invoice, serial number, and a detailed report of the problem. In the back of this manual you will find a
"Return Report" where you can describe the problem.
Please use "Return Report"
Please realise that if the service engineer does not know what problem to look for he may not find it, so using
the Return Report will be of great help to us and is your best guarantee that the correction of the problem will
be to your satisfaction.
Storage
If you need to store the Callisto™ for a period, please ensure it is stored under the conditions specified in the
technical specifications:
2.2 Marking
The following marking can be found on the instrument:
Refer to instruction manual
Please refer to warning and pre-cautions
WEEE 2002/96/EC
Please refer to warning and pre-cautions
Type B applied parts.
Patient applied parts that are not conductive and can be immediately released from the
patient.
Year of manufacture.

Callisto™ Instructions for Use - EN Page 8
2.3 Callisto™ - connection panel dictionary
2.4 Callisto™ - indicators:
GREEN-Light: Ready
RED-Light: Indicates right ear selected in REM mode
BLUE-Light: Indicates left ear selected in REM mode
PURPLE-Light: Indicates both ears selected in REM mode
Position:
Symbol:
Function:
1
Insitu L.
Connection of Insitu Headset Left
2
Insitu R.
Connection of Insitu Headset Right
3
TB/Coupler
Socket for talk back microphone or coupler base
4
TF
Socket for talk forward or microphone
5
Monitor
Socket for monitor headset
6
FF
Socket for free field speaker
7
Bone
Socket for bone conductor
8
Left
Socket for left AC headphone/Insert phone
9
Right
Socket for right AC headphone/Insert phone
10
Pat. Resp.
Socket for patient response button
11
USB/PC
Socket for USB cable to PC
8 973 4 65 101 2 11

Callisto™ Instructions for Use - EN Page 9
2.5 Software installation
To know before starting the installation.
You must have administrative rights to the computer on which you are installing the Callisto™ Suite.
DO NOT connect the Callisto™ hardware to the computer before the software has been installed!
Please also refer to the section “Warnings and precautions”
What you will need:
1. Callisto™ Suite Installation DVD
2. USB Cable
3. Callisto™ Hardware
Supported Noah Office SystemsWe are compatible with all NOAH-integrated office systems which are
running on NOAH and NOAH engine.
To use the software with a database make sure the database is installed prior to the Callisto™ Suite
installation. Follow the manufacturer’s installation instructions provided to install the relevant database.
Note that if you are using AuditBase you must ensure to launch this office system prior to this installation of
the Callisto™ Suite.
Installation of various Windows® versions
Installation on Windows®7 (32 and 64 bit), Windows®8 (32 and 64 bit) and Windows®10 (32 et 64 bits)
systems are supported. Note that with Windows®“N” versions, Media Player needs to be in- stalled
manually for the software suite to run

Callisto™ Instructions for Use - EN Page 10
2.5.1 Software installation Windows®7 and Windows®8
Insert the installation DVD and follow the steps below to install the CallistoTM Suite software. If the
installation procedure does not start automatically, click “Start”, then go to “My Computer” and double click
the DVD/CD-RW drive to view the contents of the installation DVD. Double click the “setup.exe” file to initiate
the installation.
1. Wait for the dialog shown below to appear, you must accept the license terms and conditions ahead
of installing. On checking the box to accept this, the Install button will become available, click “Install”
to begin the installation.

Callisto™ Instructions for Use - EN Page 11
Should you wish to install the software to a different location than the default then please click on
’Options’ ahead of ’Install’

Callisto™ Instructions for Use - EN Page 12
2. Depending on your Windows User Account settings the following dialog may appear. Select “Yes” to
continue the installation.
3. Please wait while the Callisto™ Suite is being installed.

Callisto™ Instructions for Use - EN Page 13
4. When the installation is complete, the dialog box below is shown. Click “Close” to finish the
installation. The Callisto™ Suite is now installed.

Callisto™ Instructions for Use - EN Page 14
2.5.2 Software installation Windows®8.1
Insert the installation DVD and follow the steps below to install the CallistoTM Suite software. If the
installation procedure does not start automatically, click “Start”, then go to “My Computer” and double click
the DVD/CD-RW drive to view the contents of the installation DVD. Double click the “setup.exe” file to initiate
the installation.
1. Wait for the dialog shown below to appear, you must accept the license terms and conditions ahead
of installing. On checking the box to accept this, the Install button will become available, click “Install”
to begin the installation.
Other manuals for Callisto
2
Table of contents
Languages:
Other Interacoustics Hearing Aid manuals