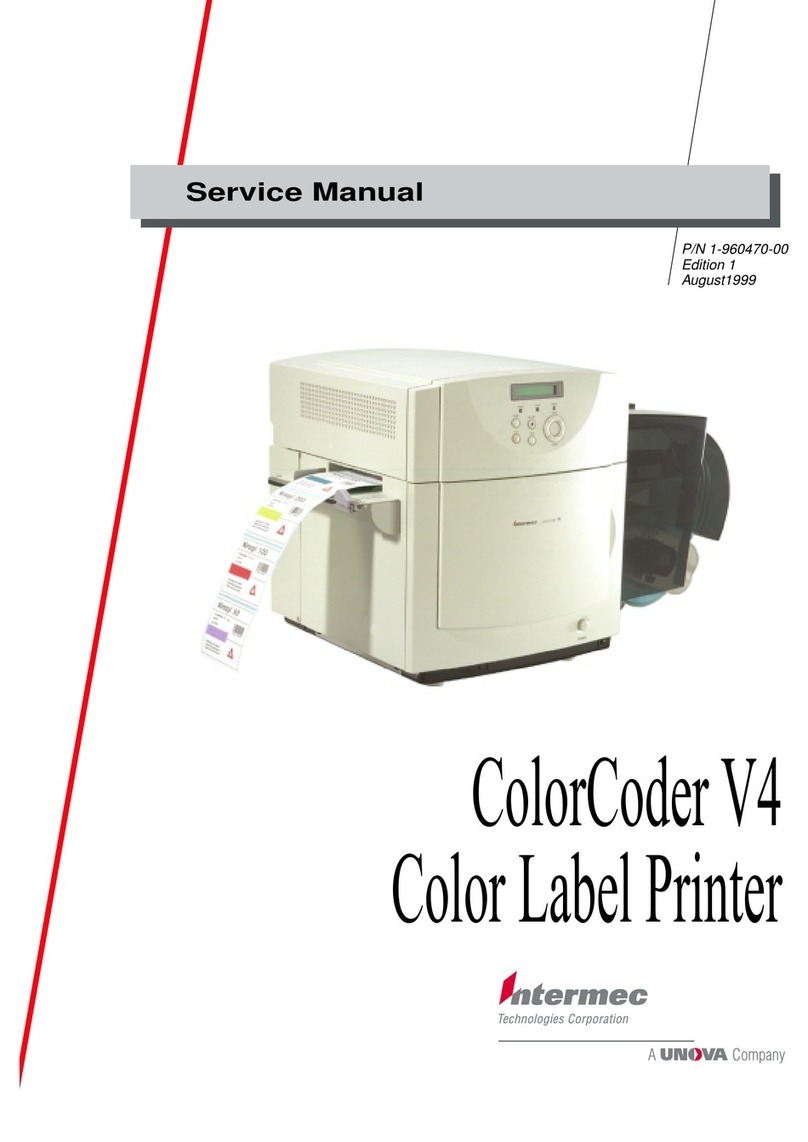
Intermec EasyCoder E4 LinerLess – Installation & Operation Ed. 1
1
Preface
Preface Preface
Contents
1. Introduction
Introduction ............................................................................... 4
Safety Requirements .................................................................. 5
Product Labelling....................................................................... 5
2. Installation
Unpacking ................................................................................. 6
Main Parts ................................................................................. 7
Connections ............................................................................... 8
• Power ..................................................................................... 8
• Computer ............................................................................... 8
Controls and Indicators .............................................................. 9
• Power LED ............................................................................ 9
• Feed Button ............................................................................ 9
3. Operation
PaperLoad–TearOff .............................................................. 10
Printing Test Labels ................................................................. 13
Printing a Label........................................................................ 14
• Windows Driver ................................................................... 14
• Intermec Direct Protocol....................................................... 14
4. Programming
Introduction ............................................................................. 15
Programming a Label............................................................... 16
Command List ......................................................................... 21
5. Printer Setup
Communication Setup.............................................................. 28
Print Location Setup ................................................................ 31
Media Setup............................................................................. 33
Print Setup ............................................................................... 34
Testfeed ................................................................................... 35
Printer Setup with Bar Code Wand .......................................... 36
continued
EasyCoder E4 LinerLess
Installation & Operation
Edition 1, January 2000
Part No. 1-960464-01
