Ionlight.com | Exclusively Distributed by GGen Distribution Corp.
www.ionlight.com | [email protected] | Exclusively Distributed by GGen Distribution Corp. LIGHTING REIMAGINED
0-10V DIMMING
www
.ionlight.com
| [email protected] | Exclusively Distributed by GGen Distribution Corp.This model is compatible with Smart Lighting controller.
When using 0-10V function, please turn the dimming knob
to EXT. Insert telephone wire into the jack of the track and
Smart Lighting controller, and then Dimming function on the
LED xture is enabled.
• Maximum of 120 units can be controlled by Smart
Lighting controller.
• Simulate sunrise and sunset for dimming.
• Turn off the device automatically following the setting
time and temperature. In & Out jacks included on the
track allows for multi-xtures connected in parallel.
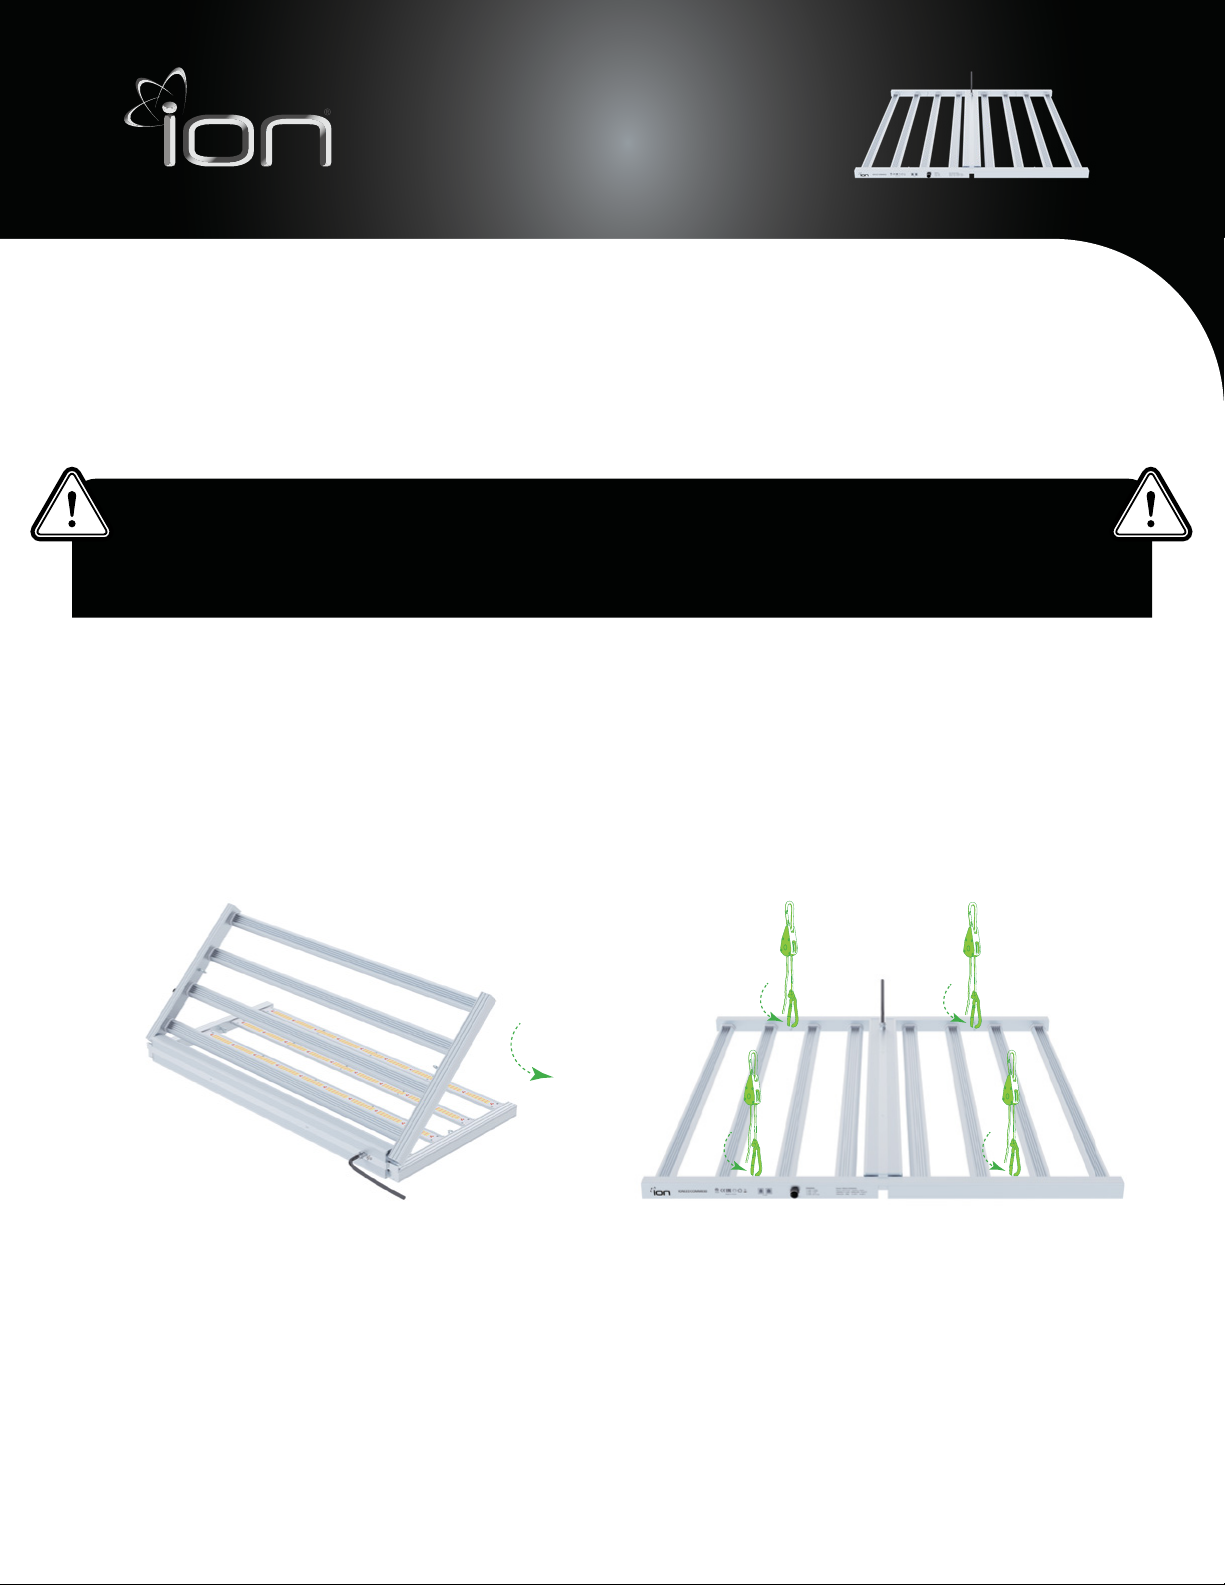
CAUTION
After installation, verify if installation was a success by cycling the lights on / off a few times, setting ‘over
temperature shut down’ to a low value like 85°F, and rubbing the temperature probe with your fingers, tricking
the Smart Lighting controller into an over temperature condition and shutting the lights off. Then leave the probe
alone, and after 10-15 minutes as recommended, the Smart Lighting controller should turn all the lights back on.
For detailed instructions, please refer to Smart Lighting controller operating manual.
XR-830W LED
TROUBLE SHOOTING
PROBLEM PROBABLE CAUSE(S) POSSIBLE FIXES OR
CORRECTIVE MAINTENANCE
One or more xtures are
completely off. Disconnect from power source. Make sure power is on and cables are plugged in.
Dimming failure Broken cable or wire connecting controller to xture
or wire connecting xture to xture. Repair or replace any damaged cables if necessary.
LED will not come on. The power supply settings do not match with
local AC voltage and frequency.
Disconnect xture from the power supply.
Check settings and correct if necessary.
SCOPE OF USE AND MAINTENANCE
• Comply with local installation regulations.
• Store the xture in a dry and clean environment,
with an ambient temperature of -10°C ~ 50°C
and ambient humidity of less than 90% RH. It is
recommended that the xture shall not stay unused
for more than six months. If it has stayed unused for
more than six months, please test to ensure xture is
functioning at 100%.
• Please keep products safe. Avoid mechanical
pressure, excessive vibration and dropping the unit
during the process of assembly to protect the light
bar and track.
• Keep away from water, oil and organic solvent, or it
will reduce the efcacy and have the potential risk of
electric leakage.
• All equipment, devices and machines shall be
effectively grounded.
• Regularly check and clean the dust from LED array.
1. Disconnect from power supply before general
care.
2. Remove the dust from the light bar by using low-
pressure compressed air.
3. Clean the diode array with a soft cloth to prevent it
from being scratched.
4. Be sure not to touch the diode with your bare
hands, even after the xture is disconnected from
power supply.
• It is recommended that you contact a licensed
electrician or an expert if any of the following
happens:
1. The cable or the plug has been damaged.
2. The unit has been exposed to rain.
3. Signicant changes in the unit performance.
4. Fixture or light bar dropped and corner of its
enclosure got bent.
• There are no serviceable parts inside the xture.
Opening the xture will void its warranty.
P. 3