manuals.online logo
Brands
  1. Home
  2. •
  3. Brands
  4. •
  5. IOTA
  6. •
  7. Controllers
  8. •
  9. IOTA 924 Series User manual

IOTA 924 Series User manual

IMPORTANT SAFEGUARDS
When using electrical equipment, basic safety precautions should always be followed, including the following:
READ AND FOLLOW ALL SAFETY INSTRUCTIONS
1. CAUTION – This fixture provides more than one power supply output source. To reduce the risk of electrical
shock, disconnect both normal and emergency sources by turning off the AC branch circuit.
2. CAUTION – This is a sealed unit. Replace the entire unit when necessary.
3. DO NOT USE OUTDOORS. The ETS-DR is for use with grounded, UL Listed, indoor fixtures. Not for use in
heated air outlets or hazardous locations.
4. Do not mount near gas or electric heaters.
5. The ETS-DR should be mounted in locations and at heights where it will not readily be subjected to tampering
by unauthorized personnel.
6. The ETS-DR is compatible with all AC magnetic and electronic ballasts and drivers.
7. The ETS-DR is for use in 0-10 volt dimming applications only, and not designed for use with 3-wire dimming or
step dimming ballasts. The maximum current of the dimming circuit must not exceed 100 mA.
8. The use of accessory equipment not recommended by the manufacturer may cause an unsafe condition.
9. Do not use this equipment for other than intended use.
10. Install in accordance with the National Electrical Code and local regulations.
11. Installation and servicing should be performed by qualified personnel.
12. Lighting fixture manufacturers, electricians, and end-users need to ensure product system compatibility before
final installation.
SAVE THESE INSTRUCTIONS
ETS-DR
SERIES 924
EMERGENCY LIGHTING
CONTROL DEVICE
INSTRUCTION MANUAL
P.O. BOX 11846 TUCSON, AZ 85734
(520) 294-3292 • FAX (520) 741-2837
www.iotaengineering.com
Page 2
INSTALLATION INSTRUCTIONS
CAUTION: Before installing, make certain the AC power is off.
1. MOUNTING THE ETS-DR
Integral (No Flex) – Remove the driver channel cover. Mount the ETS-DR in the ballast/driver channel
at least ½″away from the AC driver(s).
Flex (ETS-DR-A) – Mount the ETS-DR-A on or adjacent to the fixture in a position that does not interfere
with the existing AC ballast/driver or any other hardware. Extend the flex conduit to the junction box or
wireway channel and punch a 7/8″hole. Feed the wires and flex connector down through the hole in the
fixture and secure in place with the flex connector nut.
2. WIRING
Refer to the wiring diagram on the back page for the appropriate wiring of the ETS-DR. Install in ac-
cordance with the National Electrical Code and local regulations. For additional wiring diagrams consult
Customer Service.
3. INSTALLING THE AC INDICATOR
Integral (No Flex) – Select a convenient location with proper clearance in the ballast/driver channel
cover and drill or punch a 7/8″hole (1/2
″knockout). Insert the 7/8″bushing into the hole. Push the plastic
tube through the bushing. Disconnect the leads from the AC Indicator housing and route the leads
down the plastic tube. Reconnect the leads to the housing, observing the proper polarity (Yellow lead
to red marked or positive (+) red tab). Push the entire assembly back into the tube until the lens collar
rests against the plastic tube. The plastic tube should be adjusted so that the AC Indicator is within
¼″ of the fixture lens. The AC Indicator must be visible after installation. Refer to Illustration 1 for an
example of integral mounting in a recessed troffer fixture.
Flex (ETS-DR-A) – Select a convenient location on the fixture so the AC Indicator can be seen after
installation. Allow for proper clearance inside the fixture and drill or punch a ½″ hole. Disconnect the
leads from the AC Indicator housing. Push the AC Indicator housing into the ½″ hole until it is firmly
locked in place. Reconnect the leads, observing the proper polarity (Yellow lead to red marked or posi-
tive (+) red tab). Refer to Illustration 2 for an example of mounting on a downlight fixture.
7/8" BUSHING
FIXTURE
BALLAST CHANNEL COVER
PLASTIC TUBE
CHARGE INDICATOR
LIGHT
FIXTURE LENS
Illustration 1: Integral (No Flex) Mounting
Recessed Troffer Fixture
ETS-DR
Illustration 2: Flex (ETS-DR-A) Mounting
Downlight Fixture
OBSERVE PROPER POLARITY
FLEX
CEILING
TILE
LED DRIVER AND ARRAY
COMPARTMENT
TBTS
ETS-DR-A
CHARGE INDICATOR
LIGHT
AC DRIVER/BALLAST
COMPARTMENT
Page 3
4. WIRING THE AC INPUT
Refer to wiring diagram on Page 4 for the proper wiring configuration of the ETS. For wiring diagrams not
shown, consult Customer Service.
OPERATION
Normal Mode –AC power is present. The AC driver or ballast operates the lamp(s) as intended. The closed
dimming relay of the ETS-DR allows operation of the luminaire at the desired setting of the connected dim-
ming signal.
Emergency Mode –Failure of normal AC (utility) power. The ETS-DR senses the AC power failure and auto-
matically bypasses the wall switch with an internal relay controlling the AC Driver/Ballast, ensuring the flow of
emergency power to the controlled emergency lighting load regardless of the wall switch’s “on” / “off” state. The
ETS-DR Dimming Relay contacts electrically open the 0-10 volt dimming signal, forcing the emergency lighting
load to operate at full lumen output regardless of the dimmer setting. The emergency lighting load is illumi-
nated at full light output for as long as auxiliary power is available. When the AC power is restored, the ETS-DR
returns to the Normal Mode of operation. See page 1 of the Instruction Manual.
TESTING & MAINTENANCE
The ETS-DR is a maintenance free unit, however, periodic inspection and testing is required. NFPA 101, Life
Safety Code, outlines the following schedule:
Insure that the AC Indicator light is illuminated monthly.
“Written records of testing shall be kept by the owner for inspection by the authority having jurisdiction.”
SERVICING SHOULD BE PERFORMED BY QUALIFIED PERSONNEL.
Consult Customer Service or visit www.iotaengineering.com for current warranty information.
Page 4
TYPICAL WIRING DIAGRAM
For wiring diagrams of ballast/drivers not shown, consult our Customer Service.
68016-103
REV 1800
TYPICAL GENERATOR APPLICATION WITH 0-10V DIMMING CONTROL
ETS_DR_SEPARATELY -DERIVED
REV 071718
YELLOW
YELLOW/WHITE
ETS-DR EMERGENCY
CONTROL DEVICE
RED LED
NORMAL POWER INDICATOR
(OPTIONAL)
EMERGENCY
POWER
EMERGENCY
PA NEL
RED (EMERGENCY LINE)
WHITE (NEUTRAL SENSE)
BLUE (SWITCH SENSE)
BLACK (NORMAL POWER SENSE)
G
NORMAL
PA NEL
DOUBLE POLE UL
1008 TRANSFER SWITCH
WALL SWITCH OR OTHER
ON-OFF DEVICE (IF PRESENT)
NORMAL
POWER
N
NEUTRAL
BLK/ORG
VIOLET
VIOLET
VIOLET
RED/WHT (EMERGENCY COMMON)
120-277V
GRAY
NEUTRAL
HOT
HOT
HOT
NEUTRAL
NEUTRAL
NEUTRAL
HOT
0-10 V DIMMING
CONTROL
AC DRIVER / BALLAST
TYPICAL GENERATOR APPLICATION WITH 0-10V DIMMING CONTROL
ETS_DR
REV 071718
YELLOW
YELLOW/WHITE
ETS-DR EMERGENCY
CONTROL DEVICE
RED LED
NORMAL POWER INDICATOR
(OPTIONAL)
EMERGENCY
POWER
EMERGENCY
PA NEL
RED (EMERGENCY LINE)
WHITE (NEUTRAL SENSE)
BLUE (SWITCH SENSE)
BLACK (NORMAL POWER SENSE)
G
NORMAL
PA NEL
SINGLE POLE UL 1008
TRANSFER SWITCH
NEUTRAL BUS FOR
EMERGENCY PANEL
WALL SWITCH OR OTHER
ON-OFF DEVICE (IF PRESENT)
NORMAL
POWER
N
BLK/ORG
VIOLET
VIOLET
VIOLET
RED/WHT (EMERGENCY COMMON)
120-277V
GRAY
NEUTRAL
HOT
HOT
HOT
NEUTRAL
NEUTRAL
HOT
0-10 V DIMMING
CONTROL
AC DRIVER / BALLAST
NEUTRAL BUS FOR
NORMAL PANEL
TYPICAL CIRCUIT DIAGRAM - SEPARATELY DERIVED SYSTEM (SWITCHED NEUTRAL)
TYPICAL CIRCUIT DIAGRAM 2 - NON SEPARATELY DERIVED SYSTEM

This manual suits for next models

1

Other IOTA Controllers manuals

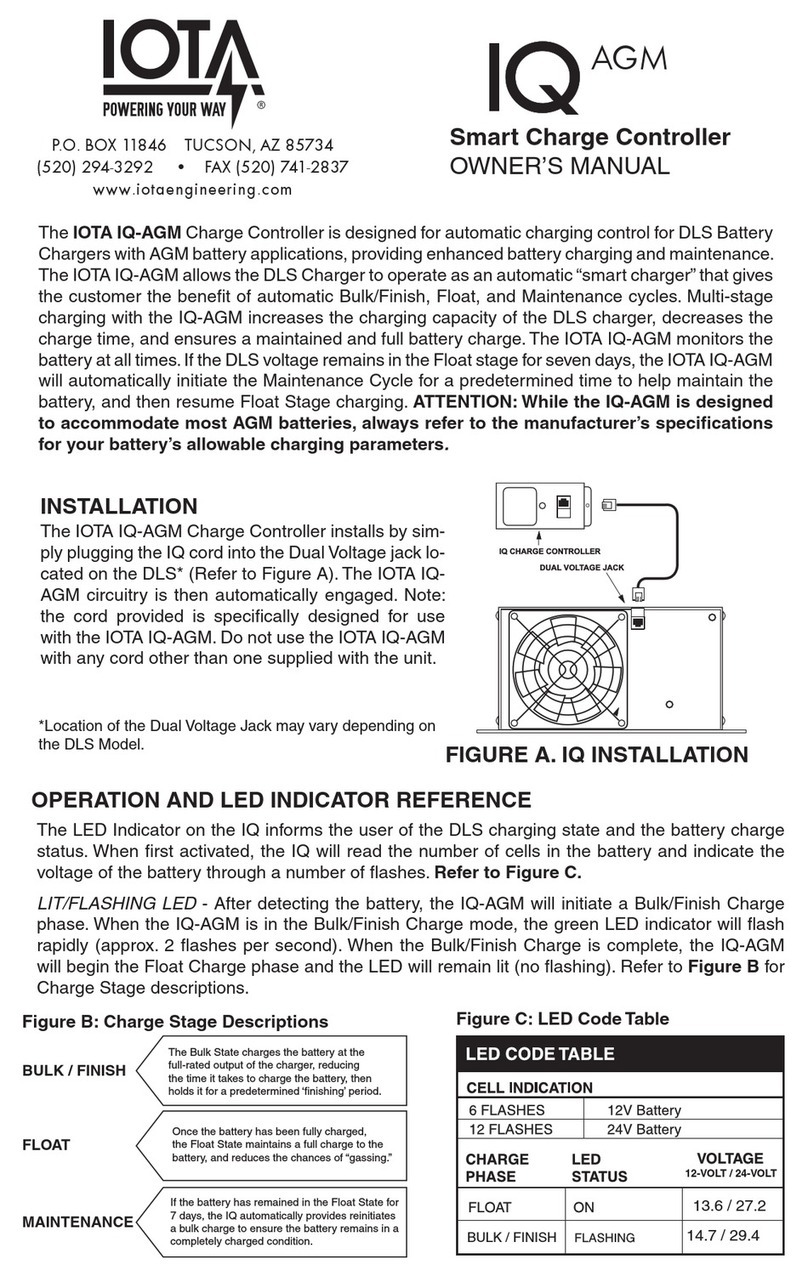
IOTA IQ-AGM User manual

IOTA

IOTA IQ-AGM User manual

IOTA D-48-T User manual

IOTA

IOTA D-48-T User manual

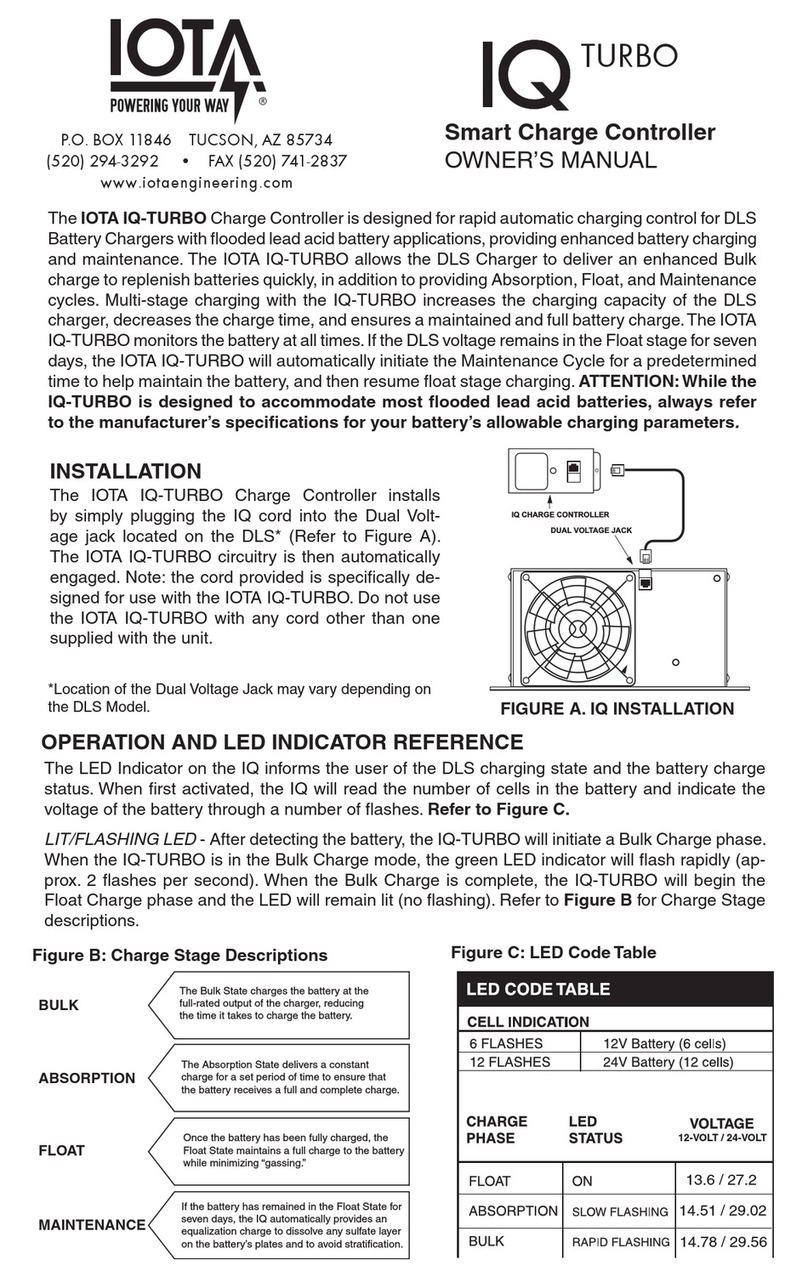
IOTA IQ-TURBO User manual

IOTA

IOTA IQ-TURBO User manual

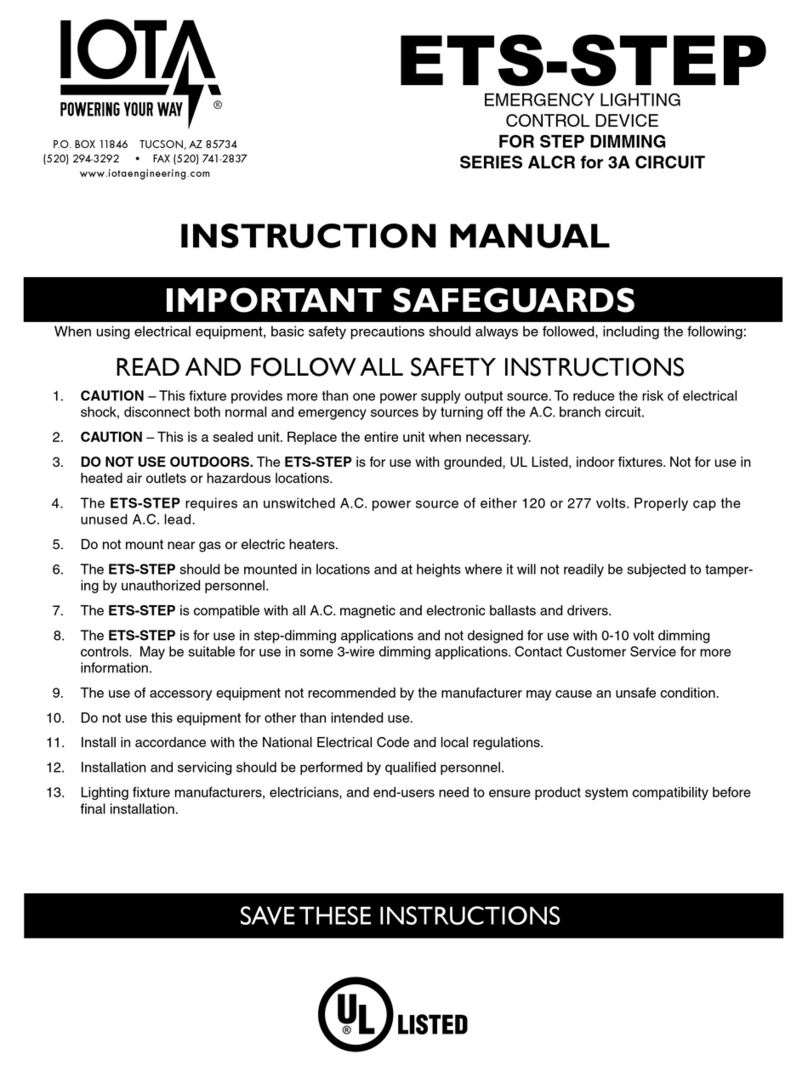
IOTA ETS-STEP User manual

IOTA

IOTA ETS-STEP User manual

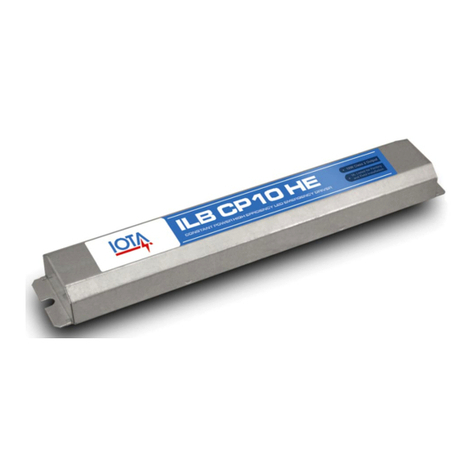
IOTA ILB-CP-HE User manual

IOTA

IOTA ILB-CP-HE User manual

Popular Controllers manuals by other brands

Puls DIMENSION UB Series manual

Puls

Puls DIMENSION UB Series manual

Kisae SC1210LD owner's manual

Kisae

Kisae SC1210LD owner's manual

Inficon VGC031 operating manual

Inficon

Inficon VGC031 operating manual

Freescale Semiconductor FlexRay MFR4310 Reference manual

Freescale Semiconductor

Freescale Semiconductor FlexRay MFR4310 Reference manual

Invertek Compact 2 Series user guide

Invertek

Invertek Compact 2 Series user guide

Lincoln Electric MAXsa 19 Operator's manual

Lincoln Electric

Lincoln Electric MAXsa 19 Operator's manual

Tyco Galaxy SC Controller manual

Tyco

Tyco Galaxy SC Controller manual

Philips dynalite DMRC210-RJ-DA installation instructions

Philips

Philips dynalite DMRC210-RJ-DA installation instructions

ADLINK Technology AMP-304C user manual

ADLINK Technology

ADLINK Technology AMP-304C user manual

Hach AS950 AWRS Operation manual

Hach

Hach AS950 AWRS Operation manual

Elko iNels DA2-22M instruction manual

Elko

Elko iNels DA2-22M instruction manual

Honeywell IAQ Poin user manual

Honeywell

Honeywell IAQ Poin user manual

Neptronic ARO24T Specification and installation instructions

Neptronic

Neptronic ARO24T Specification and installation instructions

Eurotherm epack user guide

Eurotherm

Eurotherm epack user guide

Norac UC4.5 Operator's manual

Norac

Norac UC4.5 Operator's manual

Allen-Bradley MicroLogix 1100 Instruction set reference manual

Allen-Bradley

Allen-Bradley MicroLogix 1100 Instruction set reference manual

maxon motor ESCON 70/10 Hardware reference

maxon motor

maxon motor ESCON 70/10 Hardware reference

Johnson Controls FX-PCA3611 installation instructions

Johnson Controls

Johnson Controls FX-PCA3611 installation instructions

manuals.online logo
manuals.online logoBrands
  • About & Mission
  • Contact us
  • Privacy Policy
  • Terms and Conditions

Copyright 2025 Manuals.Online. All Rights Reserved.