IQBoard IQAiO GR511 User manual

Returnstar Interactive Technology Group Co., Ltd.
User Manual

Content
Content -------------------------------------------------------------------------------------------------------------------------------------------------- 01
Chapter1 Product Review ------------------------------------------------------------------------------------------------------------------------------- 02
Chapter2 Central Control Panel ------------------------------------------------------------------------------------------------------------------------ 03
Chapter3 Power on/off the Device ----------------------------------------------------------------------------------------------------------------- 03
3.1 Enable the device ---------------------------------------------------------------------------------------------------------------------------------- 03
3.2 Disable the device ---------------------------------------------------------------------------------------------------------------------------------- 03
Chapter4 Digital Code and Card Setting -------------------------------------------------------------------------------------------------------------- 04
4.1 Digital code ----------------------------------------------------------------------------------------------------------------------------------------- 04
4.2 IC Card ----------------------------------------------------------------------------------------------------------------------------------------------- 04
Chapter5 Wireless MIC -------------------------------------------------------------------------------------------------------------------------------- 05
5.1 Operation Guide ----------------------------------------------------------------------------------------------------------------------------------- 05
5.2 Device Overview ----------------------------------------------------------------------------------------------------------------------------------- 05
Chapter6 Document Camera ------------------------------------------------------------------------------------------------------------------------ 06
Chapter7 Projector Control Code -------------------------------------------------------------------------------------------------------------------- 06
Chapter8 Specifications ------------------------------------------------------------------------------------------------------------------------------- 07
Chapter9 Attention ------------------------------------------------------------------------------------------------------------------------------------ 08
Chapter10 Trouble Shooting -------------------------------------------------------------------------------------------------------------------------- 08
01

Chapter1 Product Review
1 1
5
3
4
2
1. 2*25W Speakers
2. Central Control Panel
3. Document Camera
4. Interactive Whiteboard
5. Built-in Computer-Central Control
6. AC OUT *1
7. AC IN *1
8. VGA *1
9. RS232 *1
10. HDMI *1
11. Audio OUT *1
AC OUT
VGA
RJ45 RS232 HDMI
AUDIO
AC IN
6 7 8 9 10 11
02

Chapter 3 Power on/off the Device
3.1 Enable the device
· Boot up with IC card
Put the IC card on the card response area and after the beep sound, the device will boot up, together with the PC and projector if it’s set with
correct starting control code. At the same time, central control, amplifier and wireless MIC will be power on. To use the document camera, users
just need to press switch to open the door and lift up the arm.
· Boot up with the digital code
Press ‘OK’ key and stop when blue and red lights show up, then input the digital code to boot up the device. Please kindly note that the digital code
mode will exit if user fails to input the number within ten seconds. For more detail, please check “Chapter4: Digital Password and Card Setting”.
· Other methods
User could press the keys at front panel to start the projector, switch signal source, restart the PC, adjust the volume and etc.
1. Card response area: Boot up the device with the card.
2. Power: Power on/off the device.
3. Computer: Power on/off the PC.
4. Lock: Freeze the functions on the panel.
5. Projector : Boot up/shut down the projector.
6. Source input: Switch signal sources between PC, front VGA and HDMI.
7. Touch off: Disable the touch function and screen off.
8. Eco mode: Start the power-saving mode of projector.
9. Volume adjustment: Turn up/down the volume or mute.
10. Number keys: Input or reset digital code.
11. IQ USB port: Enable touch function when connected to external device.
12. USB ports: USB IN*4
13. Audio port: Audio IN*1
14. VGA port: VGA IN*1
15. HDMI port: HDMI IN*1
Chapter 2 Central Control Panel
3.2 Disable the device
· Put down the arm of document camera and close the door manually.
· Press “Power” button to shut down the device. Please kindly note that it will be postponed for 3 minutes after shutting down the device to
entirely power it off, which is to make heat dissipation of the projector.
1
2
4
5
7
6
8
15
9
10
11
3
12
13
14
03

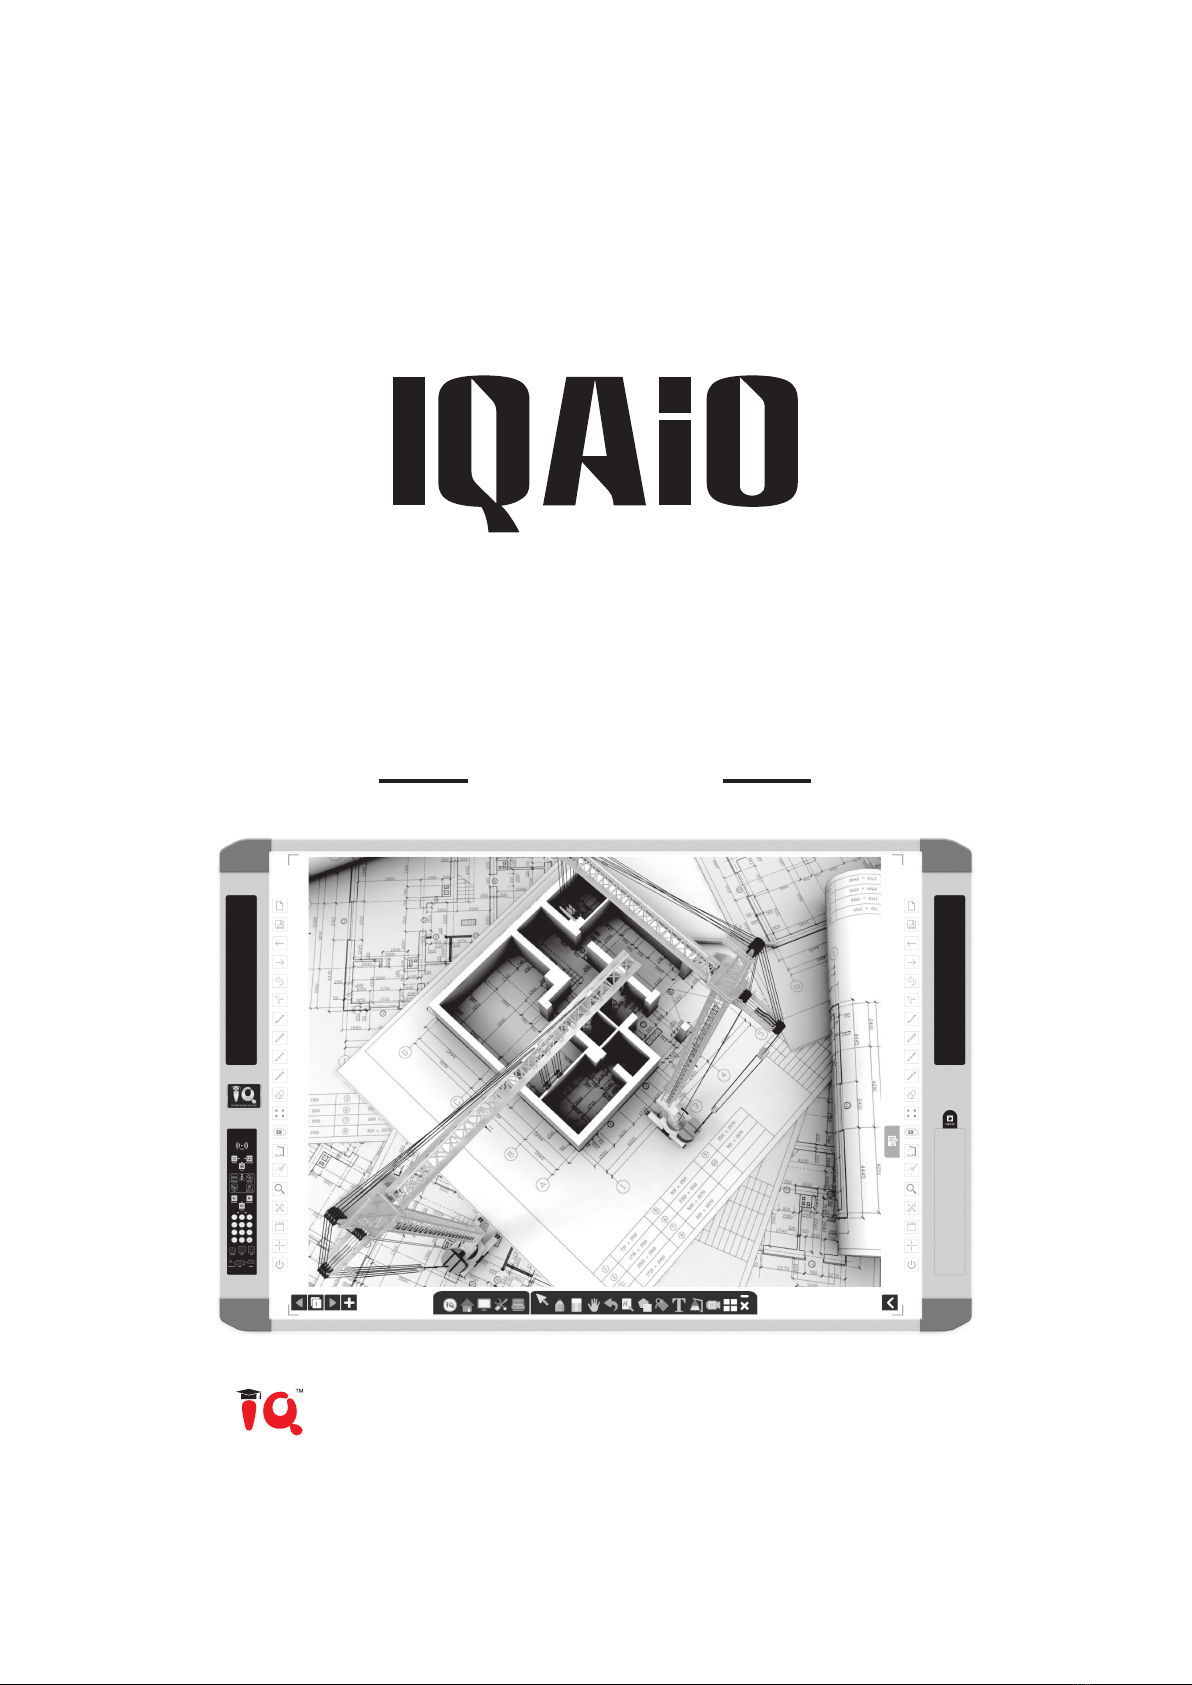
Chapter 4 Digital Password and Card Setting
4.1 Digital code
4.1.1 How to Set the Digital Password
Steps:
*Note: If user fails to input any number after 10 seconds, the password mode will exit.
*Note: The setting mode will exit if user fails to input or there is no response to the IC card.
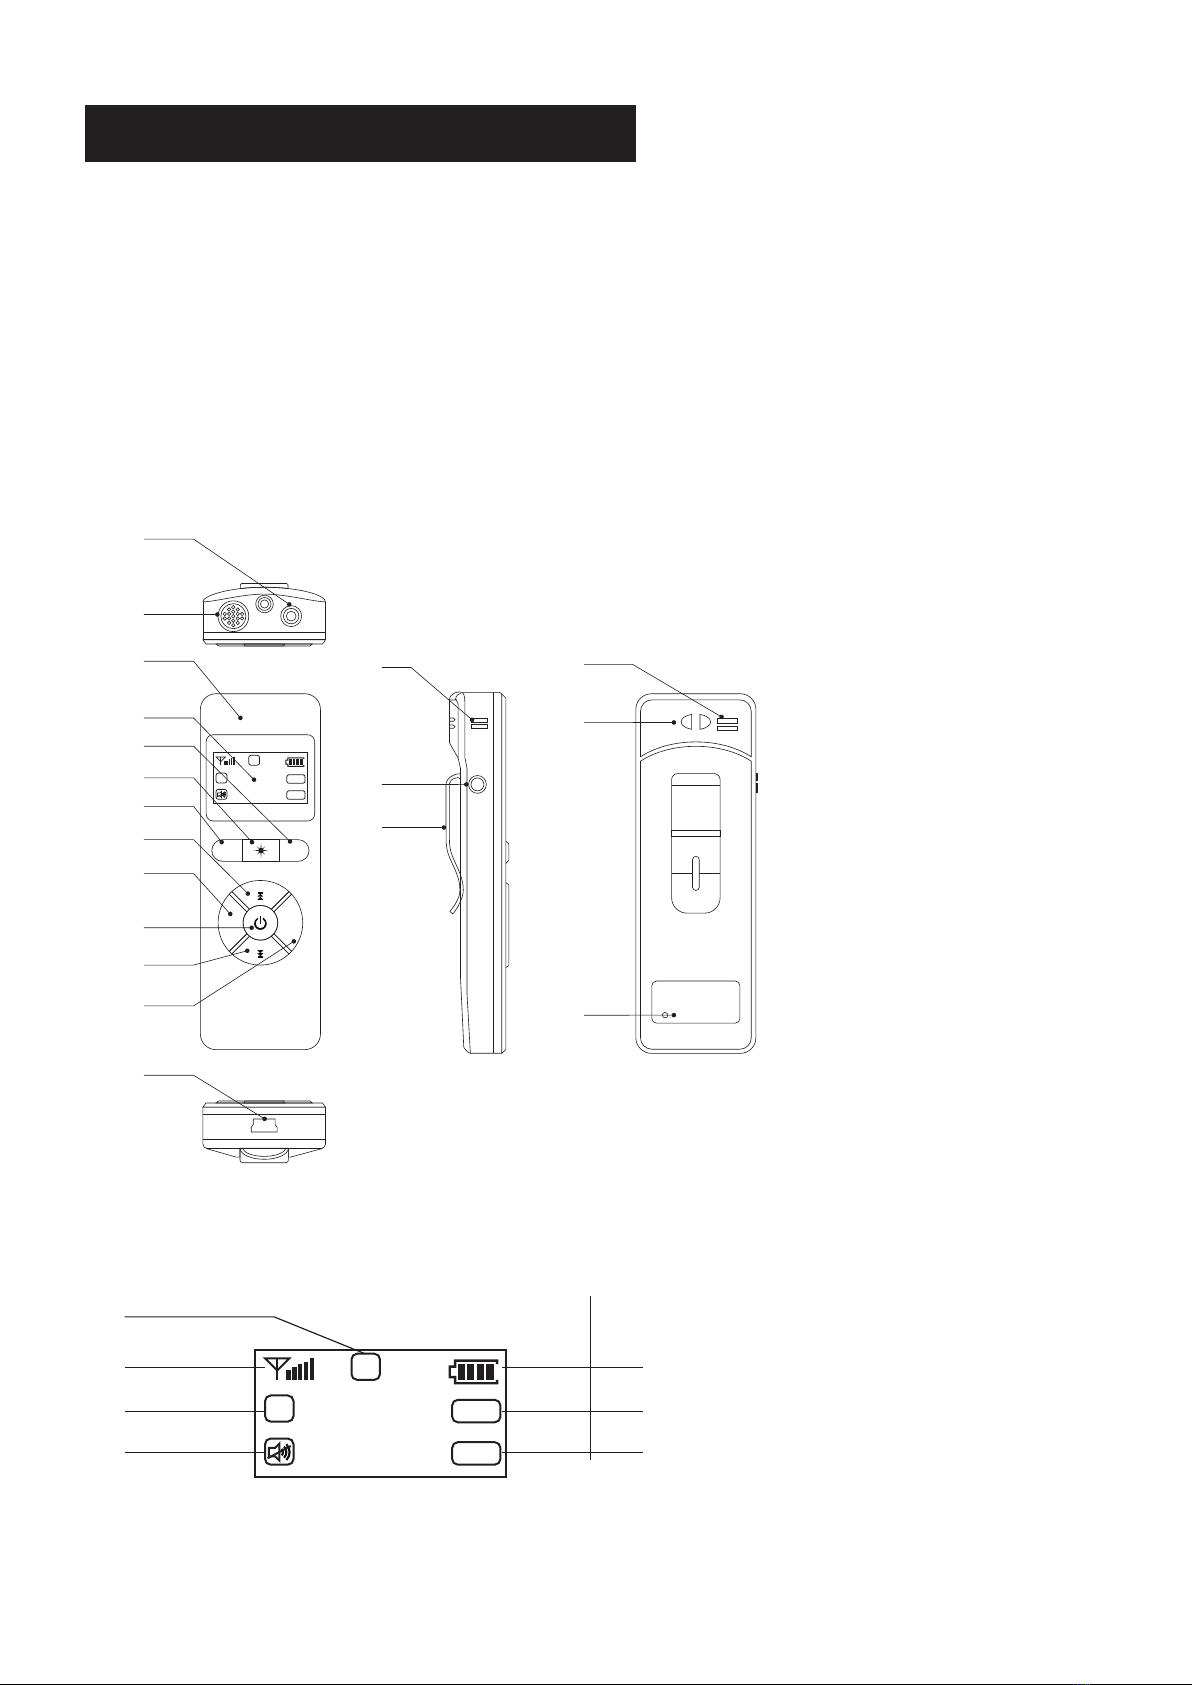
· Press ‘OK’ key until the blue and red lights show up to enter the password mode.
· Input the password for user or administrator correctly to boot up the device. If the password is wrong, the beep sound will come and blue light
will flash, and user could input the password again.
· If user fails to input the whole number, he could press ‘C’ key and the red light will flash. Clear all the number and please input the number once
again.
· Press ‘OK’ key long to enter setting mode
· When blue and red lights show up, please input the administrator’s password correctly to enter setting mode. If wrong, the beep sound will
come. When blue light shows up, users could input the password once again.
· When only blue indicator lights, it means ready for setting the user’s password. When only red indicator lights, it means ready for setting the
administrator’s password. Then press ‘C’ key and press the ‘OK’ key to input the new password.
· When inputting the new password, only blue light will flash. After inputting, press ‘OK’ key to confirm or ‘C’ key to clear it.
· After press ‘OK’ key to confirm new password, the red light will flash only. User should input the new password again and press ‘OK’ to confirm it
again.
· If the password input twice were the same, the setting mode will exit.
4.2 IC Card
· Press ‘C’ key and blue and red lights flash to enter IC card setting mode.
· Input the administrator password at first.
· The setting will get started if the password is right and the blue light flashes. If setting is done, blue and red light will flash. Then it will enter the
second card setting mode.
· Setting of second card will get started if red light flashes. If the blue and red light flash, it means setting is done.
4.2.1 How to use the card
If the card is set already, please put the card on the response area to boot up the device. If the card is wrong, the beep sound will come continual-
ly and the red light will disappear for a while.
4.2.2 Reset card mode
· Long press the ‘C’ key to enter reset mode
· Input the password of factory administrator, then long press ‘OK’ key to confirm the password. After resetting, the password will become default
password, and it’s required to reset the card also.
Boot up
Boot up
Set user’s password
Set administrator’s password
Set the IC card
0000 Available for changes
Available for changes
User
9999Administator
FunctionDefault Password RemarkName
04

Chapter 5 Wireless MIC
5.1 Operation Guide
5.2 Device Overview
· Start the MIC Receiver and then press the power button for two seconds to power Wireless MIC on. Please make sure the distance is within 5
meters. The signal and the PPT icon in the screen will flash. Press switch keys to choose 2.4G (2.4G frequency), IF (infrared frequency) or PPT (PPT
alone). The icon stops flashing if the pairing is successful. The PPT icon will display when the PPT module is turned on.
· After the pairing is finished successfully, press the audio button to switch into AGC or None. Short press the power button to mute, and shut
down the machine by long pressing the power button.
· The laser pointer can be used directly without opening the microphone. And it is automatically switched from the built-in microphone to the
external microphone when the external microphone is connected.
1. Infrared head
2. laser head
3. Built-in MIC input port
4. Built-in MIC input port
5. LCD
6. AGC button
7. Press laser pen button to open the
laser pointer
8. RF button for 2.4G frequency or
infrared frequency
9. Turn up the page
10. Volume down
11. Power on/off by press for 2 seconds
and mute by short press
12. Turn a page down
13. Volume up
14. MICRO USB charge port
15. Built-in MIC input port
16. 3.5 audio external input port
17. Toggle clip
18. Built-in MIC input port
19. Hanging hole
20. RESET button
1
2
3
4
5
6
7
15
16
17
18
19
20
9
8
10
11
13
12
13
MIC
RF AGC
VOL- VOL+
MIC
USB
PPT
AGC
CH
RF 2.4
15
32
5.2.1 LCD Display
1. Optional 2.4G, IR and PPT frequency mode.
2. Signal indicator after the frequency is successful
3. Working channel
4. Volume
5. Power
6. Optional AGC and None to adjust volume
7. Turn PPT pages up/down
1
2
3
4
5
6
7
PPT
AGC
CH
RF 2.4
15
32
05

Chapter 6 Document Camera
6.1 Steps to operate document camera
· Open the door and gently unfold the document camera.
· Put the object on the display stand and run the "IQ Interactive Education Platform V6.0" software to make physical display, dynamic annotation,
contrast teaching and other functions.
Chapter 7 Projector Control Code
7.1 Steps to set the control code
· Make sure the connection of the IQAiO and projector is OK.
· Enter the “Device Manager” of the computer to check the projector serial number and run the software.
· Find out the right code for the projector. If the code isn’t available, please set the code correctly. Take the EPSON projector as example, please
refer to the operation as below:
· After setting the serial number, configuration and commands, please click “send”.
EPS-820, EPS-811
Baud rate: 9600
HID: Vid:Ox:1314,Pid:Ox:1066
POWER ON: ‵PWR ON‵,Od,Oa
POWER OFF: ‵PWR OFF‵,Od,Oa
RGB INPUT1: ‵SOURCE 11‵,Od,Oa
RGB INPUT2: ‵SOURCE 21‵,Od,Oa
VIDEO: ‵SOURCE 41‵,Od,Oa
S-VIDEO:‵SOURCE 42‵,Od,Oa
With the IQ Control code software, the control code to power on/off the projector could be written and kept in the central system for more
convenient operation on the projector. (IQ Control code software is saved in E:/IQBoard)
*Note: Please adjust the brightness if it’s too dark and refer to the software user manual for more details.
Model: Command:
06

Chapter 8 Specifications
Name
Model
Size
Overall Size(mm)
IWB Size(mm)
Active Projection Size(mm)
Aspect Ratio
Device Main Control
External Interfaces
Back Interfaces
Appearance
Audio Frequency
Wireless Mouse and Keyboard
Power Supply
Optional
IQAiO
GR511
91"
1981*1302 (90.8”)
1719*1234 (83.1”)
1632*1224 (80.3”)
4:3
i3/i5 Dual Core Processor, 4G RAM, 500G HD with Graphics Card, Gigabite Ethernet
USB 2.0*4, External PC USB input*1, Audio 3.5 mm input*1, VGA*1, HDMI*1
Audio 3.5mm output*1, VGA output*1, HDMI output*1, RS232*1, AC 220V input*1, AC 220V output*2
Dual-cavity symmetric structure.
Aeronautic aluminum frame with no painting, magnetic interference free
and corrosion-resistant material
2*25 W
Ultra-thin fashionable wireless 2.4G suite
100~240V 50/60Hz
PC, document camera, Wireless MIC
102”
2308*1302 (101.8”)
2045*1234 (93.8”)
1958*1224 (90.9”)
16:10
RFID Card
Indicators
Digital Control
Panel Keys
Power on by RFID card
Power on/off, PC on/off, one key locking, mute, signal source(mother board, front-VGA, front-HDMI),
number keys and other indicators showing working status to avoid maloperation
Number keys to control power and other functions
PC on/off, projector on/off & ECO mode, 3 kinds of AV signal switch, lock button,
touch off control, volume adjust & mute
Central Control Panel
Technology
Touch Points
Input Way
Physical Resolution
Response Speed
Position Accuracy
Interface
IR Technology
6, 10,16
By pen or any opaque object.
32768*32768
8 m/s
0.05 mm
USB 2.0 and above
Interactive whiteboard
Scanning Area
Camera Lens
AF
Frame Rate
Pixels
Resolution
Light Source and Control
Port
Power
System Support
A4
CMOS Prime Lens
Yes
≤30 fps
5 Mega Pixels, 8 Mega Pixels
2592*1944(max) , 3264*2448(max)
1W LED light source compensation
USB 2.0
Powered by USB Port without external power supply
Windows XP/2003/VISTA/7/8/10 without driver
Document Camera
Frequency Range
Buttons
Working Range
Continual Working Hours
2.4G (Automatic Frequency-matched, support
100 classrooms using at the same time
without disturbing)
Power Switch, Laser, Volume, Mute and others
15M (without barrier)
8 to 12 hours (built-in lithium battery,
rechargeable, energy-saving & healthy)
Wireless MIC
07

Chapter 9 Attention
Chapter 10 Trouble Shooting
· The power for the IQAiO is 100~240V 50/60Hz.
· Please don't disassemble the device or fill it with impurity.
· Please keep the device away from the heat, water and the corrosive things.
· Please power off the device before clean it with soft cloth. Don't clean it with liquid or gas cleanser.
· Suggested temperature is between 0℃and +40℃.
· Please unplug the power line if the device hasn't been used for a long time and when the projector has dissipated heat entirely.
· Keep the antenna accessories distant from the metal.
· Use wireless MIC in a dry environment without any liquid.
· Avoid collision or fall of the wireless MIC from the height.
· The battery of wireless MIC must be charged at least once in three months.
The power indicator doesn’t light after the device is power on.
Please check whether the fuse is damaged and refer to the picture below.
Reversed display of the projector
Select the reverse projection in the menu of the projector to display normal image.
Computer screen fails to display
Select the signal source of PC/VGA 1 and check again.
The projector isn't started
Check whether the control code is correct and RS232 is connected well.
No sound from the wireless MIC
Check whether the volume of wireless MIC has started and the antenna is connected.
Check whether the emitter is power on.
Central control panel isn't power on
Check whether the fuse is damaged or the central control panel is power on.
No sound from the computer while the screen displays well
Press "Mute" key to restore volume if the central control panel is mute.
Check whether the computer's volume is turned down or is muted.
Fail to start the computer after shutting it down
Check whether it's at least three minutes after power it off.
08

Returnstar Interactive Technology Group CO., LTD.
6th Bldg. High-Tech Base. Fuzhou Fujian Prov. China
0086-591-38202660
0086-591-38203003
www.IQBoard.net
[Kd045EN]-IQAiO 20181213
© Returnstar Interactive Technology Group CO., LTD
Table of contents
Other IQBoard Whiteboard manuals
Popular Whiteboard manuals by other brands

Rapidline
Rapidline W96 Assembly instructions

Panasonic
Panasonic Panaboard KX-B530U operating instructions

Displays2go
Displays2go WHBM2840 Assembly instructions

PolyVision
PolyVision CeramicSteel Cleaning and care

Mooreco
Mooreco Classroom Series quick start guide

Best-Rite
Best-Rite 786 ECO-Wheasel Assembly instructions