7
XEBEX TREADMILL
CONSOLE PROGRAMS
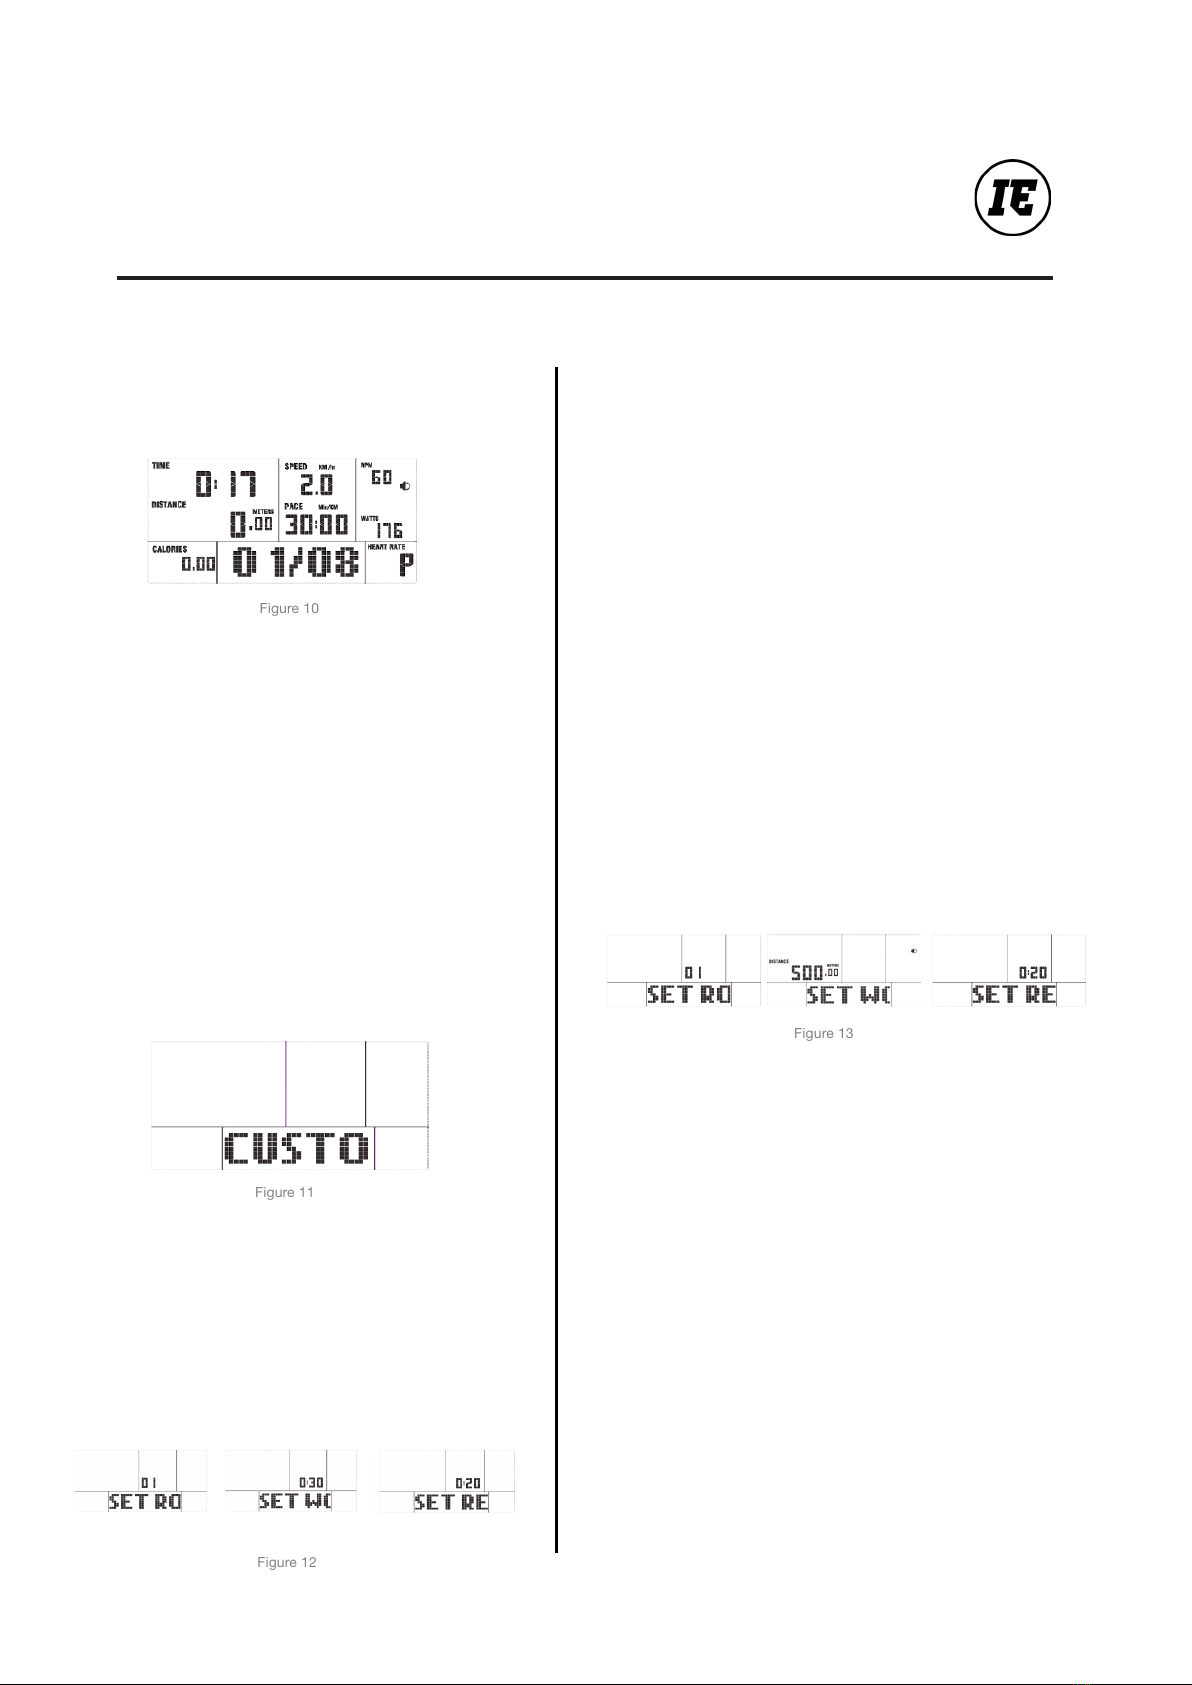
Run: The console will display the current Work/
Rest interval and the timer display will count down
during each interval. (Figure 10)
Finish: The program will continue to run until all
8 intervals are completed. To end the program at
any time, press the STOP key. Summary metrics in
END mode will be displayed.
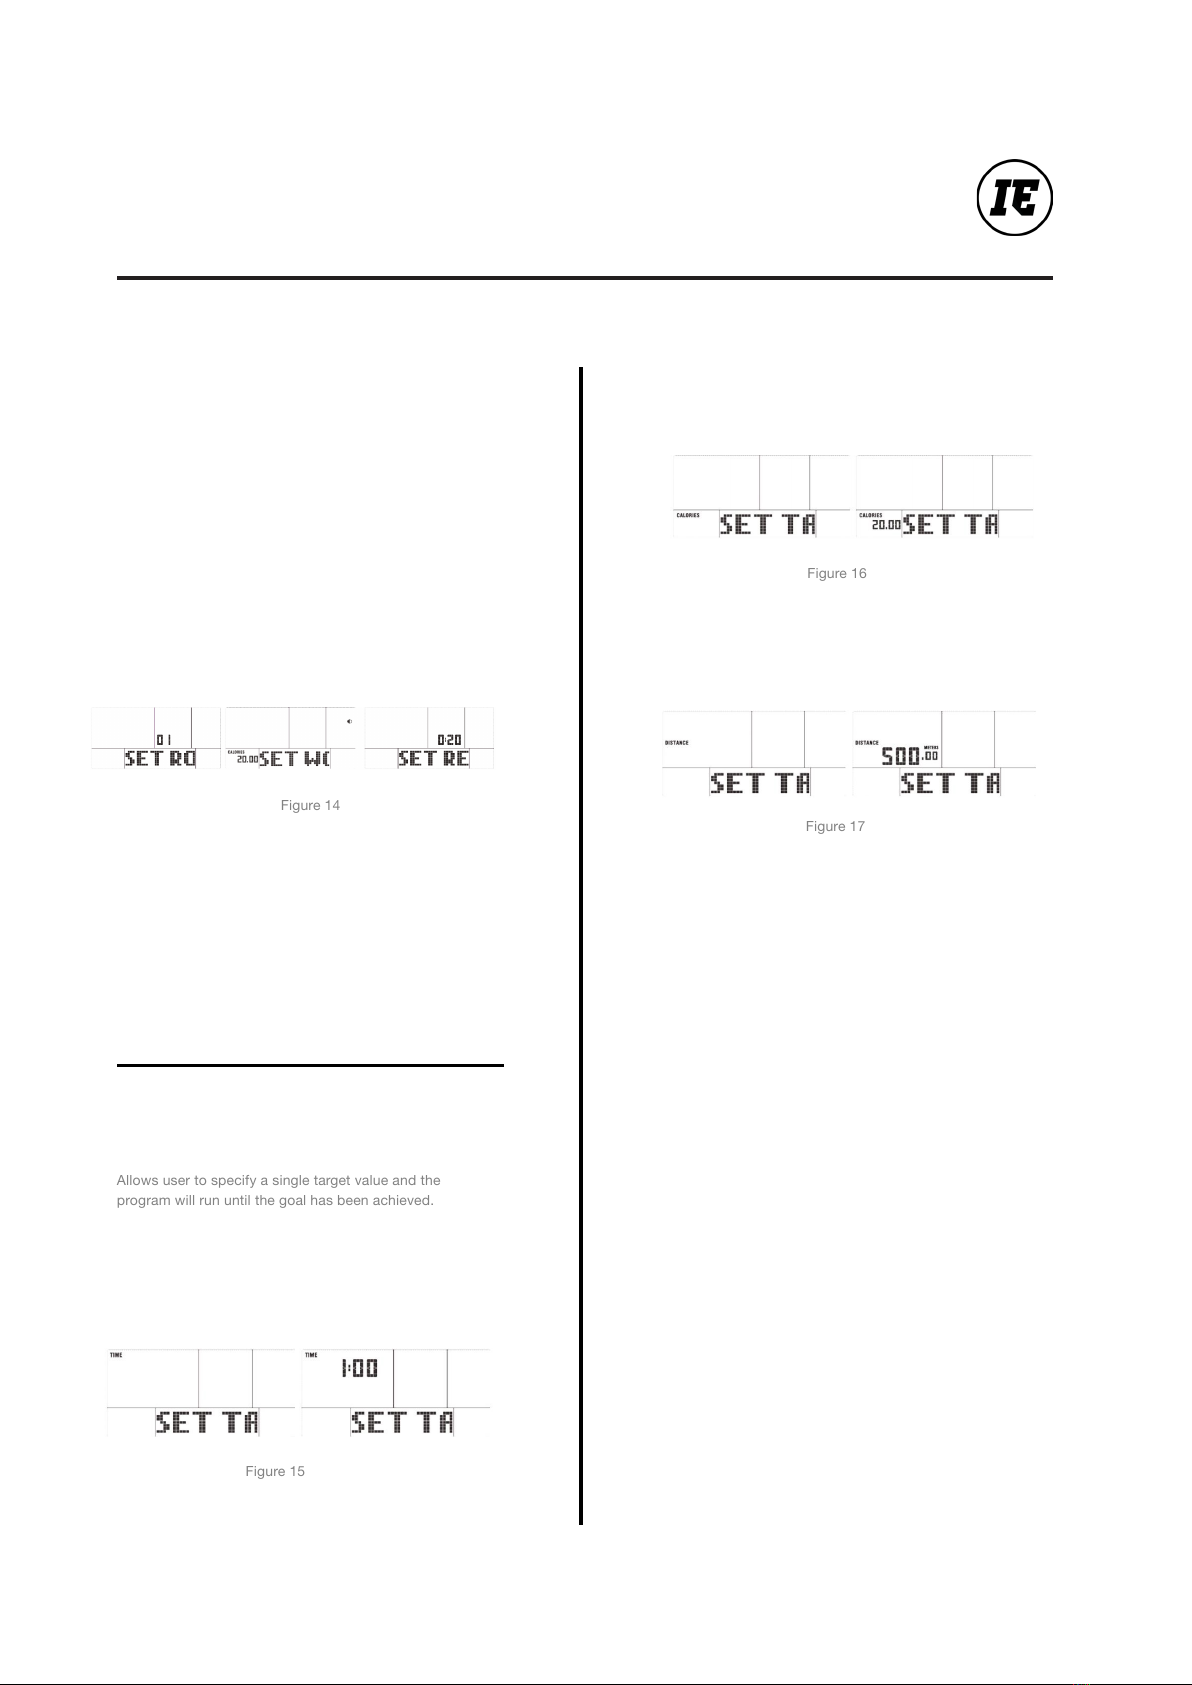
Custom Interval Program: Allows user to specify
the length of Work time, length of Rest time, and
number of intervals to be completed.
5
6
Start: Press the INTERVAL PROGRAMS key to
launch program. Use the UP/DOWN keys to select
the “Custom” program. Press ENTER or START
key to conrm your selection.
6.1
Congure: After selecting Custom, the user will be
required to specify the number of interval rounds, the
length of Work time, and the length of Rest time in this
order. Use the UP/DOWN keys to change the values and
conrm each value by pressing the ENTER key to set the
next value.
6.2
Run: The console will display the current Work/
Rest interval and the timer display will count down
during each interval.
6.3
Finish: The program will continue to run until all
intervals are completed. To end the program at
any time, press the STOP key. Summary metrics in
END mode will be displayed.
6.4
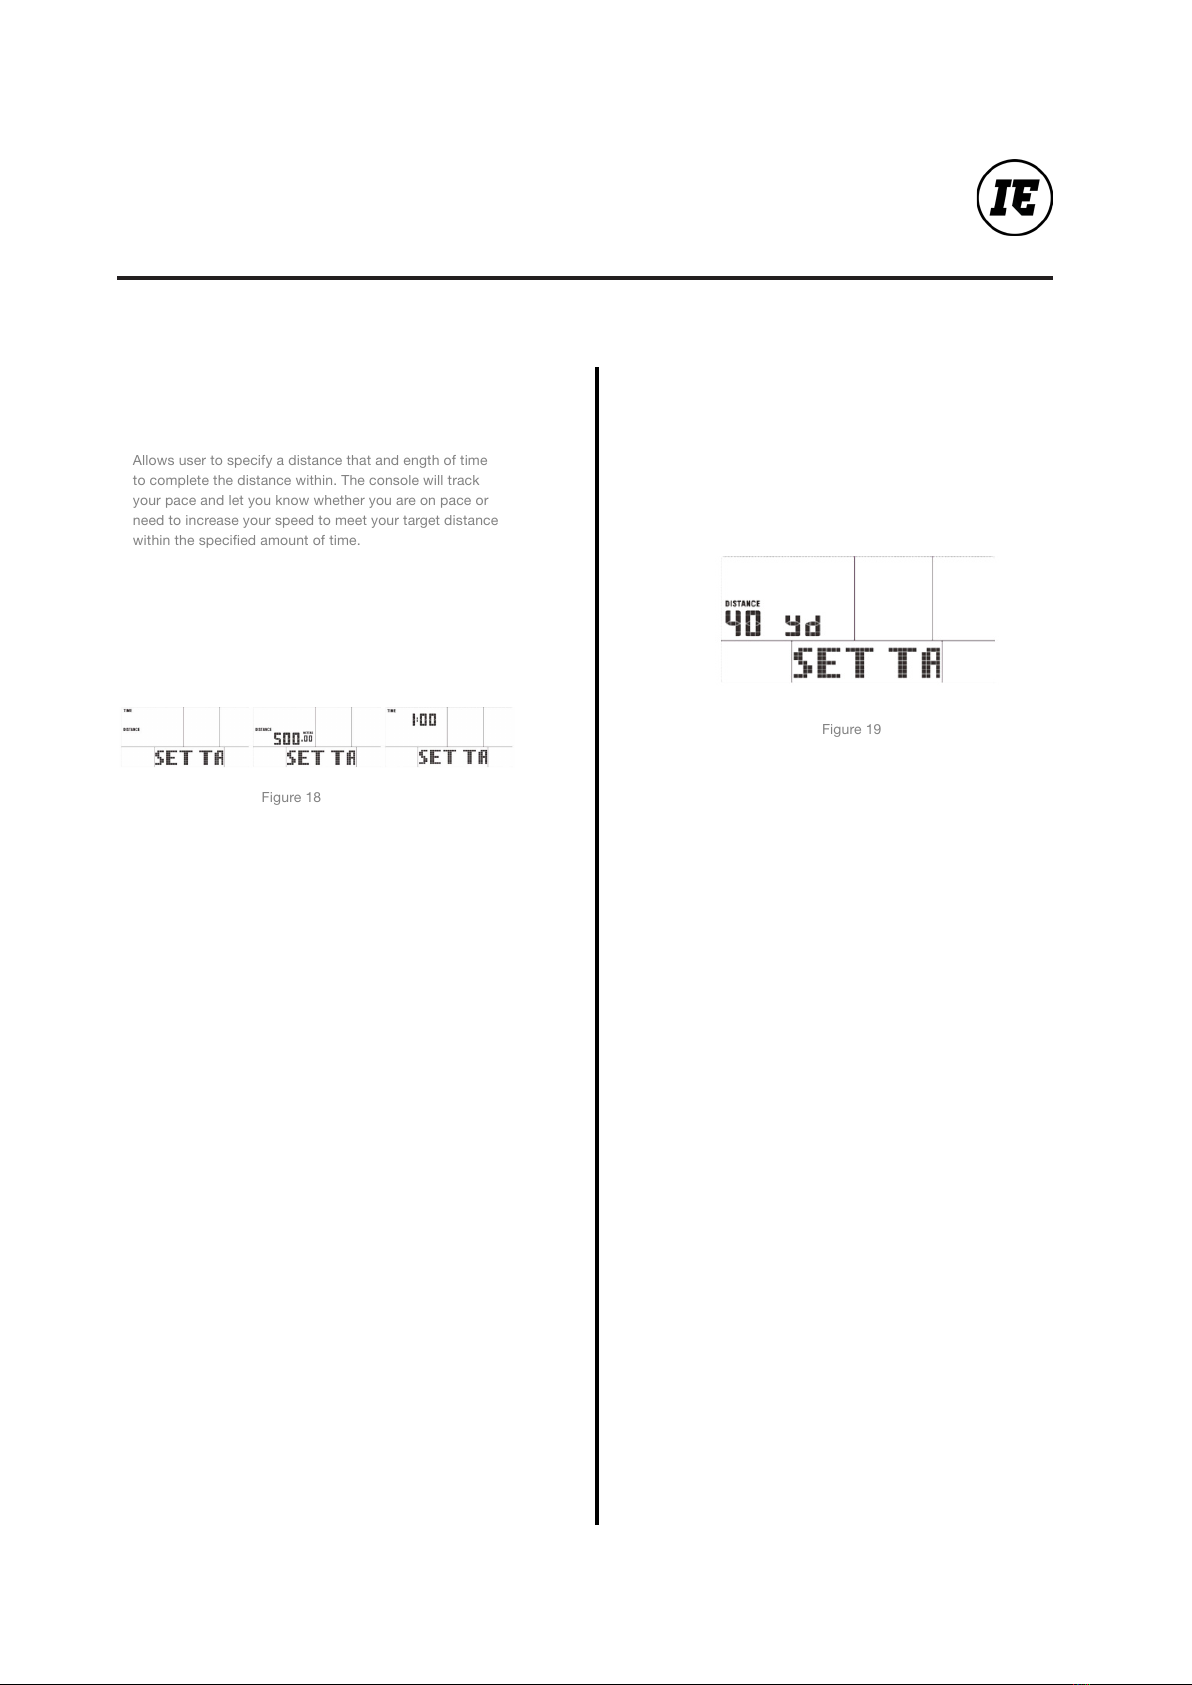
Interval Distance Program: Allows user to specify a
Work distance, length of rest time, and number of
intervals to be completed.
i.Start: Press the INTERVAL PROGRAMS key
to launch program. Use the UP/DOWN keys to
select the “Interval Dist” program. Press ENTER or
START key to conrm your selection.
ii.Congure: After selecting the program, the user
will be required to specify the number of interval
rounds, the work distance amount, and the length
of Rest time in this order. Use the UP/DOWN keys
to change the values and conrm each value by
pressing the ENTER key to set the next value.
6.5
iii. Run: The console will display the current Work/
Rest interval. The distance display will count down
during each work interval, and the time display will
count down during rest intervals.
iv. Finish: The program will continue to run until
all intervals are completed. To end the program at
any time, press the STOP key. Summary metrics in
END mode will be displayed.