Power Voltage: DC 5V-9V
Working Current:<300mA
Standby power
consumption: ≤200mA
Rated Power: <2W
Protection Class: IP40
Antenna: Built-in
Control Point Number: 30
Installation: Horizontal or wall-mounted
Wireless Communication: 433MHz, 868MHz
IEEE 802.11b/g(WIFI)
Communication Distance: 35m (Indoors)
Network Port: 1×RJ45 (10/100 BaseT)
Working Temperature: -10℃ to 55℃
Storage Temperature: -40℃ to 55℃
Smart Box Size: 158mm×83mm×30mm
Specification
Power
Indicator
WiFi
Indicator
Working
Indicator
The Smart Box should be installed in the
central area of the residence at a height
of over 50 cm above the floor.
Installation may be horizontal or
wall-mounted. There should be no metal
objects shielding surrounding the Smart
Box. Other objects should be at least
15cm away from the Smart Box. The
Smart Box should be installed away from
humid environments to avoid unneces-
sary influence on the Smart Box. A
wireless router should be connected to
the installation position of the Smart Box
to enable access of intelligent terminals
(e.g. iPhone, iPad, etc.).
Installation Environment
ID SMART BOX
INTRODUCTION ID SMART BOX
HARDWARE INTERFACE
Standard
Configuration
LAN port(to any LAN port
of the wireless router)
RESET Reserved
RS232
Power
DC 5V
SMART BOX | 01 SMART BOX | 02
Adapter (Plugs for different
countries optional)
Smart Box Network Cable Instruction Manual
LANEXT1 EXT2 USBRS232
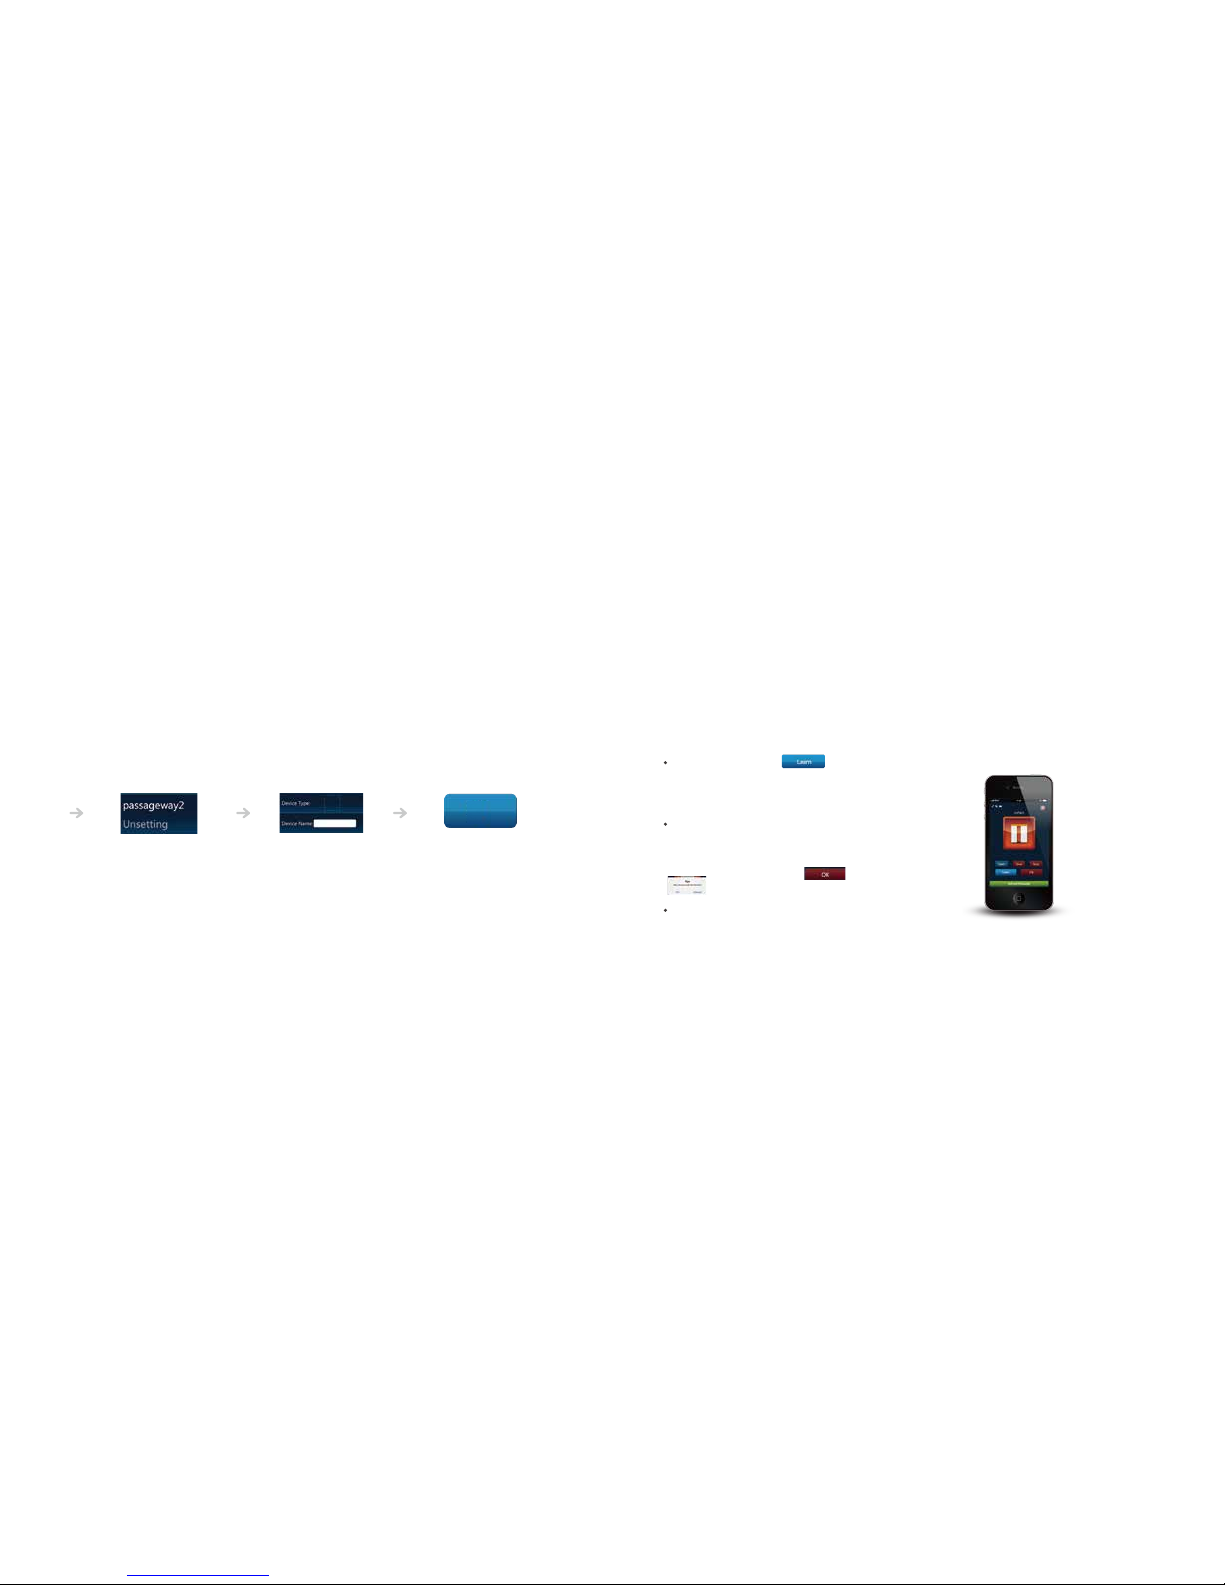
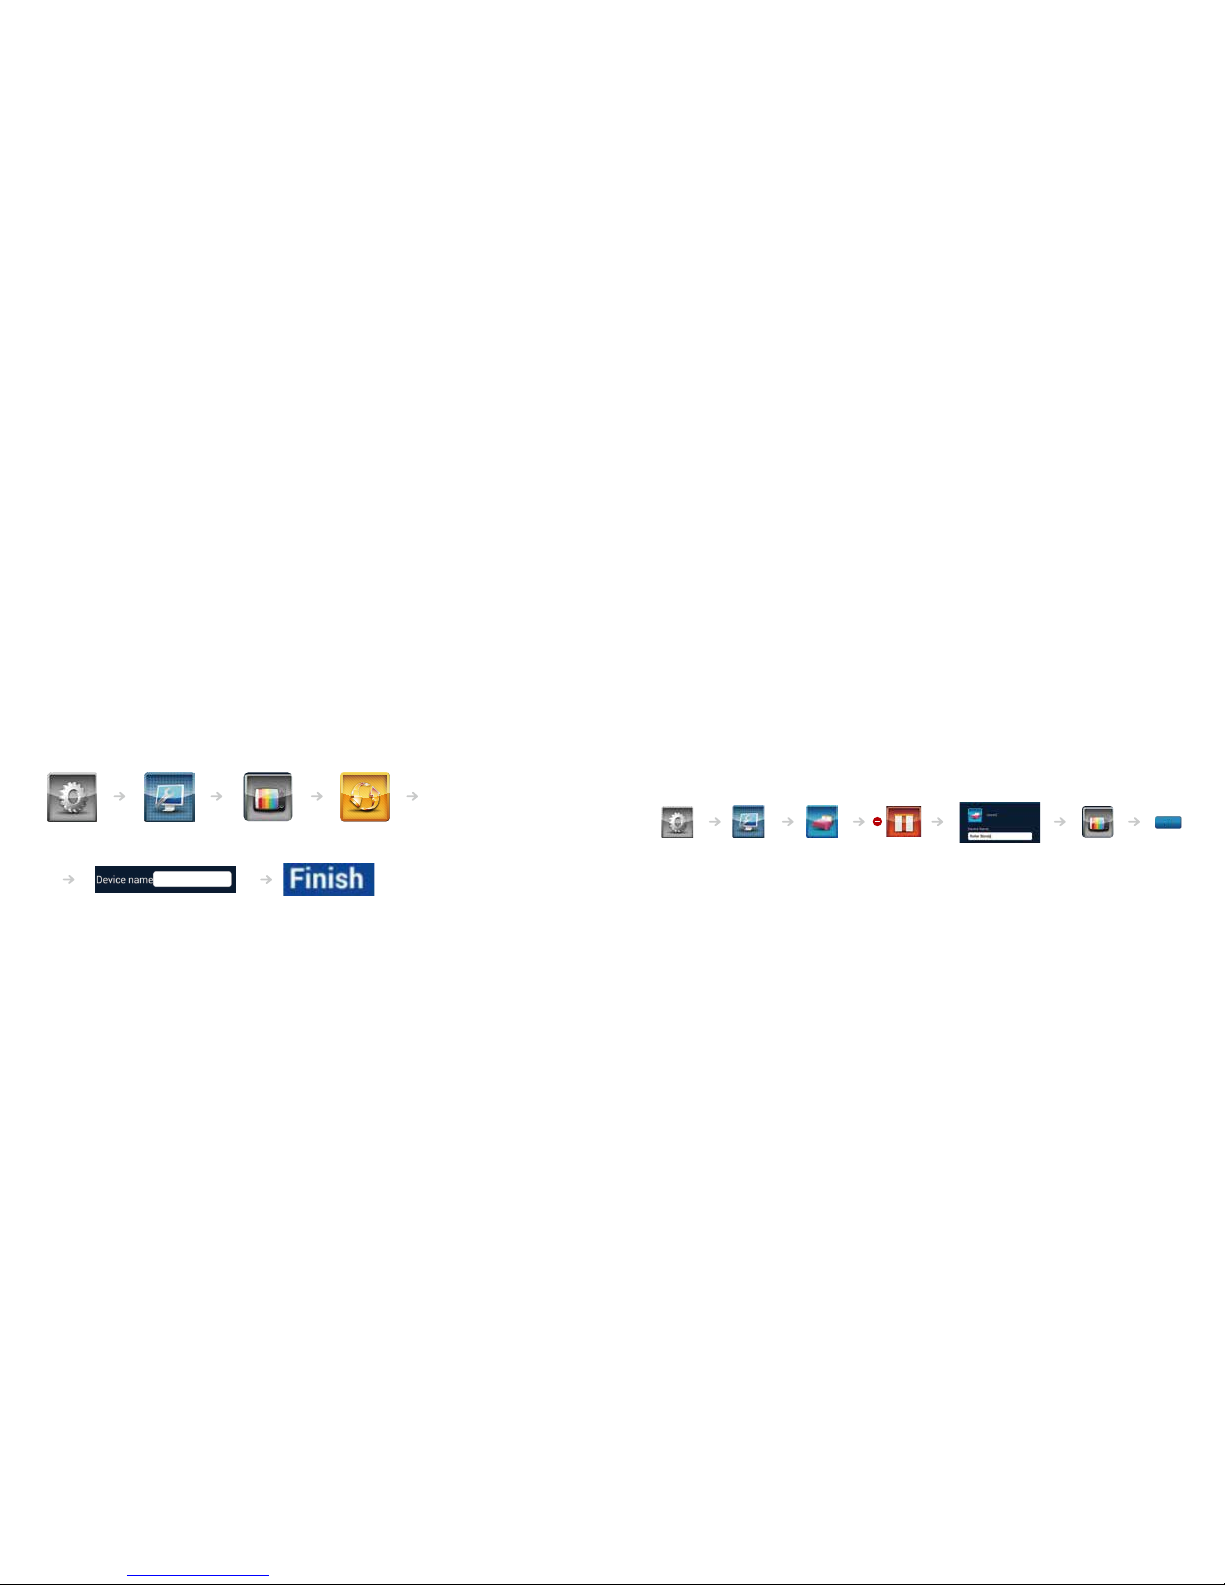
Instruction for iPhone
id Smart Box
868MHzwirelesssmarthome system