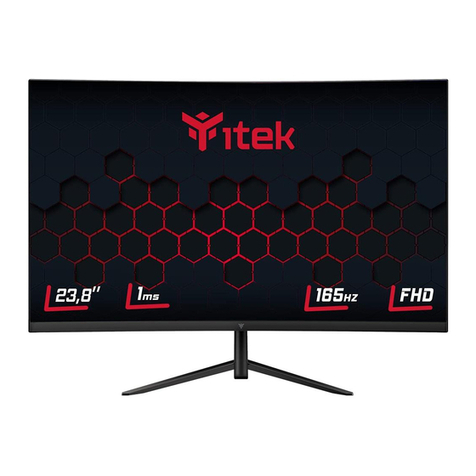
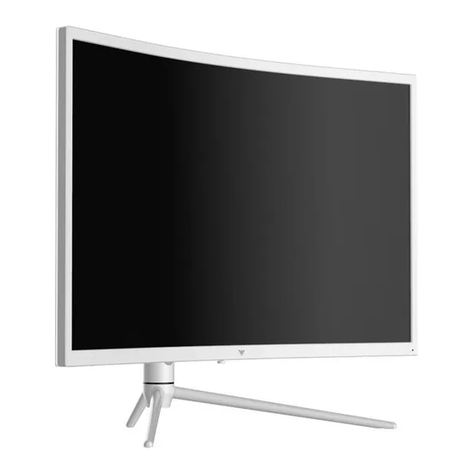
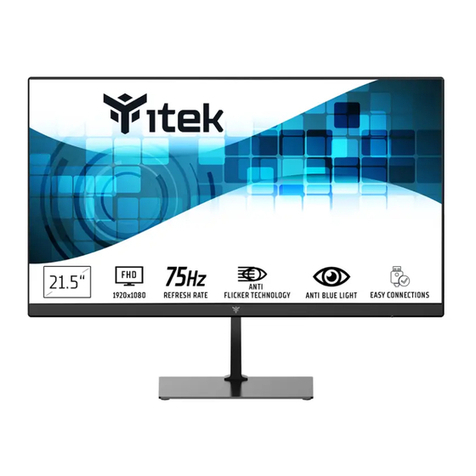
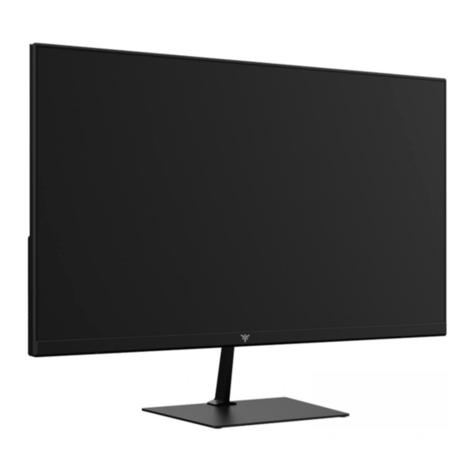
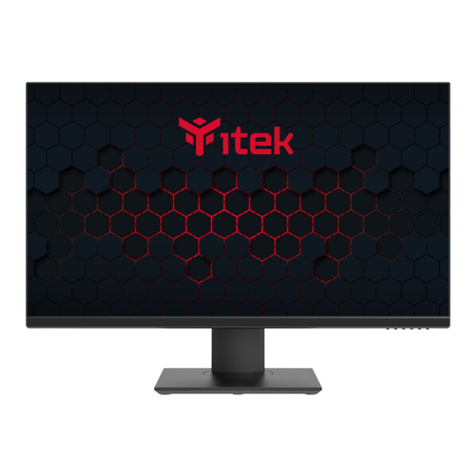
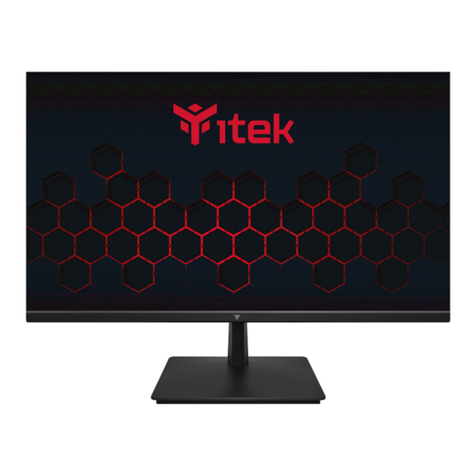
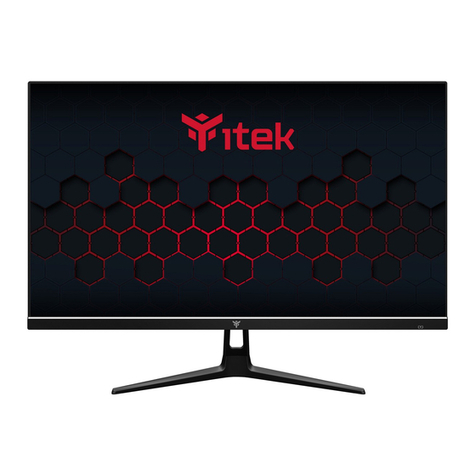
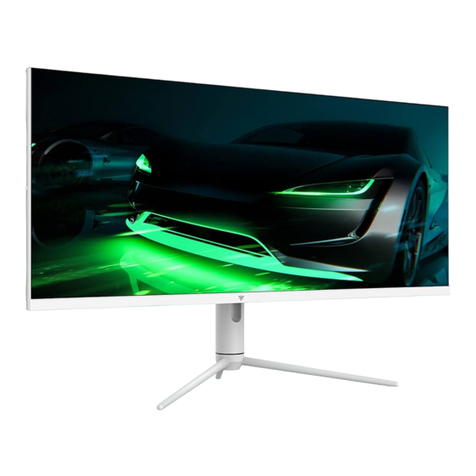
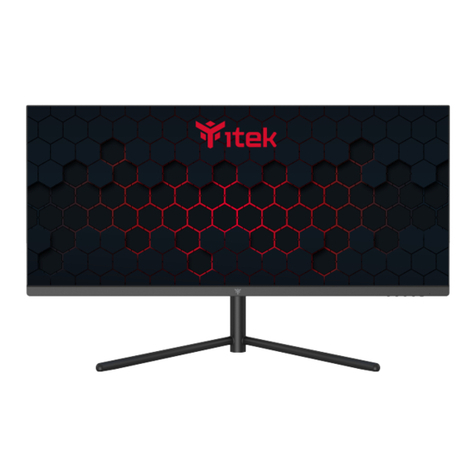
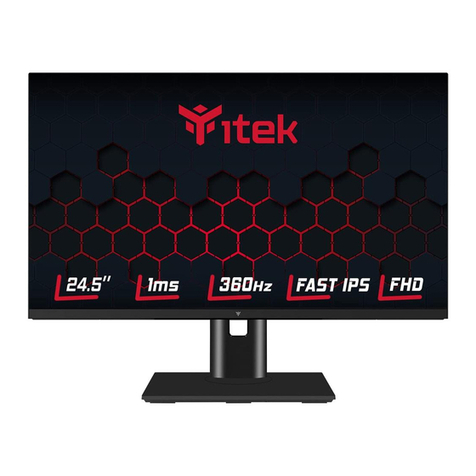
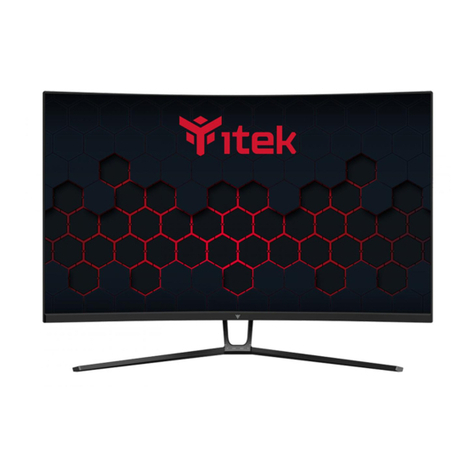
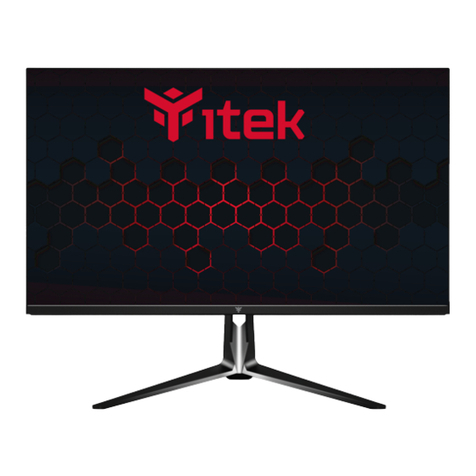
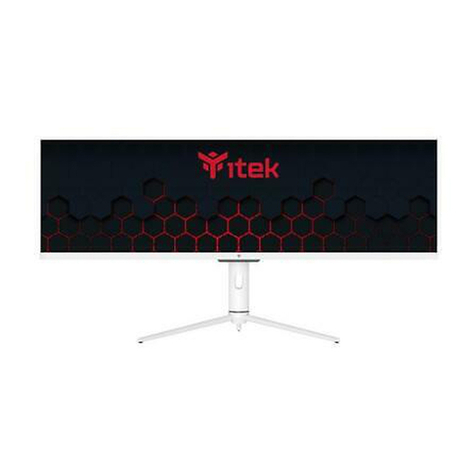
Itek ITMF24/105FHD User manual

ITMF24I105FHD
User Manual for Monitor
For more information please visit our web site or write us an email:
https://www.itekevo.com


Precautions Before using this product, please read this User Manual carefully and keep it well
Please use a reliable grounded socket, Do not overload the socket, or it may cause fire or
electric shock.
Do not cover or block the vent hole in the rear casing, and do not use the product on a bed,
sofa, blanket or similar objects.
The range of the supply voltage of the monitor is printed on the label on the rear casing.
If it is impossible to determine the supply voltage, please consult the distributor or local
power company.
If the monitor will not be used for a long period, please cut off the power supply to avoid
electric shock in rainy days and damage due to abnormal supply voltage.
Keep the monitor away from water sources or damp places, such as bath rooms, kitchens,
basements and swimming pools.
Make sure the monitor is placed on a flat surface. If the monitor falls down, it may cause
human injury or device damage.
Store and use the monitor in a cool, dry and well ventilated place, and keep it away from
emission and heat sources.
Do not put foreign matters into the monitor, or it may cause short circuits resulting fire or
electric shock.
Do not disassemble or repair this product by self to avoid electric shock. If faults occur,
please contact the after-sales service directly.
Do not pull or twist the power cable forcedly.
There is a polarizer layer (not a protective film) on the surface of the screen. Do not peel
it off, or the product may be damaged and the warranty will be invalid.
Eng-1

Package Content
Packing list
Please check that the package of the monitor contains all parts. If any part is lost, please contact
the distributor.
The color and shape of parts may vary with models. Figures in this User Manual are for reference only.
Cables supplied may vary with purchased products. Figures in this User Manual are for reference only.
Eng-2
User Manual
LED Monitor
Power adapter
Screws x 5
(KM4x10)
Screws x 3
(KM4x14)
Redundant screws can be used as spare screws.
Stand stem Base
HDMI signal cable
ITMF24I105FHD
User Manual for Monitor
Formore information please visit our web site or write us an email:
https://www.itekevo.com
Wall Mounted Components

1. Open the package to take out foams and put them on a flat tabletop.
2. Remove the upper foam cover and put it aside, take out the monitor film bag and put the
monitor in the lower foam cover.
3. Take out the stand, install it on the rotary shaft of the monitor and tighten them with 2 screws.
Monitor
Screws
Stand stem
Base
Installation of base
Installation
Eng-3

4. Take out the base, align it with the bottom of the stand and tighten them with 2 screws.
5. Simply hold the stand with hand to stand the monitor upright.
Note: During standing of the whole monitor, do not press the liquid crystal screen with hand
to avoid damage to the screen.
Screws
Eng-4

Mount Installation
1. Open the package to take out foams and put them on a flat tabletop.
3. Do not pinch the screen directly with your hands during the process of hanging the
product to prevent the screen from breaking.
Do not place or hang any object on the mount, and the using height of the mount should be less
than 2 meters.
Notes: To prevent the monitor on the mount from failing, please install it firmly and protect it fully.
2. Remove the upper foam cover and put it aside, take out the monitor film bag, and
put the monitor in the lower foam cover. Take out the mount adapter and 2 screws
and tighten the mount adapter with 2 screws.
Screws
mount adapter
Monitor
Eng-5

-5° 15°
Tilting angle
-5.0°(±2.0°)- +15°(±2.0°)
Adjustment of monitor
Eng-6

6. Indicator: Steady blue light indicates the power is on and the monitor runs normally. Red light
indicates no video source and no horizontal or vertical signal detected or low voltage. Please make
sure that your computer is turned on and all video cables are fully plugged in and/or connected.
Up rocker button: Move the joystick up to view menu options or increase function values.
Left rocker button:Press to return to the previous menu/ Exit.
Down rocker button: Move the joystick down to view menu options or decrease function values.
Rocker switch button: press to turn on/off the monitor.
Right rocker button: Press to enter sub-menus/ quickly enter the main menu.
Button Function
1
2
3
4
5
Instructions for use
Description of buttons
Explanation of indicators
Eng-7

with products.
* The bottom interface configuration at the back of the monitor varies
* Note: If the power cable or signal cable is damaged, you must replace it
with special soft cables or special components purchased from the
manufacture or maintenance department.
Cable connection:
Use the HDMI cable to connect the HDMI IN interface
of the product to the HDMI OUT interface of a PC.
Use a VGA cable to connectthe
VGA interface of the product to
the VGA interface ofthe PC.
HDMI interface
VGA interface
Connect audio outputting
devices such as earphones to
the AUDIO OUT interface.
AUDIO OUT
OR
Please connect the power
adapter plug to the corres
ponding power port of the
monitor, and connect the
other end to a properly
grounded power outlet.
Power Adapter
Use the HDMI-DVI cable to connect the HDMI IN interface
of the product to the DVI OUT interface of a PC.
(In general, PCs do not transfer video signals to the
monitor through the DVI OUT interface , and it is
necessary to connect a loudspeaker box additionally to
play sounds of PCs.)
Eng-8

OSD menu
Menu description
The color and shape of the OSD menu of the actual computer may be slightly different from them shown in the
figure.
Specifications of the OSD menu may change with improvements of functions without prior notice.
2. Press to enter the OSD screen.
3. Press or to scroll through the functions.
- Select the desired function, and press to enter the sub-menu.
- Press or to scroll through sub-menus, and press key to select and confirm the desired function.
- Press or to select one option, and press to confirm settings and exit from the current menu.
4. Press to exit from the menu screen.
The screen display (OSD) menu can be used to adjust settings of the monitor and is shown on the screen after the
monitor is powered on and the button is pressed.
1. Press one of the buttons ( ) to activate the browser screen.
Game Crosshair
Confirm and enter the main menu
Power switch
Exit
ECO Mode
1
2
3
4
5
M, , , E,
1
2
3
4
5
+
Eng-9

* Functions of the monitor vary with models, and the functions in this manual are for reference only.
MISC
HDMI/VGA
OFF/ON
0-100
0-100
OFF/HIGH/MIDDLE/LOW
SIGNAL SOURCE
MUTE
VOLUME
LOW BLUE RAY
OVER DRIVER
OFF/ONADAPTIVE-SYNC
BRIGHTNESS
IMAGE
OSD SETTING
COLOR TEMP.
RESET
BRIGHTNESS 0-100
0-100
STANDARD/GAME/RTS/FPS/MOVIE/TEXT
OFF/ON
0-100
0-100
0-100
0-100
WIDE/AUTO/4:3
WARM/USER/COOL
CONTRAST
ECO
DCR
H.POSITION
V.POSITION
CLOCK
PHASE
ASPECT
COLOR TEMP.
RED 0-100
GREEN 0-100
0-100BLUE
LANGUAGE English/
Français/Deutsch/简体中文/Italiano/
Español/
Português
Türkçe/Polski/Nederlands/Pусский/한국/日本語
0-100
5-60
0-100
0-100
N/A
N/A
N/A
OSD H.POS
OSD V.POS
OSD TIMER
TRANSPARENCY
IMAGE AUTO ADJUST
COLOR AUTO ADJUST
RESET
Eng-10

Product model
ITMF24I105FHD
Screen Size
Viewing Angle
23.8 inches (60.45cm)
178°(H) / 178°(V)
Pixel pitch
0.2745 (H) x 0.2745 (V) mm
Contrast ratio 4000:1(TYP)
16.7M
Colors
Aspect Ratio 16:9
Resolution 1920x1080
Product
Dimensions
Lifting base
Without base
Action
Storage
542.4 x 323.1 x 38.5 mm
542.4 x 412.3 x 174.9 mm
With base
N/A
N/A
N/A
N/A
Tilting angle
Height range
Rotation angle
Forward tilting : 5° ± 2°; Backward tilting: 15° ± 2°
Vertical angle
Speaker
Environmental
conditions
Temperature: 0°C~ 40°C (32°F ~ 104°F)
Humidity: 10%~90% RH (non-condensing)
Temperature: -20°~ 60° (-4°F ~ 140°F)
Humidity: 5%~95% RH (non-condensing)
DC 12.0V 2.5APower Input
Maximum refresh rate 100Hz
Product Name Liquid Crystal Display
Basic parameters
The terms HDMI and HDMI High-Definition Multimedia Interface, and the HDMI Logo are
trademarks or registered trademarks of HDMI Licensing Administrator, Inc. in the United
States and other countries.
Eng-11

Common troubleshooting
Common Symptoms Possible Solutions
The following table contains general information about common monitor problems you might encounter
and the possible solutions.
• Ensure that the video cable connecting the monitor and the computer is properly connected
and secure.
• Make sure if the operating system had entered hibernation, sleep or power-save mode. Press
any key (Enter key / Power key) or move the mouse to wake it up.
• Check for bent or broken pins in the video cable connector.
• Ensure that the correct input source is selected in the Input Source menu.
• Replace other identical signal cable (HDMI / DisplayPort) to take cross-test.
No display after turning monitor
ON (screen is black but power s
upply lights is ON)
• Verify that the power outlet is functioning properly using any other electrical equipment.
• Make sure the power button on the front panel is normal for boot and pressed fully.
• Check for bent or broken pins in the video cable connector.
No display after turning monitor
ON (not boot, black screen & no
power lights)
• Eliminate video extension cables.
• Reset the monitor to factory settings.
• Change the video resolution to the correct resolution and aspect ratio.
• If the words are still blurry, please try enabling or disabling CLEAR TYPE function from windows
Poor Focus. Picture is fuzzy,
blurry, or ghosting
• Cycle power On-Off.
• Pixel that is permanently Off is a natural defect that can occur in LCD technology.
• For more information on iTek Monitor Quality and Pixel Policy, see iTek Support site
at: http://www.itekevo.com
Missing Pixels. LCD screen has
spots
• Do not perform any troubleshooting steps.
• Contact iTek immediately.
Safety Related Issues
(Visible signs of smoke or sparks)
• Check the resolution setting in your PC
• Reset the monitor to factory settings.
• Make sure the device was not set to “Care Eyes mode”
• Check here: OSD→Picture Setting→Contextual mode→Care Eyes mode
• Press only one key at a time.
• Restart the computer
• Make sure to have a valid video signal going through the monitor before
you can turn on the OSD
• Make sure the “contextual mode”is OFF before setting brightness and contrast ratio.
• Check here: OSD→Picture Setting→Contextual mode→off
The screen appears yellow
Control panel keys do not work
I cannot adjust the brightness/
contrast ratio through OSD
• Make sure your video card supports that feature.
• Also make sure you are using DisplayPort to connect from your computer to your monitor.
• Not every computer/phone ‘s USB Type-C port will support video out signals. Please check
your cable and your computer/phone to make sure those will support a video signal.our
monitor.
• Check to see if you plugged a USB-B uplink cable(included in the package) from your computer
to the monitor’s USB-B port. Without an uplink cable to the computer, the USB ports on the
back of the monitor will not work.
• Check that your monitor is turned On.
• Reconnect the uplink cable to your computer.
• Reconnect the USB peripherals(downstream connector).
• Switch Off and then turn On the monitor again.
• Reboot the computer.
• Some USB devices like external portable HDD require higher electric current; connect the
device directly to the computer system.
I cannot get higher refresh rate
on my monitor
After plugged in USB Type-C
from computer to monitor,
there is no video
USB interface is not working
• Check the Aspect Ratio setting in the Display menu OSD.Image is centered on screen, but
does not fill entire viewing area
Eng-12

lta-1
Precauzioni Prima di utilizzare questo prodotto, leggere attentamente questo manuale utente
e conservarlo correttamente.
Utilizzare una presa di messa a terra affidabile. Non sovraccaricare la presa, altrimenti potrebbe
causare incendi o scosse elettriche.
Non coprire o ostruire il foro di ventilazione sull’alloggiamento posteriore e non utilizzare il
prodotto sulla superficie di un letto, divano, coperta o oggetti simili.
L'intervallo della tensione di alimentazione del monitor è stampato sull'etichetta
sull’alloggiamento posteriore.
Se non è possibile determinare la tensione di alimentazione, consultare il distributore o la
compagnia elettrica locale.
Se il monitor non viene utilizzato per un lungo periodo, interrompere l'alimentazione per evitare
scosse elettriche nei giorni di pioggia e danni dovuti a una tensione di alimentazione anomala.
Tenere il monitor lontano da sorgenti d'acqua o luoghi umidi, come bagni, cucine, scantinati e
piscine.
Assicurarsi che il monitor sia posizionato su una superficie piana. Se il monitor cade, può causare
lesioni alle persone o danni al dispositivo.
Conservare e utilizzare il monitor in un luogo fresco, asciutto e ben ventilato e tenerlo lontano da
emissioni e fonti di calore.
Non inserire corpi estranei nella macchina, altrimenti potrebbe causare cortocircuiti, con
conseguenti incendi o scosse elettriche.
Non smontare o riparare questo prodotto da soli per evitare scosse elettriche. In caso di guasti
contattare direttamente il servizio post-vendita.
Non tirare o torcere con forza il cavo di alimentazione.
Sulla superficie dello schermo è presente uno strato polarizzatore (non una pellicola protettiva).
Non staccarla, altrimenti il prodotto potrebbe danneggiarsi e la garanzia non sarà valida.

lta-2
Contenuto della confezione
Verificare che la confezione del monitor contenga tutte le parti. Nel caso in cui mancasse qualche pezzo,
contattare il rivenditore locale.
Il colore e la forma delle parti potrebbero variare a seconda dei modelli. Le figure in questo Manuale
dell'utente sono solo di riferimento.
I cavi forniti potrebbero variare con i prodotti acquistati. Le figure in questo Manuale dell'utente sono
solo di riferimento.
MANUALE UTENTE
Monitor LED
Adattatore di alimentazione
Viti x 5
(KM4x10)
Viti x 3
(KM4x14)
Possono essere usate viti extra come viti di ricambio.
Attacco supporto Base
Cavo segnale HDMI
Componenti montati a parete
ITMF24I105FHD
Manuale utente per il monitor
Formore information please visit our web site or write us an email:
https://www.itekevo.com

lta-3
1. Aprire la confezione per estrarre il polistirolo e posizionarli su una scrivania.
2. Rimuovere il coperchio superiore di gommapiuma e metterlo da parte, estrarre la busta rivestita con
pellicola del monitor e collocare il monitor nella copertura inferiore di gommapiuma.
3. Estrarre il supporto, installarlo sull’albero di rotazione del monitor e fissarli con 2 viti.
Monitor
Viti
Attacco supporto
Base
Installazione della base
Installazione

lta-4
4. Estrarre la base, allinearla alla parte inferiore del supporto e fissarle con 2 viti.
5. Basta tenere il supporto con la mano per sostenere il monitor in posizione verticale.
Nota: Quando il monitor è in posizione verticale, non schiacciare lo schermo a cristalli liquidi
con le mani per evitare danni allo schermo.
Viti

lta-5
Installazione del supporto
1. Aprire la confezione per estrarre il polistirolo e posizionarli su una scrivania.
3. Non avvicinare le dita sullo schermo direttamente durante il processo di sospensione del prodotto
per evitare che lo schermo si rompa.
Non collocare o appendere alcun oggetto sul supporto e l'altezza di utilizzo del supporto deve
essere inferiore a 2 metri.
Note: Per evitare che il monitor sul supporto cada, installarlo saldamente e proteggerlo
completamente.
2. Rimuovere il coperchio superiore di gommapiuma e metterlo da parte, estrarre la busta rivestita con
pellicola del monitor e collocare il monitor nella copertura inferiore di gommapiuma. Estrarre l'adattatore
del supporto e 2 viti e serrare l'adattatore del supporto con 2 viti.
Viti
adattatore del supporto
Monitor

lta-6
-5° 15°
Angolo di inclinazione
-5,0° (±2,0°)- +15° (±2,0°)
Regolazione del monitor
Table of contents
Languages:
Other Itek Monitor manuals

Itek
Itek ITMC27V241FHD User manual

Itek
Itek GGC Series User manual
Itek
Itek ITMF24I281FHD User manual
Itek
Itek ITMF44A121DFHD User manual

Itek
Itek ITMF28I065UHDC User manual

Itek
Itek ITMC27V161QHD User manual

Itek
Itek ITMF24T161FHD User manual

Itek
Itek ITMF30V104FHD User manual

Itek
Itek ITMF24T061FHD User manual

Itek
Itek ITMF40I141WQHD User manual

Itek
Itek GGC 34 User manual

Itek
Itek ITMC34V141WQHD User manual

Itek
Itek ITMF22V075FHD User manual

Itek
Itek ITMC32V241FHD User manual

Itek
Itek ITMF24I361FHD User manual

Itek
Itek ITMF27I104QHD User manual
Itek
Itek GGF Series User manual

Itek
Itek ITMF28I141UHD User manual

Itek
Itek ITMC27V241QHD User manual
Itek
Itek ITMF27I105QHD User manual