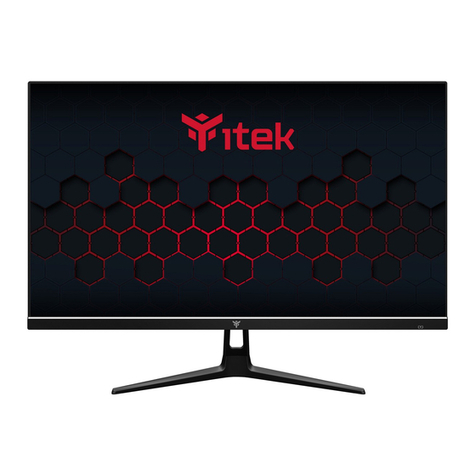
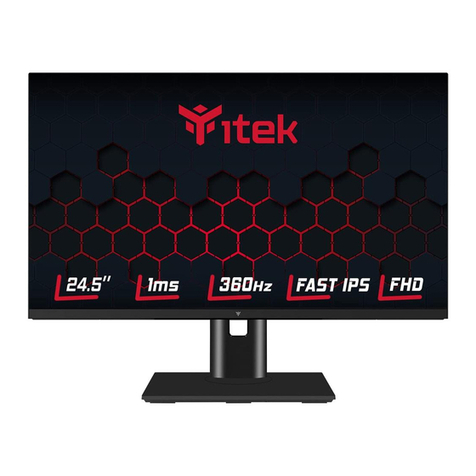
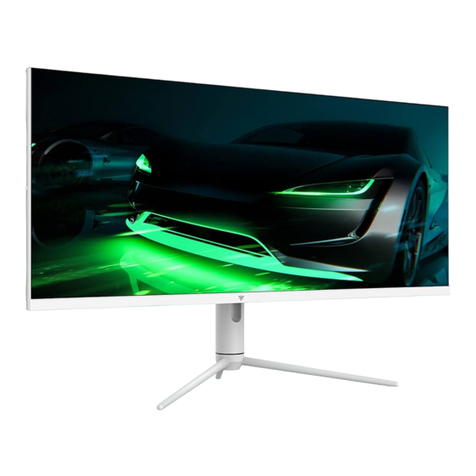
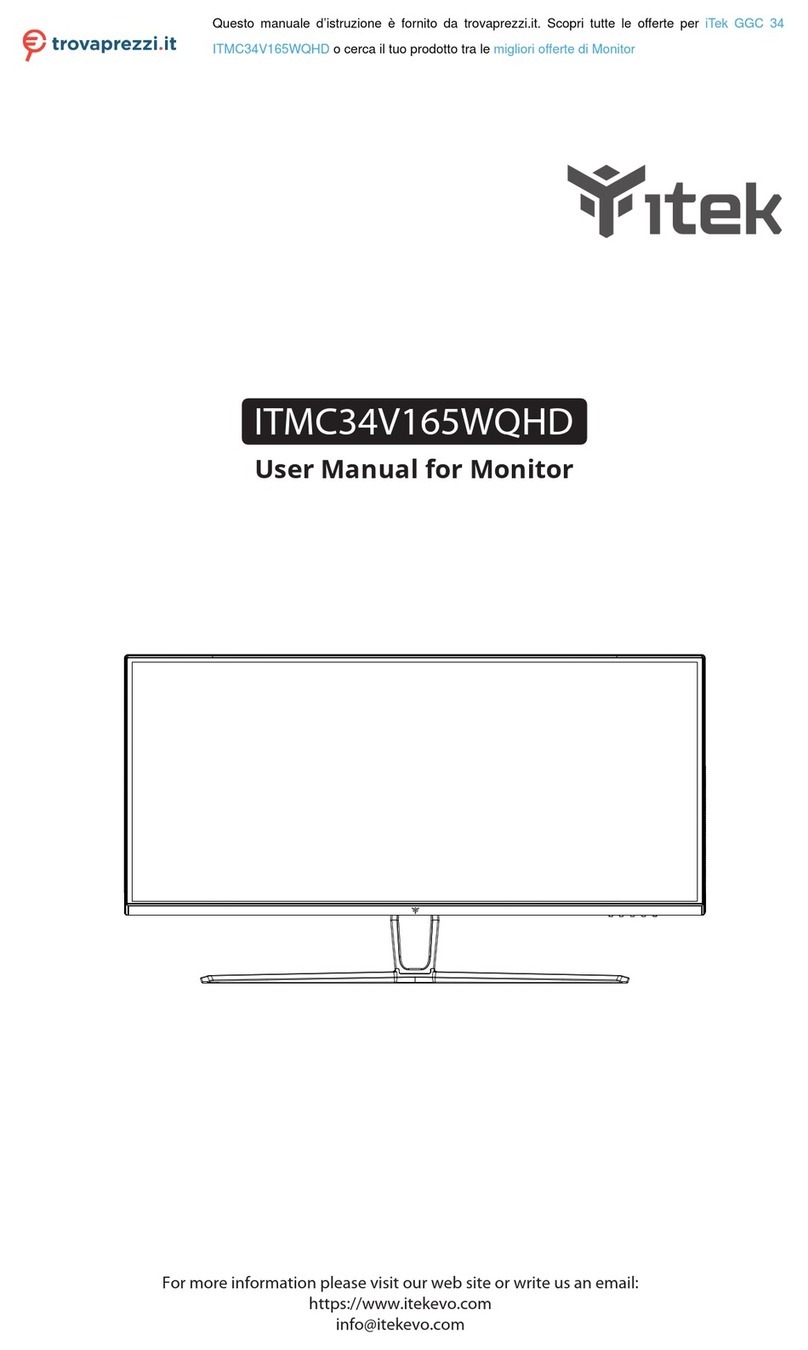
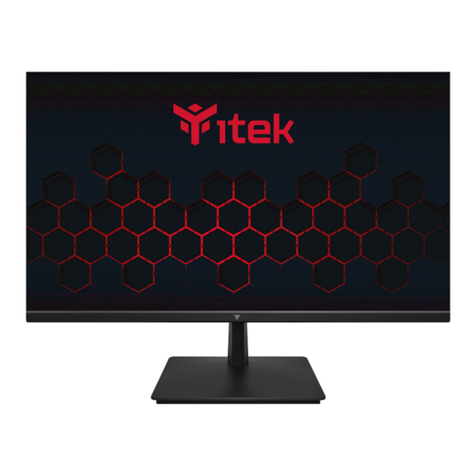
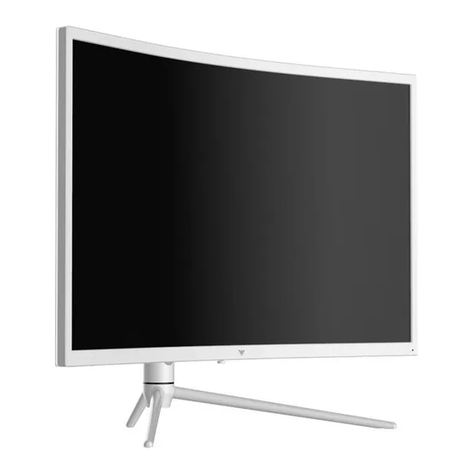
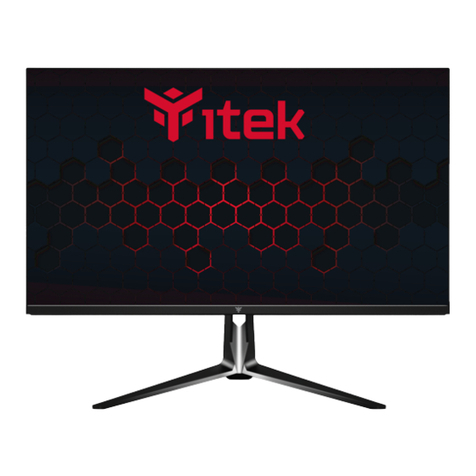
Itek ITMF24I281FHD User manual

Manuale Utente
Manuale d’istruzioni
Si prega di leggere questo manuale accuratamente, e tenerlo a portata di mano per riferimenti futuri

INFORMAZIONI SULLA SICUREZZA
•Leggere queste istruzioni - Prima di uzzare questo prodoo, leggere tu le istruzioni di sicurezza e di
funzionamento.
• Conservare queste istruzioni - Le istruzioni di sicurezza e di funzionamento devono essere conservate per
riferimento futuro.
• Aenersi a tue le avvertenze: anersi a tue le avvertenze sull'apparecchio e nelle istruzioni per l'uso.
•Seguire tue le istruzioni - Seguire tu le istruzioni operave e d'uso.
• Non uzzare questa apparecchiatura vicino all'acqua o in ambienumidi - L'apparecchio non deve essere
uzzato vicino ad acqua o umidità, ad es. in uno scannato umido o vicino a una piscina.
• Pulire solo con un panno asciuo. Non uzzare solveno uidi a base di petrolio.
• Non bloccare le aperture di venazione.
•Non installare vicino a fondi calore come radiatori, stufe o altri apparecchi (inclusi ampcatori) che
producono calore.
• Non manomeere la spina in dotazione. Questa spina è una spina standard BS1363.
• Proteggere il cavo di alimentazione dall'essere calpestato o intrappolato, in parcolare nella spina e nel
punto in cui esce dall'apparecchio.
• Uzzare solo collegamen/ accessori speccadal produore.
• Uzzare solo carrelli, suppor,treppiedi, stae o tavoli speccadal produore o venducon
l'apparecchio. Quando si uzza un carrello o un supporto, prestare aenzione quando lo si sposta per evitare
lesioni o danni da ribaltamento.
• Scollegare l'apparecchio durante i temporali o quando non viene uzzato per lunghi periodi di tempo.
•Per tue le riparazioni rivolgersi a personale qucato. La manutenzione è necessaria quando l'apparecchio
è stato danneggiato in qualche modo, ad esempio se il cavo di alimentazione o la spina sono danneggia, è
stato versato del liquido o sono caduoggenell'apparecchio o è stato esposto a pioggia o umidità, non
funziona normalmente o è stato lasciato cadere.
• Conservare l'unità in un ambiente ben venato.
•Il monitor deve essere collegato esclusivamente a una fonte di alimentazione come indicato sul retro
dell'apparecchiatura.
• Per evitare sovraccarichi, non condividere la stessa presa di alimentazione con troppi altri componen
elronici.
• Non posizionare cavi di collegamento in cui potrebbero essere calpestao inciampa.
• Non posizionare oggepesansul cavo poiché ciò potrebbecausare danni.
• Quando si rimuove da una presa, aerrare la spina e non i .
• Scollegare immediatamente l'alimentazione e cercare assistenza professionale se la spina o il cavo sono
danneggia, il liquido si è rovesciato sul prodoo, se accidentalmente esposto ad acqua o umidità, se qualcosa
penetra accidentalmente nelle fessure di venzione o se il prodoo non funziona normalmente.
• Non rimuovere le coperture di sicurezza. Non ci sono parriparabili dall'utente all'interno.
• Cercare di riparare l'unità da soli è pericoloso e potrebbe invalidare la garanzia del prodoo. Solo personale
quacato deve riparare questo apparecchio.
• Non bloccare le fessure di venzione sul coperchio posteriore. Il monitor può essere collocato in un armadio ma
garanre uno spazio di almeno 5 cm (2") tu'intorno. Non toccare o scuotere lo schermo, ciò potrebbe
danneggiare i componeninterni.
• AVVERTENZA: per ridurre il rischio di incendi o scosse eleriche, non esporre questo apparecchio a pioggia o
umidità. L'apparecchio non deve essere esposto a gocciolameno schizzi e gli oggeriempidi liquidi, come vasi,
non devono essere posizionasull'apparecchio.
• AVVERTENZA: la presa a muro viene uzzata come disposivo di disconnessione e deve rimanere facilmente
accessibile.
• AVVERTENZA: le baerie non devono essere esposte a calore eccessivo come luce solare direa o fuoco.
A VOLUME PIENO, L'ASCOLTO PROLUNGATO PUO' DANNEGGIARE
L'UDITO DELL'UTENTE
Questo segnale di avvermento
indica un voltaggio elevato
all'interno del prodoo.
ATTENZIONE: per ridurre il rischio
di scosse eleriche, NON
rimuovere il coperchio (o il retro).
All'interno non ci sono par
riparabili dall'utente. Per
l'assistenza rivolgersi a personale
di assistenza qualicato.
Questo segnale di avvermento
avvisa l'utente di importan
istruzioni che accompagnano il
prodoo.

MATERIALE INCLUSO

CONNESSIONI DISPONIBILI SUL MONITOR
MONTAGGIO A PARETE
Il monitor è dotato di fori di montaggio per una staa di montaggio a parete approvata VESA (non fornita)
Il modello di montaggio VESA è: 100 x100 mm e la dimensione delle vi è 4 x M6 x 10 (non fornita) Non u lizzare
vi più lunghe di quelle specicate o si vericherà un danneggiamento dei componen interni.
NOTA: poiché il monitor è pesante, consultare un installatore professionale per il montaggio a parete per
eseguire l'installazione.
INIZIARE
PULSANTI MONITOR
Power Button
OSD Control Buttons
Select signal source or Exit OSD
Open the Main OSD Menu Select Submenu
Go Up on the Main OSD Menu increase the value of a selected item
Go Down on the Main OSD Menu and decrease the value of a selected item
1
2
3
4
5
1
2
3
4
5
6
Power
DP2 (DisplayPort1.2, 280Hz, FreeSync & G-Sync)
DP1 (DisplayPort1.2, 280Hz, FreeSync & G-Sync)
HDMI1 (HDMI2.0, 240Hz, FreeSync)
HDMI2 (HDMI2.0, 240Hz, FreeSync)
AUDIO OUT
DC
12V
1 2 3 4 5 6
HDP 1 DMI
1
HDMI
2 DP 2
AUDIO
OUT

CONFIGURAZIONE INIZIALE
Collegare il monitor a una presa di corrente.
1. Premere il pulsante POWER sul monitor per accenderlo (l'indicatore sarà blu)
2. Collegare il cavo per nente all'ingresso corrispondente sul monitor. La fonte verrà rilevata
automa camente.
3. Per passare da un ingresso all'altro, premere il pulsante "Sorgente" per accedere al menu Sorgente. Usa
il Pulsan “◄” e “►” per scegliere la sorgente di ingresso tra Selezione HDMI1,HDMI2 e DP1,DP2.
OPZIONI DEL MENU
È possibile accedere al menu premendo l’apposito pulsante sul pannello di controllo. Questo menu è
suddiviso nei seguen so omenu: Impostazioni immagine, Impostazioni immagini, Temperatura colore,
Impostazioni OSD, Ripris na e Opzioni varie, i de agli di ciascun menu sono disponibili nella sezione
seguente
DP1
HDMI1
HDMI2
DP2

MENU OSD
A . Modalità di visualizzazione
Standard
Accedi alla modalità standard.
Gioco
Film
Web
Entra in modalità web.
Testo
Inserisci la modalità di testo.
B . Regolazione manuale dell'immagine
Modalità di
visualizzazione Regolazione manuale
dell'immagine
Standard
Gioco
Film
Web
Testo
Game 1920X1080@280Hz
Menu regolazione
colore
Regolazione
audio
Sorgente di
ingresso
Altre impostazioni
Modalità di
visualizzazione Regolazione manuale
dell'immagine
Filtro luce blu
Proporzioni
DCR avanzato
Tempo di risposta
MPRT
Game 1920X1080@280Hz
Menu regolazione
colore
Regolazione
audio
Sorgente di
ingresso
Altre impostazioni
La modalità di gioco è divisa in FPS1, FPS2, RTS, Visione
Ni�dezza
Filtro luce blu
Cambia la luce blu del display da 0 a 100.
Proporzioni
panoramico, 4: 3, 5: 4,16: 9,16: 10.
DCR avanzato
dinamico.
Tempo di risposta
Cambia il tempo di risposta in basso, medio, alto.
Adap�ve-Sync
MPRT

C . Menu regolazione colore
Contrasto / Luminosità
Regola il valore di contrasto del valore di luminosità
del display da 0 a 100.
Temperatura di colore
Imposta la temperatura del colore su fredda,
standard, calda, utente.
Gamma di colori
Cambia gamma di colori in auto, piena, limitata.
HDR
D . Regolazione audio
Modalità di
visualizzazione Regolazione manuale
dell'immagine
Contrasto / Luminosità
Temperatura di colore
Gamma di colori
HDR
Game 1920X280@144Hz
Menu regolazione
colore
Regolazione
audio
Sorgente di
ingresso
Altre impostazioni
Modalità di
visualizzazione Regolazione manuale
dell'immagine
Volume
Muto
Game 1920X1080@280Hz
Menu regolazione
colore
Regolazione
audio
Sorgente di
ingresso
Altre impostazioni
Volume
Muto

E . Sorgente di ingresso
Cambia il segnale in ingresso su , HDMI1,
HDMI2, DP1, DP2.
F . Altre impostazioni
Modalità di
visualizzazione Regolazione manuale
dell'immagine
DP1
HDMI1
HDMI2
DP2
Game 1920X1080@280Hz
Menu regolazione
colore
Regolazione
audio
Sorgente di
ingresso
Altre impostazioni
Modalità di
visualizzazione Regolazione manuale
dell'immagine
Selezione della lingua
Avviso di risoluzione
Informazioni
Dimensioni OSD
Spegnimento OSD
Sfondo OSD
Game 1920X1080@280Hz
Menu regolazione
colore
Regolazione
audio
Sorgente di
ingresso
Altre impostazioni
Selezione della lingua
Cambia la lingua di visualizzazione del menu OSD.
Avviso di risoluzione
Informazioni
Risoluzione: 1920x1080 Frequenza orizzontale:
di clock: 285,5 MHz.
Dimensioni OSD
Spegnimento OSD
Sfondo OSD
Spegnimento automa�co
Tempo spegnimento automa�co
Impostare a: 30, 45, 60, 120, spento.
Rilevamento automa�co
Impostazioni predefinite

SPECIFICHE
Modello
Dimensioni dello schermo
Proporzioni
Retroilluminazione
Luminosità
Tipo di pannello
Risoluzione
Frequenza
Tempo di risposta
Angolo di visualizzazione
Rapporto di contrasto
Montaggio VESA
Colori
AMD FreeSync
HDR
Ingresso segnale
Audio
Altoparlan�
Cavi
Cavo di alimentazione
Cavo DP
Funzioni aggiun�ve
Low Blue Light
Flicker Free
Consumo energe�co
Tipo di alimentazione
Italian
Per maggiori informazioni visitate il nostro sito web oppure scrivete una mail:
hps://www.itekevo.com
ITMF24I281FHD
24.5”
16:9
LED
400cd/m²
Fast IPS
1920x1080
280Hz
1ms
178º/178º (CR>10)
1000:1
75x75mm
16.7M(8bit)
Sì
G-Sync
Sì
Sì
HDMIx2+DPx2
out
2x3W
Sì
Sì
Sì
Sì
32W
12V,4A

SAFETY INFORMATION
• Read these instrucons - All the safety and operang instrucons should be read before this
product is operated.
• Keep these instrucons - The safety and operang instrucons should be retained for future
reference.
• Heed all warnings - All warnings on the appliance and in the operang instructions should
be adhered to.
• Follow all instrucons - All operang and usage instrucons should be followed.
• Do not use this equipment near water, or in humid environments – The appliance should not be used
near water or moisture e.g. in a wet basement or near a swimming pool.
• Clean only with a dry cloth. Do not use solvents or petroleum based uids.
• Do not block any venon openings.
• Do not install near any heat sources such as radiators, stoves or other apparatus (including
ampers) that produce heat.
• Do not tamper with the supplied plug. This plug is a BS1363 standard plug.
• Protect the power cord from being walked on or trapped, parcularly at the plug and at the point
where it exits from the appliance.
• Only use aachments/accessoriesspecified by the manufacturer.
• Use only with a cart, stand, tripod, bracket or table specied by the manufacturer or sold with the
apparatus. When a cart or stand is used, use cauon when moving it to avoid any injuries or
damage from it pping over.
• Unplug the apparatus during lightning storms or when unused for long periods of me.
• Refer all servicing to qualied personnel. Servicing is required when the apparatus has been
damaged in any way, such as if the power supply cord or plug is damaged, liquid has been spilled or
objects have fallen into the apparatus or it has been exposed to rain or moisture, it does not operate
normally or has been dropped.
• Please keep the unit in a well-venlated environment.
• The monitor should only be connected to a mains power supply as rated on the back of the equipment.
• To prevent overload, do not share the same power supply socket with too many other electronic
components.
• Do not place any connecng wires where they may be stepped on or tripped over.
• Do not place heavy items on the cable as this may cause damage.
• When removing from a socket hold by the plug and not the wires.
• Disconnect the power immediately and seek professional help if the plug or cable is damaged, liquid
has spilt onto the set, if accidentally exposed to water or moisture, if anything accidentally penetrates
the ventilaon slots or if the set does not work normally.
• Do not remove the safety covers. There are no user serviceable parts inside.

Trying to service the unit yourself is dangerous and may invalidate the product's warranty. Only
qualied personnel should service this apparatus.
• Do not block ventilation slots on the back cover. The monitor can be placed in a cabinet but ensure at
least 5cm (2") clearance all around. Do not tap or shake the screen, this may damage internal
components.
• WARNING: To reduce the risk of re or electric shock, do not expose this apparatus to rain or moisture.
The apparatus shall not be exposed to dripping or splashing and objects ed with liquids, such as
vases, shall not be placed on the apparatus.
• WARNING: The wall plug socket is used as a disconnecon device and should remain readily
accessible.
• WARNING: The baeries shall not be exposed to excessive heat such as direct sunlight or re.

WHAT’S INCLUDED

CONNECTIONS AVAILABLE ON THE MONITOR
WALL MOUNTING
The monitor is provided with moun ng holes for a VESA approved wall moun ng bracket (not
supplied)
The VESA moun ng pa ern is: 100x100mm and the size of the screws is 4 x M6 x 10 (not supplied) Do not
use screws longer than specied or damage will occur to the internal components.
NOTE: As the monitor is considered heavy, please consult with a professional wall mount installer to perform
the installa on.
GETTING STARTED
MONITOR CONTROLS
Power Button
OSD Control Buttons
Select signal source or Exit OSD
Open the Main OSD Menu Select Submenu
Go Up on the Main OSD Menu increase the value of a selected item
Go Down on the Main OSD Menu and decrease the value of a selected item
1
2
3
4
5
1
2
3
4
5
6
Power
DP2 (DisplayPort1.2, 280Hz, FreeSync & G-Sync)
DP1 (DisplayPort1.2, 280Hz, FreeSync & G-Sync)
HDMI1 (HDMI2.0, 240Hz, FreeSync)
HDMI2 (HDMI2.0, 240Hz, FreeSync)
AUDIO OUT
DC
12V
1 2 3 4 5 6
HDP 1 DMI
1
HDMI
2 DP 2
AUDIO
OUT

HDMI1,HDMI2 and DP1,DP2.
INITIAL SETUP
Connect the monitor to a power outlet.
1. Press the POWER bu on on the monitor or to turn it on (The indicator will be blue)
2. Connect the relevant cable to the corresponding input on the monitor. The source will be
automa cally detected.
3. To change between inputs, press the “Source” bu on to enter the source menu. Use the
“◄”and“►” bu ons to choose the input source between Auto Select
MENU OPTIONS
The menu for the monitor can be accessed by pressing the menu bu on on the control panel. This menu is
separated into the following sub menus: Picture Se ings, Image Se ngs, Colour Temperature, OSD Se ings,
Reset, and Miscellaneous op ons, details of each menu can be found in the following sec on
DP1
HDMI1
HDMI2
DP2

OSD
MENU
A . View Mode
Standard
Enter standard mode.
Game
The game mode is divided into FPS1,FPS2,RTS,Night,
Vision,Gamer1, Gamer2, Gamer3.
Movie
Enter movie mode.
Web
Enter web mode.
Text
Enter text mode.
B . Manual Lmage Adjust
View
Mode Manual lmage
Adjust
Standard
Game
Movie
Web
Text
Game 1920X1080@144Hz
Color
Adjust Audio
Adjust Input
Select Setup
Menu
View
Mode Manual lmage
Adjust
Sharpness
Blue Light Filter
Advanced DCR
Response Time
MPRT
Game 1920X1080@144Hz
Color
Adjust Audio
Adjust Input
Select Setup
Menu
Sharpness
Change the sharpness from 0 to 100.
Blue Light Filter
Change the display blue light from 0 to 100.
Aspect Ra�o
Advanced DCR
Response Time
Adap�ve-Sync
MPRT

Volume
Change the audio volume from 0 to 100.
Mute
C . Color Adjust
D . Audio Adjust
View
Mode Manual lmage
Adjust
Contrast/Brightness
Color Temperature
Color Range
HDR
Game 1920X1080@144Hz
Color
Adjust Audio
Adjust Input
Select Setup
Menu
View
Mode Manual lmage
Adjust
Volume
Mute
Game 1920X1080@144Hz
Color
Adjust Audio
Adjust Input
Select Setup
Menu
Contrast/Brightness
Adjust the display brightness and contrast value
from 0 to 100.
Color Temperature
Change the color temperature to cool, standard,
warm, user.
Color Range
Change the Color Range to Auto,Full Range,Limited Range.
HDR

E . Input Select
F . Setup Menu
View
Mode Manual lmage
Adjust
DP1
HDMI1
HDMI2
DP2
Game 1920X1080@144Hz
Color
Adjust Audio
Adjust Input
Select Setup
Menu
View
Mode Manual lmage
Adjust
Language Select
OSD Size
OSD Timeout
OSD Background
Auto Pow
Sleep
Auto Detect
Reset
Game 1920X1080@144Hz
Color
Adjust Audio
Adjust Input
Select Setup
Menu
Swith the signal input to DP1,HDMI1,HDMI2,DP2.
Language Select
Change the OSD Menu display language.
Resolu�on No�ce
Informa�on
frequency: 285.5MHz.
OSD Size
OSD Timeout
Change the OSD Timeout from 0 to 100.
OSD Background
Auto Power Off
Sleep
Auto Detect
Reset

SPECIFICATION
English
For more informaon please visit our web site or write us an email:
hps://www.itekevo.com
ModelITMF24I281FHD
Screen Size24.5”
Aspect Ra�o16:9
Backlight LED
Brightness 400cd/m²
Panel Type Fast IPS
Resolu�on 1920x1080
Refresh Rate 280Hz
Response Time 1ms
Viewing Angle 178º/178º (CR>10)
Contrast Ra�o1000:1
VESA Moun�ng 75x75mm
Colours 16.7M(8bit)
AMD FreeSync Yes
G-Sync Yes
HDR Yes
Signal InputHDMIx2+DPx2
Audio out
Speakers 2x3W
Cables
Power Cable Yes
DP Cable Yes
Addi�onal Func�ons
Low Blue Light Yes
Flicker Free Yes
Power Consump�on
32W
Power Type 12V,4A
Table of contents
Languages:
Other Itek Monitor manuals

Itek
Itek ITMF24/105FHD User manual

Itek
Itek ITMF27V075FHD User manual

Itek
Itek ITMF28I141UHD User manual

Itek
Itek ITMF24I361FHD User manual

Itek
Itek ITMF40I141WQHD User manual

Itek
Itek ITMF44A121DFHD User manual

Itek
Itek ITMF30V104FHD User manual

Itek
Itek ITMF28I065UHDC User manual

Itek
Itek ITMC27V161QHD User manual

Itek
Itek ITMF24T061FHD User manual

Itek
Itek GGC 34 User manual

Itek
Itek ITMC27V241FHD User manual

Itek
Itek ITMF22V075FHD User manual

Itek
Itek ITMC27V241QHD User manual

Itek
Itek ITMF24T161FHD User manual

Itek
Itek GGF Series User manual

Itek
Itek ITMF27I104QHD User manual

Itek
Itek GGC Series User manual

Itek
Itek ITMF27I105QHD User manual

Itek
Itek ITMC34V141WQHD User manual