Like to nd out more? Visit www.GrownGreen.info
Responsible Transport:
This product was made in China. Most things are. But
when we brought it over here, we shipped it on a
container ship, along with 10,000 containers of other
things. It may not be fast, it takes about 4 weeks, but it’s
the greenest way of doing it.
100% Recyclable:
All the cardboard in this packaging is 100% recyclable. If
you can’t think of a good use for the box as it is, please
fold it at and put it out with your other recycling.
If you don’t have regular collections, it can be taken
to any cardboard recycling area or even used in your
composter. Now you can play your part!
Paperless Design:
We started thinking about how to make this packaging
“Green” from the very beginning,
and thought that using as little paper as possible would
be a good idea. So the whole design process was carried
out online.We didn’t post anything, kept printouts to a
minimum and let technology take the strain.
Sustainable Packaging:
The trees used to make the card board for this box
all come from sensitively managed forests. Since 2006,
the people that made the cardboard for this box have
planted over 700,000 acres of trees. On top of that, the
whole manufacturing process is ISO14001 approved.
Troubleshooting
Problem Solution
The whole unit Unit is unplugged.
Power does not come on Connect the unit to the AC power supply.
when the power switch is pressed.
No sound comes out of the speakers. The volume is turned down (to MIN).
The input selector does not match the
playback source.
Adjust the volume. Reselect the desired
input source.
The sound is noisy. The unit is too close to a TV set or
another similar appliance.
Turn off the TV or other appliance,
and relocate the unit.
Tuner unit
Does not pick up a station, The station is not tuned in properly.
and/or the signal appears weak. Re-tune to the station you require
The sound is distorted. A TV set may being used nearby and is
interfering with the radio reception.
Properly tune-in the desired station.
Turn-off the interfering TV set.
The antenna is not oriented properly. Re-orient the antenna until reception
improves.
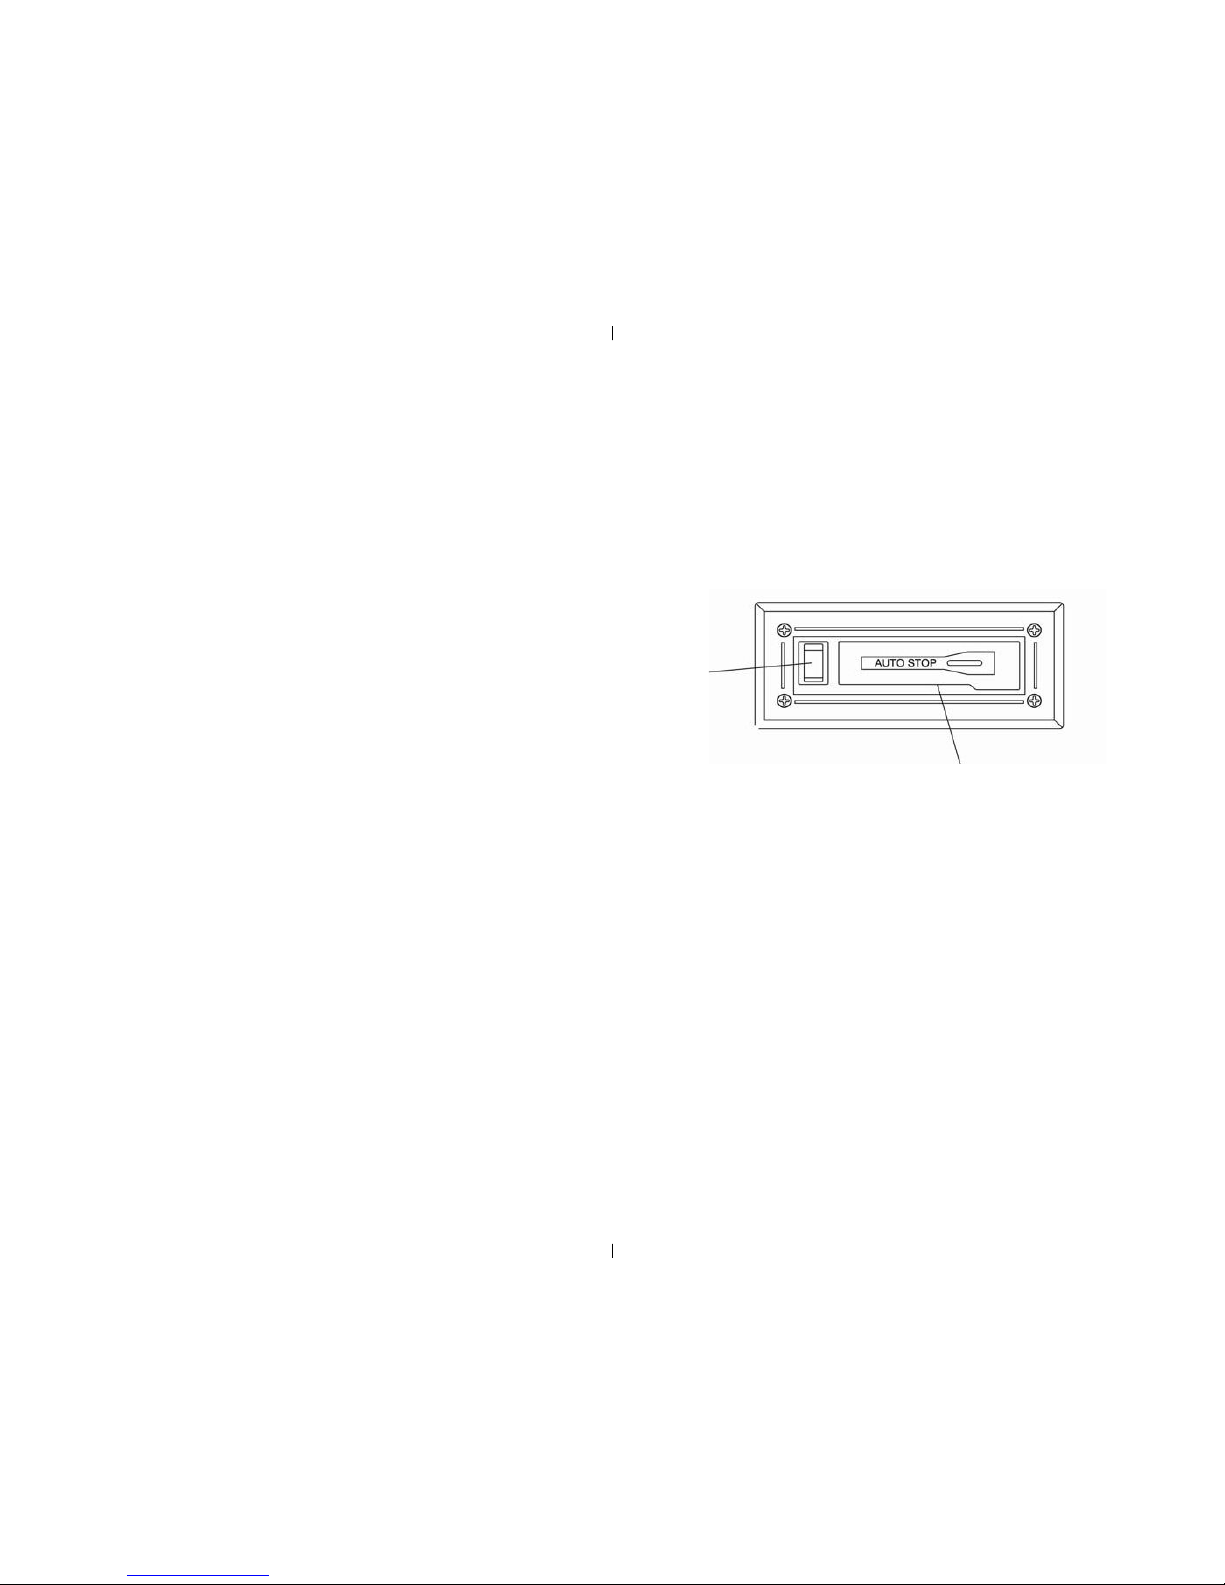
CD player
CD stops immediately after starting, The CD is inserted upside down.
or unit pauses or stops during play. The CD is dusty or dirty or there is
condensation on theCD.
Insert the CD with the printed side up.
Carefully clean and dry the CD.
No sound.
The CD player is paused.
Press the PLAY/PAUSE button.
Specic CD is noisy, or playback
stops or skips.
The CD is scratched, damaged or warped. The CD should be changed. Carefully clean
the CD.
The disc is very dirty.
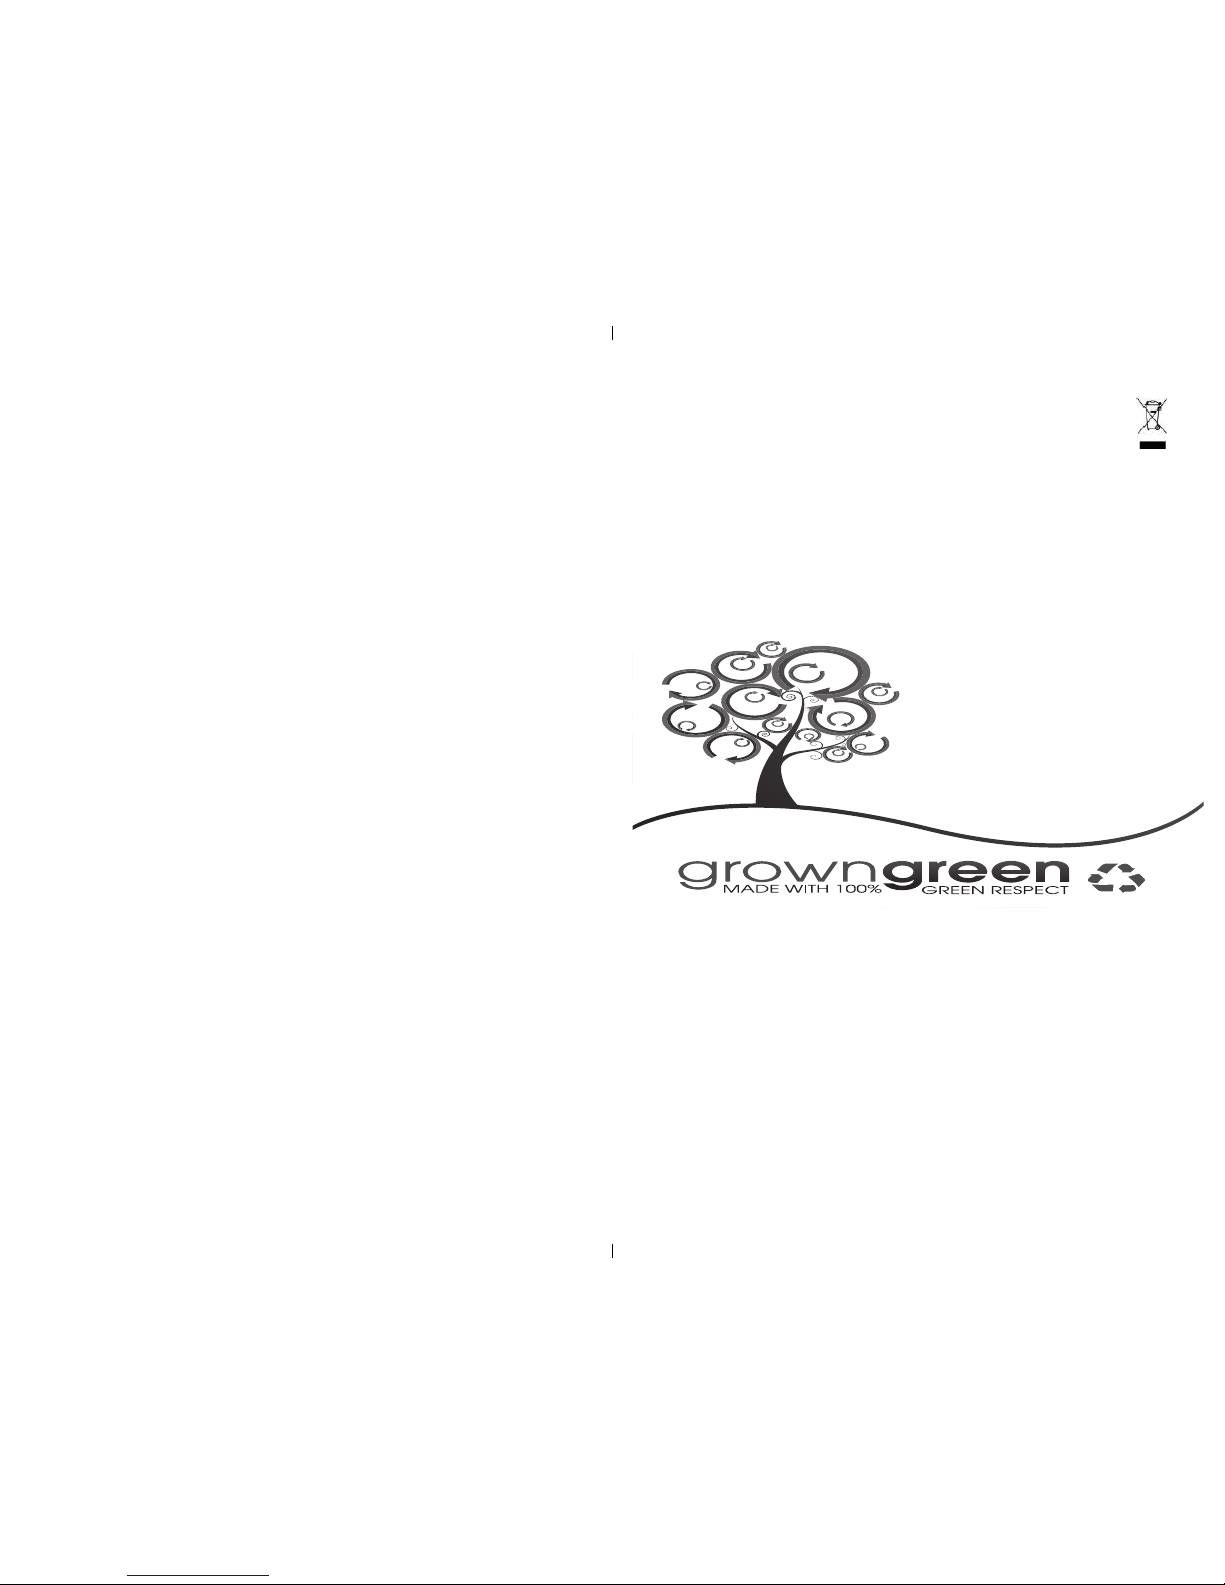
Disposal of Unit
Disposal instructions for i-tek items in accordance with the WEEE directive.
Appliances bearing the symbol shown here may not be disposed of in domestic rubbish.You are
required to dispose of old electrical and electronic appliances like this separately. Please visit
www.recyclemore.co.uk, or www.recylcenow.co.uk for access to information about the recycling
of electrical items.The WEEE directive, introduced in August 2006, states that all electrical items
must be recycled, rather than taken to landll. Please arrange to take this appliance to your local
Civic Amenity site for recycling, once it has reached the end of its life.