Itek i60019 Mounting instructions

CLASSIC 5 IN 1
MUSIC SYSTEM
MODEL I60019
YOUR SAFETY &
INSTRUCTION MANUAL
PLEASE READ CAREFULLY
www.itekbrand.coV.2

2SERVICE DEPARTMENT: +44 (0) 333 220 6058
TECHNICAL DATA
Description: Classic 5 in 1 Music System
Model: i60019
Rated Voltage: 230V
Frequency: ~50Hz
Power Consumption: 18W
Audio Output: 2 x 2W RMS
Radio Frequency: FM 88 MHz-108MHz
CD Player Frequency: 100Hz - 16KHz
Cassette player: Tape speed 4.75 cm/sec Frequency Response 125Hz-6.3 KHz
Headphones: 3.5mm stereo jack plug 0-32 Ohms
DOCUMENTATION
We declare that this product conforms to the following product legislation in accordance with the
following directive(s):
2004/108/EC Electromagnetic Compatibility Directive.
2006/95/EC Low Voltage Directive.
2011/65/EU Restriction of Hazardous Substances Directive.
1999/5/EC The Radio Equipment and Telecommunications Terminal
Equipment Directive
RKW Quality Assurance, United Kingdom
WARRANTY
This product is guaranteed for 12 months from the date of original purchase. If any defect arises due
to faulty materials of workmanship, the faulty products must be returned to the place of purchase.
Refund or replacement is at the discretion of the retailer.
The following conditions apply:
t The product must be returned to the retailer with proof of purchase.
t The product must be installed and used in accordance with the instructions contained in this
instruction guide.
t It must be used only for domestic purposes.
t It does not cover wear and tear, damage, misuse or consumable parts.
t RKW has limited liability for incidental or consequential loss or damage.
t This guarantee is only Valid in the UK and Eire Only.
An extended warranty is available for this appliance.
See back page for details.
2014/30/EU Electromagnetic Compatibility Directive.
2014/35/EU Low Voltage Directive.
2011/65/EU Restriction of Hazardous Substances Directive.
1999/5/EC The Radio Equipment and Telecommunications
Terminal Equipment Directive
CUSTOMER SUPPORT TEAM: +44 (0) 333 220 6058

3
www.itekbrand.co
WIRING SAFETY FOR UK USE ONLY
IMPORTANT
As the colours in the
mains lead of this
appliance may not
correspond with the
coloured markings
identifying the terminals
in your plug, please
proceed as follows:
The wires in the mains lead are coloured in
accordance with the following code:
Blue neutral [N] Brown live [L]
Plug Fitting Details (Where Applicable).
The wire coloured blue is the neutral and must be
connected to the terminal marked [N] or coloured
black.
The wire coloured brown is the live wire and
must be connected to the terminal marked [L] or
coloured red.
On no account must either the brown or the blue
wire be connected to the [EARTH] terminal .
Always ensure that the cord grip is fastened
correctly.
The plug must be tted with a fuse of the same
rating already tted and conforming to BS 1362
and be ASTA approved.
If in doubt consult a qualied electrician who will
be pleased to do this for you.
Non-Rewireable Mains Plug
If your appliance is supplied with a non-rewireable
plug tted to the mains lead and should the fuse
need replacing, you must use an ASTA approved
one (conforming to BS 1362 of the same rating).
If in doubt, consult a qualied electrician who will
be pleased to do this for you.
If you need to remove the plug - disconnect it
from the mains - and then cut it off the mains
lead and immediately dispose of its safely. Never
attempt to reuse the plug or insert it into a socket
outlet as there is a danger of an electric shock.
WARNING:
This appliance is double insulated. Do not connect any wire to the earth terminal.
If you need to remove the plug - disconnect it from
the mains - and then cut it off the mains lead and
immediately dispose of it safely. Never attempt to
reuse the plug or insert it into a socket outlet as
there is a danger of an electric shock.

4
SERVICE DEPARTMENT: +44 (0) 333 220 6058
PRODUCT SAFETY
When using any electrical appliance, basic safety precautions should
always be followed including the following:
• Check that the voltage of the
main circuit corresponds with
the rating of the appliance
before operating.
• Please ensure that the appliance
is used on a stable, level, and
heat resistant surface.
• Do not immerse cords, plugs
or any part of the appliance in
water or any other liquid.
• Do not leave the appliance
unattended while it is operating.
• Close supervision is necessary
when any appliance is used by
or near children or pets.
• This appliance can be used
by children aged from 8 years
and above and persons with
reduced physical, sensory or
mental capabilities or lack of
experience and knowledge
if they have been given
supervision or instruction
concerning use of the appliance
in a safe way and understand
the hazards involved.
• Children shall not play with the
appliance.
• Cleaning and user maintenance
shall not be made by children
without supervision.
• Switch off at the wall socket
then remove the plug from
the socket when not in use or
before cleaning.
• If the supply cord or appliance
is damaged, stop using the
appliance immediately and seek
advice from the manufacturer
or its service agent or a similarly
qualied person.
• Do not let the cord hang over
the edge of a table or counter or
let it come into contact with any
hot surfaces.
• The use of accessory
attachments is not
recommended by the appliance
manufacturer, apart from those
supplied with this product.
• Do not pull the plug out by the
cord as this may damage the
plug and/or the cable.
• Do not use this product for
anything other than its intended
use.
• This appliance is for household
use only.
• Do not carry the appliance by
the power cord.
• Do not use the appliance
outdoors.
• Do not use in direct sunlight.
• Do not use in wet or damp
conditions.
CUSTOMER SUPPORT TEAM: +44 (0) 333 220 6058

5
www.itekbrand.co
• Do not place the product on or
near sources of electromagnetic
pollution, vibration or where the
ventilation is poor as this may
cause damage to the product
or could interfere with other
products.
• Do not place containers lled
with water or any other liquid on
the top of the product as this
may damage the product.
• When handling electrical items
ensure that your hands are dry.
• Never disconnect the plug by
pulling the power cable as this
may damage the plug and/or
socket.
• If water has entered the body of
the product please switch off at
the wall socket and then consult
a qualied electrician for an
inspection and /or repair.
• Should the product malfunction
due to electrostatic discharge,
switch off at the wall socket and
allow 30 minutes for the charge
to dissipate before reconnecting
the power supply.
• Ensure that there are no metallic
objects placed in the internal
space of the product as this
may damage the product and
cause a risk of electric shock to
the user.
• Warning: Do not cover. Placing
materials such as curtains or
tablecloths over the appliance
can affect the ventilation and
cause the appliance to overheat.
• Ensure there is a minimum of
5cm distance between the
appliance and any walls or
other appliances for sufcient
ventilation.
• In the unlikely event the
appliance develops a fault,
stop using it immediately and
seek advice from the service
department.
HIGH VOLTAGE CLASS 1 LASER

10.
6SERVICE DEPARTMENT: +44 (0) 333 220 6058
WHAT’S IN THE BOX
Instruction Manual
Music System
Adaptor
1. Turntable
2. Speed Selector
3. Auto Stop Switch
4. Tone arm lock
5. FM wire antenna
6. Line out socket (L/R)
7. AC cord
8. Tape Player
9.
11.
Tape Forward/Eject
button
Speakers
3.5mm Aux-in jack
Dial Pointer
Function Switch
Power Indicator
Power/Volume Dial
USB Indicator
LCD Display
Extra Bass On/Off
Repeat/Program
Random
Skip Back
CD Door
USB Socket
3.5mm Headphone
Jack
Skip Forward
Stop
Play Pause
CD Eject
Tuning knob
FM Stereo Indicator
12.
13.
14.
15.
16.
17.
18.
19.
20.
21.
22.
23.
24.
25.
26.
27.
28.
29.
30.
31. Band Switch
1
5
11
6
22 23 24
7
13
12
14
15
31
29
25
26
27
28
30
17
18
19
20
21
16
8
9
2
3
4
10
CUSTOMER SUPPORT TEAM: +44 (0) 333 220 6058

7
www.itekbrand.co
BEFORE YOUR FIRST USE:
1. Remove the parts from the packaging.
2. Assemble as instructed in the assembly
page.
3. Your appliance is now ready for normal
use.
Dispose of the packaging in a responsible
manner.
USING YOUR APPLIANCE
How to position your unit:
Ensure that the product is placed on a at level
surface in a dust free, cool, dry environment
with good ventilation and where it cannot be
knocked or bumped and the power cable will
not cause a trip hazard.
X-Bass:
Press the Extra Bass button to activate the
x-bass function and enhance the bass effect.
Line out:
The 5 in 1 Music System can be connected
to a Hi-Fi system by connecting the line out
socket to the Aux-in socket with an RCA cable
(not included).
Radio:
Plug the 5 in 1 Music system in and turn on.
Turn the function switch to the ‘tuner’ function.
Turn the tuning dial to select the radios station
you require.
Adjust the volume dial to the desired volume.
Extend the wire antenna for the best reception.
FM: Set the band switch to the FM
position for FM radio.
Stereo: Set the band switch to the FM-St
position for stereo radio.
CD player:
When handling a compact disc (CD) place a
nger through the centre and with your thumb
hold the edge of the disc.
To use the CD function:
• Slide the function selector to the CD
position.
• Open the CD tray by pressing the door
open button.
• Place the CD on the tray label side up and
close the CD tray.
• At this point the CD will spin briey and
the LED display will show the number of
tracks that are on the disc.
• Note: Please do not place anything other
than a CD in the CD tray as this may
cause damage to the CD tray.
• If the disc is dirty or scratched it may not
play correctly.
• Never force the CD tray as this may
damage the product.
• Never insert more than one CD at a time.
CD controls:
Play/Pause Mode:
Press the Play/Pause ( ) button to begin
playing the CD. Press the Play/Pause button
again to pause playback.
Stop:
Press the stop ( ) button to stop playback.
Skip up/Skip down:
Press the skip up ( ) button to skip to the
next song or track on the CD.
Press the skip down ( ) button to skip to the
previous song or track on the CD

8SERVICE DEPARTMENT: +44 (0) 333 220 6058
Repeat:
Press the repeat button during playback to
select a repeat function.
Press repeat once to repeat 1 track. The
display will show RPT 1.
Press the repeat button twice to repeat all
tracks. The display will show RPT ALL.
Press the repeat button three times to turn off
repeat.
CD Programming:
Up to 20 tracks can be programmed in any
order. Before attempting to program, press the
Stop button.
1. Make sure the CD function has been
selected and the CD’s playback has been
stopped using the Stop button,
2. Press the program button. The display will
show PROG.
3. Select the track you wish to program
using the skip buttons.
4. Once the required track has been
selected, press the program button to
store the track or song into memory.
5. Repeat steps 3 & 4 to store additional
songs or tracks into memory.
6. When all the desired songs or tracks have
been programmed, press the Play/Pause
button to play the songs/tracks in the new
assigned order.
7. Press the Stop button to stop
programmed playback.
8. Press the Program button again to
review the songs/tracks that have been
programmed.
9. Remove all programmed memory by
pressing the stop button repeatedly until
the display shows PROG.
USB:
To use the USB function:
1. Turn the 5 in 1 Music System on, and
insert the USB stick into the USB socket.
2. Slide the function selector to USB/Phono
mode. The USB indicator will light up.
3. The 5 in 1 Music System will automatically
start playing the songs stored on the USB
drive.
4. Use the skip buttons and the play/pause
button to select, play and pause songs.
5. To safely remove the USB stick, turn off
the 5 in 1 Music System and pull it out of
the USB socket.
To use the Tape Player:
1. Insert the cassette into the tape player,
taking care
to insert the
cassette
correctly.
2. The 5 in 1 Music System will begin playing
the cassette automatically.
Note: It is recommended to remove the
cassette from the tape player after use.
Play Eject
Fast
Forward
Aux-in operation
1.
2.
3.
Turn the function switch to the
‘TAPE/AUX’ position.
Connect the unit to an auxiliary device by
connecting the Aux-in jack with one end
of a 3.5mm cable (not provided) and the
other end to the auxiliary device to
perform the music playback.
To stop playback, turn the function
switch to change to another function or
stop the auxiliary device.
CUSTOMER SUPPORT TEAM: +44 (0) 333 220 6058

9www.itekbrand.co
Record Player:
Before use:
Remove the stylus protector.
Ensure that the tone arm is detached from the
tone arm rest before use. Secure the tone arm
back into the tone arm rest after use.
Using the record Player:
1. Slide the function selector to USB/Phono
mode.
2. Set the speed selector to required speed
(33 / 45 or 78 RPM) depending on the
record you wish to play.
3. Place the record onto the turntable.
4. Place the stylus on the beginning of the
record and lower the tone arm gently.
5. Adjust the volume to the desired level.
6. When the stylus reaches the end of the
record, the tone arm will automatically
stop and the turntable will stop rotating.
7. Lift the tone arm from the record and
return it to the tone arm rest.
Auto Stop:
When a record comes to the end, the turntable
will stop automatically if the auto-stop switch is
in the ON position.
If the switch is in the off position then it will
keep revolving until the tone arm is returned to
the tone arm rest.
Remote control:
The remote control requires two AAA batteries
(not included).
Controls:
Repeat: In CD mode
playback mode,
press to repeat
the current
song or track.
Program:
press to start the
p
In CD stop mode,
rogramming
CD Eject: Press to open and close the
CD door
function.
Play/Pause: Press one to
start playback.
Press again to
pause playback.
Skip/Search
Forward: Press once to
skip to the next song/track.
Press and hold to search
forward. Release to play.
Skip/Search
Backward: Press once to skip to the
previous song/track. Press
and hold to search backward.
Release to play.
Stop: Press to stop playback or
cancel the sto
Random: In CD mode, press to active
random function
red program.

10
SERVICE DEPARTMENT: +44 (0) 333 220 6058
Cleaning and care:
Cleaning the 5 in 1 Music System:
• Always disconnect the equipment from
the power supply before cleaning.
• Clean the equipment with a soft, damp,
lint free cloth.
• Do not use abrasives or harsh cleaners.
Cleaning CDs:
• Use a soft cloth to wipe of any ngerprints
and dust from the disc surface.
• Wipe in a straight line from the centre
to the outside of the disc. Small dust
particles and light stains will not affect
reproduction quality.
• Never use chemicals such as record
sprays, anti-static sprays, benzene or
thinners to clean your CDs.
• To reduce the risk of scratches, please put
the CD back into the bag after using.
• Do not expose CDs to direct sunlight,
high humidity or high temperatures for
long periods.
• Do not stick paper or write anything on
either side of the CD.
Cleaning the lens:
• A dirty lens will cause sound skipping and,
if the lens is very dirty, the CD may not
work. Please use a CD cleaning disc.
Replacing the stylus:
Replace your stylus periodically (approximately
every 250 hours).
1. Push the arm lock to release the tone
arm.
2. Take off cap of the cartridge to expose
the stylus.
3. Gently separate the cartridge from the
socket.
4. Take off the audio line from the cartridge.
5. Replace the stylus with a new one and
reverse the above operations
NOTE: Please exercise extreme care whilst
performing this operation to avoid the tone arm
and audio wires from being damaged.
Dust the stylus from time to time using a very
soft brush dipped in alcohol (brushing from
back to front of the cartridge).
When transporting the 5 in 1 Music System do
not forget to:
• Replace the protective cap on the stylus.
• Put the rest clip into the pick-up arm.
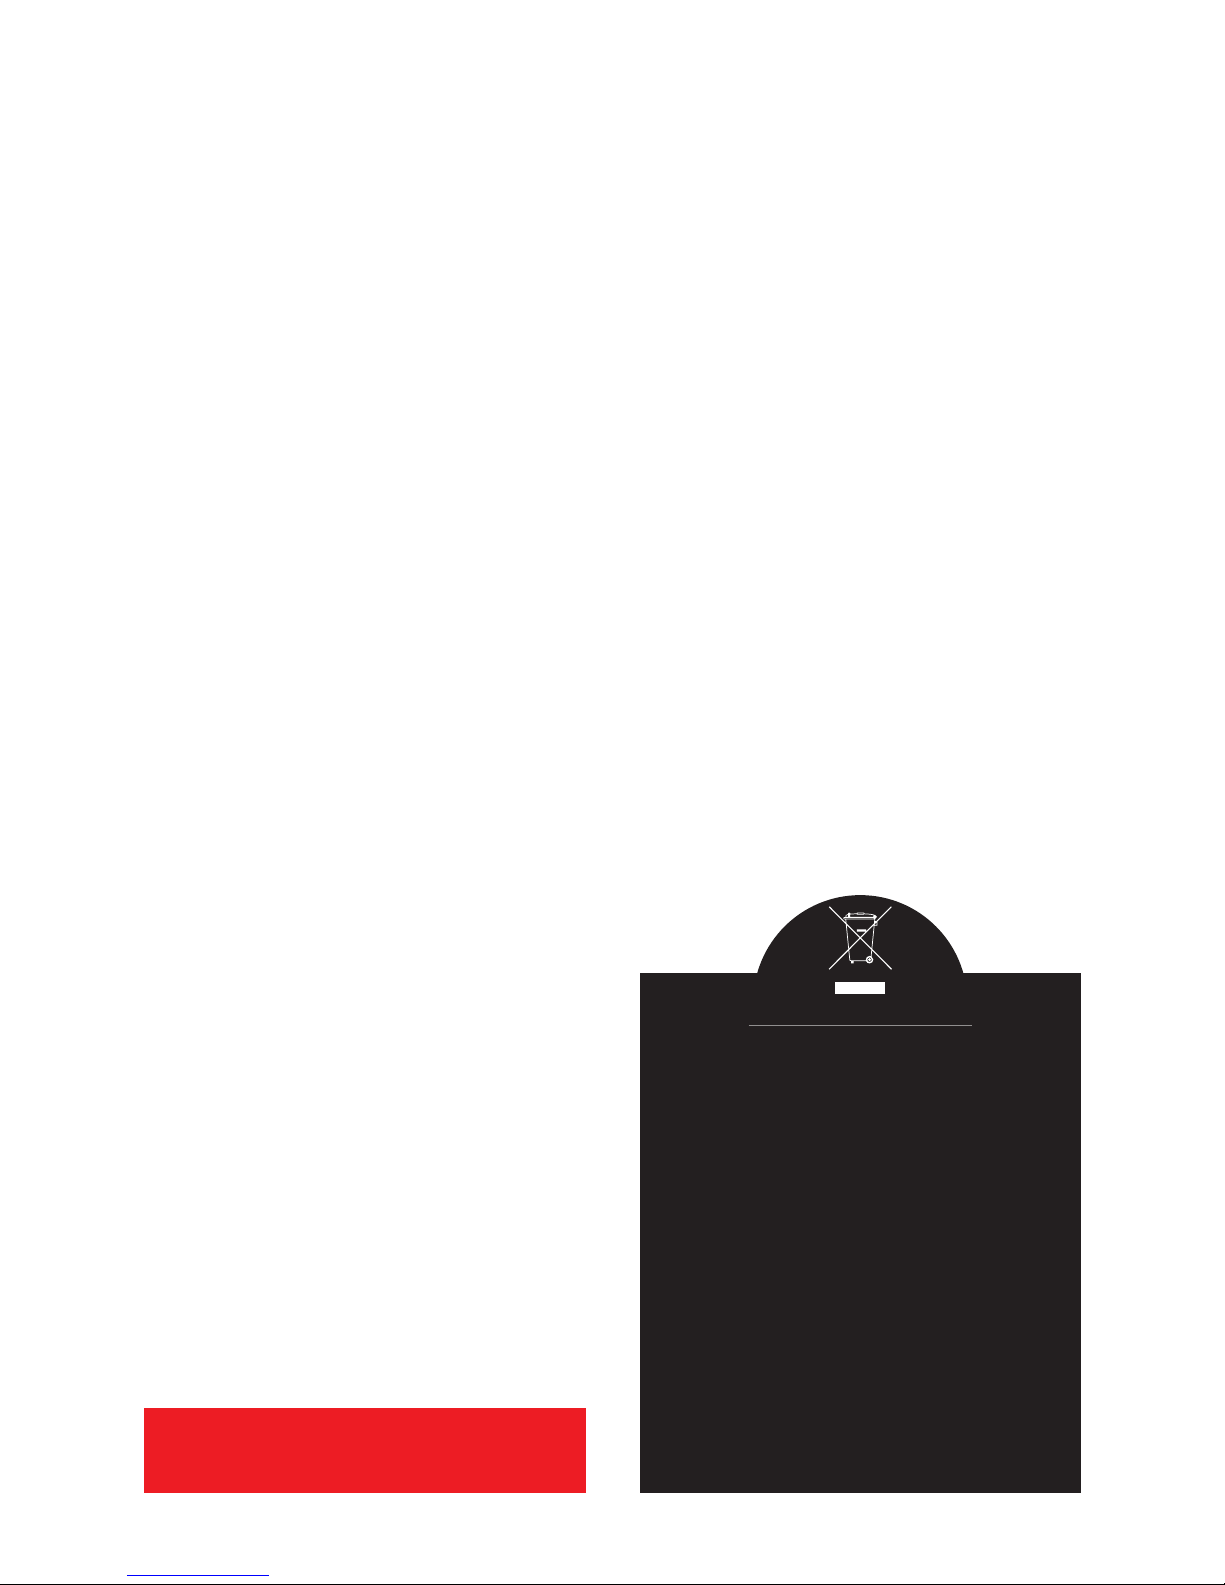
DISPOSAL OF THE UNIT
Appliances bearing the symbol shown here may
not be disposed of in domestic rubbish. You are
required to dispose of old electrical and electronic
appliances like this separately.
Please visit www.recycle-more.co.uk or www.
recyclenow.co.uk
for access to information about the recycling of
electrical items.
Please visit www.weeeireland.ie for access to
information about the recycling of electrical items
purchased in Ireland.
The WEEE directive, introduced in August 2006,
states that all electrical items must be recycled,
rather than taken to landll.
Please arrange to take this appliance to your
local Civic Amenity site for recycling, once it has
reached the end of its life.
WARNING:
DO NOT IMMERSE ANY PART OF THE
APPLIANCE IN WATER
CUSTOMER SUPPORT TEAM: +44 (0) 333 220 6058

11
www.itekbrand.co
Notes

We hope you enjoy your appliance for many years.
As a thank you for purchasing one of our fantastic products,
we are offering you an extra years peace of mind.
To receive your extra years guarantee, register your appliance online by visiting
www.itekbrand.co
Should you have a problem
with your appliance or need any spare parts please call our
Customer Support Team on:
+44 (0) 333 220 6058
Distributed throughout the UK by RKW LTD
0316.V1
Table of contents
Other Itek Stereo System manuals