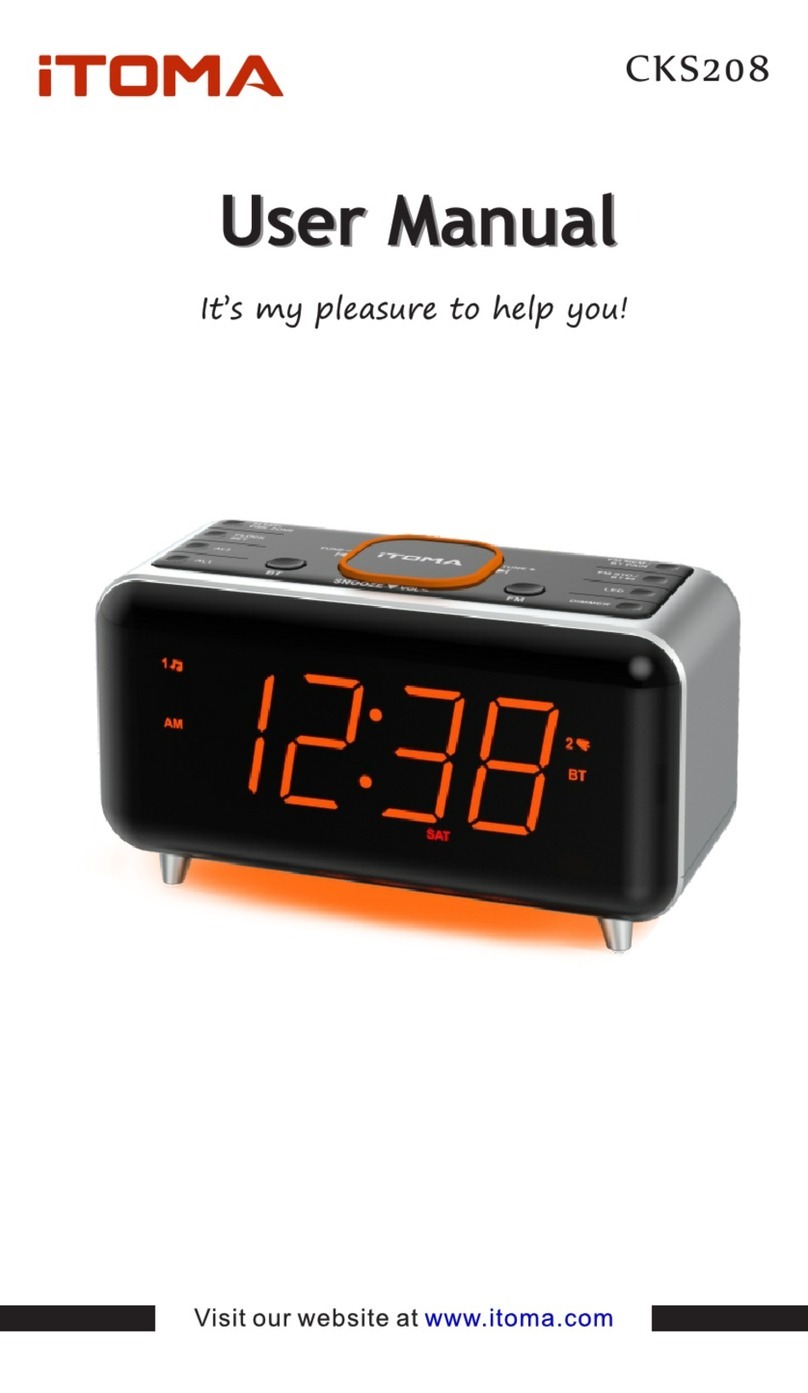
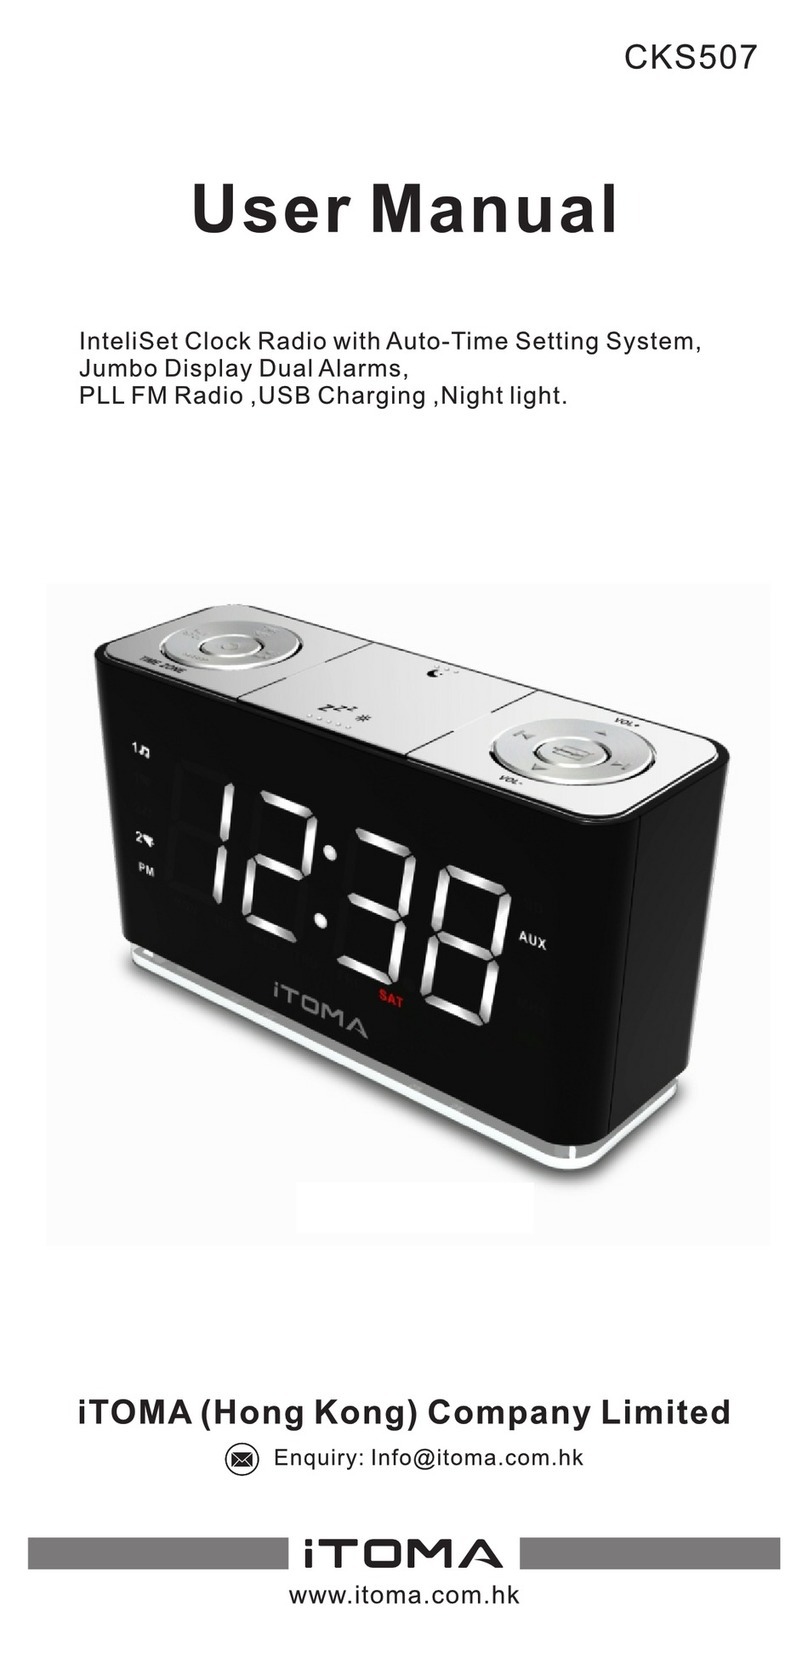
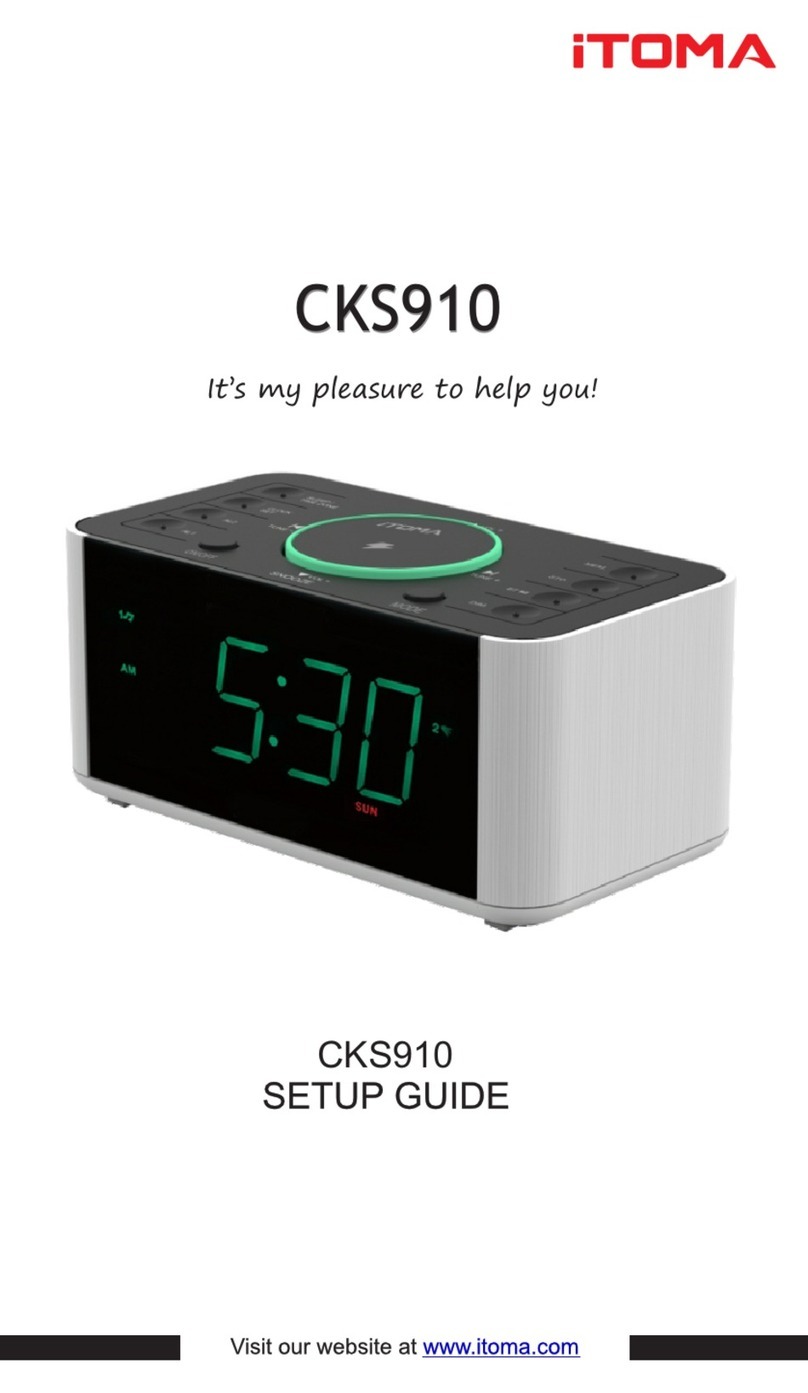
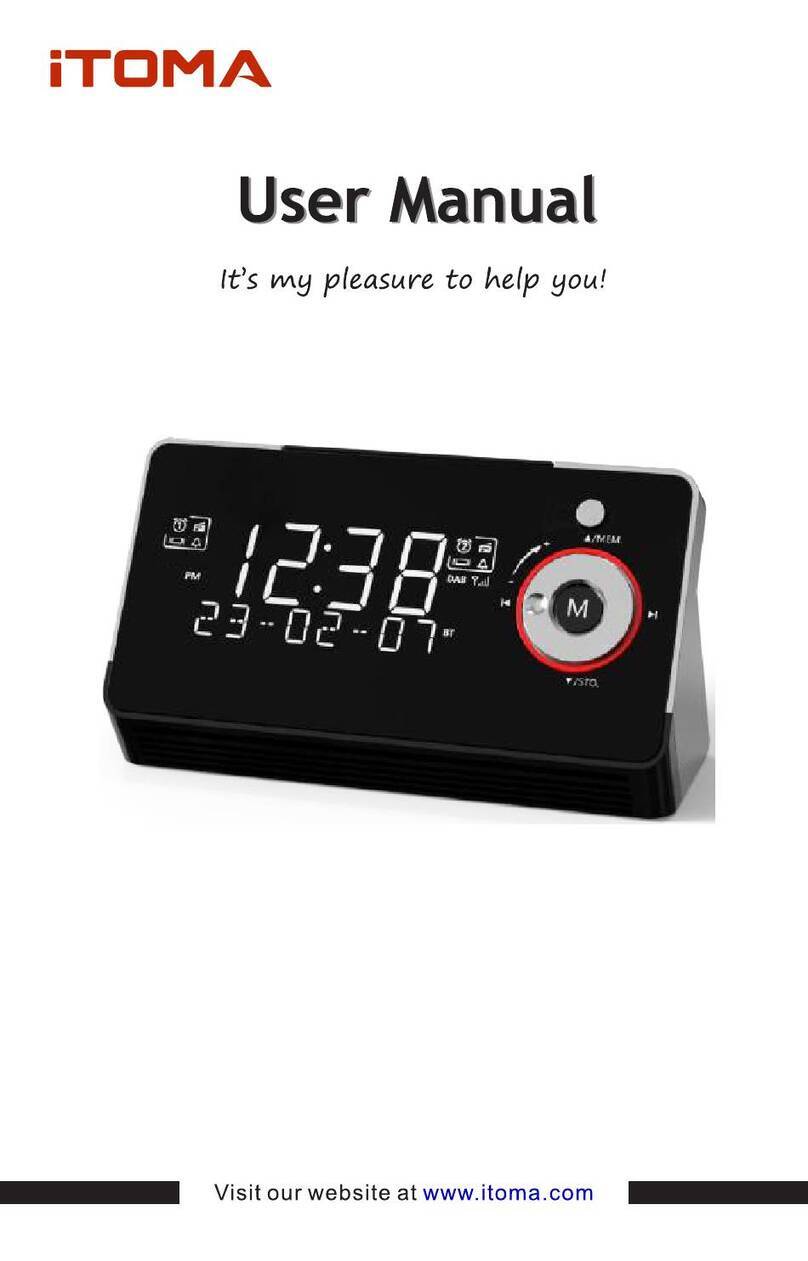
iToma CKS207 User manual


English

CKS207

English

The first time you connect your clock radio to the AC outlet, the clock will
set to the default automatically. If you found the time is not correct, you
could adjust the hour easily by using the TIME ZONE and " / " button.

the Clock
Setting the Date
5
Press the CLOCK SET button again and release, the Date 'Flashes';
Press the or button to adjust the Month;
Press the or button to adjust the Date;
For example, April 16th will appear as '4.16';
Setting the Year
Press the or button to adjust Year;
Press and hold the CLOCK SET button until the Year 'Flashes',
then release the button;
English
6
7
8

Setting the Time
Press the or button to adjust the Minutes;
Press the CLOCK SET button again and release,
the Hour 'Flashes';
Press the or button to adjust the Hour (where AM
indicator 'On' is AM, 'Off' is PM);
Press the CLOCK SET button again to store
all new settings and restore it to time display mode.
9
10
11
12
Adjusting the Wake Up Time and Alarm Volume
The procedure for adjusting the wake up time is the same for both Alarm1
and Alarm2.
Note: Be sure that you have set the wake up time correctly by observing the
AM indicator. If the AM indicator is 'On' the wake up time is “AM”. If it is 'Off',
the wake up time is “PM”.
• Press and hold either the AL1 or AL2 button until the display blinks and
change from the current time to the Alarm1 or Alarm2 wake up time.
• Release the AL1 (AL2) button, the or button to adjust Hour, press
the or button to adjust Minutes.
• Press the AL1 (AL2) button again to adjust Alarm Volume V01-V15 by
pressing the VOL- or VOL+ button.
• Press the WEEK button repeatedly to adjust Alarm Week Mode if
necessary.
• Press the AL1 (AL2) button again to store the alarm setting.
English
Note: If pairing unsuccessful, all previously paired Bluetooth devices
around should be disconnected first by pressing and holding the BT PAIR
button until it prompts, or turn Off their Bluetooth connection, in order to
avoid making any auto reconnection between them. Then, set this unit to
Bluetooth mode, and tap the Bluetooth switch on your phone/device Off
and back On again to refresh/search any nearby CKS207 for pairing.
• Press the ON/OFF button to turn the unit ON.
• Press the MODE button to select Bluetooth (bt)
mode (BT indicator 'Flashes' for pairing).
• Enable your Bluetooth device and select
CKS207 from its Available/Paired device
list. If pairing successful, the unit will prompt
and BT indicator will become solid.
• Automatic connection with your Bluetooth
devices is possible if they have been paired
successfully with this unit before.
• After paired, you can play your music
through this Bluetooth Speaker.
• Press briefly the BT button can pause or resume playback streaming
over your Bluetooth device.

Press the ON/OFF button to turn ON the unit, and press the MODE button
to select either FM Radio, Bluetooth or AUX mode to play music or listen to
radio.
Sleeping to Music Timer
13
Qi-enabled Receiver
(If your smartphone
itself is not wireless charging
-enabled or Qi-compatible)
Wireless charging-enabled
Smartphone/mobile device
14 Ultra Fast Wireless Charging


2-Level LED Décor
17
18
polarity facing downward

English
If the cabinet becomes dusty, wipe it with a soft cloth. it the cabinet
becomes smudged or dirty, clean it with a soft, slightly dampened cloth.
Never allow water or any liquid to get inside the cabinet. Never use any
abrasive cleaners or cleaning pads as these will damage the finish of your
radio.
Dispose of the old battery properly. Do not leave it lying around where a
young child or pet could play with or swallow it. It the battery is swallowed,
contact a physician immediately.
The battery may explode if mistreated. Do not attempt to recharge it or
disassemble it. Do not dispose of the old battery in a fire. The apparatus
must not be exposed to dripping or splashing and objects filled with
liquids, such as vases, must not be placed on the apparatus. This marking
indicates that this product should not be disposed of with other household
wastes throughout the country. To prevent possible harm to the
environment or human health from uncontrolled waste disposal,
recycle this unit responsibly so as to promote the re-use of
material resources. To return your used device, please use
return and collection systems or contact the retailer where the
product was purchased as they know how to safely recycle this
product.
Care and Maintenance
19
FCC WARNING
THIS DEVICE COMPLIES WITH PART 15 OF THE FCC RULES.
OPERATION IS SUBJECT TO THE FOLLOWING I WO CONDI I IONS:
(1)THIS DEVICE MAY NOT CAUSE HARMFUL INTERFERENCE. AND
(2)THIS DEVICE MUST ACCEPT ANY INTERFERENCE RECEIVED
INCLUDING INTERFERENCE THAT MAY CAUSE UNDESIRED OPERATION.
FCC PART 15.19 WARNING STATEMENT
20

RF warning statement:
The device has been evaluated to meet general RF exposure requirement.To
maintain compliance with FCC's RF exposure guidelines, this equipment should be
installed and operated with a minimum distance of20cm between the radiator and
your body.
iTOMA (Hong Kong) Company Limited (iTOMA) warrants to the original consumer
of this iTOMA product that it will furnish a replacement for, or, at its sole discretion,
repair any part which proves (upon inspection by iTOMA) to be defective under
normal use within 1 year of the original purchase date.
This warranty does not apply to cosmetic appearance and consumable items,
including, but not limited to, antennas, knobs, cabinets, or cases, and in the case
of batteries, for damage caused by leaking batteries. It also does not apply to the
product, or to any part thereof, that damaged through misuse or negligence.
Furthermore, this warranty will become invalid if, in the judgment of iTOMA the
product or any part thereof has been a more readable installed incorrectly, or has
been repaired or altered other than by iTOMA.
This warranty gives you specific legal rights and you may also have other rights
which vary from state to state. Some states do not allow the exclusion or limitation
of incidental or consequential damages or limitations on how long an implied
warranty lasts, so the above exclusions and limitation may not apply to you.
For Service, Warranty, or Product Information,
Please contact iTOMA (Hong Kong) Company Limited,
www.itoma.com /contact us by email at info@itoma.com
PLEASE SAVE THIS CARD TOGETHER WITH ORIGINAL DATED PROOF OF
PURCHASE FOR YOUR RECORDS AND FOR CUSTOMER SERVICE.

Deutsch

WICHTIGE SICHERHEITSHINWEISE
Das Ausrufezeichen innerhalb eines
gleichseitigen Dreiecks soll den
Benutzer auf wichtige Betriebs- und
Wartungsanweisungen in der dem
Gerät beiliegenden Literatur
hinweisen.
Das Blitzsymbol mit Pfeilspitze in
einem gleichseitigen Dreieck soll
den Benutzer auf das
Vorhandensein einer nicht isolierten
„gefährlichen Spannung“ im
Gehäuse des Produkts aufmerksam
machen, die so groß sein kann,
dass die Gefahr eines Stromschlags
für Personen besteht.
WARNUNG: UM DAS RISIKO EINES
STROMSCHLAGS VERRINGERN, ENTFERNEN SIE
NICHT DIE ABDECKUNG (ODER DIE RÜCKSEITE).
ES BEFINDEN SICH KEINE VOM ANWENDER ZU
WARTENDEN TEILE IM INNEREN DES GERÄTES.
WENDEN SIE SICH AN QUALIFIZIERTES
SERVICEPERSONAL.
AVIS: RISQUE DE CHOC
ÉLECTRIQUE-NE PAS OUVRIR
VORSICHT
ATTENTION
ELEKTROSCHOCKGEFAHR
NICHT ÖFFNEN
RISQUE D’ÉLECTROCUTION
NE PAS OUVRIR
WARNUNG: LEKTROSCHOCKGEFAHR, NICHT ÖFFNEN
AVIS: RISQUE DE CHOC ÉLECTRIQUE•NE PAS OUVRIR
Dies ist ein Gerät der Klasse II mit doppelter Isolierung und ohne Schutzleiter.
Other manuals for CKS207
1
Table of contents
Other iToma Clock Radio manuals

iToma
iToma InteliSet CKS3501BT User manual

iToma
iToma CKS910 User manual

iToma
iToma InteliSet CKS3501BT User manual

iToma
iToma CKS213 How to use

iToma
iToma CKS3301 User manual

iToma
iToma CKS507 User manual

iToma
iToma 729 User manual

iToma
iToma CKS208 User manual

iToma
iToma CKS507 User manual

iToma
iToma CKS507 User manual