FC200 Desk Dock User’s Guide - TDC-0597-000 10/04
page 5
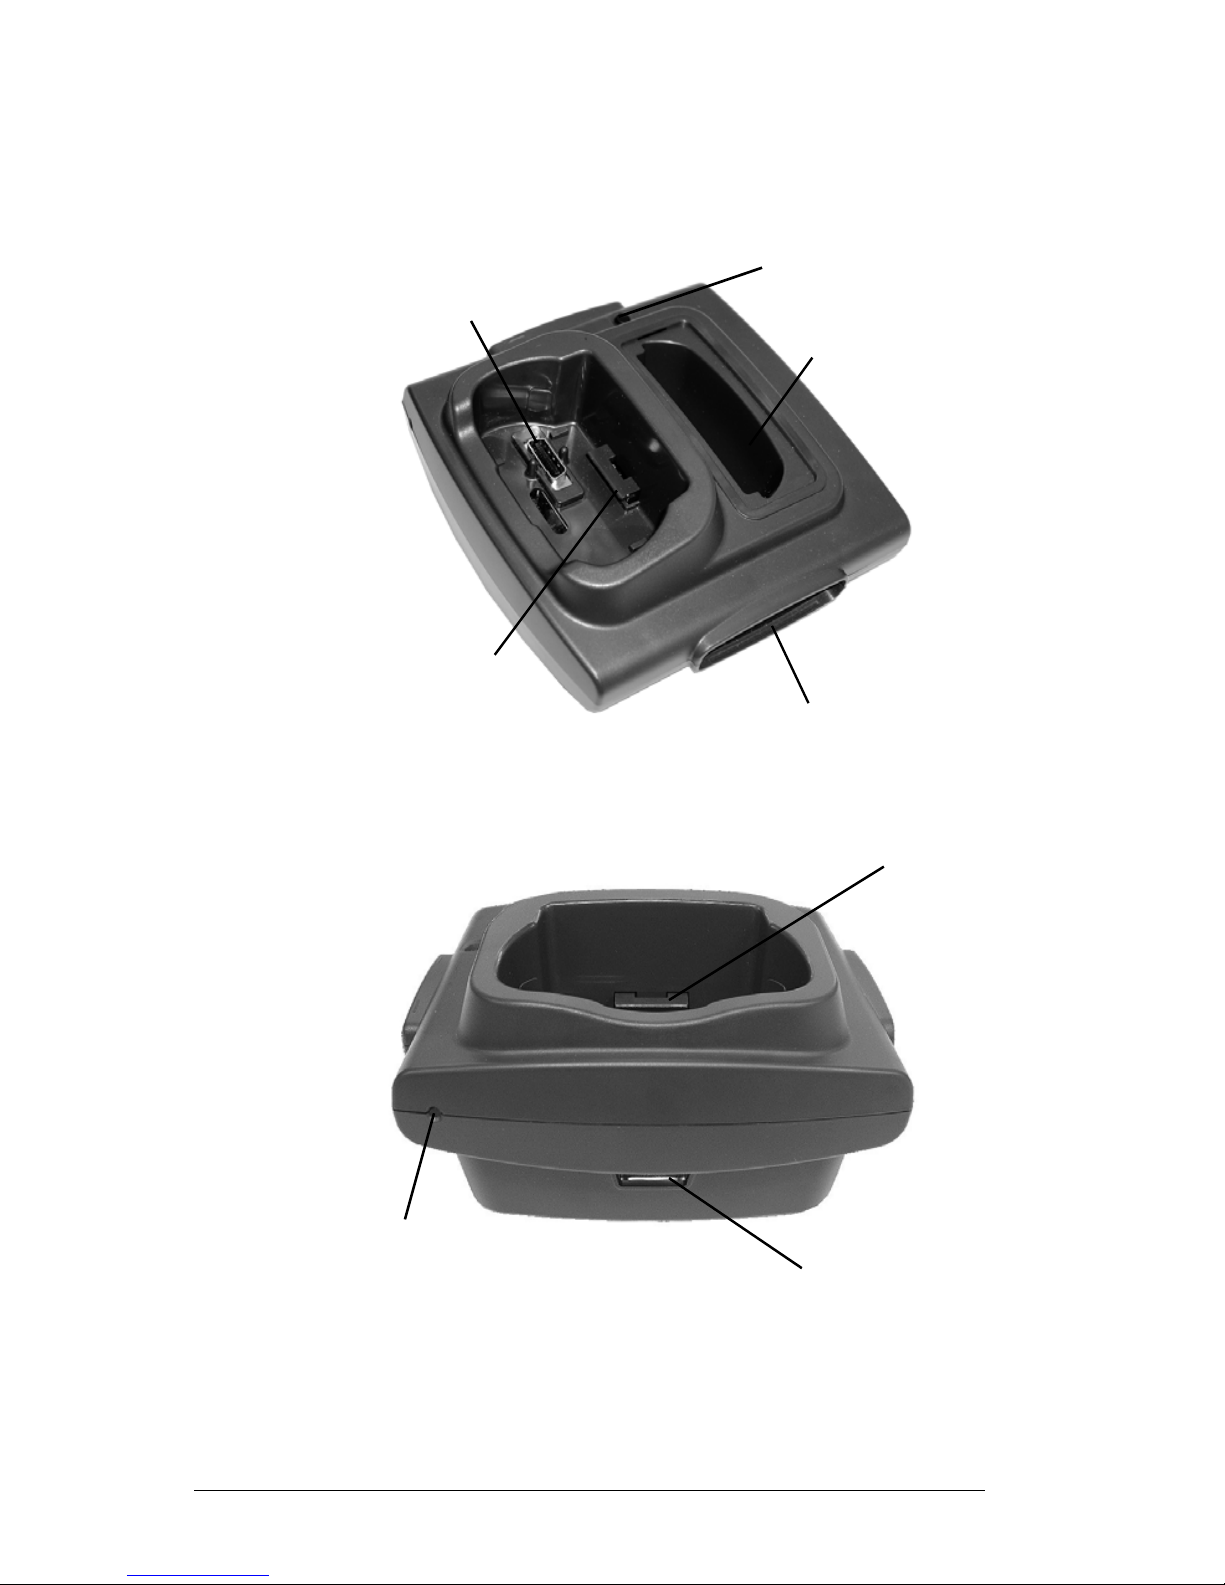
Charging Indicator (LED) Status
The power available to charge the batteries in the desk dock is
shared between the FC200 and the spare battery, with priority
given to the handheld. If both batteries are fully depleted, the
battery in the FC200 will charge in about three and a half hours
and the spare battery will charge in about four hours.
When a battery isplaced in the spare battery charging slot, it takes
a few seconds before the charging indicator begins to blink.
The charging indicator LED only shows the charge condition of
the desk dock. It does not reflect the charging state of the
handheld. The handheld’s charge status is indicated by its own
charge status LED.
Rubber feet • Four rubber feet are provided as an
option that can be installed on the
bottom of the desk dock to prevent the
desk dock from slipping on or
scratchingtheuser'sworksurface.The
rubber feet are not installed when
using the alternate mounting screw
boss.
Feature Description
LED Status Indicates
Blinking green
(blink, pause, blink, pause)
• There is power to the desk
dock,anditischargingthe
spare battery.
Solid green • There is power to the desk
dock
OR
• No spare battery
OR
• A fully charged spare
battery
Double-blinking green
(blink, blink, pause..)
• A battery fault.
Example: Battery out of tem-
perature range (below 32° F
or above 122° F)