iWOWNFit i3 HR User manual

i3 HR
Smart Heart Rate Band
Product Manual
Version 1.0

Table of Contents
Getting Started ..................................................................................................................................1
Document Contents...................................................................................................................1
Settings of i3 HR...............................................................................................................................1
Settings of i3 HR via Mobile Devices.......................................................................................1
Device Requirements........................................................................................................1
DownloadAPP Zeroner Health.................................................................................................2
Problems which may occur during the connection process ..............................................2
Know about i3 HR............................................................................................................................2
Wearing i3 HR ..........................................................................................................................2
Using i3 HR in wet environments.............................................................................................3
Get Familiar with i3 HR....................................................................................................................3
Change Dial display..................................................................................................................4
Heart rate measurement ............................................................................................................5
Heart rate zones.........................................................................................................................5
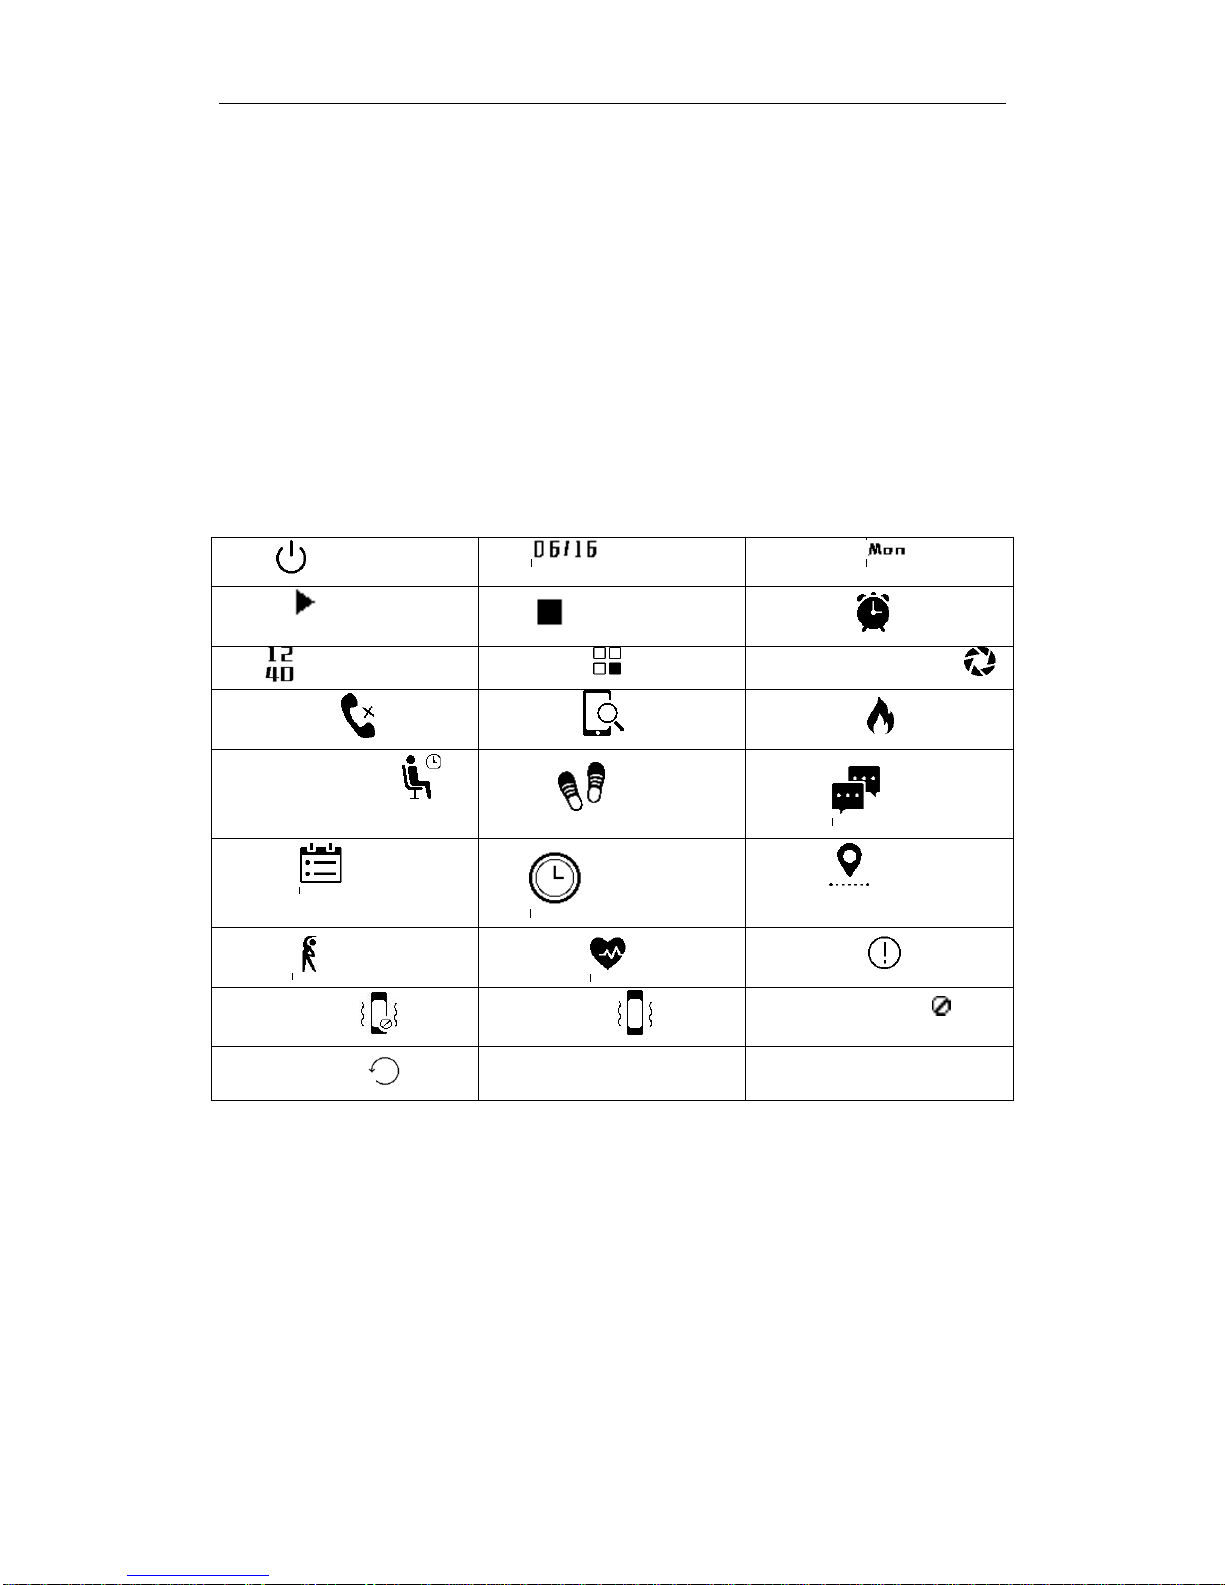
Function icon ............................................................................................................................6
Charging....................................................................................................................................6
Maintenance..............................................................................................................................7
i3 HR Data Recording.......................................................................................................................7
Recording data of the whole day...............................................................................................7
Recording of Sleep....................................................................................................................8
Entering Sleep Monitoring................................................................................................8
Exit Sleep Monitoring.......................................................................................................8
Recording of Daily Goal...................................................................................................................9
Setting a Goal............................................................................................................................9
Multi Sport Management..........................................................................................................9
Adding Sports ...........................................................................................................................9
Entering Sports................................................................................................................10
Exit Sports.......................................................................................................................10
Delete Sports...................................................................................................................10
Automatic recognition movement...........................................................................................11
Notifications of Incoming Calls, SMS and Messages.....................................................................11
Enabling Push of Incoming Calls, SMS and Messages...........................................................11
Viewing of Incoming Calls, SMS and Messages Push ...........................................................12
Disabling Push of Incoming Calls, SMS and Messages .........................................................12
Information storage and deletion ............................................................................................12
Problems which may occur.....................................................................................................13
Message storage......................................................................................................................14
Delete information ..................................................................................................................14
Using Silent Vibration Alarm..........................................................................................................14
Settings of Silent VibrationAlarm ..................................................................................14
Shutting down Silent Vibration Alarm............................................................................14

Problems which may occur.............................................................................................14
Using the schedule function............................................................................................................15
Setting the agenda...................................................................................................................15
Delete schedule.......................................................................................................................15
Using Function of Find Your Phone................................................................................................15
Problems which may occur.....................................................................................................16
The NO Disturb Function ...............................................................................................................16
Turn on the NO Disturb ..........................................................................................................16
Turn off the Do Disturb...........................................................................................................17
Using Remote camera control.........................................................................................................17
Turning on Remote camera control.........................................................................................17
Exit Remote camera control....................................................................................................17
Settings of Sedentary Reminder......................................................................................................17
Turning on Sedentary Reminder .............................................................................................17
Turning off Sedentary Reminder.............................................................................................18
Upgrading i3 HR.............................................................................................................................18
Issues to be noted in the upgrading process............................................................................18
General information and Specifications of i3 HR...........................................................................20
Sensors and Motors.................................................................................................................20
Battery.....................................................................................................................................20
Storage ....................................................................................................................................20
Display....................................................................................................................................20
Environmental Conditions ......................................................................................................21
Important Safety Instructions..........................................................................................................21
NOTE......................................................................................................................................21
Precautions .....................................................................................................................................22

1
Getting Started
Welcome to use i3 HR! This high-performance smart sports bracelet can help you achieve your
health goals.
Document Contents
This manual will help you quickly set up smart device. By settings, your smart device can
synchronize data with mobile applications, so you can get detailed data and more functions as
well.
Next, this manual will introduce you with a variety of information and features in i3 HR; in
particular, how to use the touch screen, view various data, and record walking, running or other
sports.
The rest of this manual will explain each function of i3 HR, and teach you how to update your
smart device by free firmware.
Settings of i3 HR
You can set up i3 HR through the appropriate iOS or Android applications.
Settings of i3 HR via Mobile Devices
You can set i3 HR via a variety of mobile devices, and synchronize data wirelessly.
Device Requirements
Android devices: Android4.4 or above and supports Bluetooth 4.0
iOS devices: iOS8.0 or above

2
Download APP Zeroner Health
For iPhones, you can search and download in the App Store
ForAndroid phones, you can search and download in Google Play Store
Or you can download by scanning the following QR Code
InstallAPP Zeroner Health and connect to your i3 HR
Problems which may occur during the connection process
Please connect the bracelet and App via App”Zeroner Health”, instead of phone bluetooth. If the
connection is only displayed in the Bluetooth of the phone system, but not displayed in the App,
then such connection is invalid.
Know about i3 HR
Wearing i3 HR
Please wear i3 HR on the wrist. If you wear it the whole day, please lay i3 HR flat at the position
with one finger's breadth below the carpal bone as shown in the picture.

3
Using i3 HR in wet environments
i3 HR is splash-proof and rainproof, and it can always withstand no matter how much sweat you
got in the sports. However, i3 HR is not designed for swimming. In addition, please remove your
i3 HR before taking a shower. Although the device can be contacted with water, wearing of it the
whole day will hinder the skin permeability. If your i3 HR gets wet, please dry it thoroughly
before wearing it again.
Get Familiar with i3 HR
i3 HR comes with one OLED display with touch function. The main screen is time screen which
displays the date, time, week, battery level and connection status.
There are two display modes of time screen: portrait and landscape.
Portrait Display
Battery level
Week
Status of disconnected
and can be searched
Time
Date
No Disturbing Started
weather

4
There are two sets of screen information of i3 HR: time screen and menu screen.
· • When viewing the time, you can tap the screen to view
。Walking steps
。Calories consumed
。Distance
。Heart rate
•When viewing the time screen, you can tap the screen to view the different menu items.
。Message
。Training
。Function
。Schedule
·The View menu, you can click on the screen to view the corresponding single column.
Change Dial display
We provide 4 types of clock for your choice, you can choose the style you love to replace the
surface.
You can switch the bracelet to the menu screen, click on the screen to enter the replacement dial,
long press the screen to vibrate once.Then the dial style will appear on the screen, click screen to
switch different styles.Select the style you want to change,then long press the screen, you can see
the style you want to change on the screen.

5
Heart rate measurement
As the heart beats, it expands and contracts in response to changes in blood volume. On the back
of the i6 HR, there is a LED indicator for the skin to detect changes in blood flow, the algorithm of
i6 HR after debugging, so that it can continuously monitor the heart rate.
When viewing the screen, click on the screen to view the current heartbeat.
Heart rate zones
When you in Exercise, different stages of exercise, will correspond to different heart rate interval.
The calculation of heart rate, according to their own maximum heart rate to calculate, commonly
used to predict the maximum heart rate is: 220 minus oneself age.
i6 HR can automatically record the heart rate during exercise, exercise, you can pair the i6 HR and
your smartphone after exercise. Synchronization data, you can view your heart rate and heart rate
curves at the Zeroner Health App.
There are five different heart rate intervals, Include:
Maximum Heart Rate equals:220-age
Cardiopulmonary exercise 50%~60% Max heart rate

6
Fat burning 60%~70% Max heart rate
Aerobic 70%~80% Max heart rate
Anaerobic 80%~90% Max heart rate
Maximal Over90%
Function icon
Off:
Date:
Day Of Week:
Start :
Stop:
Alarm Clock:
Time:
Function Set:
Remote Camera Control:
Call ID Display:
Find Phone:
Calories(kcal):
Sedentary Reminder:
Steps:
Message:
Schedule:
Dial:
Distance:
Training:
Heart Rate
Information
No
Disturb(on):
No Disturb(off):
NoDisturbing
started:
Restore set
Charging
After you get the bracelet, long press the screen, if it don’t turn on, please charge it.
Please charge the bracelet for 45 minutes before using . Please press the back of bracelet which
shows "OPEN"to make the host depart from the strap , then take out the host. Insert the host face

7
down to a 5V/1A USB port for charging.
You can view the battery level of i3 HR via Zeroner Health App. Under such circumstance, the
battery level is the status when synchronizing i3 HR last time. To ensure that the battery level can
truly reflect the current information, please synchronize i3 HR.
If you do not use the i3 HR for a period of time temporarily, you can shut it down to save battery.
Maintenance
Clean and dry i3 HR regularly, especially the lower parts of the bracelet. Use the skin care
products with caution where the skin is covered by i3 HR.
i3 HR Data Recording
As long as you wear i3 HR, it will automatically record all data. When you synchronize smart
devices, the sports data will be uploaded to Zeroner Health App, and you can review the data via
Zeroner Health App.
Recording data of the whole day
i3 HR will automatically record and display the following data in the whole day

8
•Walking steps
•Calories consumed
•Distance
•Heart rate
To view these data, switch to time screen and tap the screen.
In addition to the data displayed on i3 HR, the following data of the whole day is also recorded but
they will only be displayed via Zeroner HealthApp:
• Sports time, sports distance, sports duration, average sports speed
• Sleep time and sleep quality
According to the time zone where you are, i3 HR will start recording data of the next day from
every midnight. The data will be automatically cleared at 00:00.
Recording of Sleep
Your i3 HR can record sleep time and the conditions during the sleeping, so that you can know
your sleep quality.
Entering Sleep Monitoring
When you sleep with wearing the bracelet from 20:00 to 9:00, the bracelet will automatically enter
the sleep monitoring through the judgments based on the factors such as the amount of exercise,
exercise time, times of movements, the arm movement method, etc.
Exit Sleep Monitoring
When you move by wearing the bracelet, the bracelet will automatically exit the sleep monitoring
through the judgments based on the factors such as the amount of exercise, exercise time, times of

9
movements, the arm movement method, etc.
Recording of Daily Goal
The default daily goal of i3 HR is 10,000 steps. When you do not achieve this goal within a day, i3
HR will remind you by vibrating with the screen display of "Come on! Your goal today has not
achieved!" (Note: currently this reminder only supports iOS system, which is unavailable in
Android system).
Setting a Goal
You can set the specific data of daily goal via Zeroner Health App.
For example, if you want to change the default daily goal of 10,000 steps, you can change the
settings in the Zeroner Health App.
Multi Sport Management
You can record more than 20 different types of sports, you can add or remove your favorite sports
on the Zeroner Health App. After the successful addition, the type of movement can be displayed
on i3 HR, and the motion data will recorded by i3 HR.
Adding Sports
You can have the daily exercise by setting the different combination of sports.
The walking is the default setting every day. Besides walking, you can also add other four kinds of
sports.
You can add one sport each time in Zeroner Health App. If you need to add many sports, you need
to add in multiple times. Only after you have successfully added certain sport in the App, this
sport can be displayed on the bracelet screen.
After you have successfully added certain sport, select the specific number of weeks in the repeat
settings. Then this sport will appear on the bracelet by that day.

10
Entering Sports
When selecting the sports on the bracelet for data recording, return to the time screen and after
sliding up or down to enter the settings interface of , long press the screen till the bracelet
vibrates once. When the icon of the sports flashes on the bracelet screen, it means that sport mode
is activated. If you need to change the type of exercise, tap the screen to switch.
Exit Sports
Slide the screen to exit the sport.
Connect bracelet to Zeroner HealthApp, you can also view the motion data inApp.
Delete Sports
You can delete the sports in Zeroner HealthApp.
In theApp, enter the previous interface for adding the sports, swipe left on the sport, a trash can
icon appears, tap “Delete” and “Done” to delete.

11
Automatic recognition movement
i6 HR can automatically identify the type of movement, you can wear i3 HR to activities, i3 HR
can automatically enter the movement mode and record movement data. In the movement screen,
you can click on the screen to view the number of calories burned, heart rate, distance, long press
the screen to vibrate then you can view the total number of data.
Currently supports automatic identification of the types of sports are: running, riding, you wear
i3 HR to run or ride, the bracelet will automatically record your movement data.
Intelligent identification of ball games, currently only supports the identification of the
mainstream ball games, such as basketball, badminton, etc..
After entering the ball game, screen will display the following Icon
Notifications of Incoming Calls, SMS and Messages
Devices of iOS8.0 and above, Android 4.4 and above and support Bluetooth 4.0 all support the use
of i3 HR to receive notifications of incoming calls, SMS and other Apps. After receiving the
notification, i3 HR will vibrate, and the caller information and part of push message will be
displayed on the screen.
Enabling Push of Incoming Calls, SMS and Messages
iOS Devices
When the bracelet has been connected successfully with Zeroner Health App, the bracelet can
receive messages displayed in the notification center of the phone.

12
Android Devices
When the bracelet has been successfully connected with Zeroner Health App, enter the "Message
Push" menu in Zeroner Health App, and you can turn on the message push of the Apps such as
"Phone", "SMS", "Facebook", "Twitter"etc. based on your needs.
Viewing of Incoming Calls, SMS and Messages Push
When receiving an incoming call, the bracelet will vibrate to remind you, and the incoming phone
number or contact name in the address book will be displayed on the bracelet screen. You can
view on the bracelet screen, and when you need to reject a call, you can swipe on the bracelet
screen.
When the phone receives the messages push from Apps, the bracelet will vibrate, and push content
to display on the bracelet screen.
Note: Android devices. When there are incoming calls, the contact name from the phone address
book will be displayed on the screen. You must first grant the permission for Zeroner Health App
to read the phone contacts permission; otherwise only the phone number will be displayed.
Disabling Push of Incoming Calls, SMS and Messages
iOS Devices
iOS system currently only supports filtering the messages push from Facebook and Twitter and
other mobile Apps.Turn on "Message Filter" in Zeroner HealthApp to filter the messages.
Android Devices
You can turn off the “Message Push” function of the corresponding App in the menu bar of
“Message Push” in Zeroner Health App.
Information storage and deletion
i3 HR currently supports 8 information storage, you can click on the screen to achieve page view.
If you want to delete the information, you can switch to want to delete the information interface,
long by the bracelet screen until the bracelet shake once, you can delete.

13
Problems which may occur
1. The bracelet is connected successfully to Zeroner Health App, but the messages are not pushed.
A. iOS Devices
a. Go to Settings of iOS devices - Notifications and confirm if the features of “Show in
Notification Center” and “Show on Lock Screen” are turned on for Phone, Messages, Facebook,
Twitter, etc. as shown in the following Figure:
b. Go to the notification bar of the device, clear the received notifications. The notification center
of the device can only display the limited number of notifications. If the number of notifications
exceeds the scope can be displayed, then the notification will not be pushed
Note: When you test whether the push of an App can be received and displayed on the bracelet,
please do not leave the phone screen on the using interface of that App, and the corresponding
dialog interfaces cannot be opened on the PC client either.
c. All the above steps have been performed, but the bracelet still fails to give off the notifications.
Please confirm if the messages are displayed in the notification center of the phone. If they are not
displayed, then there will not be notifications in the bracelet.
B. Android Devices
a. After the bracelet has been successfully connected to Zeroner Health App. Check if the
“Message Push” in the App menu bar is turned on.
b. Find Zeroner Health App by going to the "Settings" - "Application Management" or other
application management program, and set all App permissions to read the device calls, messages,
etc. as "Allow".
c. If you have installed security software on your device, please set Zeroner Health App as trusted
App.
d. When receiving the messages push by the App, only when the notification bar of the device
displays the messages pushed can the bracelet receive messages and reminders.
e. When the above steps have been performed, there are still no message notifications, you can
reboot the device and then re-connect the bracelet to Zeroner HealthApp.

14
Message storage
i3 HR supports 8 pieces of messgae storage,the push received by bracelet can be stored in the
bracelet, the message can be stored is 8 at the moment.
You can click on the screen to view pages.
Delete information
If you don't want the message to be saved in the bracelet, you can delete the message by
manipulating.
Switch the screen to the message interface you want to delete, long press the screen, waiting for a
virbrate.
Using Silent Vibration Alarm
By using the silent vibration alarm in i3 HR, it will wake you up or remind you by gently vibrating.
You can set a total of six silent vibration alarms, which can be repeated daily and also started only
in certain days of the week.
Settings of Silent Vibration Alarm
When the bracelet connected to Zeroner Health App successfully, you can set alarms in Zeroner
HealthApp based on "Time" and "Repeat". You can set up to six alarms.
Shutting down Silent Vibration Alarm
Go to the alarm settings interface in Zeroner Health App, and swipe the switch buttons to turn off
the alarm clocks.
Problems which may occur
a. When you download Zeroner Health App and set the alarm, and then re-download Zeroner

15
Health App, at this time, the alarm clock set on the previous App will still be effective after the
bracelet is successfully connected.
In case of the above situation, please follow these steps to delete the alarm clock: at the state that
the bracelet is successfully connected with Zeroner Health App, re-set 6 different alarm clocks (the
alarm clock should be set up three minutes after the current time). When the first alarm clock is set,
turn off six alarm clocks and then delete them all. Then, you can set the alarm clock you need.
Using the schedule function
You can use the schedule function of i3 HR to set reminders for your agency matters, so as to
better manage your time.
Setting the agenda
You can choose "Schedule" menu in Zeroner Health App, click "Add" button to Edit Schedule.
The "title", "date", "time", "Notes"can be setted in the "Edit schedule". After setting, schedule you
setted will synchronization when you exit the "add schedule" in Zeroner Health App and bracelet.
After successful synchronization ,the bracelet will remind you by virbrate your wrist in the time
you setted.
As a reminder, i3 HR will vibrate and the screen shows the title you have setted.
Up to 4 schedule can be setted everyday.
Delete schedule
Before Entering the interface of Zeroner Health App when you setted the schedule, slide left on
the schedule , then there will appear a “delete”tips, click to delete.
Using Function of Find Your Phone
When you cannot find your phone, you can use the function of Find Your Phone .
Switch the Bracelet screen to time screen, slide up or down the screen to enter the interface of

16
, tap the screen to enter the interface of , long press the screen, then the bracelet
will vibrate once, and the phone will give off the alarm.
Note: This feature can only be used after the bracelet is successfully connected to Zeroner Health
App.
Problems which may occur
A. Enter the interface of , alarm isn’t given off after long pressing the phone.
a. Check if the bracelet is successfully connected with Zeroner Health App; if not, please first
connect bracelet with Zeroner Health App.
b. Check if the phone is muted. For Android phones, the phone's media volume needs to be turned
on (Note: The media volume and ringtone settings are separated in Android phones),
and for iPhones, the ringing mode should be turned on.
The NO Disturb Function
You can use the disturbance mode to information filtering.
Turn on the NO Disturb
Switch to interface ,click screen to ,then long press the screen
After the No Disturbing mode is started, will be displayed at the top of time interface on the
homepage to prompt the No Disturbing mode has been started.
The NO Disturbing mode started,when i3 HR receive a push message, the screen will not light up
and the i3 HR do not vibrate. But the message that you received is stored on the i3 HR, you can
view the message on i3 HR.
But,When there is an incoming call, the bracelet will vibrate and display the contact name.

17
Turn off the Do Disturb
Switch to interface ,click screen to ,then long press the screen. Message push
filter off.
Using Remote camera control
You can take photos by using the function of remote camera control in i3 HR.
Turning on Remote camera control
After the bracelet has been successfully connected to Zeroner Health App, you can enter remote
camera from the App. After selecting remote camera in App, the system camera will be turned on
by default, and the icon of will be displayed on the bracelet screen. Tap on the icon to
take pictures.
Exit Remote camera control
Please exit the camera in the mobile devices to exit the function of remote camera.
Settings of Sedentary Reminder
You can set the sedentary reminder to remind you to stand up and walk around.
Turning on Sedentary Reminder
Turn on "sedentary reminder" in Zeroner Health App to set the period of time. For instance, you
can set up the reminders from 9 am to 6 pm. After the settings, the reminder will be activated at
half of the next hour, i.e., if you set at 3:03, then the reminder will be activated at half past four. In
Table of contents
Other iWOWNFit Fitness Tracker manuals