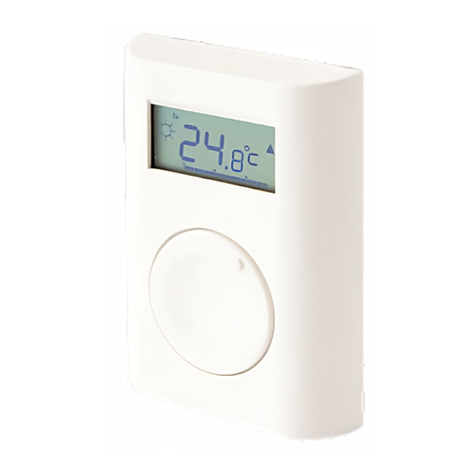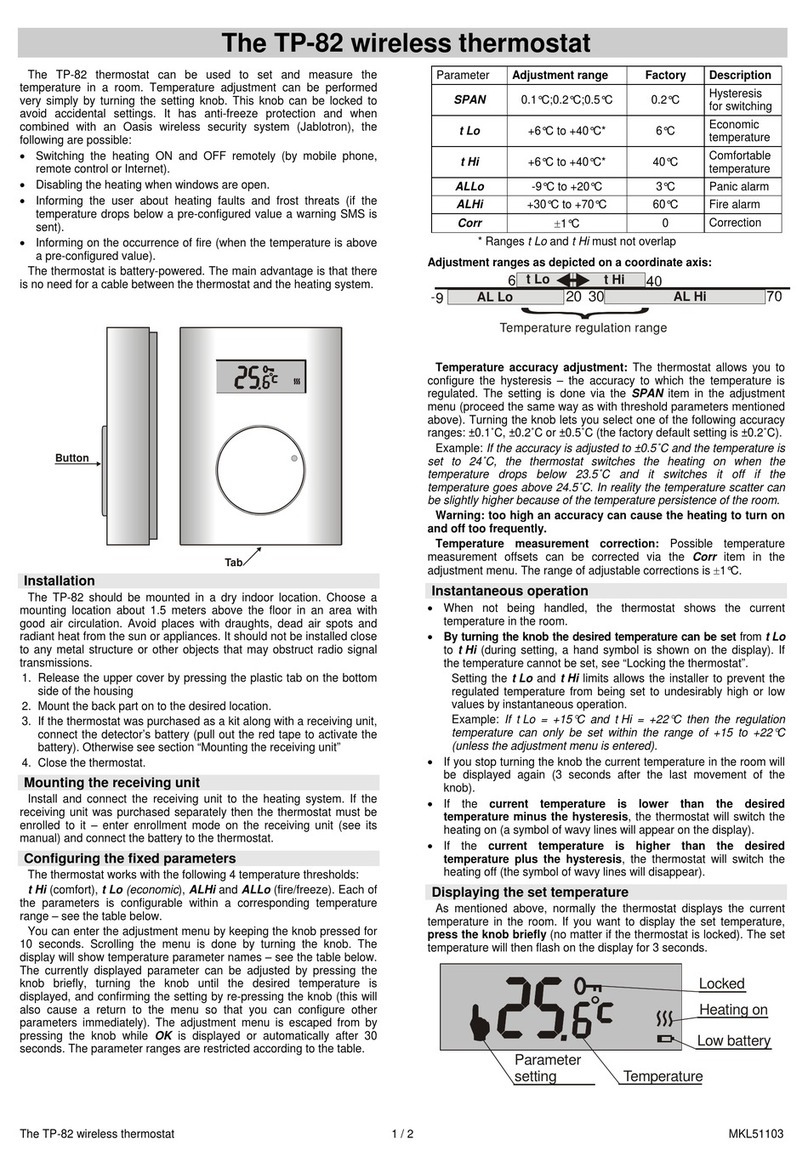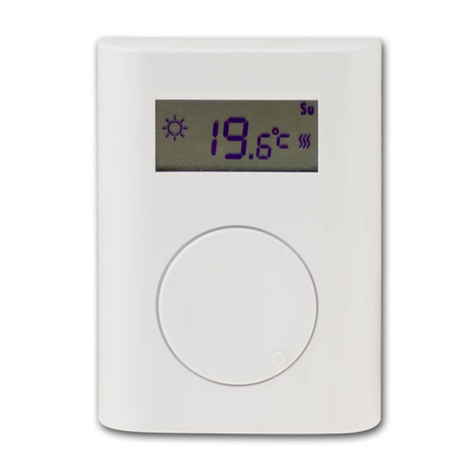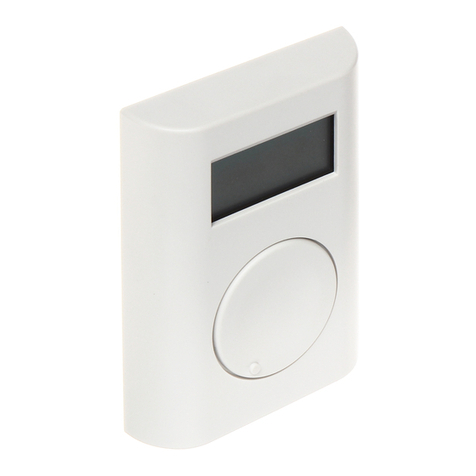
The JA-110TP BUS indoor thermostat
The JA-110TP BUS indoor thermostat 2 / 3 MMX51105
Switching to the economical temperature when the system is
set: The thermostat in the Program mode can react to
setting / unsetting the section, to which it is assigned. When the section
is set, it switches at once to the Economical temperature
(if the thermostat has already heated to the Economical temperature,
nothing changes). The thermostat still follows a pre-set timed heating
plan and the PG output switches on when it goes from the Economical
to Comfort temperature even if the section is already set.
So the heating can be activated earlier than when the users come back
home and unset the system. It is valid for a fully and partially set
sections. All settings can be performed in the MyCOMPANY.
Installation
The product can only be used in an indoor environment.
Install the thermostat 1.5 m above the floor in a place where there
is good natural air circulation. Don´t install the thermostat where
the measuring can be influenced by drafts, sunlight, heaters or any
other undesirable effects.
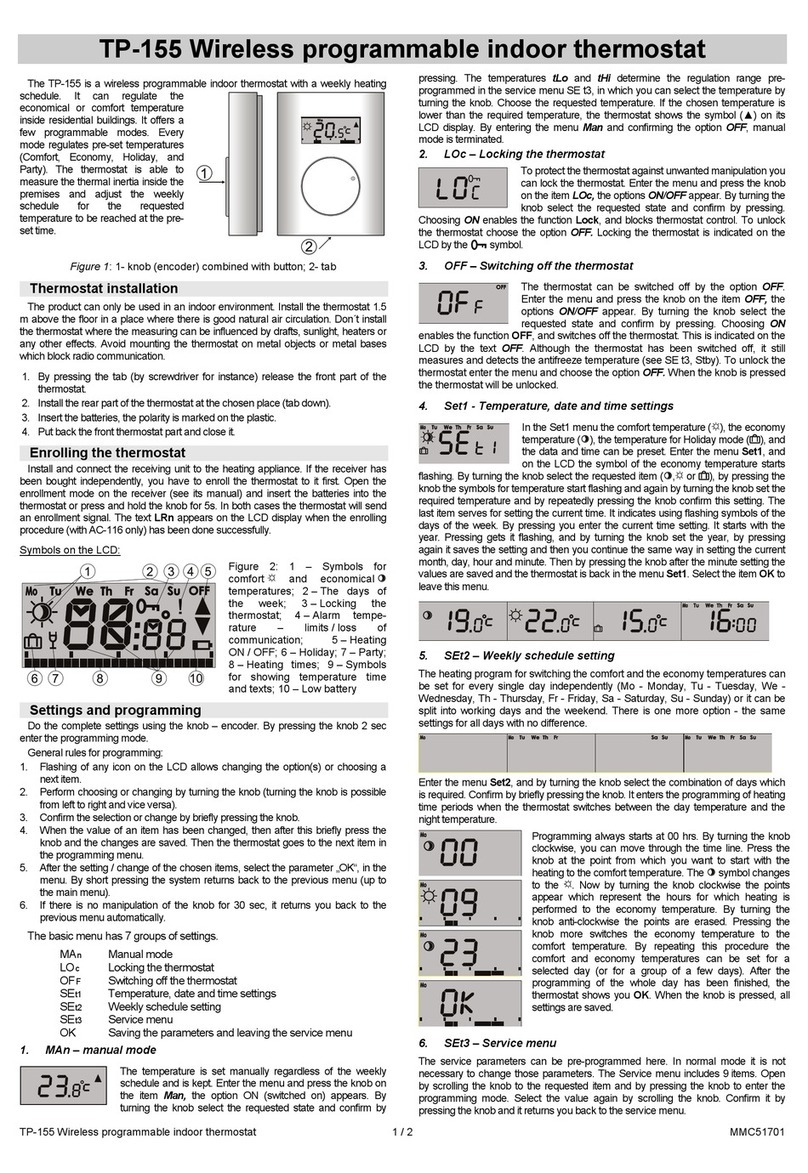
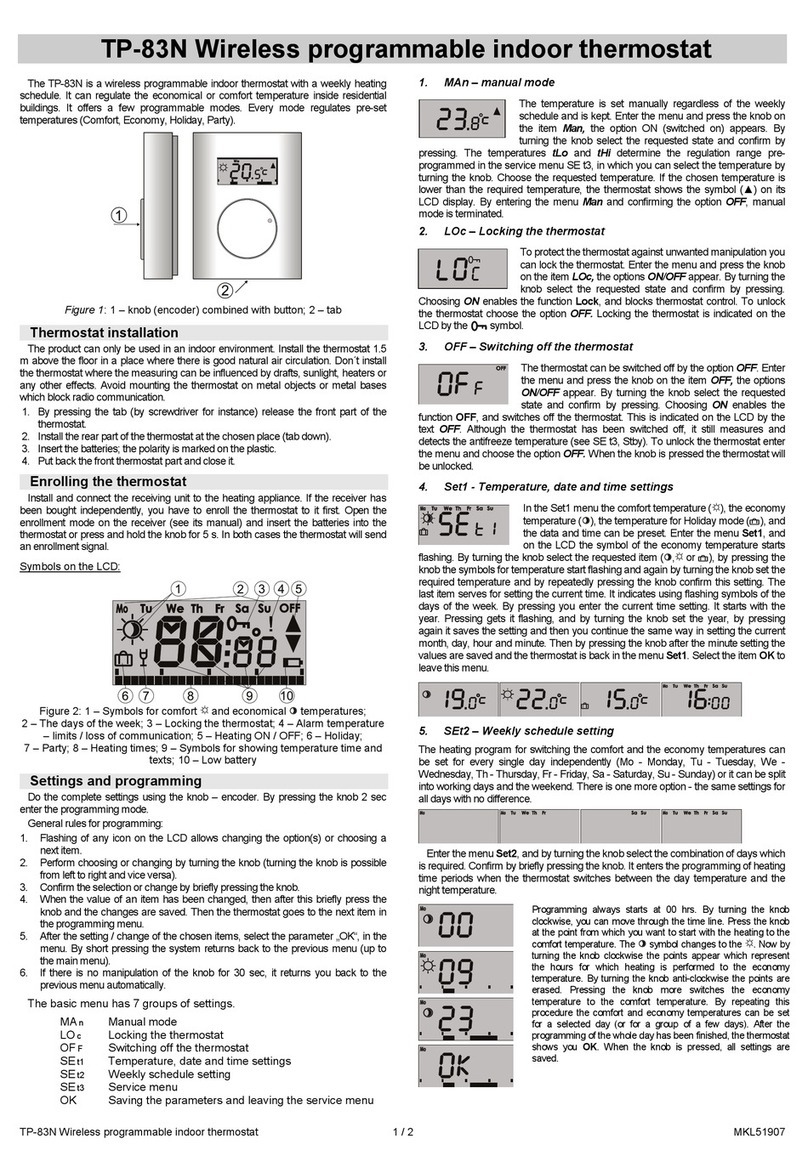
Figure 4: 13 – Terminals for BUS to be connected;
14 – production code; 15 – Tamper contact
Installation procedure:
1. Release the front thermostat housing by pressing the tab (2),
by screwdriver for instance.
2. Punch the hole for cables.
3. Install the rear part of the thermostat at the chosen place (tab facing
down).
4. Connect the BUS cables to the terminals (13), it can be removed from
the PCB for a more comfortable installation and plug it back in
afterwards.
When connecting the module to the system, always
switch the power off.
5. Put back the front thermostat part and close it.
Follow the control panel installation manual. Basic procedure:
a. When the power is turned on, the thermostat indicates
by flashing the exclamation symbol (3) that it has not been
enrolled to the system yet.
b. Go to the F-Link software, select the required position
in the Devices tab window and launch enrollment mode
by clicking on the Enroll option.
c. Click on the option Scan/Add new BUS device and by double
clicking select the required thermostat or press the knob (1)
on the thermostat – the device is thus enrolled and
the exclamation mark goes off.
6. Using F-Link SW and the option Internal setting at the required
thermostat, select the PG output which will be controlled and other
system settings. See more details in the chapter Setting
the thermostat properties.
7. Other settings can be done by the MyJABLOTRON application
in the MyCOMPANY module. When the system is not registered
yet, it must be registered first (if needed ask your authorised
distributor for help). If the system is already registered, and only
the thermostat has been added then leave the service mode
to upload new system configuration to MyJABLOTRON (usually
within 15 minutes).
8. When registration is finished, pre-set the thermostat via
the MyCOMPANY application, see the chapter Setting the
thermostat properties in MyCOMPANY.
Notes:
The thermostat can also be enrolled to the system by entering its
production code (14) in the F-Link software. All digits
of the production code are required. (Example: 1400-00-0000-
0001).
Setting the thermostat properties
in theF-Link software
Basic settings can be done in the F-Link SW in the internal settings
of the specific thermostat. Where the following parameters can be set:
Controls PG: (*No) Select which PG output will be controlled by the
thermostat. The reaction of the PG has to be set to ON / OFF and must
not be inverted. Thermostat can control only one PG output.
Reaction to high temperature: (*None) The selection of the offered
options determines the reaction when a high temperature is reached.
Fire alarm, Fire instant, Report A, Report B, Report C, Report D,
Overheating or None.
Reaction to low temperature: (*None) The selection of the offered
options determines the reaction when a low temperature is reached.
Report A, Report B, Report C, Report D, Freezing or None.
High temperature: (*60 ºC) The temperature can be set in the range
of -9.9 °C to +70 ºC. When a pre-set temperature is exceeded,
the selected reaction is triggered. The value of the high temperature
always has to be higher than the low temperature.
Low temperature: (*3 ºC) The temperature can be set in the range
of -10 °C to +70 ºC. When the pre-set temperature is undershot,
the selected reaction is triggered.
Setting the thermostat properties
in MyCOMPANY
For the settings of all thermostat parameters it is necessary to have
the Jablotron 100 system registered – see the Installation chapter to get
the details. A service technician pre-sets the thermostat
in the MyCOMPANY (it is supported web and mobile applications).
In the MyCOMPANY, open Installation management.Atthe
selected system on the Devices tab select the cogwheel symbol
at the required thermostat position. The setting window with following
parameters is open:
Highest and lowest temperature configurable by the user (-10 ºC
to +40 ºC).
Comfort and Economical temperatures: are pre-settable
by the user in the range of the lowest temperature limit to the highest
temperature limit.
Heating plan: can be the same for the whole week, different for week
days and the weekend or individual for every day. Using the button
add individual intervals when the thermostat should heat to the Comfort
temperature. If an interval should be erased, click on it and when the
symbol appears, by clicking on it the selected interval can be erased.
Activate economical temperature when: None / Partially set / fully
set section to which the thermostat has been assigned.
Temperature in Standby mode: (from -10ºC to +15ºC) this
determines the temperature which is going to be maintained in Standby
mode or when Blocking is activated.
High temperature (from -9.9 ºC to +70 ºC), see the chapter called
Setting the thermostat properties in the F-Link software.
Low temperature (from -10 ºC to +70 ºC), see the chapter called
Setting the thermostat properties in the F-Link software.
Hysteresis (from 0 °C to 5 ºC) For example, if it is set 1 °C hysteresis
and the required temperature is 30 °C, then the PG output is switched
on when the temperature drops below 29 °C and the PG output
is switched off when it exceeds 30 °C.
Temperature correction: (from -12.8 ºC to +12.7 ºC) This option can
fix any possible thermostat measurement deviation from the real
temperature in the premises.
Tamper contact: – This option enables / disables the functioning
of the built-in tamper contact.
MyJABLOTRON
In the MyJABLOTRON application thermostats are shown
at Thermostats and thermometers, where all the measured values
of all thermostats and thermometers enrolled to the system are saved.
This data is stored and available for future use. Reading
the temperatures is done automatically at a 5 minute interval.
