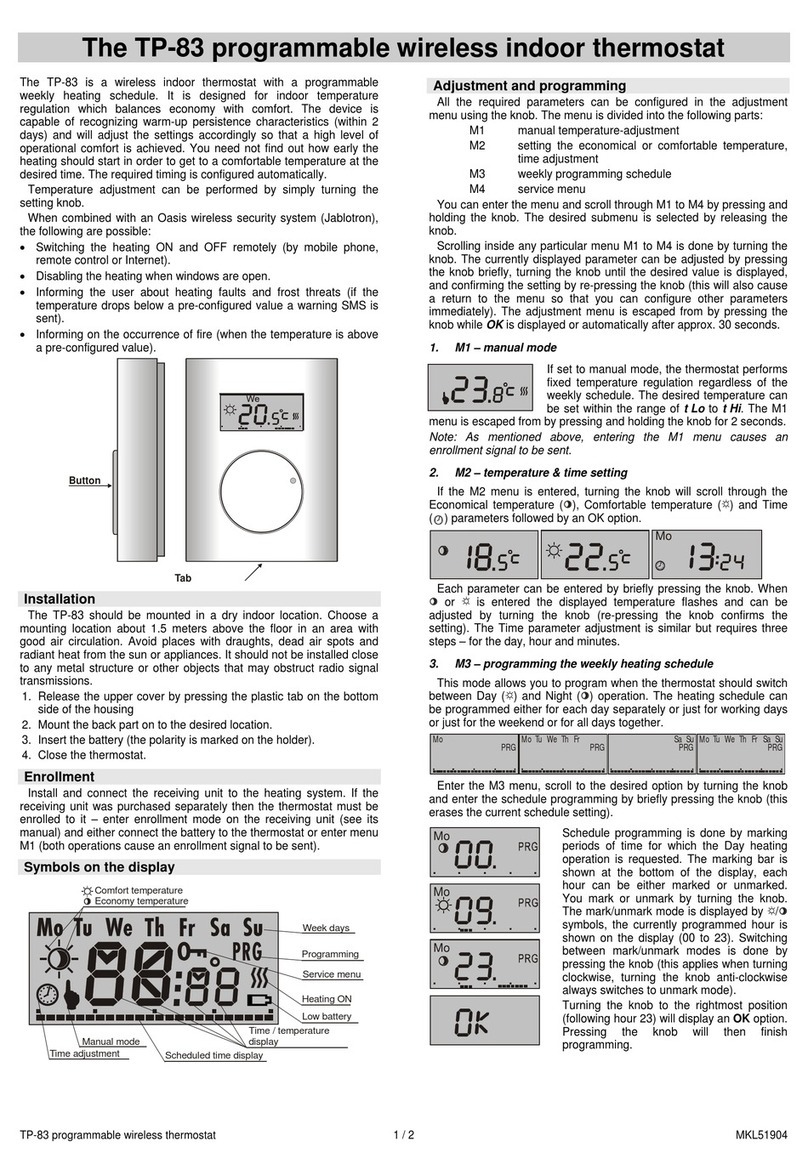
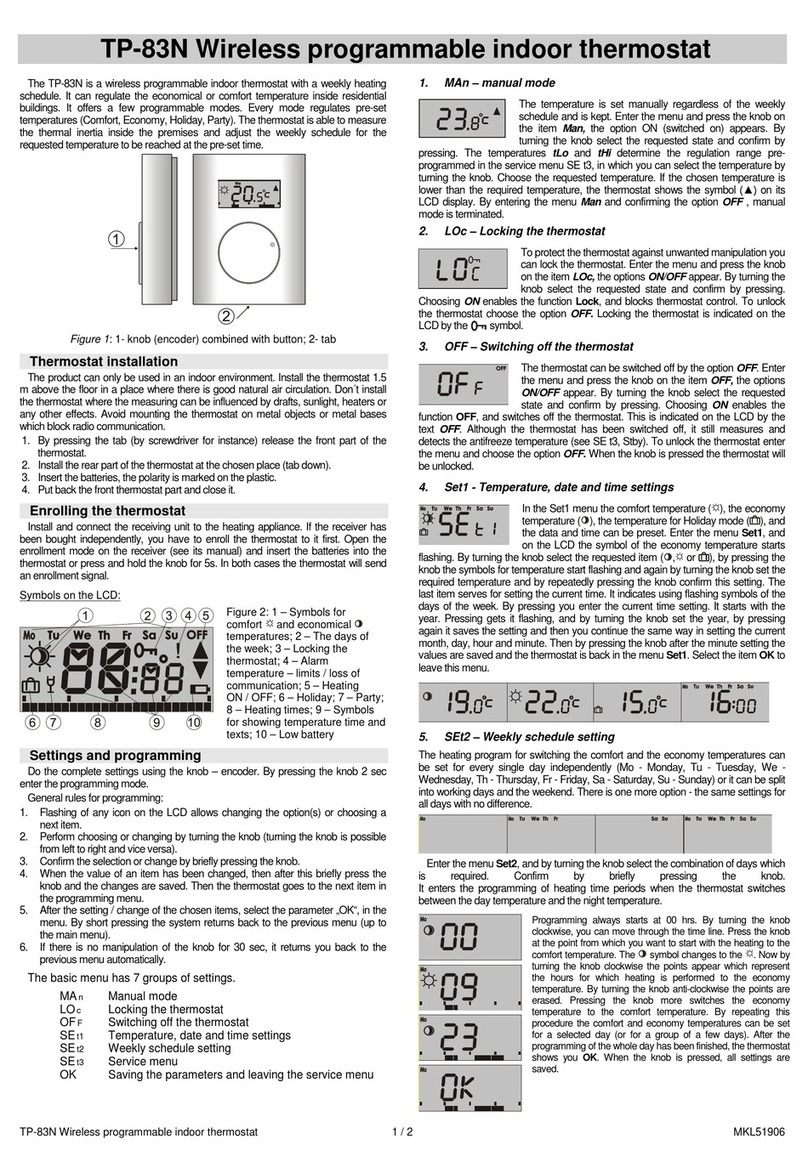
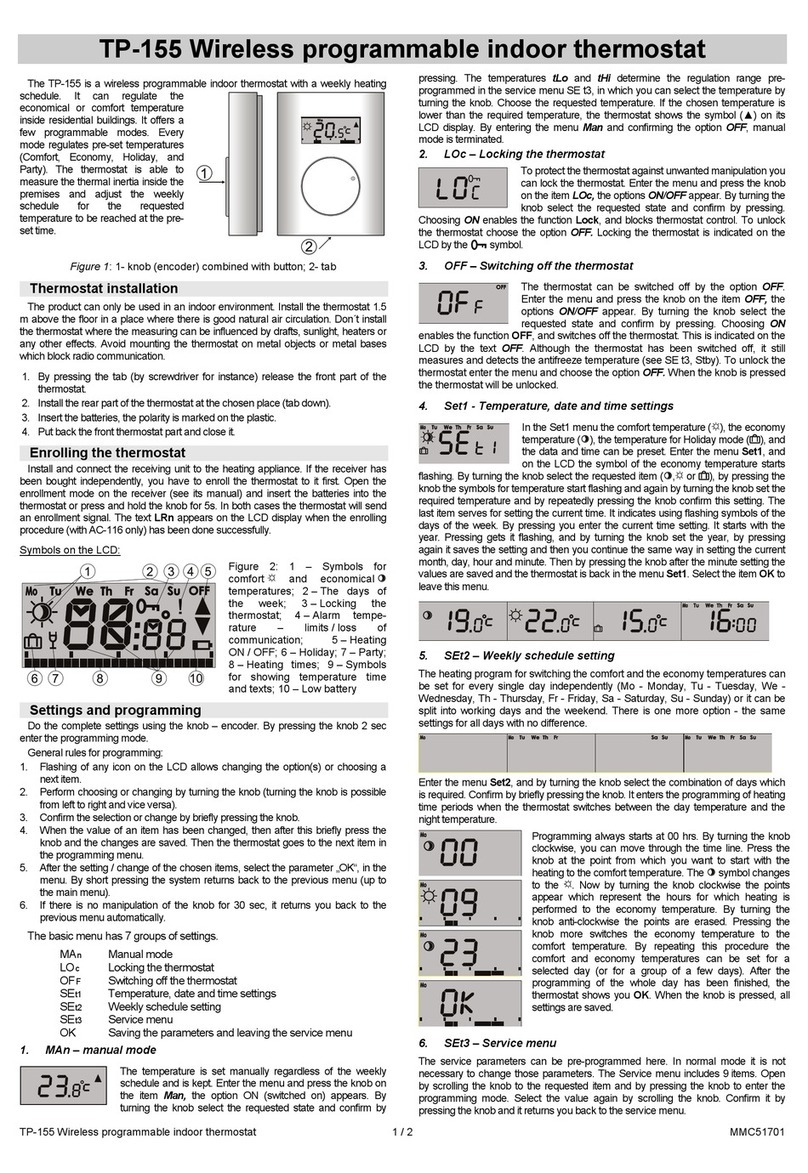
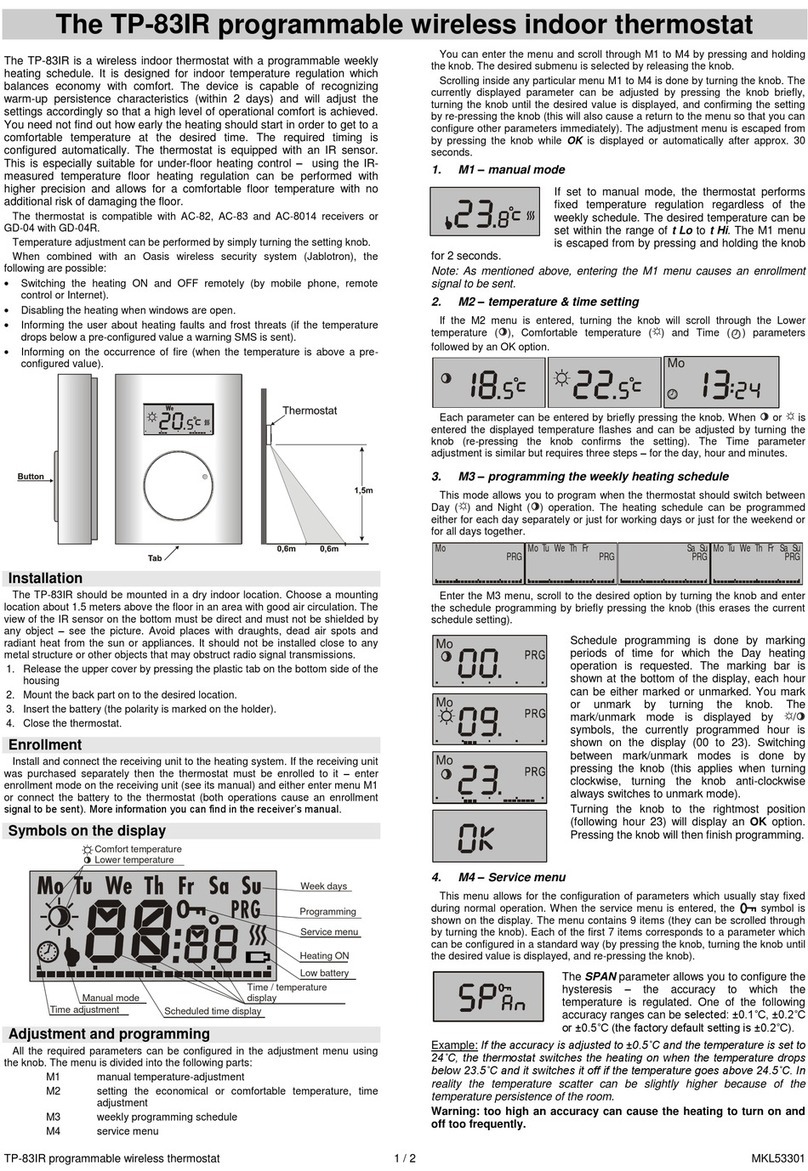
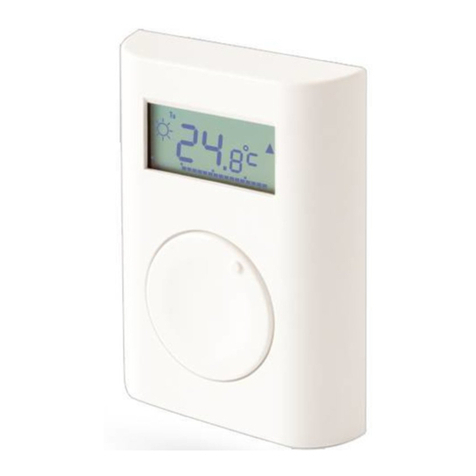
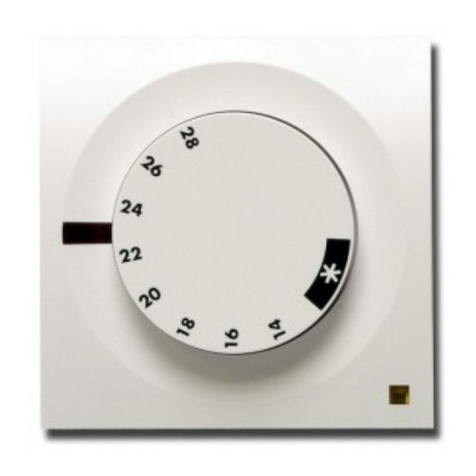
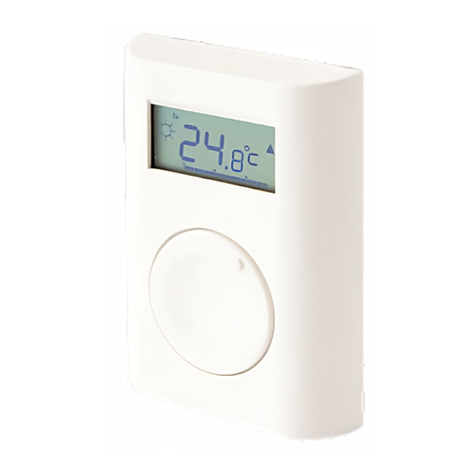
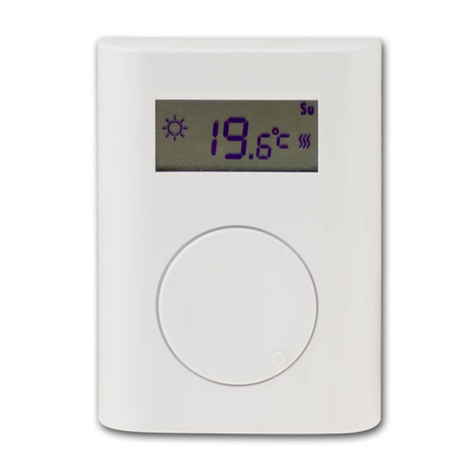
Wireless thermostat TP-60 - 4 / 2 - MDU51604 Wireless thermostat TP-60 - 4 / 3 - MDU51604
Mounting the receiver unit
Locate the receiver unit in a suitable place near
the heater. Wiring of the unit to the heater should be
done by a professional electrician:
1. Release the upper cover by pressing the plastic log on
the side of housing.
2. Release the internal cover (1 screw).
3. Mount the unit onto desired location (2 screws).
4. Connect power 230VAC / 50Hz to terminals L and N.
5. Two PE terminals are available for Protective Earth
connection.
6. Terminals C (common), N.O. (normally open) and N.C.
(normally closed) are outputs of the built-in over-
switching relay contact. This contact is protected by a
6.3A fuse. The contacts are galvanicaly separated.
See example of wiring in the picture.
7. When wiring is finished, install both covers back on to
the unit.
Note: Each thermostat has its unique code. The receiver unit has been factory adjusted for this code.
There is no need to adjust anything on the receiver.
A built in indicator on the receiver unit indicates the output relay condition.
First power-up of the thermostat
Your thermostat uses two „AA“ size alkaline batteries
to operate. When the display is shows "BATT", you
should replace the two batteries.
When power is applied for the first time, the display
will show the time and day (MO 12:00) as well as the
ambient temperature.
Operating modes
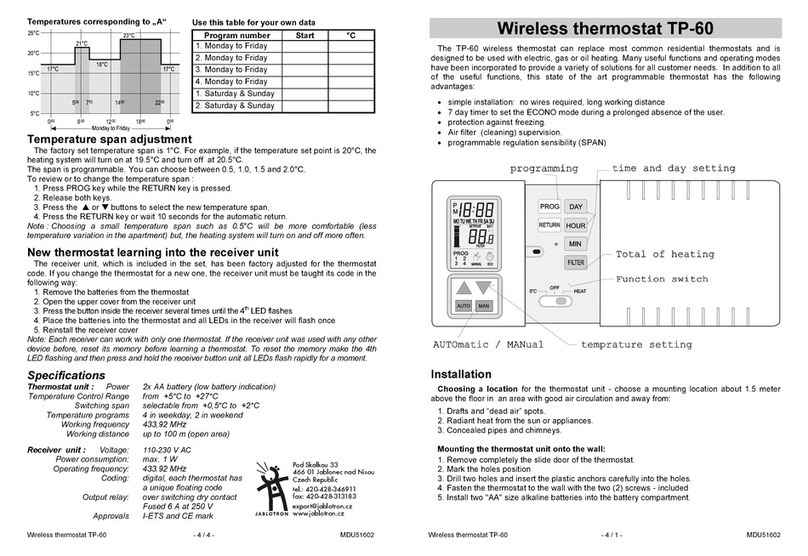
The thermostat has three (3) operating modes :
AUTOmatic, MANual and TIMER ECONO.
AUTO : The AUTOmatic mode keeps temperature
according the recorded programs.
•Press on the AUTO button. The "PROG" icon
and the running program will be displayed.
•Pressing or button displays the temperature set point of the running program for five
seconds.
MAN : The MANual mode allows the user to bypass the programming
•Press on the MAN button and a hand symbol will be displayed.
•A first pressing on or displays the MAN temperature set point.
•Each subsequent pressing will change the MAN temperature set point by 0.5°C
TIMER ECONO : The TIMER ECONO mode holds the ECONO temperature set point until the
user’s predetermined time and day is reached. Then, the thermostat turns to AUTOmatic mode. This
operating mode allows the user to not reprogram his thermostat for a prolonged absence (up to one
week) and allows for maximum savings.
To get into this operating mode :
•press and hold MAN button for three (3) seconds.
•The clock symbol, the return time and the ECONO temperature set point will be displayed.
•Press DAY, HOUR and MIN keys to specify the return time.
•Press or button to specify the ECONO temperature set point.
Function switch
This switch selects the functions HEAT, OFF and 5°C.
HEAT : Select this position to control the heating system. In AUTO mode the thermostat refers to the
user programmed data to control the temperature.
OFF : This function switches off the heating system.
5°C : This function holds the temperature set point at 5°C (heating) in order to prevent freezing.
FILTER button : The thermostat keeps a record of the number of hours your filter has been used. It
will display the total number of hours the system has been ON. After 250 hours of system operation,
the FILTER indicator will begin flashing in order to remind you to change or clean the filter and to reset
the filter counter back to zero. The filter counter will count up to a maximum of 999 hours and stays
there until you reset it again. To reset the counter, press and hold the FILTER key until the display
shows 000.
Programming
The thermostat has an automatic return function. When a function, such as the program recording
filter review etc., has not been completed by pressing the RETURN key, the thermostat will
automatically exit those functions after five (5) seconds.
Time and day adjustment
Any time in the normal mode setting, press DAY HOUR and MIN keys to set the time and day.
Pre-recorded programs
This thermostat has four (4) pre-programmed heating programs for weekdays and two (2) for
weekends. You can modify them at your convenience.
Programming Method :
•Place the function switch to the HEAT position
•Press the PROG key. The display shows the program's starting time and temperature setpoint.
The Monday to Friday indicator will turn on indicating that this program is associated to the days
of the week. The program number 1 will flash indicating the selected program. Pressing again the
PROG key will allow you to scroll through the weekday programs 1 to 4 and weekend programs 1
and 2.
•Select the program to be modified using the PROG key.
•Press the HOUR and MIN keys to modify the program's starting time and the or buttons to
modify the program's temperature set point.
•Press the RETURN key or wait 10 seconds for the automatic return.
Programming examples
Example „A“ use of all programs Example „B“ use of only some programs
