2
Electronic Hook Switch (EHS) Solutions
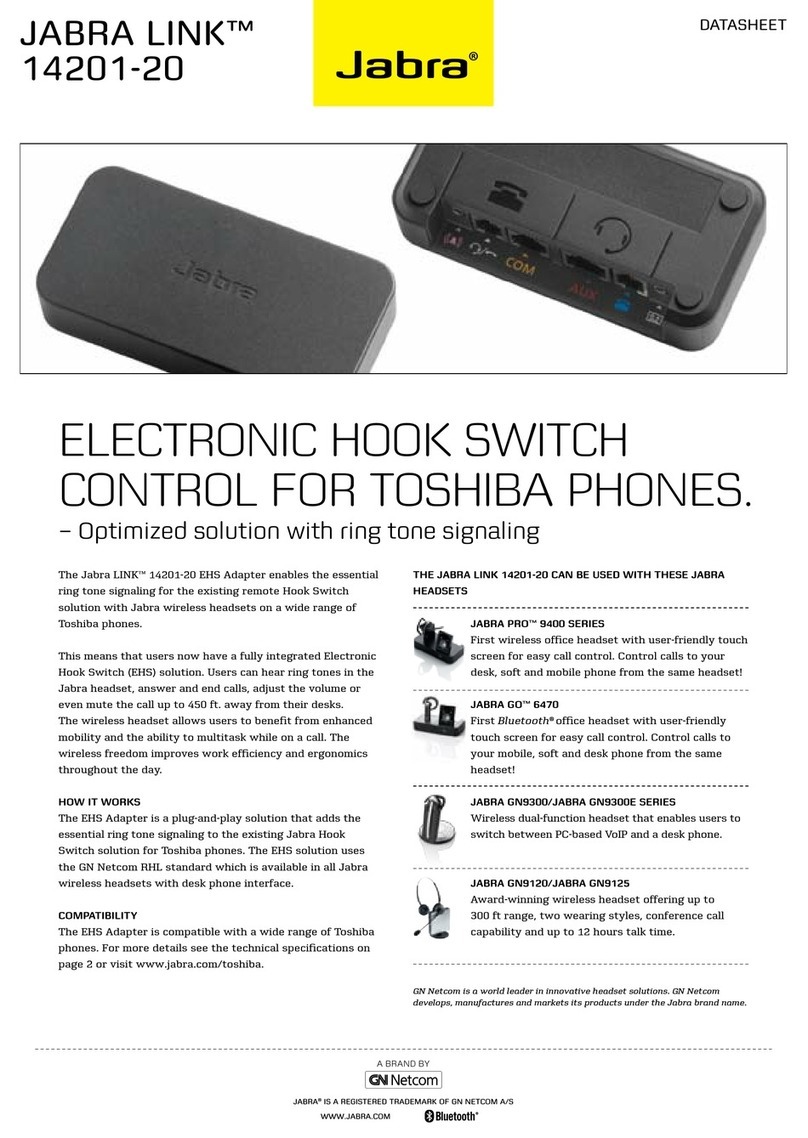
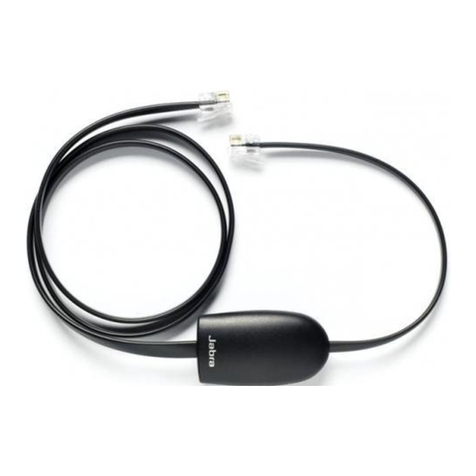
Jabra EHS Adapter
DiScovEr frEEDom witH Jabra
Discover freedom with a wireless Jabra
headset optimized for your desk phone!
Jabra Electronic Hook Switch (EHS)
provides a solution that enable remote
operation, e.g. answer/end functions, of
compatible Jabra wireless headsets with
various phones, thus eliminating the need
for a mechanical handset lifter.
WHY EHS?
As mobility within the working
environment continues to increase, it is
vital that employees have business tools
that enable them to work efficiently
regardless of location. With an EHS
solution they can roam within the facility
and still do business on the spot! Jabra
wireless headsets with EHS functionality
boost productivity as they provide the
user with the ability to answer and end a
call, while away from their desk.
The EHS adapter allows the user to:
- Hear ring tones
- Answer and end calls
- Adjust the volume
- Mute the microphone
All from your headset
All quite convenient, when you are up to
150 meters away from your desk!
WHY JABRA HEADSETS?
Jabra headsets are more ergonomic and
convenient to use, enhancing flexibility
and the ability to multitask with
maximum efficiency. Once you discover
the benefits of hands-free telephony,
you never want to go back to traditional
handsets.
Freedom for all
Jabra headsets allow you to search for
documents, make copies or enter data
on your PC while talking to a customer.
With a wireless headset you can enjoy
freedom of movement up to 150 meters
away from your desk. As a result you
can provide better service and use time
more effectively by reducing the call-back
rate. Conference calls are a growing part
of communication with colleagues and
partners. A wireless headset with mute
functionality allows you to stretch your
legs and walk around during a long call
without background noise interfering
with the call.
Hands-free efficiency
Multitask with maximum efficiency;
find documents or information to solve
customer issues while on a call.
Wireless mobility9
Move up to 150 meters away from your
desk.
Comfort and ergonomics9
Headsets prevent aching muscles and
neck strain.
Safe and secure9
PeakStopTM technology protects users
hearing from sudden loud noises.
Tested for safety of radiated emissions.
Encrypted voice calls in wireless
headsets.
Sound economics9
Improvement in employee productivity
significantly outweighs the headsets
costs. The average cost of a wireless
headset solution is less than 25 pence
per day.
