Jadever JWI-3100 User manual

Content
1
.
Introduction
…………………………………………………………………………. 1
2
.
Precautions
………………………………………………………………………. 1
3.Product Introduction
3-1 Specifications & Features………………………………………………………….
3-2 Front Panel…………………………………………………………………………..
3-2-1 Display……………………………………………………………………………..
3-2-2 Keyboard…………………………………………………………………………..
3-3 Rear Panel…………………………………………………………………………..
3-4 Power supply………………………………………………………………………...
1
2
2
3
4
4
4. Installation
4-1 Load cell connection………………………………………………………………..
4-2 Assembly Description of Upright Pole…………………………………………….
4
5
5
.
Setting Mode
5-1 Maximum Weighing Capacity & Division Setting………………………………..
5-2 Function Setting…………………………………………………………………….
5-3 Description of Parameter Values…………………………………………………..
6
7
7
6. Calibration
………………………………………………………………………… 10
7
.
Operation
7-1 Weighing……………………………………………………………………………..
7-2 Tare…………………………………………………..............................................
7-3 Check Weighing…………………………………………………………………….
7-4 Simple Counting……………………………………………………………………
7-5 Input Demand…………………………………………………………………………
11
11
12
13
13
8.
Error message and Trouble Shootings
……………………………………..
14
CAN DIEN TU TAN HIEP THANH
www.tanhiepthanh.com.vn

JWI-3000 1
1. Introduction
Thank you for deciding to purchase a JWI-3100 Weighing indicator. The goods has the excellent
performance and splendid properties under severe quality management .It is recommended to
read this manual in full before using it for good function application.
2. Precautions
◎
Place the indicator on a flat and stable surface.
◎
Verify that the input voltage and the plug type matches the local AC power supply. See 3-4
power supply.
◎
Warm up for 15 minutes before using first time.
◎
Keep the indicator away from EMI noise, strong wind and vibration, which might cause
incorrect reading.
◎
Avoid sudden temperature changes (suitable operating temperature is between 0
℃
~ 40
℃
.)
◎
Disconnect the power supply when cleaning the indicator
◎
Do not immerse the indicator in water or other liquids
3. Product Introduction
3-1 Specification and Feature
Specification
Model JWI-3100
Input sensitivity 0.2uV/DIV
Input voltage range -2mV to 20mV
Load cell excitation DC 5V ,Up to 4 ×350 ohm load cells
System linearity 0.007% of full capacity
Input impedance 10M ohm or more
A/D conversion mode
△
-Σ
A/D internal resolution 700,000 count
A/D conversion speed 10 times/second
External display resolution
15,000 count
Display 6 digits
CAN DIEN TU TAN HIEP THANH
www.tanhiepthanh.com.vn

JWI-3000 2
Power supply AC 100V/220V (AC±10%) or Rechargeable battery
(
6V/4A
)
Feature
Up to 1/15000 resolution
Attractive outline design with durable ABS housing
Backlit LED display with prominent 34mm high digits
Adjustable filtering level for weighing under various conditions
Zero / Tare / Weighing / Simple counting / Hold / Net & Gross Weight / Check weighing
function
Suitable for a wide range of bases and load cells
Adjustable capacities, resolutions and parameters(suitable resolution range 300---30000)
Adjustable stand for bench scale
3-2 Front Panel
3-2-1 LCD Display
Low battery indication
ZERO Center of Zero Indication. The zeroing range is ±2
﹪
of scale capacity.
Stable indication
TARE Symbol “ ” points at “TARE”when the weight of the container is tared .
Preset Tare Symbol “ ” points at “Preset Tare” when Tare value entered
via keypad.
NET
Net weight--Gross weight minus Tare. Symbol “ ” points at “NET” when Tare or Preset
Tare action are done.
UW Symbol “ ” points at “UW” when calculated unit weight is lower than 4/5 of scale division.
Unit weight is too small for ensuring accurate quantity calculations.
HOLD Symbol “ ” points at “HOLD” when the hold function is enabled.
CAN DIEN TU TAN HIEP THANH
www.tanhiepthanh.com.vn

JWI-3000 3
Units of measure
HI The item on the weighing pan is greater than the upper limit
OK The item on the weighing pan is between upper and lower limits.
LO The item on the weighing pan is smaller than lower limit.
Note : the item on the weighing pan should be more than or equal to 20e.
3-2-2 Keyboard
/G/N
key
☆
Displays gross and net weight by turns
☆
Long press for the choice of sampling
☆
Shift key( shift leftwards)
+ /PRINT/HI
key
☆
The number increases one when value setting
☆
Print out when setting manual print
☆
Long press higher limit initials higher limit setting
-/HOLD/LO
key
☆
The number decreases one when value setting
Remain the weighing display in the window (5 options)
Long press lower limit initials lower limit setting
TARE
key
☆
Tare manually
☆
Long press to enter preset tare
☆
Shift key (shift rightwards).
ZERO/ESC
key
CAN DIEN TU TAN HIEP THANH
www.tanhiepthanh.com.vn

JWI-3000 4
CONN
1
2
3
4
5
E+
E-
S+
S-
LOAD-CELL
Shield
☆
Zeros the display
☆
Short press to save and exit from the setting mode
☆
Long press to exit from the setting mode without saving.
UNIT/SET
key
☆
Exchange the weighing units
☆
Long press to enter the parameter setting
3-3 Rear Panel
1. Port for connecting load cell
2. USB Port
3. RS-232 Port
4. Power socket
5. Power ON/OFF switch
3-4 Power supply
1. Switching power supply (100V~240V)
2. (6V/4A) Internal Rechargeable Battery
Power Consumption
330mW with backlight (about 70 hours available)
Low battery warming
When “ ” appears in the upper left corner of the weight window, the battery power requires
recharging. The charge lamp turns green from red when the recharging is completed (which
takes about 8 hours). Disconnect the scale from power supply when it is fully charged.
4. Installation Instructions
4-1 Load cell connecting
CAN DIEN TU TAN HIEP THANH
www.tanhiepthanh.com.vn

JWI-3000 5
4-2 Assembly Description of Upright Pole
1.Rod seat
2. Upright pole
3. Bracket
4. Indicator
5. Screw (for fixing the upright pole)
6. Screw (for fixing the bracket)
7. Knob pole
8. Bracket slot
9. Load cell wire
Step 1: Thread the wire of the Load Cell (9)on the
Rod seat (1) through the upright pole (2), insert
the upright pole into the rod seat and then
lock it with two screws (5).
Step 2: After threading the Load Cell wire
through the bracket (3), attach the bracket to the
upright pole and then lock it with the screw (6).
Note: if the load cell connector is too big to thread through the bracket, separate the
bracket by removing the knob pole (7), see the following pictures.
→→→
LOAD CELL
CONNECTION
PIN
SIGNAL
1
E+
2
E
-
3 S+
4 S-
5 SHIELD
CAN DIEN TU TAN HIEP THANH
www.tanhiepthanh.com.vn

JWI-3000 6
Step 3: Install the Indicator (4) on the bracket,
with the bracket aligning with the bracket slot
(8) of the indicator.
Step 4: After connecting load cell connector to load cell port, the installation is completed.
Note: Use the knob pole (7) to adjust the inclination angle of indicator and the screw (6) to adjust
direction of the indicator. After adjusting the indicator to an optimal position, lock the screw.
5. Setting Mode
5-1 Maximum Weighing Capacity & Accuracy Setting
1. Press and hold key
ZERO/ESC
and
TARE/
while powering on the scale. When the
window displays “
300.00 KG
300.00 KG300.00 KG
300.00 KG”
,
release the key and it enter the capacity setting
2. Press
+/PRINT/HI
or
HOLD/LO/- to choose common used capacity.
Press
/G/N
or
TARE/
to shift the decimal point and press
UNIT
to choose kg, g, lb or
台斤
.
Note: if not the needed capacity, long press
UNIT/SET
until the number leftmost is blinking
to set the capacity casually. Please do as follows.
Press
/G/N
or
TARE/
to shift key leftward or rightward
Press
+/PRINT/HI
or
-/
HOLD/LO
to change the value.
Press
/G/N
or
TARE/
until the decimal point is blinking.
Press
+/PRINT/HI
or
-/
HOLD/LO
to shift the decimal point
Press
UNIT/SET
to choose kg, g, lb or
台斤
CAN DIEN TU TAN HIEP THANH
www.tanhiepthanh.com.vn

JWI-3000 7
Press
ZERO/ESC
to save and entet into division setting when the window dispays
“
0.02 KG
0.02 KG0.02 KG
0.02 KG”
Note : LONG press
ZERO/ESC
is to return to weighing mode without saving.
3. Press
+/PRINT/HI
or
HOLD/LO/- to choose common used division.
Press
/G/N
or
TARE/
to shift the decimal point
Note: if not the needed division, long press
UNIT/SET
until the number rightmost is blinking
to set the division casually. Please do as follows.
Press
/G/N
or
TARE/
to shift key leftward or rightward
Press
+/PRINT/HI
or
-/
HOLD/LO
to change the value.
Press
/G/N
or
TARE/
until the decimal point is blinking.
Press
+/PRINT/HI
or
-/
HOLD/LO
to shift the decimal point
Press
ZERO/ESC
to save and enter into calibration setting.
4. The window dispays CAL. Press
TARE/
to enter calibration setting while LONG press
ZERO/ESC
to exit and return to weighing mode.
5-2 Function Setting
1. Press and hold
UNIT/SET
while powering on or long press
UNIT/SET
under normal
weighing mode to enter function setting.
2. Press
/G/N
or
TARE/
to shift between the functions
3. Press
UNIT/SET
to enter the parameter setting.
4. Press
/G/N
or
TARE/
to shift between the function parameters
5. Press
ZERO/ESC
to save and return to the previous parameter or long press
ZERO/ESC
to exit without saving and return to the previous parameter.
6. Press
ZERO/ESC
and return to normal weighing mode.
5-3
Description of Parameter Values
1. Offset value
CAN DIEN TU TAN HIEP THANH
www.tanhiepthanh.com.vn

JWI-3000 8
Displays the offset value and the keypad testing can be conducted
2.
brightness choices
1,2,3,4 available for choice. The more the level, the brighter the display
3. power-saving parameters choices
5
,
10
,
30
,
60
,
OFF available for choices. The scale enters into power-saving mode within
5, 10, 30, or 60 seconds (available) under weighing mode. LED displays a small decimal in
point in the power-saving mode.
4. Auto-off
Off
:
Non power off
5
,
,,
,
10
,
,,
,
30
,
,,
,
60(minutes) : Auto power off after 5, 10, 30, 60 minutes under the condition that
there is no action and the weight is equal or lower than 9d
5. Unit setting
Init : Press key
UNIT/SET
to select the default unit when powering on the scale:kg,
lb…final .(final=keep the final being used unit when power off )
Use: Press key
UNIT/SET
to select the weighing unit. on
:
Enable the unit off
:
Disable
the unit
Note
:
Press
UNIT/SET
to choose the weighing unit. Press
/G/N
or
TARE/
to
enable / disable the unit
6. Zero range
d0, d1, d2, d3, d4 and d5. (d= scale division)
7. Hold function
HoLd – 0
:
::
:
no hold function
HoLd – 1
:
::
:
Peak hold. Press any key to release
HoLd – 2
:
::
:
Hold after stable. Press any key to release
HoLd – 3
:
::
:
Hold after stable. Release after moving away the article
HoLd – 4
:
::
:
Press key
HOLD/LO/-
to hold. Press any key to release
NOTE: The function works only the weight is above 20d
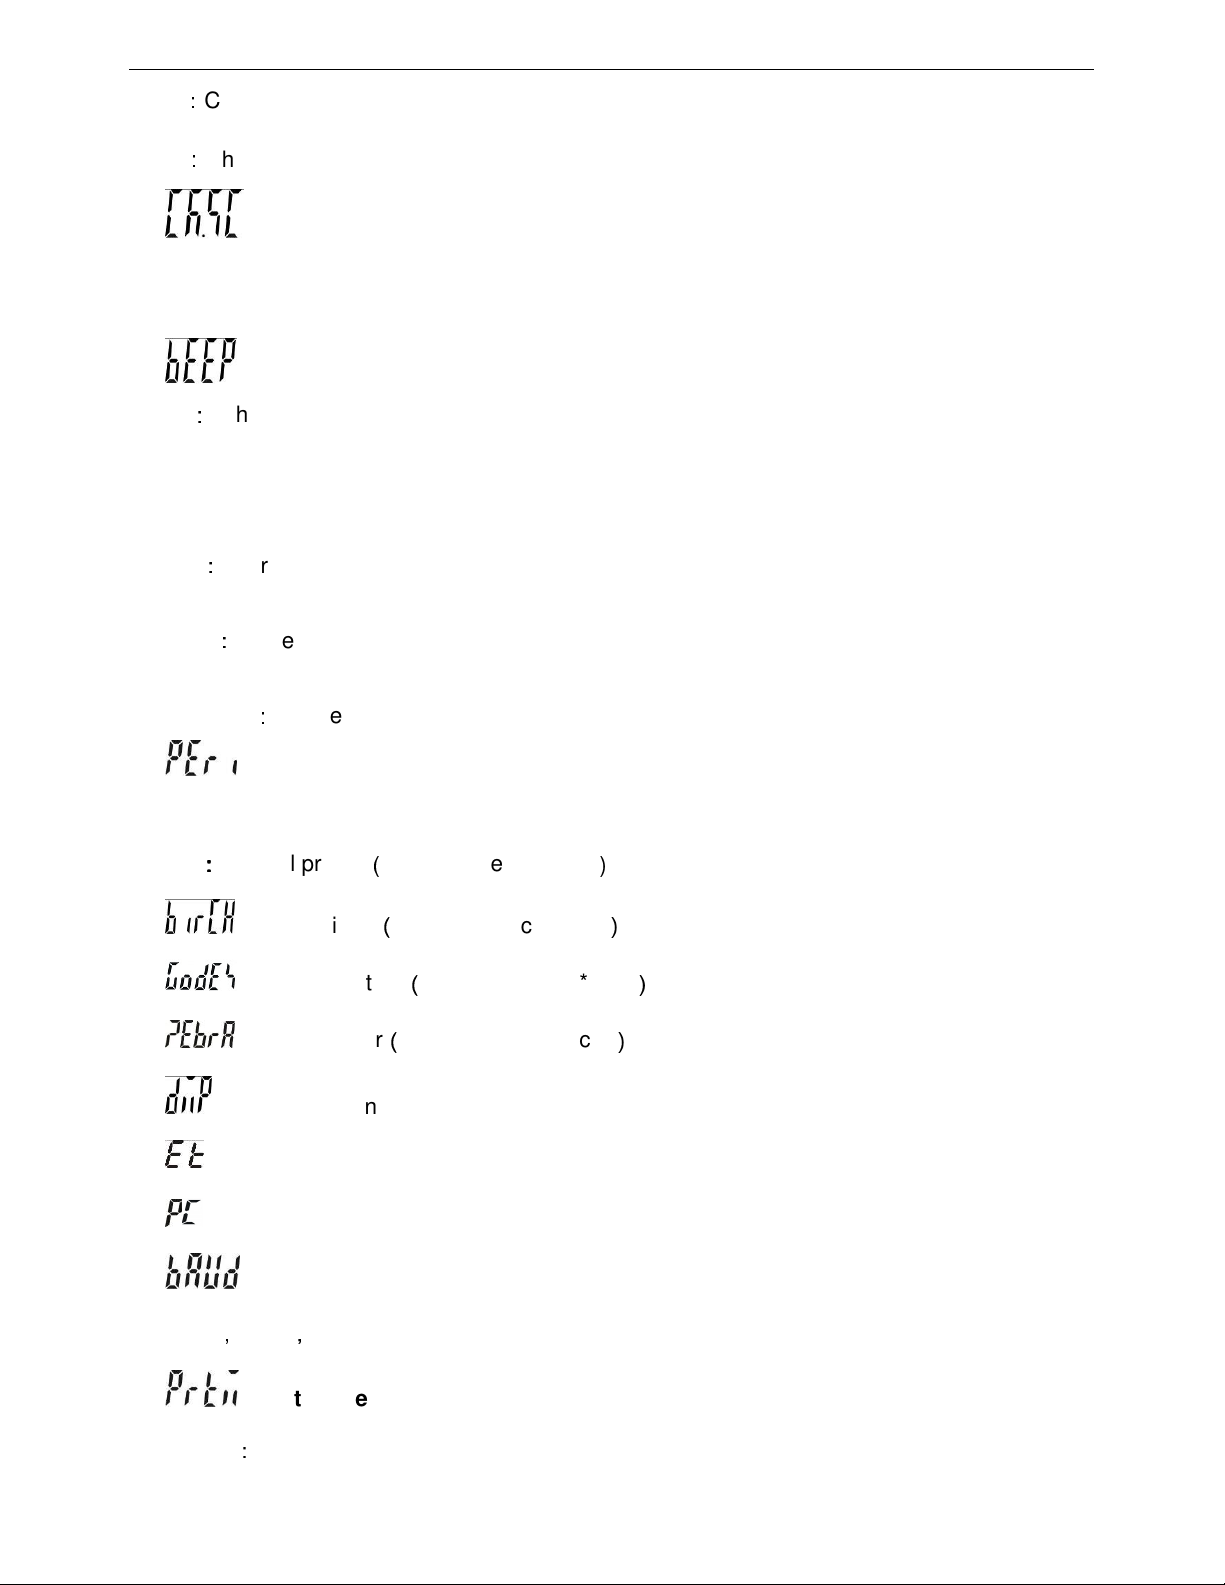
8. Check weighing memory
CAN DIEN TU TAN HIEP THANH
www.tanhiepthanh.com.vn

JWI-3000 9
on
:
Check weighing function is auto-on when restart the indicator
off
:
Check weighing function would not auto-on when restart the indicator
9. Stable Check Weighing
On: Check weighing after stable indicator appears and the weights is between the upper and
lower limit
Off: Check weighing when the weights is between the upper and lower limit
10. Check Weighing buzzer beep
Hi
:
There will be a warning sound when the weight of articles exceeds the upper limit, and
the weight is equal or more than 20d
LO: There will be a warning sound when the weight of articles exceeds the lower limit, and
the weight is equal or more than 20d
OK
:
There will be a warning sound when the weight of articles is between the upper and
lower limit (including the upper and lower limits), and the weight is equal or more than 20d
OUT
:
There will be a warning sound when the weight of articles is beyond the upper & lower
limit, and the weight is equal or more than 20d
no.beep
:
no beep
11. External device
CX: MMS screen (V0.02 version)
CK
:
::
:
thermal printer
(
paper size 57.5mm
)
= Birch printer
(
paper size 5cm*3cm
)
= Godex printer
(
paper size 5cm*3cm
)
= Zebra printer
(
paper size 5cm*3cm
)
= Dot matrix printer
=Large LED display
=Computer
12. RS-232 Serial Transmission Rate
9600
,
4800
,
2400
13. Print mode
contin
:
Continuous print
CAN DIEN TU TAN HIEP THANH
www.tanhiepthanh.com.vn

JWI-3000 10
stable
:
Stable print
(
weight is equal or more than 20d
)
key
:
Manual print by pressing key
PRINT
14. Print format
See the appendix (more than 100 formats. The appendix just shows two formats.)
15. Filtering setting
Set the filtering level in which the stable indication turns on. The higher the setting, the slower
stabilization time
Options: 1
,
2
,
3
,
4
16. Tare/Zero condition
stable
:
Only after the stable indication appears, Tare/Zero function acts after pressing
down key
TARE
or
ZERO
always
:
Tare/Zero function acts by pressing down key
TARE
or
ZERO
even if it is not
stable
auto: Press down key
TARE
or
ZERO
even if it is not stable, but Tare/Zero function acts
after stable
17. weight memory parameters.
ON display the previous weight when powering on again
OFF not display the previous weight when powering on again
18. parameter initialization
Press
UNIT/SET
twice to begin initialization until the window displays
“
OK”
6 Calibration
Note: Before calibration, please set the capacity first. The unit used in calibration is the one that
has been set before. During the calibration procedure, LONG press
ZERO/ESC
to return to
normal weighing mode without saving.
Here we take 3kg/10g as an example
1. Press and hold
TARE/
while powering on. Do not release it till the window displays
“
CAL”
2. With no load on the weighing pan, press
TARE/
to start zero point calibration.
3. Wait till the window displays the first calibration value. (the window displays 1.000kg)
Note: The first calibration value is default. If the capacity has been changed, the default
value is 1/3 of full load.
CAN DIEN TU TAN HIEP THANH
www.tanhiepthanh.com.vn

JWI-3000 11
If you need to change the value, do as the following: Press
UNIT/SET
to enter the value
setting. Press
/G/N
or
TARE/
to move leftwards or rightwards. Press
+/PRINT/HI
or
HOLD/LO/-
to change the value. Press
ZERO/ESC
to save.
4. Put the corresponding weight on the weighing pan and then press
TARE/
to complete the
first point calibration.
Note: After the first point calibration, the window can display the weight value. If no need for
the other point calibration, move to Step 6 to finish the calibration procedure.
5. Add another weight to the current weight. The window will show the total weights value.
Press
TARE/
to complete. Repeat this step to complete multi-point calibration.
6. Press
ZERO/ESC
to save. After the window displays “ ”, it will return to normal
weighing mode.
7. Operation
7-1 Weighing
Begin with no load on the scale, the display reading zero. Place item(s) to be weighed on the
scale. The display shown is 1.000kg, gross weight.
(
The desired weighing unit should be
selected before weighing, refer to section 5-5.
)
→
7-2 Manual Tare & Preset Tare
When weighing a sample that must be held in a container, tare stores the container weight into
memory.
1) Under the weighing mode, place the container on the weighing pan, wait till stable
symbol appears, then press the key
TARE/
.
The container is tared.
→
2)
Place the item(s) to be weighed into the container. The weight displayed is the net weight.
CAN DIEN TU TAN HIEP THANH
www.tanhiepthanh.com.vn

JWI-3000 12
3) Remove all items from the weighing pan, the screen displays the tare value.
4) To clear tare with an empty pan, press down key
TARE/
or key
ZERO/ESC
.
Preset Tare
1) Long press key
TARE/
for 3 seconds. The scale is now in Digital inputting mode with the
left-most digit blinking.
2) Press key
/G/N
or
TARE/
to shift leftwards or rightwards. Press key
+/PRINT/HI
or
HOLD/LO/-
to increase or decrease setting values. E.g. here we set the Preset Tare value
as 0.500kg.
3) Press key
ZERO/ESC
to save and return to weighing mode,
4) Put the load on the container, the scale will automatically deduct the value of the container
from the total value.
5) Press
TARE/
or key
ZERO/ESC
with no load on the pan if the tare function is to be
cancelled.
7-3 Check Weighing
Use this mode to compare the weight of an item to Lower, and Upper limits. When the check
weighing mode is enabled, the “ ” indicator will turn on.
Upper limit setting
1) Long press key
+/PRINT/HI
. The scale is now in Digital inputting mode with the left-most
digit blinking.
2) Press
/G/N
or
TARE/
to shift key leftwards or rightwards. Press
+/PRINT/HI
or
HOLD/LO/-
to change the value.
3) Press
UNIT/SET
to turn on or off the weighing check
4) Press
ZERO/ESC
to confirm and save the upper limit value.
Lower limit setting
1) Long press key
-/HOLD/LO
. The scale is now in Digital inputting mode with the left-most
digit blinking.
CAN DIEN TU TAN HIEP THANH
www.tanhiepthanh.com.vn

JWI-3000 13
2) Press
/G/N
or
TARE/
to shift key leftwards or rightwards. Press
+/PRINT/HI
or
HOLD/LO/-
to change the value.
3) Press
UNIT/SET
to turn on or turn off the weighing check
4) Press
ZERO/ESC
to confirm and save the lower limit value.
Place the sample on the weighing pan.
HI indication appears, when the item on the weighing pan is greater than the upper limit
OK indication appears, when the item on the weighing pan is between upper and lower limits.
LO indication appears, when the item on the weighing pan is smaller than lower limit
Note: the item on the weighing pan should be more than or equal to 20e.
7-4 Simple Counting
1) Press key
UNIT/SET
to select the unit “PCS” under the weighing mode.
2)
Press key
/G/N
,
the ex-factory default sample quantity (10 pcs) is displayed.
3) Use key
+/PRINT/HI
or
HOLD/LO/-
to choose the sampling amount. Available options are
0
、
20
、
50
、
100
、
200
、
500
、
1000( pieces) .
4) Put the corresponding samples on the weighing pan, and then press key
TARE /
“SAMP”
is displayed momentarily before the display reverts to the sample size.
→
→→
→
5
)
Remove the samples and put the load on, the scale calculates the amount of the load.
6
)
To go back to the normal weighing mode, remove the load and press key
UNIT/SET
to select
the proper weighing unit.
Note:
1. The larger of the sample size, the more accurate unit weight.
2. Symbol “ ” points at “UW” when calculated unit weight is lower than 4/5 of scale division.
CAN DIEN TU TAN HIEP THANH
www.tanhiepthanh.com.vn

JWI-3000 14
7-5 Input commands (Optional)
Connect the indicator and computer. Set Parameter P09 to “PC” and P11 to “Key”. Run serial
port debugging program on the computer. Input the capital number “Z”, “T”, “R” in the sending
area, and the indicator can conduct the corresponding actions and have key sound at the same
time.
Z=zero T=tare R=print
8. Error message and trouble shootings
Error
Message
Problem Solution
ERR0 Exceed the zero range The item on the pan should be within 2% of
full load.
ERR1 Model setting error. Resolution
should be within 300-300000
Adjust or reset the capacity first then adjust
resolution
ERR2 Initial zero point exceeds 30% of full
load
1.Remove the obstacle article under the pan
2.Replace the load cell or contact the
maintenance department.
ERR3 Exceed the A/D resolution range
1. Replace A/D
2..Replace the load cell or contact the
maintenance department.
ERR4 EEPROM failure Re-weld EEPROM or contact the
maintenance department.
ERR5 Overload condition Remove the overload item
ERR6 Exceeds the display range -----------------------------------------------
ERR8 Lower limit is higher than upper limit
Reset the weight limit value.
ERR9 Exceed tare or pre-tare range 0
<
Tare value≤full load
ERR10 Wrong calibration weights Place the right test weights and the
calibration value should be below full load.
CAN DIEN TU TAN HIEP THANH
www.tanhiepthanh.com.vn

JWI-3000 15
Appendix
BIRCH/GODEX/ZEBRA printing format
prt-01
prt-02
DMP printing format
prt-01
prt-02
1. 000 kg
G.W.
:
::
:
1. 000 kg
T.W.
:
::
:
0. 500 kg
N.W.
:
::
:
1. 500 kg
NOTE:
The printing sample could be of different kinds of formats. When there is specific demand about
the format, conduct as follows
1) As for BRICH/GODEX/ZEBRA printers, the factory designs the format as planned and email
to the user. Add the format into the previous format file via computer. Then it is successful to
add the new format and able to print the new format.
2) As for DMP
printer, it needs to change the scale design
G.W.
:
::
:
1. 000 kg
T.W.
:
::
:
0. 500 kg
N.W.
:
::
:
1. 500 kg
1. 000 kg
CAN DIEN TU TAN HIEP THANH
www.tanhiepthanh.com.vn

JWI-3000 16
CAN DIEN TU TAN HIEP THANH
www.tanhiepthanh.com.vn
Table of contents
Other Jadever Accessories manuals