1 Professional • Optional Accessories Professional • Optional Accessories 2
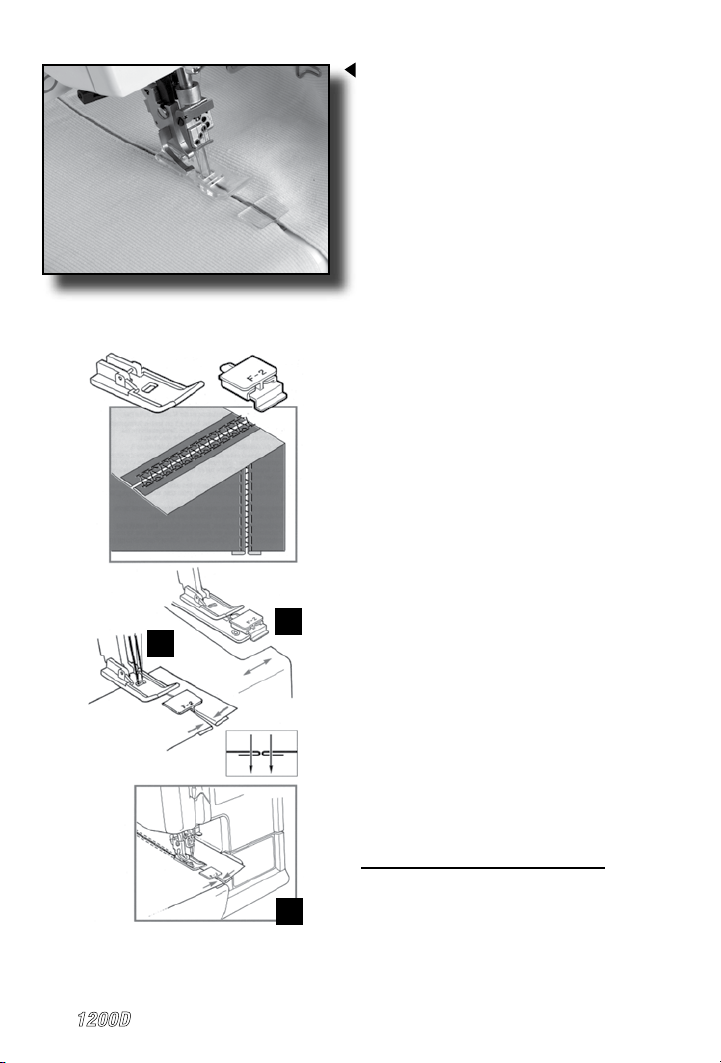
COVER HEMMING ELASTIC GATHERS
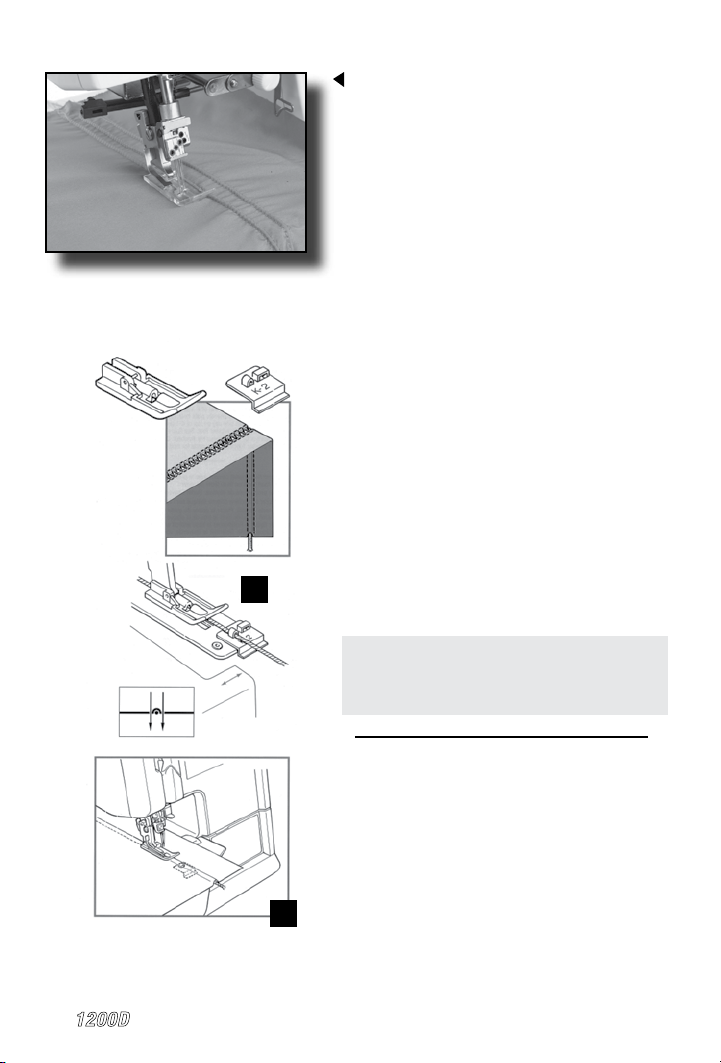
1. Select sewing program:
10Triple Cover Hem, Cover Hem Wide or
Cover Hem Narrow
2. read and set up machine as indicated on the
machine or in your instruction manual.
Set SL above 3.5.
FOLLOW steps 3 and 4 under “Overlocking
Elastic Gathers”
5. Position guide “D”; the elastic is centered under-
neath needles. (Option: Press under fabric edge
1/4”. Place folded edge right side up under elastic.)
6. Lower needles into fabric. Lower the presser foot.
Sew rst two stitches by hand turning handwheel.
Test sew adjusting elastic gatherer for fullness.
Sew at medium speed. See Figure 3 on page 1.
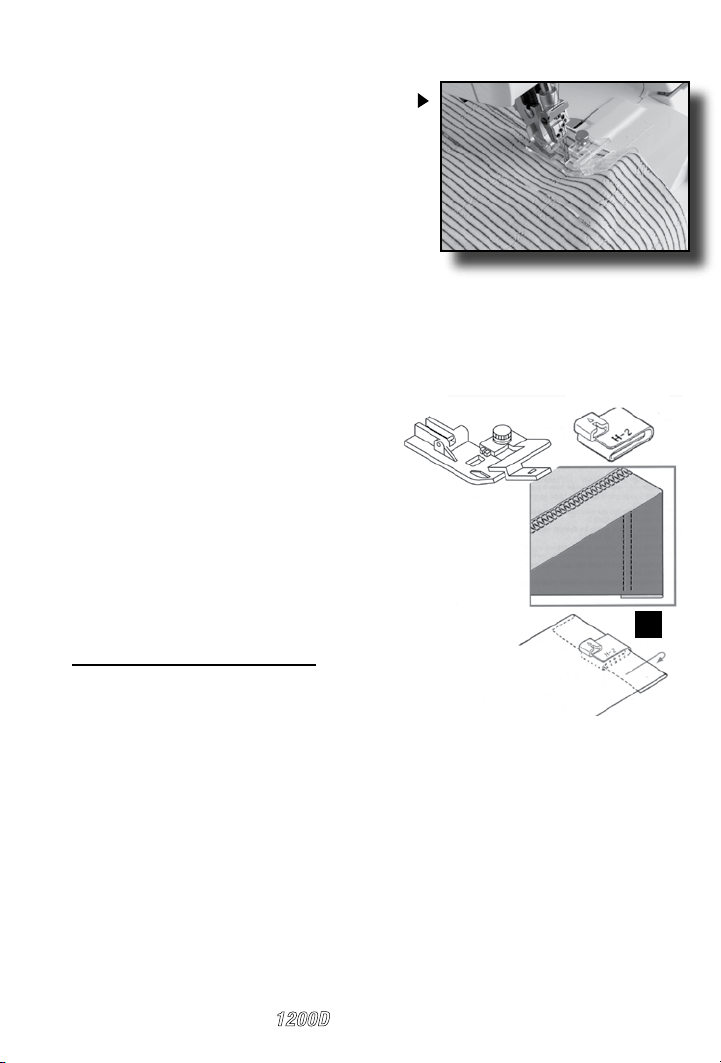
HINT: Use a washable fabric marker to draw guide-
lines for sewing multiple rows of elastic and create a
unique shirring eect.
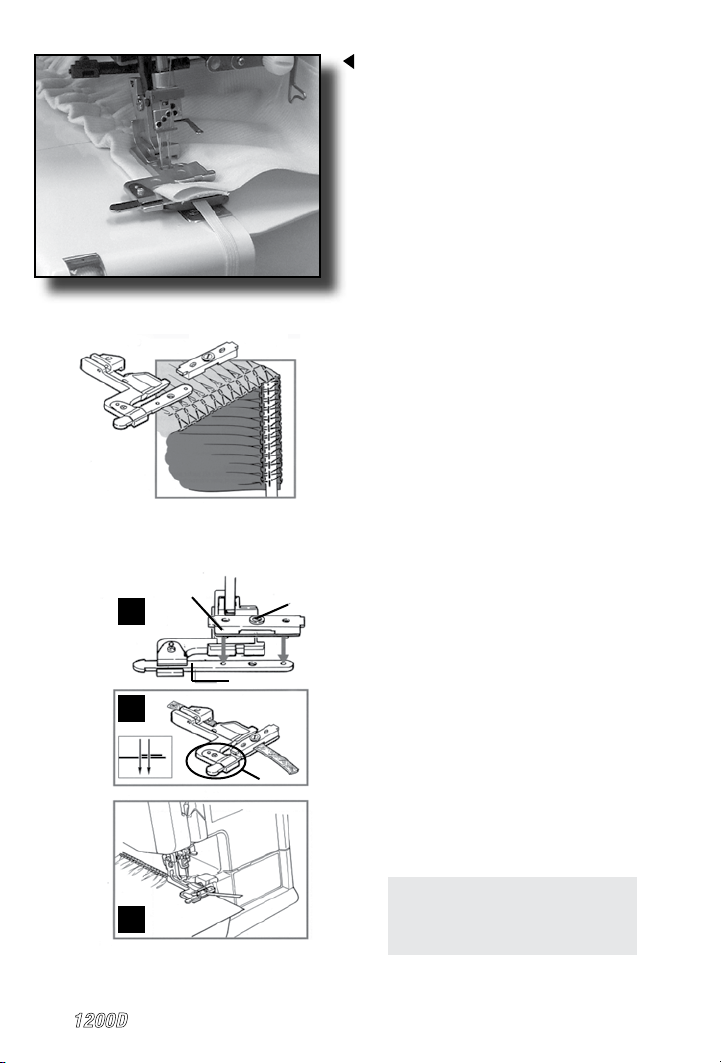
CREATE CUSTOM SOUTACHE USING 7.5 MM
ELASTIC GATHERER
1. Select sewing program:
(2) 3-read Stitch Wide
2. read and set up machine as indicated on the
machine or in your instruction manual with
decorative thread in upper looper. Set Stitch
Width Dial to widest width. Disengage (lower)
cutting blade.
3. Attach elastic gathering foot. Snap elastic gatherer
“A” onto elastic gathering foot.
4. Loosen adjustment screw “B” and insert 1/4”
tape/ribbon into slot “C”. (Cut a generous length
to allow for test sewing.) Pull tape/ribbon under
foot and extend it behind foot.*
5. Position guide “D”; the tape/ribbon should be to
the right of the needle and to the le of the needle
plate edge. See Figure 2 on page 1. DO NOT tighten
the adjustment screw. Lower needle (do not catch
edge of tape/ribbon).
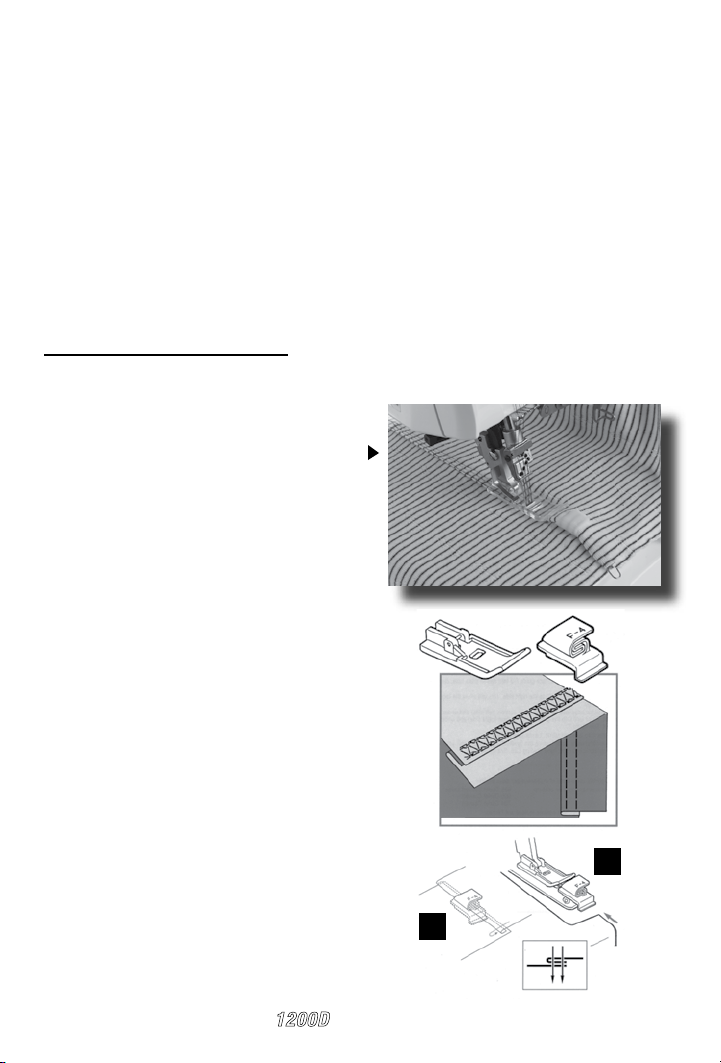
6. Lower the presser foot. Hand turn the handwheel
and adjust Stitch Width Dial so stitching sur-
rounds width of tape/braid. Continue turning
handwheel and adjust Stitch Length Dial until
desired look is achieved. Sew at medium speed.
Hand sew braid onto project.
Elastic Gathering Foot (C): 200-805-009
7.5 mm Elastic Gatherer: 200-805-102
10 mm Elastic Gatherer: 200-805-205
13 mm Elastic Gatherer: 200-805-308
*NOTE:
You may need to adjust SL for
thicker threads.