ENGLISH USER MANUAL
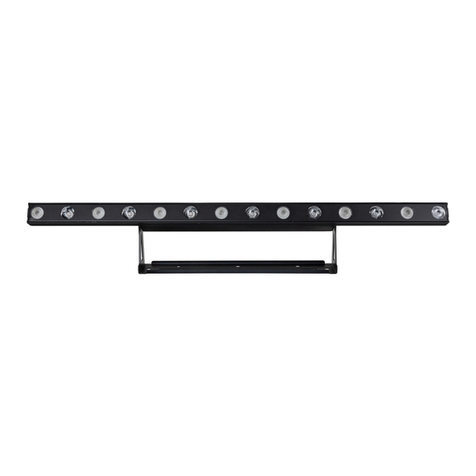
JB SYSTEMS®8/11 PIXEL PIPE
C. Controlled by the wireless remote controller:
To be able to use the wireless remote control, you need to enable this option in the projector:
•Press the [MODE] button until [Iron] or [IroF] is shown on the display.
•Use the ▼and ▲buttons to enable or to disable the remote control option ([Iron] = remote control
enabled, [IroF] = remote control disabled).
Functions:
1. [AUTO RUN]-button (A): used to start the build in programs in automatic mode.
2. [BLACKOUT]-button: used to switch the output ON/OFF
3. [FLASH]-button (F): used to switch the strobe function ON/OFF. First press the F-button, followed by
the ±buttons (6) to adjust the strobe speed.
4. [SOUND ACTIVE]-button (S): used to start the sound activated programs. With the ±buttons (6) you
can adjust the sensitivity.
5. [DIMMING]-buttons (RGB): press one of these buttons
to select the static custom color and adjust one of its color
components:
•Press the R-button: then use the ±buttons (6) to
adjust the red component in the custom color.
•Press the G-button: then use the ±buttons (6) to
adjust the green component in the custom color.
•Press the B-button: then use the ±buttons (6) to
adjust the blue component in the custom color.
6. ±-Buttons: used to increase / decrease the value of the
selected function.
7. Number buttons (0-9): used to set the DMX-address.
8. [SPEED]-button (SP): used to change the running speed
of the build in programs.
9. [SELECT PROG]-button [(PROG)]: used to select one of
the effect program modes. With each press you go to the
next effect:
•Fixed colors (CL00-CL07)
•Build in programs (PR01-PR20). The speed of these
programs can be adjusted.
10. [DMX MODE]-button (D): used to set the desired DMX
address and channel mode (3, 7 or 24 channels)
11. [SET ADDR]-button (S): used to enter the value of the
desired DMX-address.
12. [SLAVE]-button (SL): used to put the fixture in slave
mode.
13. Battery compartment: receives a CR2025 3V-battery
(supplied).
D. Controlled by a universal DMX-controller:
•Connect all units together. Refer to the chapter “Electrical installation for two or more units in DMX-
mode” to learn how to do this (don’t forget to address all units properly!)
•Connect all units to the mains and turn on the DMX controller.
Since each unit has its own DMX-address, you can control them individually. Remember that each unit
uses 3, 7 or 24 DMX-channels, depending on the DMX-mode you have selected in the menu. See the
different DMX charts below:

