JCM Technologies KEEROLL User manual

(KEEROLL + RS3 TGL868 + KEEALARM + 2 MUV)

Important safety instructions 4
Safety instructions for installation 4
Safety instructions for the use 5
Use of the equipment 5
Introduction 6
General description 6
Indicators 6
Actions 7
RadioSens3 System description 8
Battery life 8
Installation 9
Control panel fixations 9
RadioSens3 fixations 10
KEEALARM fixations 11
Connections 12
Configuration / Starting up 14
Connect the power supply 14
Adjusting limit switch 14
Options selection 14
Programming 15
Transmitter programming 15
Safety elements programming 15
Manoeuvre programming 16
KEEALARM programming 17
Verification 18
Verify that the control panel is working properly 18
Transmitter 18
Safety edge 18
Photocell 18
RadioSens3 or RadioBand3 system 18
KEEALARM 18
Communication’s quality 19
Impact detection adjustment 19
Maintenance 20
Program maintenance manoeuvres 20
Reset manoeuvres counter 20
Reset transmitters 20
Reset safety elements 21
Fuse replacement 21
RadioSens3 21
Batteries replacement 21
Technical Data 22
Technical Data: KEEROLL 22
Technical Data: Safety elements 22
Technical Data: Transmitters 23

Troubleshooting 24
KEEROLL 24
RadioSens3 25
Notes 26
Regulatory Data 28
EU Declaration of conformity 28

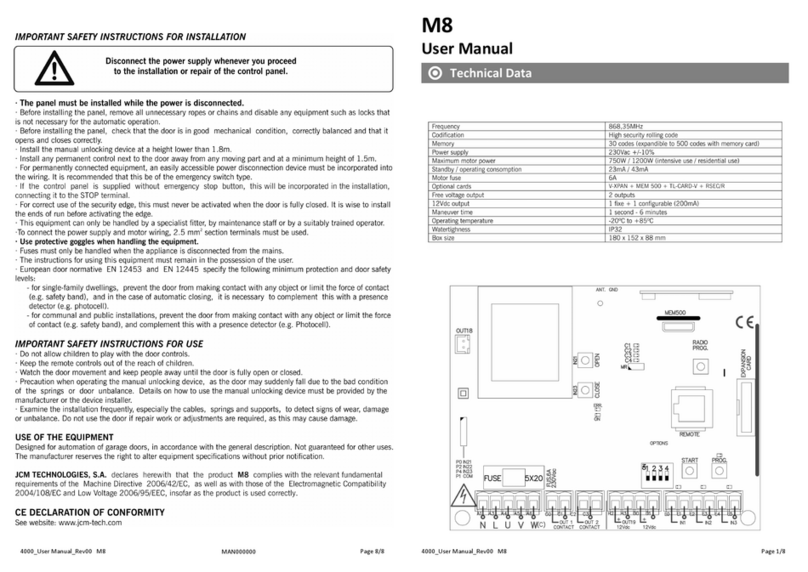
Disconnect the power supply whenever you proceed to the installation,
maintenanceor repair of theequipment.

Designed for automation of garage doors, in accordance with the general description. Not guaranteed for other uses. The
manufacturer reserves the right to alter equipment specifications without prior notification.

Designed for residential aluminium roller shutters, the KEEROLL solution has direct communication with the user and the
installer.
Its capacitive front with illuminated keys provides comfort and security. The door can be opened and closed by any person
without the need for technical know-how. The installer requires no initial training in the product.
The control panel can incorporate the most advanced system for detecting obstacles via radio, without wires. Ready to
work with RadioBand3 or RadioSens3 to comply with all safety regulations. It's clean, quick and straightforward.
The system complies with standard EN ISO13849-1: 2008, category 2, PLc.

Press to open, stop and close the door.
Press to close the door in dead man mode.
Block function: KEEROLL control panel incorporates a block button on the cover to prevent
the door from being opened accidentally.
Press to block the door, key lights ON. The control panel will not be able to move
the door neither to receive any transmitter. Useful function to block the door during the
night.
Adjust courtesy light activation time: The user can set the desired time to leave the cour-
tesy light at on simply by pressing a button on the cover.
New transmitters: The user can program new transmitters simply by pressing a button on
the cover (deleting transmitters is an action that is only allowed in installer mode).
Alarm function: With the ALARM accessory it is possible to detect unwanted openings of
the door (robbery), enabling the control panel’s sound alarm to be activated, or even con-
necting it to the alarm system already present in the home.
Dipswitch 4 at ON. With door totally closed, if someone tries to move it manually, the
alarm will be activated.
To stop the alarm, press any button of a programmed transmitter.
Door must be in closed position to program new transmitters.

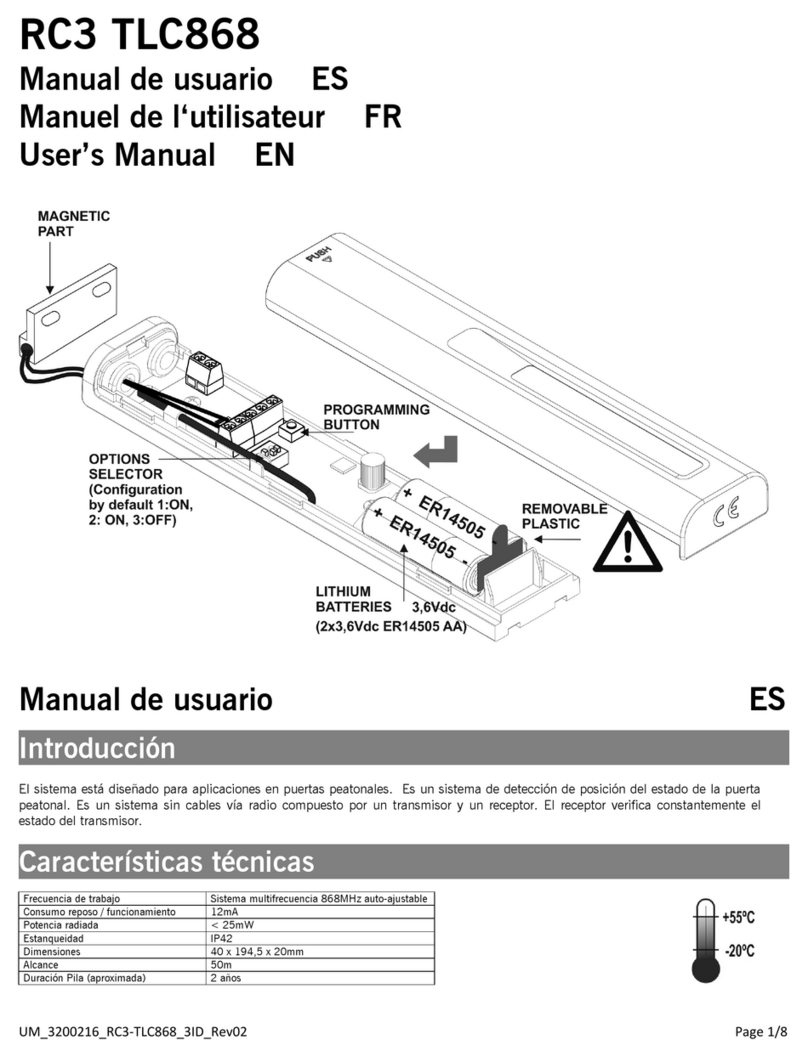
RadioSens3 is an impact detection system installed at the last slat of the roller shutter. It detects the obstacle and
reopens without causing any damage.
The communication system between the RS3 T868 and the KEEROLL is permanently monitored (two-way link via radio).

Remove the front cover of the control panel. Install the bottom part on the wall in a vertical position, at least 1,5 meters
over the ground and in accordance with the assembly instructions below.

Install the transmitter following the steps and recommendations below. Pass the cables through the holes indicated (only
if you use the lock connection).
Install the transmitter in a horizontal position, at the middle of the last slat (it must have a tolerance of minimum 2mm
of movement). Avoid placing metallic surfaces between the receiver and the transmitter.
It is recommended to use limit switches in the installation and to have them properly connected, or to assure that the
door will stop always at the same point. The speed of the door must be uniform.
Options and sensibility selectors must be set before programming. Any later change will have no effect.
Control panel detects automatically the limit switches in the tubular motor. An adjustment of the limit switches before
RadioSens3 installation is requested.

Before installingthe KEEALARM it must beprogrammed. See"Programming->
KEEALARM programming"


START
OPEN

Dipswitch 1 at ON. Door will move in dead man mode. Keep pressed or to
move up and down the door.
Press , to change the phase of the motor in case the door is not moving in the proper
sense.

Press , key lights ON, a beep will be heard.
Keep pressed key until reach the desired channel configuration (see below sequence for the different con-
figurations).
Press each transmitter button to be programmed, a beep will be heard each time a transmitter is programmed.
Press again to exit radio programming, lights OFF.
Enter Installer mode: Press , the maintenance indicator lightsON, a beep will be heard.
Press the PROG button of RadioSens3 or RadioBand3 transmitters, a beep will be heard once it is programmed. The
safety element will be programmed on the first channel of the receiver.
Press again to exit Installer mode, key lights OFF and two beeps will be heard.

Enter Installer mode: Press , the maintenance indicator lights ON, a beep will be heard. Select
dipswitch 2 at ON:
Press , with the door
totally closed, on cover and
the control panel will ini-
tiate and auto-programming
sequence.
Autoclose time.
Door opens 2 seconds. Press on cover and door
closes.
Door closes automatically. Door stops.
Door stops. Door opens automatically.
*Only with RadioSens3
Door opens automatically. Door closes automatically.
*Only with RadioSens3
Door stops. Maintenance indicator
lights off. End programming.
By default, RadioSens3 system adds an inhibition zone of maximum 4cm at the end of the closing movement.
It is possible to change the inhibition zone pushing on when the door is closing. From this point, RadioSens3 will
be inhibited.

Press , key lights ON, a beep will be heard.
Keep pressed key until reach the 4th channel configuration ("Transmitter programming" table for the different con-
figurations).
In channel 4 configuration (4 flashes), slide the Keealarm device in front of the magnetic part to activate the alarm. A
beep will be heard to indicate that the device is programmed.

Once the control panel is correctly wired and programmed, check that all the system (accessories included) is working
properly.
Press the transmitter button and check that the door opens. Press again, and check that the door stops/closes.
Check that the LED is at OFF.
If it is activated when the door's moving, the LED will pass at ON, indicating the activation of the safety edge.
Check that the LED is at OFF.
If it is activated when the door's moving, the LED will pass at ON, indicating the activation of the photocell.
Check that the LED is at OFF.
If it is activated when the door's moving, the LED will pass at ON, indicating the activation of the safety element.
Make sure that the LEDs are OFF
If it is activated when the door's moving, the LEDs will remain at OFF, indicating the activation of the
KEEALARM.

To ensure that the radio communication is good enough, check that the LED is at OFF. If is permanently activ-
ated, please check RadioSens3/RadioBand3.
To adjust the impact detection of the RadioSens3 system, change the sensibility selector between 0 and 4.

Enter Installer mode: Press , the maintenance indicator lights ON, a beep will be heard.
The following functions can be done inside this maintenance mode.
Keep pressing to set up the maximum number of manoeuvres:
If the maintenance alarm isactivated, when you press a few quick flashes will light ON and the number
of operations will be set to 0.
Press and keep pressed until and
keys starts flashing, a beep will be heard. Keep pressed and press , to erase trans-
mitters, some beeps will be heard followed by a long beep.
Other manuals for KEEROLL
3
This manual suits for next models
3
Table of contents
Other JCM Technologies Door Opening System manuals
Popular Door Opening System manuals by other brands

Global Automatics
Global Automatics Premier-Slide 100 Technical manual

Perko Power
Perko Power R104 manual

DELTA DORE
DELTA DORE TYXAL+ DO BR installation guide

Aprimatic
Aprimatic RAIDER installation instructions

quiko
quiko QK-RADAROMNI user manual

Assa Abloy
Assa Abloy Corbin Russwin DC3200 Series installation instructions