JD Williams Ltd. CD82 User manual
1
CD82 07042017
CD Boombox
Instruction Manual
Model Ref: CD82 / Cat Number: MM338

01
Introduction
Thank you for choosing this CD Boombox. This product is
manufactured to the highest standards of performance and
safety.
Before use, please read this manual carefully. It gives
important instructions about safety, use and maintenance of
your device.
Remove all packaging material. You may wish to keep
the packaging for future use or storage of your device.
Alternatively, dispose of accordingly.

02
Important Safety Information
WARNING - To reduce the risk of re, electric shock, or
injury:
1. This appliance is for domestic use only. Do not use
outdoors or on wet surfaces.
2. Do not handle the plug or appliance with wet hands.
3. Do not immerse the main body in water.
4. This appliance can be used by children aged from 8
years and above and persons with reduced physical,
sensory or mental capabilities, or lack of experience
and knowledge, if they have been given supervision or
instruction concerning the use of the appliance in a safe
way and understand the hazards involved.
5. Children must not play with the appliance.
6. Cleaning and user maintenance shall not be made by
children unless they are older than 8 and supervised.
7. Keep the appliance and its cord out of reach of children
less than 8 years.
8. This product is not a toy.
9. Do not use the appliance if any parts appear to be
faulty, missing or damaged.
10. Always switch off at the mains supply before carrying
out any cleaning, performing user maintenance or
changing accessories.
11. Do not use the appliance if it has been dropped or
damaged in any way.
12. Check to ensure that the electricity supply matches that
shown on the rating plate.
13. Only use the attachments/accessories supplied with the
product or recommended by JDW.
14. If the supply cord is damaged, it must be replaced by a
qualied service agent in order to avoid a hazard

03
15. Only use this appliance for its intended domestic use.
JDW will not accept any liability if the appliance is
subject to improper use, or failure to comply with these
instructions.
16. Keep the appliance and its power supply cord away
from heat or sharp edges that could cause damage.
17. Keep the power supply cord away from any parts of the
appliance that may become hot during use.
18. Do not disconnect the appliance from the mains power
supply by pulling the cord, switch it off and remove the
plug by hand.
19. Do not move the appliance when it is in use.
20. Use of an extension cord with the appliance is not
recommended.
21. This appliance should not be operated by means of an
external timer or separate remote control system.
22. Keep the appliance away from ammable materials.

04
PRODUCT OVERVIEW

05
BOOMBOX CONTROLS
1. FOLDING HANDLE
2. FUNCTION SWITCH
3. AUX IN JACK
4. VOLUME CONTROL
5. BASS BUTTON
6. CASSETTE PAUSE
KEY
7. CASSETTE STOP/
EJECT KEY
8. CASSETTE FAST
FORWARD KEY
9. CASSETTE REWIND
KEY
10. CASSETTE PLAY KEY
11. PHONES JACK
12. CD COMPARTMENT
13. BAND SELECTOR
14. DIAL SCALE
15. TUNING CONTROL
16. SPEAKERS
17. PROGRAM BUTTON
18. FM STEREO
INDICATOR
19. REPEAT INDICATOR
20. POWER INDICATOR
21. PROGRAM INDICATOR
22. LED DISPLAY
23. REPEAT BUTTON
24. RANDOM BUTTON
25. CASSETTE
COMPARTMENT
26. CD SKIP/SEARCH
BACKWARD BUTTON
27. CD SKIP/SEARCH
FORWARD BUTTON
28. CD STOP BUTTON
29. CD PLAY/PAUSE/
STANDBY BUTTON
30. FM TELESCOPIC
ANTENNA
31. AC SOCKET
32. BATTERY
COMPARTMENT
33. AC VOLTAGE
SELECTOR
34. CASSETTE RECORD
KEY

06
INFORMATION ON LASER PRODUCTS
REPRODUCTION OF LABELS
1. CLASSIFICATION LABEL, PLACED ON REAR
ENCLOSURE.
2. WARNING LABEL, PLACED INSIDE THE UNIT.
CAUTION: DO NOT OPEN THE UNIT. THERE ARE
NO USER SERVICEABLE PARTS INSIDE THE UNIT;
CONSULT ALL SERVICING TO QUALIFIED SERVICE
PERSONNEL.
Discs for Playback
This system can playback all digital audio CD, nalized
digital audio CD-Recordable (CD-R) discs, nalized digital
audio CD-Rewritable (CD-RW) discs and CD-DA format
digital audio CD/CD-R/CD-RW discs.
POWER SOURCE
This unit is designed to be operated on AC/DC.
AC OPERATION
Plug the smaller end of AC power cord into AC jack on unit
and the other bigger end into AC wall outlet. The batteries
will be automatically disconnected. For dual voltage version,
make sure that the AC VOLTAGE SELECTOR is switched to
your local voltage.

07
DC OPERATION
Open the BATTERY COMPARTMENT DOOR. Install 6 pcs
1.5V UM-1/D size batteries (not included) into compartment.
Please follow correct polarities as indicated.
CAUTION
• Remove batteries if they are at or not being used for a
long period of time.
• Batteries contain chemical substances, so they should be
disposed of properly.
USING THE BOOMBOX
SWITCHING ON THE UNIT
Set the FUNCTION SWITCH to CD/AUX or RADIO or TAPE
position.
NOTE: In CD/AUX mode when the unit is not providing
the main function for 15 minutes, the unit will automatically
switch into standby mode. To turn on the unit again, press
“STANDBY” button or replug the unit.
ESD hints – The product maybe reset or not reset to
operation of control due to electrostatic discharge, just switch
off and reconnect again.
TO ADJUST VOLUME
Rotate the VOLUME CONTROL back and forth to increase
and decrease volume.
BASS BOOST SYSTEM
For more extra bass, press the BASS BOOST button. Press
again to turn off bass.

08
AUX-IN OPERATION
This unit has provided special AUX jack, through this jack
other audio sources can be connected to this unit and be
amplied.
1. Set the FUNCTION switch to CD/AUX position.
2. Connect the audio cable into the AUX-IN jack and
the other end connect to the AUDIO OUT jack of the
external audio source. The unit will change to AUX mode
automatically.
3. Adjust the volume of the main unit to your desired
level. Press PLAY of the external audio source to start
playback.
HEADPHONE JACK
For private listening, insert a 3.5mm headphone (not
included) into the HEADPHONE jack (4). The SPEAKER
output would be automatically cut off.
CAUTION: LISTENING AT A HIGH VOLUME OVER A LONG
PERIOD IS NOT GOOD FOR YOUR EARS.

09
USING THE RADIO
TUNING IN RADIO STATIONS
1. Slide the FUNCTION switch to select the desired wave
band: AM/FM ST..
2. Tune to required station by rotating the TUNING KNOB.
3. Rotate the VOLUME CONTROL to comfortable volume
level.
4. Extend the TELESCOPIC ANTENNA to its full length if
you are listening to FM broadcasting. Gently rock the
unit back and forth to get the best reception when you
are listening to AM program, or place the unit in an open
place.
Note: The FM STEREO indicator will be on if you are
receiving FM stereo program.
5. Turn off the radio by switching the FUNCTION switch to
“TAPE “ position
CASSETTE OPERATION
PLAYBACK OF CASSETTE
Be sure to tighten any slack tape in the cassette before use,
using either a pencil or a ball-point pen, simply insert the
pen or pencil into the centre of spool and rotate to remove
slackness. Depress the STOP/EJECT button to open the
cassette door.
Insert the cassette into the compartment with the open
end facing upwards and the full reel on the left hand side,
push the cassette well down and close the door, be sure
not to touch the tape surface, Set the Function switch to
“TAPE” position and press the cassette play button. To stop
playback, press the STOP/EJECT button once. To release
the cassette, press the STOP/EJECT button again.

10
AUTO STOP
When the tape reaches the end during playback, the built-in
auto stop system will release the depressed play.
RADIO RECORDING
1. Install a cassette tape.
2. Set FUNCTION SWITCH to “RADIO” position. After
selecting the desired band and tune the TUNING KNOB
to desired broadcast station. Then push down RECORD
BUTTON and PLAY BUTTON simultaneously.
3. After recording the desired broadcast, depress the
STOP/EJECT BUTTON lightly, and then set FUNCTION
SWITCH to “TAPE” position in order to listen to the
recorded broadcast.
4. If you desire to play recorded broadcast, please follow the
instructions explained in playback section.
Note: When you record over previously recorded tape, the
original recording is automatically erased and replaced by
this newly recording materials.
RECORDING FROM CD
1. Insert a blank cassette tape into the tape compartment.
2. Slide the FUNCTION switch to CD/AUX position.
3. Load a CD and select the desired track you want to
record.
4. Press CD PLAY/PAUSE button to start playback. Press
RECORD key to begin recording. RECORD key and
PLAY key go down simultaneously.
5. Press PAUSE key to interrupt or edit recording. Press it
again to resume recording.
6. Press STOP/EJ. Key to end recording.
7. To hear what you recorded, follow instructions in
PLAYING A CASSETTE TAPE.

11
RECORDING FROM AUX
1. Insert a blank cassette tape into the tape compartment.
2. Slide the FUNCTION switch to CD/AUX position.
3. Connect the audio cable into the AUX IN jack and select
the desired track you want to record.
4. Press RECORD key to begin recording. RECORD key
and PLAY key go down simultaneously.
5. Press PAUSE key to interrupt or edit recording. Press it
again to resume recording.
6. Press STOP/EJ. Key to end recording.
7. To hear what you recorded, follow instructions in
PLAYING A CASSETTE TAPE.
TYPES OF CASSETTE
Use only good quality cassettes (IEC TYPE 1) for making
recordings.
The use of C120 cassettes is NOT recommended in this
machine.
CARE OF CASSETTE MECHANISM
Gently clean the tape head and pinch wheel/capstan
assemblies after every 10 hours of using the unit.
The erase head and play head and the surface of the pinch
roller are delicate and must not be touched with metal objects
such as screwdrivers. You may nd it easier to clean the
assembly by pressing the PLAY button to bright head and
pinch roller into view. Be sure to press the STOP button after
cleaning the mechanism.

12
Damage to the pinch wheel can occur if the unit is left
in PLAY mode with the power switch off. Under no
circumstances should you attempt to lubricate any part of the
machine.
USING THE CD
Set the FUNCTION SWITCH to “CD/AUX” position. Press
the CD door OPEN/CLOSE to open the CD door to put in a
compact disc. Close it and start reading. The LED display
always shows the tracks of a disc which are still to be played.
Playing The Entire Disc
1. Playback will start by pressing CD PLAY/PAUSE button,
playback starts with the rst track. The display will show
the current track number.
2. To interrupt playback, press CD PLAY/PAUSE button.
3. To resume playback, press CD PLAY/PAUSE button once
again.
4. To stop playback, press CD STOP button.
Note:
To ensure good system performance; wait until the disc tray
completely reads the disc before proceeding. If no disc is
loaded into the compartment, or the disc is placed upside
down, the display will show“NO”.

13
SELECTING A DESIRED TRACK/PASSAGE
To select a desired track
1. Press SKIP/SEARCH FORWARD/BACKWARD button
repeatedly in stop mode or during play until the desired
track appears on the display.
2. Press PLAY/PAUSE button to start play.
To search for a particular passage during playback (track
scanning at high speed)
1. Press and hold SKIP/SEARCH BACKWARD/FORWARD
button to scan the current playing track at high speed until
desired point(passage), then release the button.
2. Playback will start again from this point.
REPEAT PLAY
When playing, press REPEAT button once. REPEAT
INDICATOR will light up and ash for playing the same
track only. If repeat all tracks, press the REPEAT button
again, REPEAT INDICATOR will light up. To cancel repeat
play, press the REPEAT button until the repeat indicator
disappears
PROGRAM PLAY
Programming tracks of disc are possible when playback is
stopped. Up to 20 tracks can be stored in the memory in any
order.
1. Press “PROG” button to make program memory in stop
mode. Program indicator will light up and ash
2. “ 0 ” will be shown ashing on the display,
3. Press CD SKIP/SEARCH FORWARD/BACKWARD
button to select a track number. The track number will
show on display.
4. Press the “PROG” button to store the track number.

14
5. “ 0 ” ashes again. Repeat step (3) to (4) to program other
desired tracks.
6. Press “PROG” button once more after 20 track in
programmed and all the programmed track numbers will
be shown one by one
7. Press CD PLAY/PAUSE button, playback will start from
the rst programmed track.
8. You can press CD SKIP SEARCH FORWARD/
BACKWARD button to select the track number in
memory.
9. In stop mode, press STOP button to cancel the program
play and the program indicator will disappear.
RANDOM PLAY
Press the CD RANDOM button in Play/Stop mode, the
current track number and “- - ” will ashing again and again.
And then press the CD PLAY/PAUSE button. Playback will
start from any one track (not in the order of the disc). To
cancle the RANDOM, press the RANDOM button again.
15
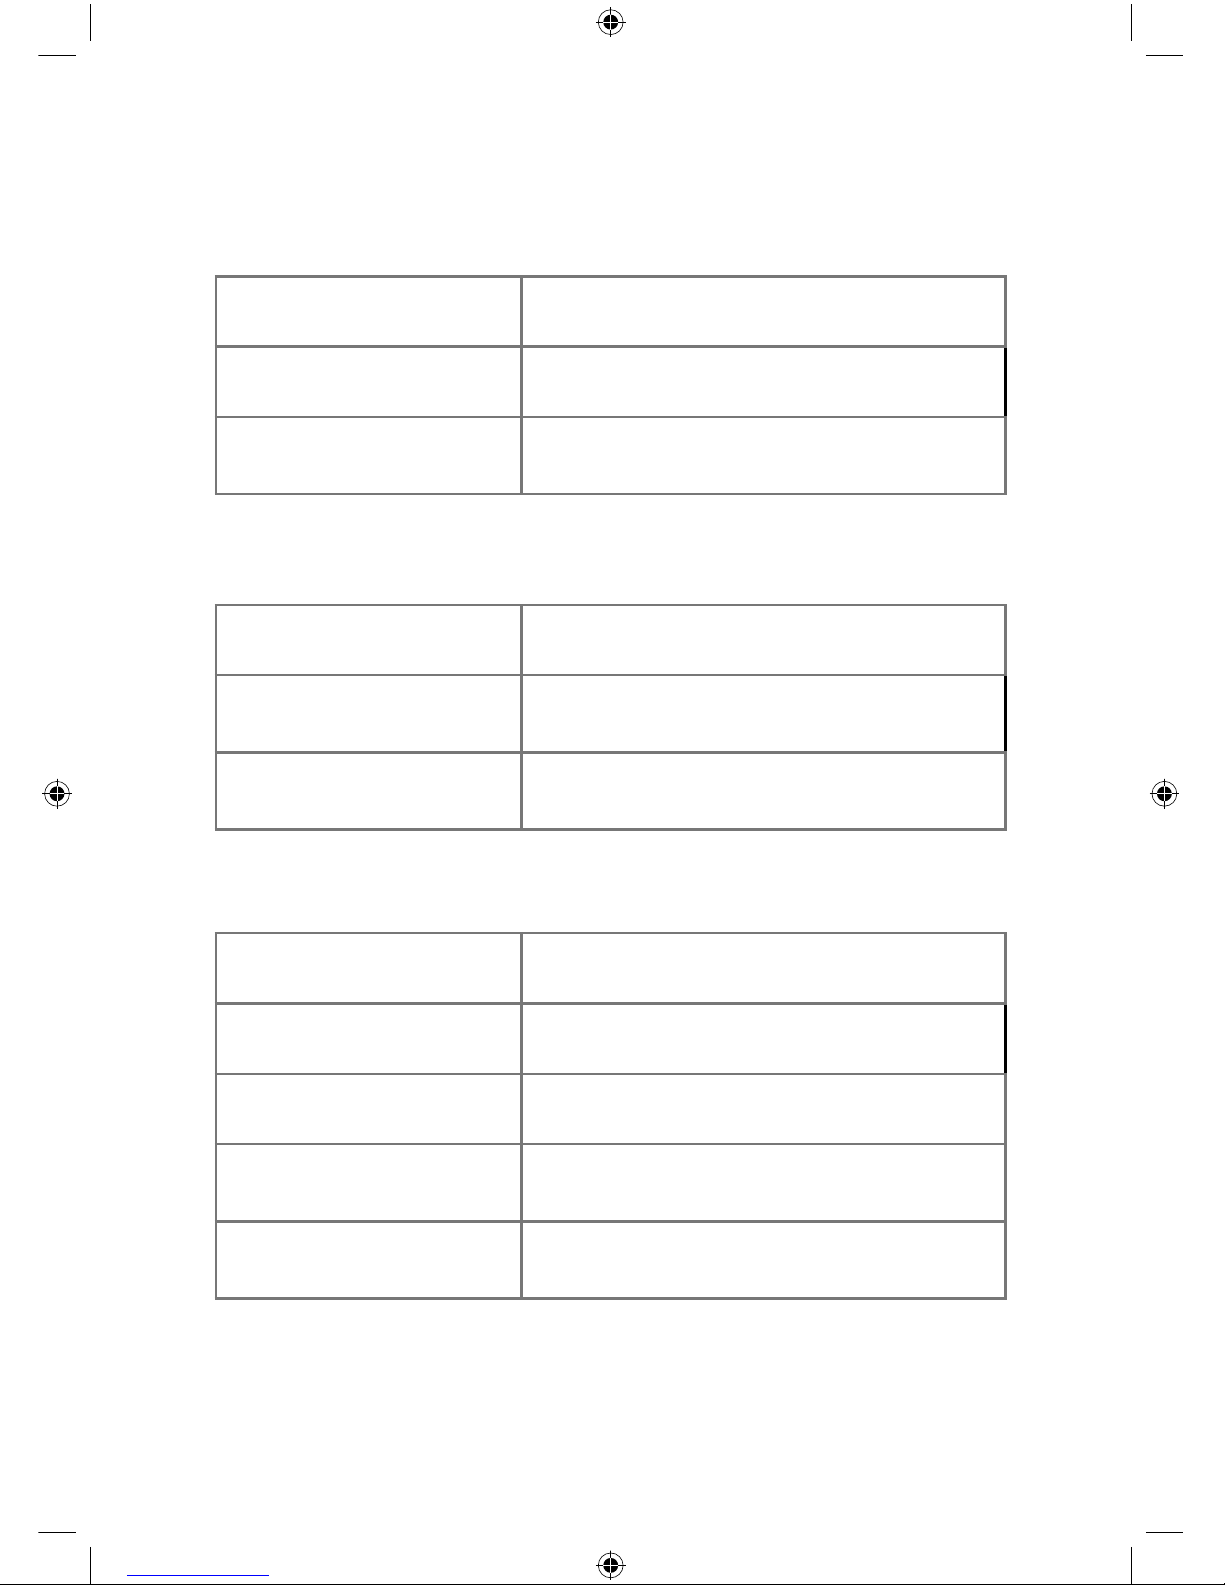
Product Specications
Channels 2 Channels
Optical Pick-Up 3 Beams Laser
Frequency
Response 100Hz - 16 KHz
CD Section
Receiving Band AM/FM
Tuning Range AM 540-1600 KHz
FM 88-108 Mhz
Antenna FM Rod Antenna, AM built-in ferrite
bar
Radio Section
Output Power 1.5W x 2
AUX In Jack 3.5mm
Phones Jack 3.5mm
Power Source AC 230V ~ 50Hz
DC 9V 1.5V UM-1/D x 6 pcs
Power
Consumption 15W
General
16
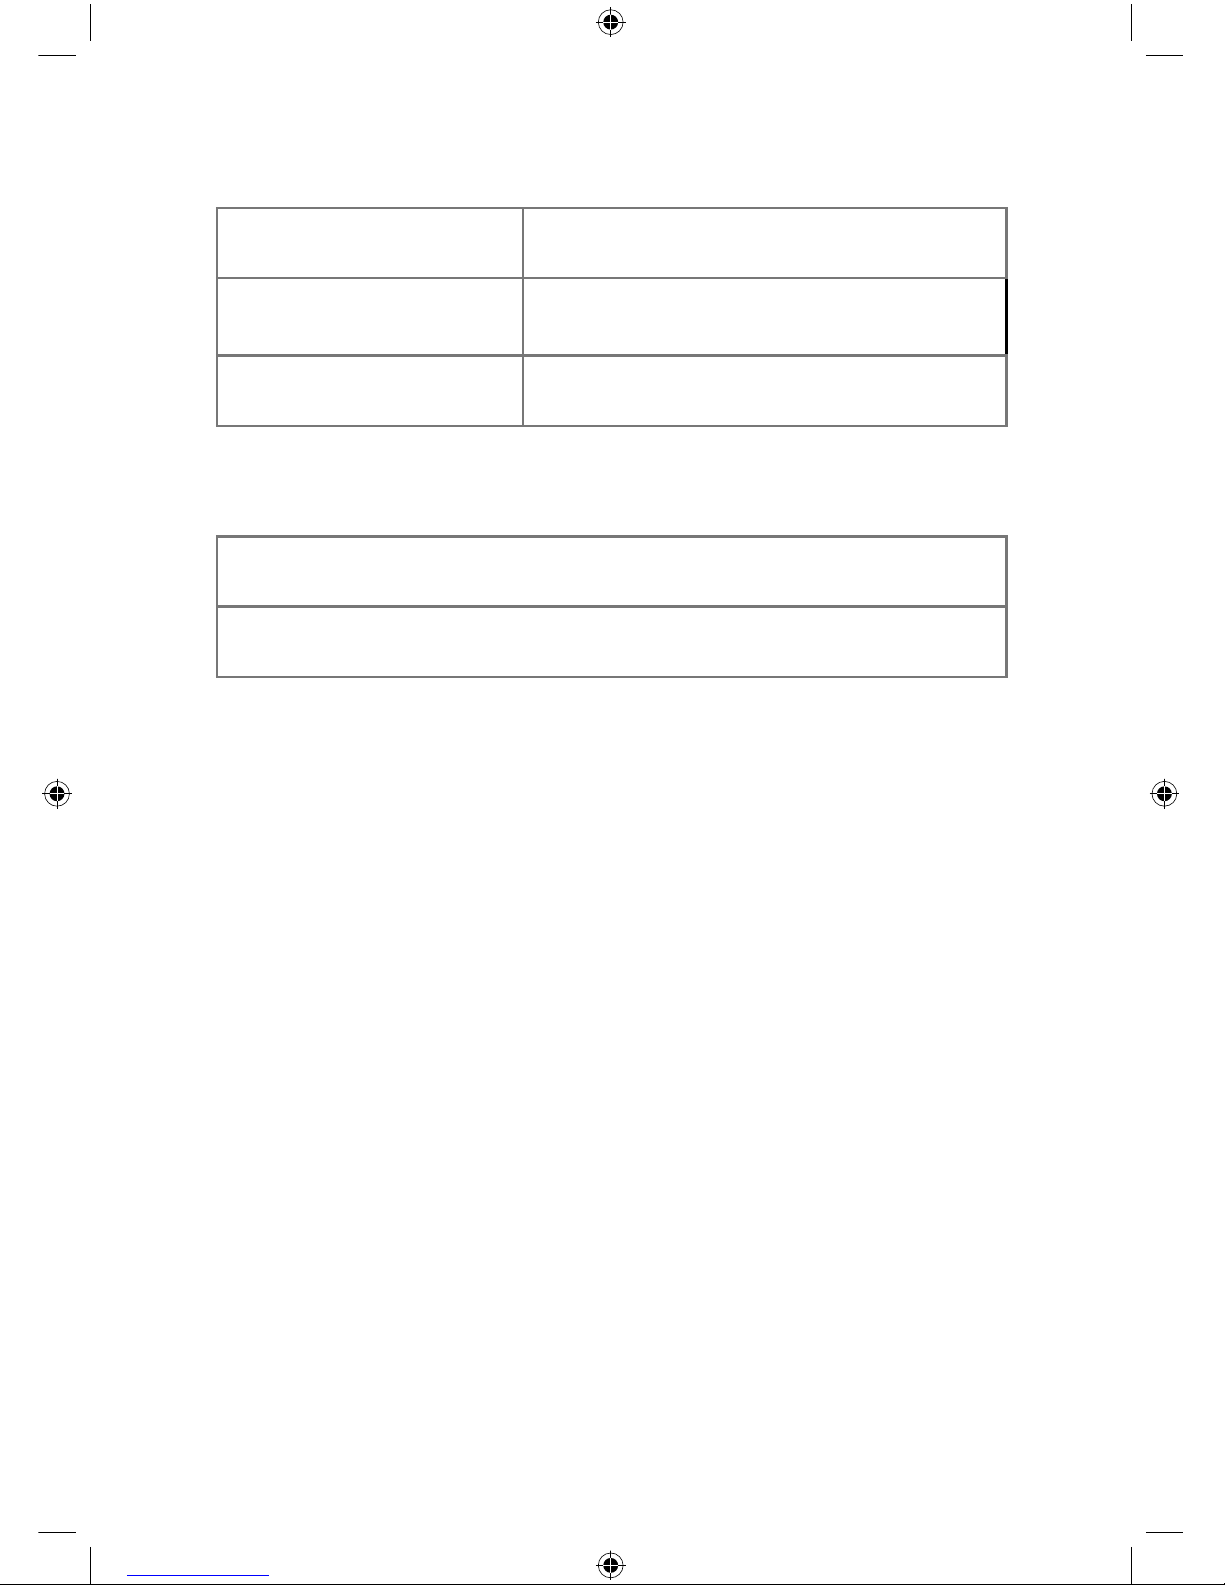
Recording System Tracks 2 Channel (Stereo)
Frequency
Response 125 - 6.3Khz
Wow and Flutter 0.35% WRMS (JIS)
Cassette Section
Instruction Manual
AC Cord
Accessories

17
COMPACT DISC MAINTENANCE
1. Always use a compact disc bearing the mark as shown.
2. Notes on handling discs
• Removing the disc from its storage case and loading it.
• Do not touch the reective recorded surface.
• Do not stick paper or write anything on the surface.
• Do not bend the disc.
3. Storage
• Store the disc in its case.
• Do not expose discs to direct sunlight or high
temperatures, high humidity or dusty places.
4. Cleaning a disc
• Should the disc become soiled, wipe off dust, dirt and
ngerprints with a soft cloth.
• The disc should be cleaned from the centre to the edge.
• Never use benzene, thinners, record cleaner uid or
anti-static spray.
• Be sure to close the CD door, so the lens is not
contaminated by dust.
• Do not touch the lens.

18

19
JD Williams Ltd.
This manual suits for next models
1
Table of contents


