Innovating Technology ITBB-1980iP User manual

GB - 1
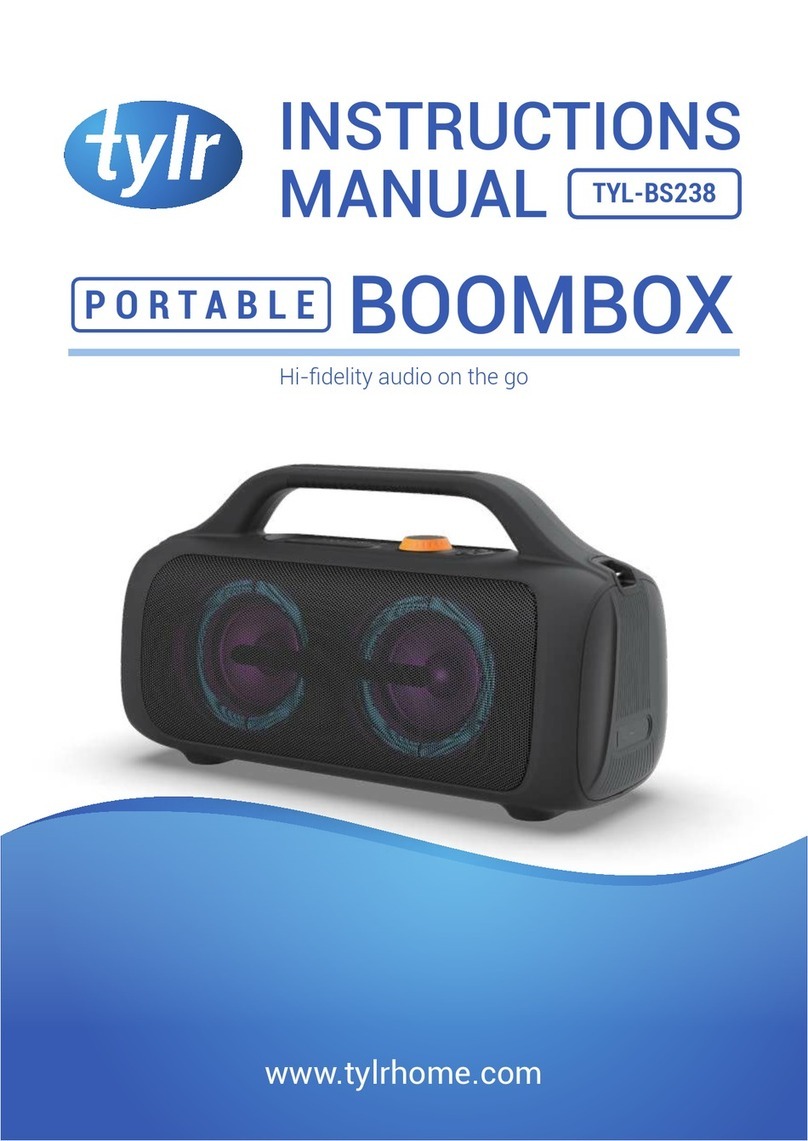
THE DIGITAL MIX MAKER
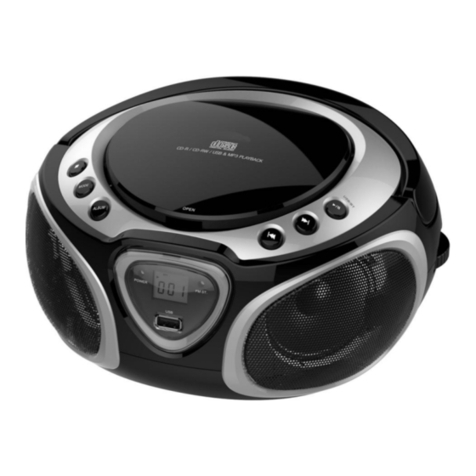
ITBB-1980iP
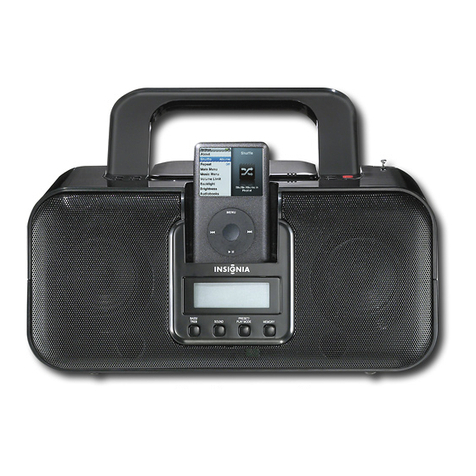
Boom Box with Dock Connector for iPod®/iPhone®
INSTRUCTION MANUAL

GB - 2
!
Made for iPod nano (1st, 2nd, 3rd, 4th, and 5th generation), iPod touch (1st, 2nd, and 3rd
generation), iPod classic, iPod with video, iPod with color display, iPod with Click Wheel,
iPod mini, iPhone 3GS, iPhone 3G, and iPhone.
“Made for iPod” and “Made for iPhone” means that an electronic accessory has been designed to connect specifically to iPod or
iPhone, respectively, and has been certified by the developer to meet Apple performance standards. Apple is not responsible for the
operation of this device or its compliance with safety and regulatory standards.
iPhone, iPod, iPod classic, iPod nano, and iPod touch are trademarks of Apple Inc., registered in the U.S. and other countries.
WARNING :
TO REDUCE THE RISK OF FIRE OR ELECTRIC SHOCK, DO NOT EXPOSE THIS APPLIANCE TO RAIN OR MOISTURE. DANGEROUS HIGH
VOLTAGES ARE PRESENT INSIDE THE ENCLOSURE. DO NOT OPEN THE CABINET COVER OF THE PRODUCT. REFER SERVICING TO
QUALIFIED PERSONNEL ONLY.
IMPORTANT SAFETY INSTRUCTIONS
Warning:
To reduce the risk of fire or electric shock, do not expose this appliance to rain or moisture. Dangerous high voltages are present inside the
enclosure. Do not open the cabinet cover of the product. Refer servicing to qualified personnel only.
Caution:
Please read and observe all warnings and instructions given in this owner’s manual and those marked on the unit, keep these instructions. Retain
this booklet for future reference.
This set has been designed and manufactured to assure personal safety. Improper use can result in electric shock or fire hazard. The safeguards
incorporated in this unit will protect you if you observe the following procedures for installation, use and servicing. This unit does not contain any
parts that can be repaired by the user.
The symbol for class II (Double insulation)
Do not remove the cabinet cover, or you may be exposed to dangerous voltage. Refer servicing to qualified service personnel only.
IMPORTANT SAFETY INSTRUCTIONS:
1. Read these instructions.
2. Keep these Instructions.
3. Read and understand all Warnings
4. Follow all instructions
5. Do not use this product near water.
6. Clean only with a dry cloth.
7. Do not block any of the ventilation openings. Install in accordance with the manufacturer’s instructions.
8. Do not install near any heat sources such as radiators, heat registers, stoves, or any other electronics (including amplifiers) that produce heat.
9. Do not defeat the safety purpose of the polarized or grounding – type plug. A polarized plug has two blades with one wider than the other. A
grounding type plug has two blades and a third grounding prong. The wide blade or the third prong is provided for your safety. If the provided
plug does not fit in to your outlet, consult an electrician for replacement of the obsolete outlet.
10. Protect the power cord from being walked on or pinched particularly while connected to plugs, convenience receptacles and the point where
they exit from the product.
11. Only use attachments/accessories specified by the manufacturer.
12. Use only with a cart, stand, tripod, bracket, or table specified by the manufacturer, or sold with the product. When a cart
is used, use caution when moving the cart/apparatus combination to avoid injury from tip-over.
13. Unplug this product during lightning storms or when unused for long periods of time.
14. Refer all servicing to qualified service personnel. Servicing is required when the product has been damaged in anyway,
such as power-supply cord or plug is damaged, liquid has been spilled or objects have fallen into the product, the
apparatus has been exposed to rain or moisture, does not operate normally, or has been dropped.
15. The product shall not be exposed to dripping or splashing and that no objects filled with liquids, such as vases, shall be
placed on top of it.
16. Main plug is used as disconnect device and it should remain readily operable during intended use. In order to disconnect the apparatus from
the mains completely, the mains plug should be disconnected form the mains socket outlet completely.
17. Battery shall not be exposed to excessive heat such as sunshine, fire or the light.
Caution:
Danger or explosion if battery is incorrect replaced. Replace only with the same or equivalent type.

GB - 3
CONTROLS
1. Function switch (OFF/AUX/(USB/SD/iPod)/Tuner)
2. Band switch (FM St./FM/AM)
3. Handle
4. Dial Scale
5. FM Antenna
6. Tuning Knob
7. Play/Pause button
8. Stop/USB/SD/iPod button
9. Skip button
10. Skip button
11. Media Hub Door
12. Speaker
13. Volume knob
14. Clock Display
15. Power Indicator
16. FM St. Indicator
17. Minute button
18. Hour button
19. Clock adjust button
20. Record button
21. Mode button (Repeat 1/All)
22. SD /USB indicator (Green indicator for USB mode,
Red Indicator for SD mode)
23. Indicator for iPod
24. USB slot
25. SD/MMC slot
26. Holder for iPod
27. Mode Indicator
28. Record Indicator
29. Aux In socket
30. Docking for iPod
31. Eject button
32. Battery Door
33. Back up battery compartment (for clock)
34. AC socket
35. Cable compartment
36. Extension USB cable.
37. Extension Aux cable.
38. LED sound level meter.
MAINS CONNECTION
Mains Power Supply:
Understand and remember the following instructions to avoid malfunction, fire, injury and electric shock:
• Check if the mains voltage as shown on the type plate (under the set) corresponds to your local mains voltage. This unit is
designed for AC 120V~60Hz.
• Connect the mains lead to the AC mains socket and the wall outlet.
• To disconnect from wall outlet only pull the plug and not the cable.
• Hold the plug tight, when connecting to or disconnecting from wall outlet.
• Do not touch the power cord with wet hands.
• Protect the power cord from heat generating devices.
• Please turn off the player if it has been dropped or is damaged otherwise.
Battery Operation:
• Remove the battery compartment cover
• Insert 8 x UM1 or “D” size batteries, ensuring correct polarity as indicated inside the battery compartment
• Inside the battery compartment and there have a back up battery area for the clock back up batteries and insert 2 x AAA size
batteries with the correct polarity.
Note :
• Keep batteries away from children and pets.
• Insert the batteries observing the polarity (+/-). Failure to properly align the battery polarity can cause personal injury and/or
property damage.
• Remove exhausted batteries from the device. Remove the batteries when the device will not be used for extended periods of time
to prevent damage due to rusted or corroded batteries.
• Never throw batteries into the fire. Do not expose batteries to fire or other heat sources.

GB - 4
CLOCK ADJUST
-
- Press and hold the Clock Adj. button, then press the Hour button to set the Hour.
- After setting the Hour, then Press and hold the Clock Adj. button and press the Min button to set the Minute.
-
LISTENING TO THE RADIO
Slide the Function Switch to select the Tuner mode.
To choose the radio band (AM, FM or FM St.) slide the BAND switch.
Search for the station of your choice using the Tuning knob.
To switch off the radio, Slide the Function Switch to Off mode. Or select the USB/SD or Aux mode.
NOTE: For optimum FM radio reception, extend the FM scope antenna. For AM radio reception, a ferrite bar antenna built into the unit is used.
To improve reception quality, rotate the unit.
USB and SD/MMC FUNCTION
Slide the Function Switch to USB/SD mode.
The unit will identify the USB mode first when you insert the USB drive or SD/MMC card together
Press the Stop/USB/SD button and hold a few seconds to change to SD/MMC card mode, press and hold a few seconds again to change
back into USB mode.
If your choosing the USB mode and the USB indicator will light up in Green colour, If you are playing the SD/MMC mode and the USB/SD
the indictor will light up in Red colour
Press the Stop/USB/SD button again and change back to USB or SD mode.
Press the Skip button once to go to pervious track,
Pres the Skip button once to go to next track
Press the Play/Pause button to pause the track and press the play button again to continuously play the track.
Press the stop button once to stop the track.
iPod FUNCTION
Slide the Function Switch to USB/SD mode.
Press the Stop/USB/SD button and hold a few seconds to change to the iPod mode.
Insert the iPod to the dock for iPod and start by choosing your song.
RECORD FUNCTION
Record from Radio to USB or SD/MMC (FM only)
Slide the Function switch and select the Tuner mode
Select the FM Radio Frequency and Press the Record Button and the record indicator will light up. The unit will identify and record to USB
mode first, Press the Skip and skip button to choose record to USB or SD/MMC mode. After selected record to USB or SD/MMC
mode and the USB and SD/MMC indicator will light up. (Green Indictor = USB, Red indictor = SD/MMC)
Recording will start after 2 - 5 seconds.
During recording the “LED” indicators will be “Flashing”
Press “Stop” to stop the recording and a file will be created on the USB or SD card.
Repeat the above procedure and it will recreate another file of what has been previously recorded.
MODE BUTTON
Press the Mode button once to repeat the current track. The mode indicator will start flashing.
Press the Mode button twice to repeat all tracks.The mode indicator will light up.
Press the Mode button again to cancel the repeat function.
AUX IN FUNCTION
Slide the function switch to select the Aux in function.
You can put the other audio sources through the Aux socket by supplied Aux cable.
SPECIFICATIONS
Mains supply:
120V AC ~ 60Hz
Radio bands:
AM, FM / FM St.
Frequency range:
FM 88 – 108MHz / AM 540 –
1710KHz
Output power:
2 x 5W RMS, 10% THD

GB - 5
Innovative Technology Electronics Corp.
Limited Warranty
90 Days Labor, One Year Parts
Innovative Technology Electronics Corp. (IT) warrants the product to be free from “Defects” in materials under normal use for a period of “One Year”
from the date of the original purchase. The Warranty is “Not” transferable. IT agrees, within the initial “90 Day” period, to repair the product if it is
determined to be defective at “No Charge”. It is further agreed that IT will cover the cost to repair or replace damaged “Parts” only for a total period
of “One Year” from the date of the original purchase. The warranty does not cover cosmetic damage, antennas, AC cords, cabinets, headbands,
ear-pads, or damage due to line power surges, connection to improper voltage supply or settings, misuse, mishandling, accident, acts of God or
attempted repair by an unauthorized service agent.
To obtain service please contact IT for Merchandise Return Authorization (MRA) number by sending a self addressed stamped envelope to the
address below. The original purchaser MUST present a sales receipt / proof of purchase indicating date of purchase, amount paid, and place of
purchase, Send the unit prepaid to the address below in the original packaging or reasonable substitute to prevent damage. You “Must” include your
full name, shipping address and telephone number and Merchandise Return Authorization (MRA) number for our reference. No return will be shipped
back to a PO Box. Please include your check or money order in the amount of $12.00, payable to Innovative Technology Electronics Corp., to cover
handling and return shipping charges. IT will not be responsible for delays or unprocessed claims resulting from a purchaser’s failure to provide any
or all of the necessary information.
Send all inquires or returns to:
Customer Service Dept.
Innovative Technology Electronics Corp
4 Anchor Way, Port Washington, NY 11050
TOLL FREE# 1-877-ITECH-97 (1-877-483-2497)
There are no express warranties except as listed above.
PEPAIR OR REPLACEMENT AS PROVIDED UNER THIS WARRANTY IS THE EXCLUSIVE REMEDY OF THE CUSTOMER, IT SHALL NOT BE
LIABLE FOR ANY INCIDENTAL OR CONSEQUENTIAL DAMAGES FOR BREACH OF ANY EXPRESS OR IMPLIED WARRANTY OF
MERCHANTABILITY OR FITNESS FOR A PARTICULAR PURPOSE ON THIS PRODUCT IS LIMITED IN DURATION TO THE DURATION OF
THIS WARRANTY.
Some states do not allow the exclusion or limitation of incidental or consequential damages, or limitations on how long an implied warranty lasts, so
the above exclusions or limitations may not apply to you. This warranty gives you specific legal rights and you may also have other rights which vary
from state to state.
Instructions shall caution users that modifications not approved by the party responsible for compliance could void user’s authority to operate the
equipment.
The following or equivalent as appropriate:
“Note: This equipment has been tested and found to comply with the limits for a Class B digital device, pursuant to Part 15 of the FCC Rules. These
limits are designed to provide reasonable protection against harmful interference in a residential installation. This equipment generates, uses and
can radiate radio frequency energy and, if not installed and used in accordance with the instructions, may cause harmful interference to radio
communications. However, there is no guarantee that interference will not occur in a particular installation.
If this equipment does cause harmful interference to radio or television reception, which can be determined by turning the equipment off and on, the
user is encouraged to try to correct the interference by one or more of the following measures:
Reorient or relocate the receiving antenna.
Increase the separation between the equipment and receiver.
Connect the equipment into an outlet on a circuit different from that to which the receiver is connected.
Consult the dealer or an experienced radio/TV technician for help.”
Statement that the product complies with Part 15 (i.e.” This device complies with Part 15 of the FCC Rules. Operation is subject to the following two
conditions: (1) This device may not cause harmful interference, and (2) this device must accept any interference received, including interference that
may cause undesired operation.” )
CALIFORNIA PROP 65 WARNING
“WARNING” This product contains a chemicals known to the State of California to cause birth defects or other reproductive harm. For more
information on these regulations and a list of chemicals, log on the following website address:
http://www.oehha.ca.gov/prop65.html
Table of contents
