JDW ZQ661 User manual

ZQ66
1
10062019
JDW
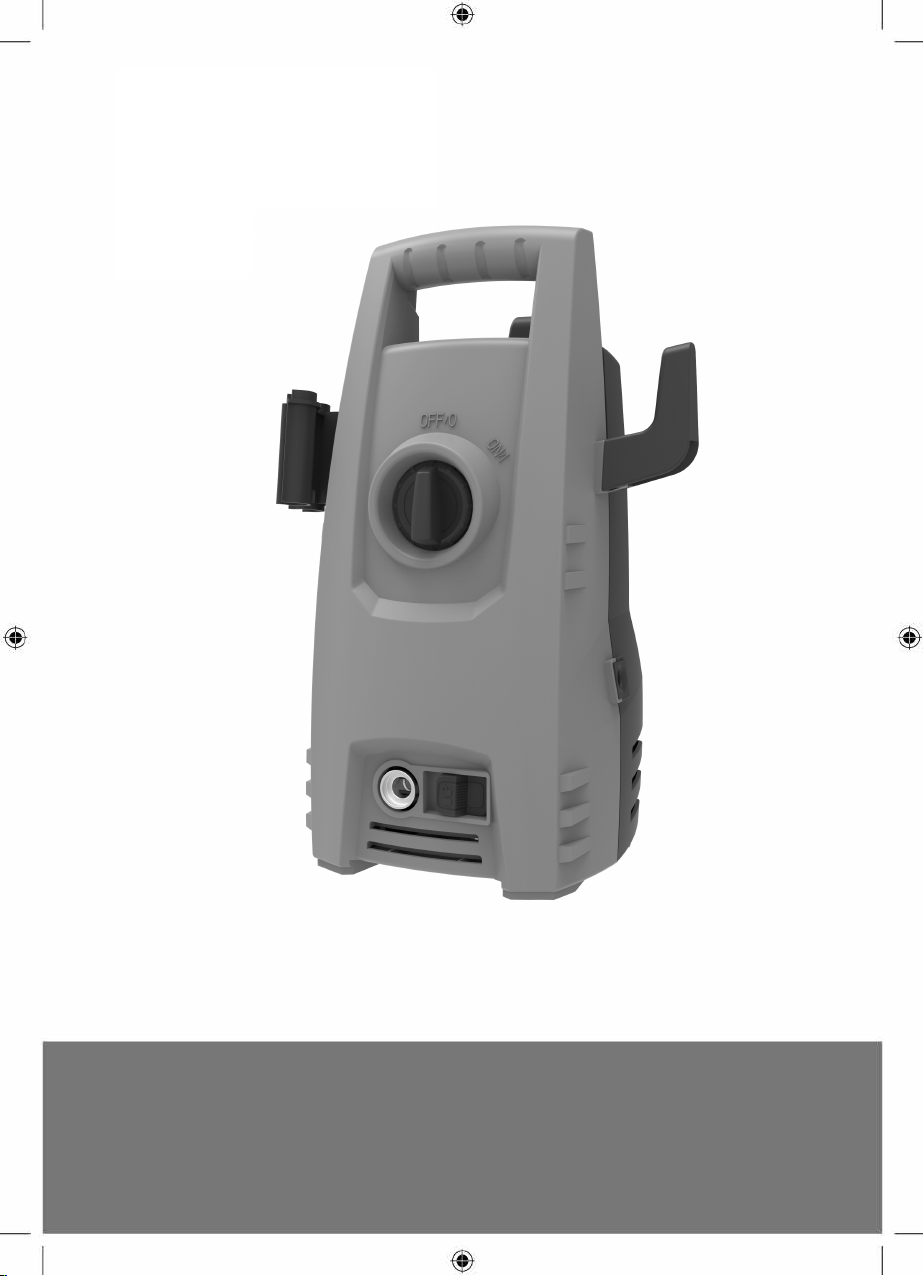
JDW PRESSURE WASHER (100 BAR)
Instruction Manual
Cat No:
Z
Q
66
1

Introduction
Index
.....................................................................................................
T
.....................................................................................................
15
.
17
19
21
22
24
25
1


PRODUCT OVERVIEW
A. High Pressure Hose
B. Cleaning pin
C. Water inlet connector and filter
D. Gun
E. Extension Wand
F. Adjustable Nozzle

ASSEMBLY INSTRUCTIONS
Main Body Assembly
1.
I
nsert the e
x
tension wand(
E
) into the gun(
D
). Push and turn the
e
x
tension wand(
E
) clockwise onto the gun (
D
) until hand tight to
lock it in place. When the pieces are
j
oined properly, you cannot
separate the two components by pulling straight out on the gun(
D
).
I
nsert the detergent no
zz
le in the same manner, depending upon
which attachment is best suited to the surface you are cleaning.
Only one attachment can be inserted into the gun at a time. All
attachments must be inserted into the gun for proper use.

2. Insert the spray adjustable no
zz
le(
F
) into the extension wand(
F
), as
q
uick
-
connect type, you just need push it onto extension wand(
D
)
directly and power
f
ul until hand tight to lock it in place. When the pieces
are joined properly, you cannot separate the two components by pulling
straight out on the extension wand(
D
).
Insert the Turbo no
zz
le in the same manner, depending upon which
attachment is best suited to the sur
f
ace you are cleaning.
O
nly one
attachment can be inserted into the extension wand (
D
) at a time.
A
ll
attachments must be inserted into the extension wand(
D
)
f
or proper
use.
8
3
. Install gun holder and power cord hook, screw the high pressure hose
hook to the main body as below
f
ig, the screws will be packed together
with the manual, please kindly check and
f
ind it when unpacked

4. Attach the high pressure hose(
A
) to the pressure cleaner water
outlet. Insert and quick-connect it tight to avoid leakage. When the
pieces are joined properly, you cannot separate the two
components by pulling straight out from the water outlet. Push the
“B
utton
”
according to the direction of arrow, then you can pull out
the high pressure hose.(see Fig.1)
5. Attach the high pressure hose(
A
) to the gun(
D
). Insert and
quick-connect it tight to avoid leakage. When the pieces are joined
properly, you cannot separate the two components by pulling
straight out from the gun(
D
). Push the hose lock button, then you
can pull out high pressure hose.
(see Fig.2)
9

6
.Attach the hose connector to pressure washer.
B
efore attaching
the connector to the male fitting, remove the plastic cap, which is
inserted onto the male fitting on the pressure washer before
shipping. This plastic cap can be discarded once removed. After
both components have been installed, attach the garden hose with
connector screw on the pressure washer.
C
onnect the garden
hose to the waterspout.

BEFORE FIRST USE
Starting Up
Ensure that the area in which you will be using the Pressure
Washer is clear and free from people and animals. Ensure
that the area you are using the Pressure Washer on is clear
of sharp objects and debris. Due to the high power water jet,
objects are subject to movement.
After connecting the pressure cleaner to your cold water
supply, proceed as follows
:
- Make sure that the ON/OFF switch is in the OFF
position.
- Connect the garden hose to the inlet fitting.
- Insert the adjustable spray no
zz
le into the gun as per
assembly step
#
1.
- Connect the high pressure hose to the high pressure
outlet fitting as per assembly step
#
3 .
- Connect the high pressure hose to the gun, as per
assembly step
#
4.
- Open the water supply valve completely.
- Before turning the unit on, press the gun trigger to bleed
all the remaining air out of the pump and hose.
- Start the pressure cleaner by turning the on/off switch to
the on position and s
q
uee
z
e the trigger.
R
EMINDE
R:
Motor
does not run continuously, only when the trigger is s
q
uee
z
ed.
WA
R
NING
–
R
IS
K
OF IN
JURY!
U
nit will start spraying when
trigger is s
q
uee
z
ed. When turning the unit off after use, high
pressure still e
x
ists inside the hose and unit. Point the gun in a
safe direction and discharge the e
x
cess pressure. NE
V
E
R
direct the high pressure water stream at people or animals.

Automatic
O
n/
O
ff
q
/
q
z
S
q
z
FF
FF
CAUTION
Bleeding The Gun
I
“
I
”
q
z
B
F
C
x
x
1
2

Gun Safety Lock
This pressure cleaner is equipped with a gun trigger safety
lock. When not using the pressure cleaner, use the safety lock
to keep from accidentally engaging the high pressure spray.
Adjust Spray Nozzle
The ad
j
ustable nozzle will allow you to use any variety of
spray patterns from a full fan spray (diagram 1) to a direct
stream spray (diagram
2
). When using the pressure cleaner to
clean wood decks, siding, vehicles etc., always start using the
fan spray and begin spraying from a minimum
36”
away to
avoid damaging the surface of the material you are cleaning.
Always begin by spraying in a testing area free and clear of
people and ob
j
ects.
1
3

Unblock
La
nce
W
hen the nozzle is clogged, it will
cause the pump to build pressure
and may cause unit to surge ,you
can clean the nozzle inserting
needle into the tip to rid of the
deposits.
For the adjustable nozzle ,you
can lubricate the nozzle
collar(high pressure to low
pressure )by using non
-
water
soluble grease regularly.
1
6

CLEAN-UP & STORAGE
Shutting down the Pressure Washer
°°
1
7

Winterising & Long rm Storage
Maintenance
1
8
URN
UNI
O
IMMEDI
ELY
ON
INUED
USE
O
HE
RESSURE
LE
NER
I
HOU
ER
SU
LY
HED
ILL
USE SEVERE
D
M
GE
O
HE
UNI
!
°
°
RNING:
ILURE
O
OM
LY
I
H
HESE
S
OR
GE
INS
RU
IONS
ILL
RESUL
IN D
M
GE
O
HE
UM
SSEMBLY

CLEANING TIPS
Wood and Vinyl Decks
CAUTION: For soer ods, crease e tance fm the
cleang aa.
Cement Patios, Stone and Brick
1
9

Cars, Boats and Motorcycles
Barbecue Grills and Garden ols (Non-Electrical)
20

PRODUCT SPECIFICATION
Mains ltage
Mains Frequency
Power Input
Rated Pressure
Max Pressure
Rated Flow
Max Flow
Max Pressure Water Supply
Max Water mperature
Fully Assembled Weight
Sound Pressure Level
Sound Level
AC 220-240V
50/60Hz
1200W
7
0 bar/
7
MPa
100 bar/ 10 MPa
5.5L/mi
6.5L/min
1.2 MPa
50°C
5 Kg
81dB
92dB
2
1
Table of contents