Jefftron EXTREME PROCESSOR UNIT User manual

Spring limit M190
Installation of this device leave to expert
He must know how to solder and disassemble airsoft gun
Never user soldering gun!
21st century electronics for AEG weapons
EXTREME
PROCESSOR UNIT
GERMANY VERSION
(no burst, no fullauto)

How connect device into the gun
1) Red cable with max. cross section 1,5qmm lead to the positive pole of battery.
Add fuse between battery and device. (not included in package)
2) Black cable with max. cross section 1,5qmm lead to the negative pole of battery
3) Red cable with max. cross section 1,5qmm lead to the positive pole of motor
4) Black cable with max. cross section 1,5qmm lead to the negative pole of motor
5) Blue cable with max. cross section 0,25qmm lead to the one trigger connector
in mechbox (no matter where).
6) Blue cable with max. cross section 0,25qmm lead to the one trigger connector
in mechbox (no matter where).
After connecting and testing the functionality of device drag heat shrink tube (in
package) over the device and shrink it by hot air gun.
1
First connection battery
1. Connect battery - you will feel a short vibration, then a longer vibration in the grip
with motor. This means that the power-up self-test is complete and OK.
2. Put the gun into SEMI and re the gun 5 times. The Processor unit will now be
“trained” for your gun, battery and gear timing. You should do this every time you
power up the gun. Ignore this step for a gun with no SEMI capability such as M249.
3. Put the gun into AUTO and push the trigger. Gun should re single round too.
4. If all went well, you are done! If not, read the 5 page in manual.

Detailed programming scheme
MODE - 1.attribute: same as normal AEG (without Processor unit)
2.attribute: in AUTO mode rstly shoot burst, after pause goes to full-auto
if the trigger is held down. Delay is programmable (6.choice)
3.attribute: with selector on AUTO the gun res only semi.
4.attribute: with selector on AUTO the gun res only burst (default 3 shots)
5.attribute: with selector on AUTO the gun res only semi with forced time
delays between shots. Delay is programmable (6.choice)
BURST TIME - Each trigger pull will shorten/lengthen the burst time about 12%
MOTOR SPEED - Each trigger pull will slow down/speed up the motor about 5%.
Good for too high rate of re gun. (Factory default is 100%)
ACTIVE BRAKING - you can disable motor active braking, which uses the excess
energy from the motor to stop it. In semi re mode piston isn‘t partially
stretched, spring is fully released, parts in mechabox aren‘t under strain and
nozzle locks hop-up chamber in greater part. (factory default is ON)
DELAY - You can change delay between Burst and Full-auto in MODE = 2 (Save - Semi
- Burst/Full) and delay between Semi shots in MODE = 5 (Save - Semi - Semi).
Default delay is normal, you can choose shorter or longer time delay for
both re modes.
SMART ROF - It works only with MOTOR SPEED – reduction (4.choice). It reduce rate
of re (RoF) in full-auto without losing rst shot trigger response, where the
RoF is dropped down smoothly for the rest of the fullauto burst.
BATTERYCUTOFF-UsethisfeatureonlyforLixxbatterieswiththerightnumberofcells
as it is set in program. When Processor unit detects low voltage battery, the
motor will vibrate after each shot. When the battery is dead the gun will
vibrate instead of ring.
FACTORY RESET - Immediately pull and hold the trigger until long vibration. The gun
will no longer respond from now. Disconnect and connect battery - now is Pro-
cessor unit back in factory settings.
2

Brief programming scheme
Connection battery
1 short vibration
Push the trigger --> 1.choice MODE 1.attribute: Save - Semi – Full
2.attribute: Save - Semi - Burst/Full
(hold trigger to change burst to full re mode)
3.attribute: Save - Semi – Semi (factory default)
4.attribute: Save - Semi – Burst
5.attribute: Save - Semi - Semi (time delay)
2.choice BURST TIME - Reduction (1x pull = -12% burst time)
3.choice BURST TIME - Increase (1x pull = +12% burst time)
4.choice MOTOR SPEED - Reduction (1x pull = -5% speed)
5.choice MOTOR SPEED - Increase (1x pull = +5% speed)
6.choice DELAY 1.attribute: Short (Save - Semi - Burst/Full)
2.attribute: Normal (Save - Semi - Burst/Full)
3.attribute: Long (Save - Semi - Burst/Full)
4.attribute: Short (Save - Semi - Semi)
5.attribute: Normal (Save - Semi - Semi)
6.attribute: Long (Save - Semi - Semi)
7.choice ACTIVE
BRAKING
1.attribute: ON (factory default)
2.attribute: OFF
8.choice SMART
ROF
1.attribute: ON (factory default)
2.attribute: OFF
9.choice
BATT. CUT OFF
1.attribute: OFF (Factory default)
2.attribute: 2S li-pol (Low : 6.7V, dead: 6.5V)
3.attribute: 3S li-pol (Low : 9.9V, dead: 9.5V)
4.attribute: 3S li-fe (Low : 7.8V, dead: 7.5V)
5.attribute: 3S li-on (Low : 8.8V, dead: 8.5V)
10.choice FACTORY RESET (hold trigger until long vibration)
Long vibration <--
Ready to re
3

Programming method
Anything you set here will be remembered even if you disconnect the battery.
Programming procedure:
1. Put the gun into SEMI and power up the gun. You will feel one short vibration.
2. Pull the trigger once (before the second longer vibration).
3. The gun will make 3 quick vibrations. You are now in programming mode and the
device is waiting for option you want to change. If you do nothing for 2 seconds,
it will go to step 4.
a) Pull the trigger “X” times where X is the number of the option you want to
change. (1. MODE, 2. BURST TIME - Reduction, 3. BURST TIME - Increase, ...)
b) The gun will vibrate“X” times to conrm the option number selected.
c) To change attribute pull the trigger “X” times where X is the number of
the attribute you want to change. The gun will vibrate with each trigger
pull to signal detection trigger pull.
d) After a short pause, the gun give 3 quick vibrations to signal that
processor unit accepted new settings and is ready for new input.
e) Go to step 3. a) to select another option or do nothing.
4. The gun will make a long vibration signaling that programming is done and the
gun is ready to re.
5. At last put the gun into SEMI and re the gun 5 times to teach device right burst
timing. You should do this every time you power up the gun – re the rst 5 shots in
SEMI. Ignore this step for a gun with no SEMI capability such as M249.
4

Startup codes
After connecting battery processor unit does a power up selfcheck, which lasts a
few seconds. It results vibrating the motor with meaning:
1 vibration - All systems are OK. This vibration is about half second long.
2 vibrations - Battery voltage is less than 7.0 volts.
3 vibrations - Battery voltage is more than 14.0 volts.
4 vibrations - Trigger is pulled during startup. Keep your nger o the trigger,
disconnect and reconnect battery. If your nger is not on the trigger,
check the trigger wiring for a shortcut.
Post ring codes
If it is any problem during ring, it will be signaled by vibrations from the motor:
1 vibration - Battery is Low. This is a single vibration immediately after shooting.
If the battery drops much further, the gun will stop ring. Now is
a good time to change your battery.
2 vibrations - Overcurrent detected. Motor is stopped immediately and the gun
will not re. (Motor may “click” when trigger is pulled). Check for
shorts wiring or motor.
3 vibrations - Overheating detected. Release the trigger, disconnect the power and
inspect your gun for faults
Troubleshooting
- The gun “stuttering”when it tries to re? Does it not complete shots in semi? This
is probably a trigger malfunction. Repair them (or replace). Check cables to trigger.
- If the operation of your gun ever seems completely messed up (or you can‘t re-
member what have you programmed), do a FACTORY RESET.
- If gun does something strange (or nothing) – STOP! disconnect battery and look
for the problem.
- Disconnect battery, when you don’t use gun for longer time, because Processor
unit drains small amount of current from battery all the time.
5
Table of contents
Other Jefftron Computer Hardware manuals
Popular Computer Hardware manuals by other brands
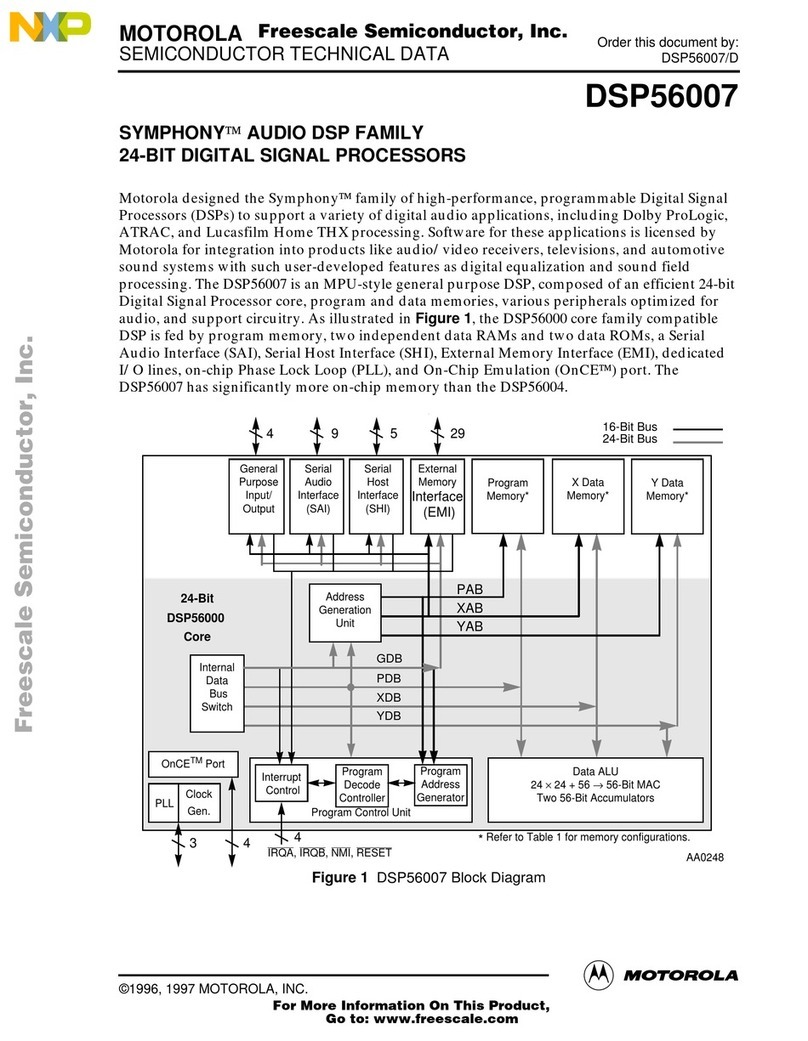
Motorola
Motorola NXP SYMPHONY DSP56007 Technical data

Honeywell
Honeywell Gamewell Velociti AMM-4F Installation and maintenance instructions
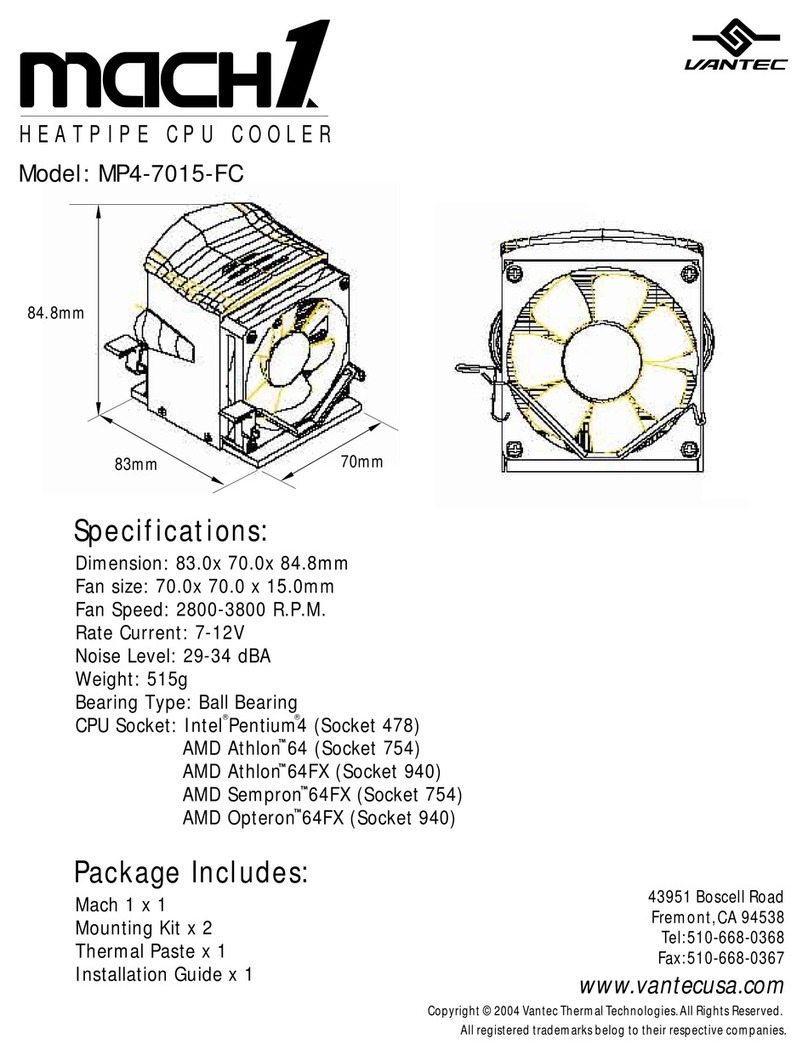
Vantec
Vantec Heatpipe CPU Cooler MP4-7017-FC Specifications

Qsonica
Qsonica MICROSON XL 2000 Operator's manual
NXP Semiconductors
NXP Semiconductors FRDM-K32L2A4S quick start guide
Espressif Systems
Espressif Systems ESP32-S2-MINI-1 user manual
