Jegs 81026 User manual

Installation Instructions for 81026
Cordless Grease Gun
20 V Lithium ion Battery with LCD, 2-Speed
WARNING
Please read this manual prior to installation or use of this tool for your safety.
Failure to follow instructions and safety precautions may result in serious injury.
Please keep this manual nearby for future reference.
Intended Use
JEGS battery grease gun was exclusively designed to pump and dispense lubricant using 20V
battery power. Do not exceed the maximum specification ratings.
Safety Instructions
WARNING!
Read all safety warnings and instructions carefully.
Failure to follow the warnings and instructions may result in electric shock, fire or serious
injury.
1Work Area Safety
1.1 Keep work area clean and well lit. Cluttered or dark areas invite accidents.
1.2 Do not operate cordless grease gun in explosive atmosphere, such as in the presence of
flammable liquids, gases or dust. It may ignite the dust or fumes.
1.3 Keep children and bystanders away while operating the cordless grease gun. Distractions can
cause you to lose control.
2Electrical Safety
2.1 Avoid body contact with earthed or grounded surfaces such as pipes, radiators, ranges and
refrigerators. There is an increased risk of electric shock if your body is earthed or grounded.
2.2 Do not expose cordless grease gun to rain or wet conditions. Water entering will increase the
risk of electric shock.
2.3 Be sure the switch is released before loading the battery pack.
1-800-345-4545 jegs.com

3Personal Safety
3.1 Stay alert, watch what you are doing and use common sense when operating a cordless grease
gun. Do not use a cordless grease gun while you are tired or under the influence of drugs,
alcohol or medication. A moment of inattention while operating cordless grease gun may
result in serious personal injury.
3.2 Dress properly. Do not wear loose clothing or jewelry. Keep your hair, clothing and gloves away
from moving parts. Loose clothes, jewelry or long hair can be caught in moving parts.
3.3 Do not overreach. Keep proper footing and balance at all times. Proper footing and balance
enables better control of the cordless grease gun in unexpected situations.
3.4 Use safety equipment. Cordless grease gun can develop with high pressure up to 10,000PSI
(689bar). Always wear approved eye protection and gloves for protection when operating it.
Keep hands clear of the exposed rubber portion of hose.
4Safety Warning
4.1 Do not use the cordless grease gun when the switch does not turn it on and off. Any cordless
grease gun that cannot be controlled with the switch is dangerous and must be repaired.
4.2 Disconnect the battery pack from the cordless grease gun before making any adjustment,
changing accessories.
4.3 When battery pack is not in use, keep it away from other mental objects, like paper clips, coins,
keys, nails, screws or other small mental objects that can make a connection from one terminal
to another. Shorting battery terminals together may cause burns or a fire.
4.4 Under abusive conditions, liquid maybe ejected from the battery, avoid contact. Liquid ejected
from battery may cause irritation or burns. If contact accidentally occurs, flush with water. If
liquid contacts eyes, seek medical help.
5Specific Safety Warnings
5.1 Only use the battery pack which specifically designed for this cordless grease gun. Use of any
other battery pack may create risk of injury and fire.
5.2 Recharge only with the battery charger specifically designed for this cordless grease gun. A
charger that is not suitable for the battery pack may create a risk of fire when charging.
5.3 Extreme pressure may cause nozzle extension or whip hose to burst. Use only approved hoses
and follow whip hose instructions and warnings.
5.4 When unpacking, check it to make sure all the parts shown on the parts list are included.
1-800-345-4545 jegs.com

Specifications:
Model
Operating power:
20V
Operating temperature
-10 to 40℃
Maximum peak pressure
10000PSI (689bar)
Battery capacity
2.0/4.0Ah
Two pump speed
Description
Pressure
Flow rate
LCD display
High out-put(H)
10000 Psi(689bar)
120~140 g/min
H
Low out-put(L)
6000 Psi(413bar)
80~100 g/min
L
Accessories
Part No.
Part name
Description
C2101
Battery pack
Lithium-ion 2.0/4.0Ah
C2102
Battery charger
100V-240VAC/1hour full charge time
C2103
Grease tube
400g/450g(14oz/16oz)/lube shuttle
C2104
Outlet hose
42inch/10000 Psi(689bar)
C2105
Outlet coupler
4 jaws
C2106
Blow case
Plastic
Note:The declared values are for reference only, during actual use of the grease gun values
can differ from the declared values depending on the ways in which the tool is used.
WARNING!
Do not continue to hold down trigger if grease gun is stalled.
This could damage the motor or cause fire.
Use only accessories that provided with this tool. Use other accessories which is not
provided with this tool may create risk of injury.
Do not exceed the maximum specification ratings under any circumstances.
1-800-345-4545 jegs.com

LCD Operation
Control Center
Electrical protection: avoid high current draw (more than 40A). The circuit board will shut
down the circuit.
LED shows battery status, pumping speed and grease output.
Operation
2-Speed Selection
Pressing button B switches the grease gun between high and low
pump speed.
“H”- High speed grease output on 150 g/min at 10000 PSI.
“L”- Low speed grease output on 80 g/min at 6000 PSI.
LCD Display & Light
Trigger turns on/off the LCD display and grease gun.
Press A to turn on/off the work light.
LCD Display will turn off after 20 minutes of no action with the grease gun.
Grease Flow Monitoring
Press A with 5 minutes to change the unit from Oz to Gram.
Flashing red LCD warning the grease is used up. Replace grease cartridge or refill tube.
Prime the grease gun after each refill or grease cartridge changed. To prime, operate the
gun until grease flows from hose. Use vent valve to expel air pockets.
Recharge the Battery
LCD display the battery is low. Recharge the battery.
Clear Reading
Press button B for 3 minutes to clear display of the previous reading.
1-800-345-4545 jegs.com
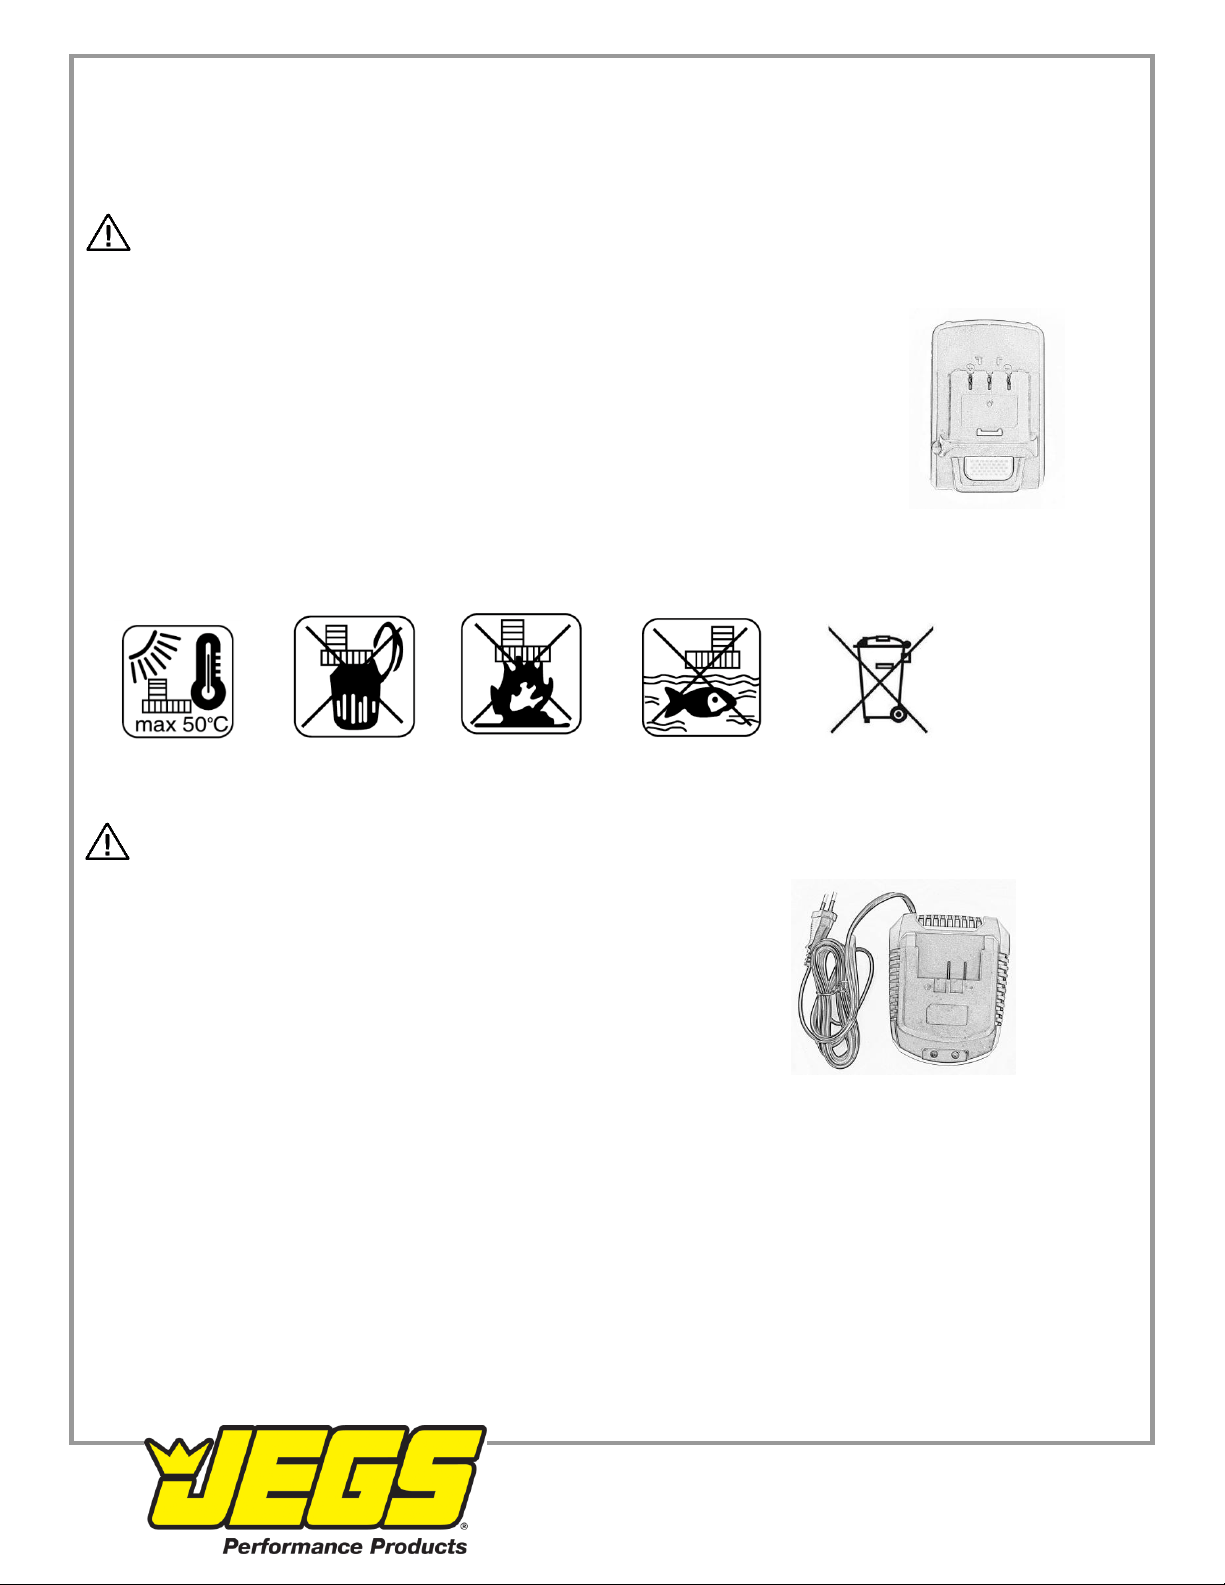
Safety Instructions For Battery & Charger
Failure to comply may result in serious injury or death.
Battery Warning
Do not probe with conductive objects.
Do not charge damaged battery, replace it immediately
Never attempt to disassemble battery for any reason.
Do not store in locations where the temperature may exceed 40℃
such as outside sheds or metal buildings in the summer.
Charge only at ambient temperatures between 10℃to 40℃.
Charge only with using the charger provided with this tool.
Separate collection when disposing of batteries.
Do not dispose with normal household waste.
Do not expose battery to fire, spark or flame. Battery liquid may burn.
Do not use this battery to any other tools.
Charger Warning
The charger is intended for indoor use only.
Only use for charging the battery with this tool.
Do not expose charger to rain, snow or frost.
Do not charge battery in damp or wet location.
Do not abuse power cord.
Do not attempt to repair power cord.
Do not operate charger with damaged cord and/or plug.
Do not attempt to disassemble charger.
Unplug charger from outlet before any cleaning to avoid electric shock.
Do not cover the charger and battery with anything while charging.
Charge battery only at ambient temperatures between 10℃to 40℃.
Do not use this charger to charge another battery.
1-800-345-4545 jegs.com

Charger Operation
Before using your tool for the first time, the battery should be fully charged. If the battery
pack is installed in the tool, remove it following the charging procedure below.
Charging Procedure
Make sure power circuit voltage is the same as the shown on the charger specification.
1. Plug the charger into outlet before inserting battery pack.
2. Insert battery pack into charger. Indicator light on charger changes to show the charging
process
Battery is charging (Solid Red)
The charging is complete (Solid Green)
Red light flashing at a fast rate, replace battery
Charger detected a weak or damaged battery
Stop charging battery.
3. Disconnect charger from power source and remove battery pack from charger after full
charged.
CAUTION!
Charge the battery in clean and dry location when temperatures are between 10℃to 40℃.
Battery temperature will increase during and shortly after use. Battery may not accept a
full charge if charged immediately after use. Allow the battery pack to cool to room
temperature before charging for best charging.
Important note: When battery pack is fully charged, disconnect the charger from the
power source and remove the battery pack from the charger
1-800-345-4545 jegs.com

Priming Instructions
Notice: Always open vent valve when replacing cartridge. This will allow air to escape from
cartridge and prime grease gun.
Notice: Remove air pocket! Air pocket in the cartridge will prevent grease from being
pumped and cause the grease gun to lose its prime. Unscrew the vent valve several times to
remove small air pockets trapped in this area.
Install a Grease Cartridge
1. Unscrew the grease tube assemble from the cordless grease gun.
2. Pull back on the follower handle until the follower rod is fully extended and latch the
follower rod groove into the slot on the tube end cap of the grease tube.
3. Remove the plastic cap from the grease cartridge and insert cartridge into the container
tube.
4. Remove the pull tab from grease cartridge and screw grease tube into cordless grease
gun assembly.
5. Release follower rod from slot to allow it to go forward. Purge air from assembly. See air
purging instruction.
Notice: Reset display reading after purging air.
1-800-345-4545 jegs.com

To Fill The Gun From Bulk Container
1. Remove grease tube from the gun.
2. Unscrew the grease tube assembly cap from the grease tube
assembly. Pull on the follower handle to extract the follower and
spring from the grease tube assembly.
3. Insert the open end of the grease tube assembly into lubricant.
Slowly pull the follower handle back while pushing the grease tube
assembly deeper into the lubricant to prevent air pockets from
being pulled into the grease tube assembly.
4. When the follower rod is fully extended, pull it sideways to latch the
rod groove into the keyhole slot in the grease tube assembly cap.
5. Screw the grease tube into the gun and release the follower rod from the slot on the end
cap of the tube to allow the follower rod go forward.
6. Clean any excess grease off the gun body.
Notice: Reset display reading after purging air.
To Fill the Gun with a Filler Pump
1. A bulk filler fitting will need to be installed in the grease gun head cap (not included).
2. Replace the pipe plug in the head cap with the bulk loader fitting.
3. Engage the follower rod with the follower by rotating the follower handle.
4. Insert the gun filler nipple into the filler pump socket.
5. Operate the filler pump to fill the container. When the follower rod groove is exposed,
the grease tube assembly is filled. The follower rod will be extended approximately 8
inches (20 cm).
6. Disengage the follower rod from the follower by rotating the follower handle. Push the
follower rod into the grease tube assembly.
Do not overfill!
Notice: Reset display reading after purging air.
To Expel Air Pockets (Pressure relief valve)
1. Free the follower rod from the grease tube assembly cap and depress the vent valve
when pushing the follower rod forward.
2. Squeeze the switch vent valve several times to operate gun until trapped air is expelled.
Push the follower rod into the grease tube assembly.
1-800-345-4545 jegs.com

1-800-345-4545 jegs.com

TROUBLESHOOTING
Condition
Possible Cause
Corrective Action
Motor fails to run
Battery needs charging.
Faulty wiring to motor.
Recharge battery.
Remove battery, disassemble
handle and check wiring for
loose connection.
Pressure Relief Valve
opens to discharge
grease
Blocked Line.
Blocked Bearing
Blocked Grease fitting
Check lines, brazing and grease
fitting to remove or clean
obstructions.
PowerLuber fails to
dispense grease
Grease tube assembly is out
of grease.
Loss of prime.
Ball check is not functioning.
Check that grease tube
assembly has grease.
Repeat priming operation.
Remove, clean and inspect ball
seat area.
PowerLuber continues to
lose prime.
Air may be trapped in several
locations in container after
bulk filling.
Follower may be binding in
grease tube assembly.
Empty grease tube assembly,
refill and repeat priming
instructions.
Replace grease tube assembly.
Battery fails to take a
charge.
Charger may not have power.
Battery may be bad.
Check that receptacle has
power.
Replace battery.
1-800-345-4545 jegs.com
Table of contents
Other Jegs Tools manuals


Popular Tools manuals by other brands


SCHUNK
SCHUNK KSG series Installation and operating instruction

Hilti
Hilti NPR 32 XL-22 manual

Paladin Tools
Paladin Tools PA1162 quick start guide

Beechcraft
Beechcraft Duchess 76 Pilot's operating handbook and faa approved airplane flight manual

Priest Tools
Priest Tools Sieg SX2 installation guide

ERGODYNE
ERGODYNE SQUIDS 3785 quick start guide