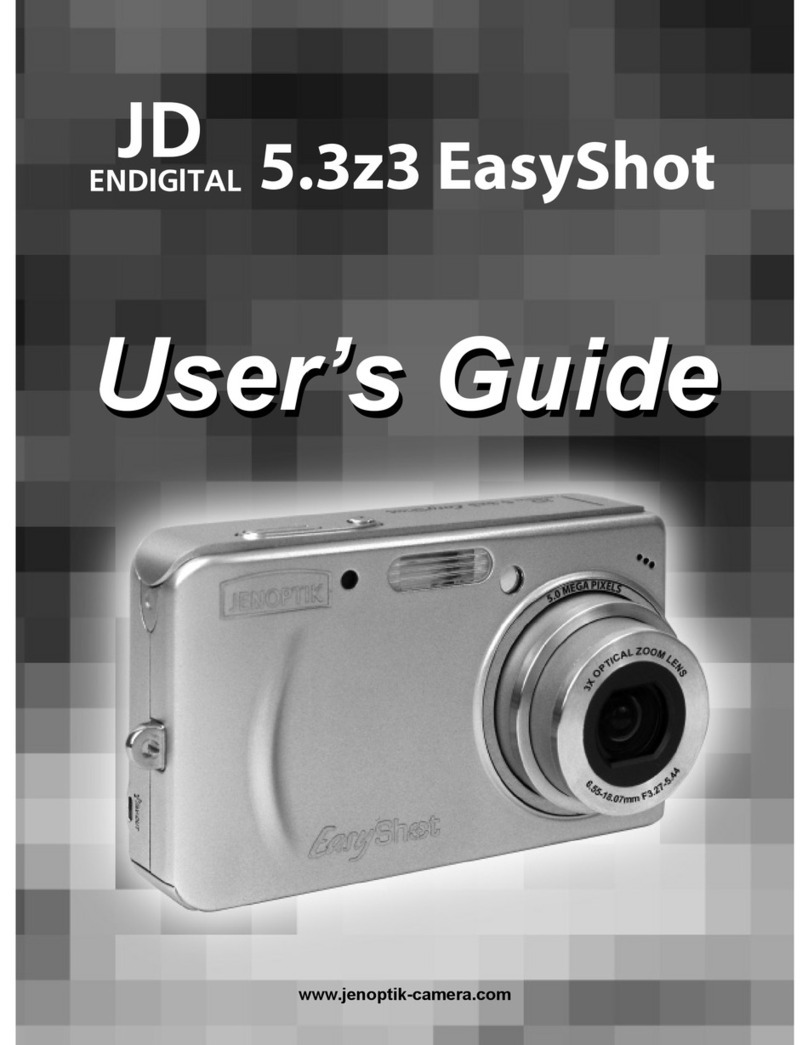
Jenoptik JD210F User manual


2
JD 2100fUser's Manual
Thank you for purchasing the JENOPTIK JD210F digital
camera.To achieve the best performance and results it
is highly recommended.This instruction manual is care-
fully read prior to any use or operation.

3
Product introduction
Systems Requirement
1. 2.1 Mega pixel high-resolution (CCD) compact camera.
2. Plug & Play USB interface.
3. NTSC and PAL Video Out (Playback on TV).
4. 2x digital zoom.
5. Large easy-to-use LCD status panel.
6. Compactflash memory expansion.
7. 60 seconds auto power off.
8. High-eye point optical view finder.
1. System: Win98/98SE/ME/2000 & Mac: OS 9.x or higher.
2. Pentium 166 MHz CPU or higher.
3. Minimum 16 MB RAM or higher
4. At least 110MB Free hard Disk space.
5. CD-ROM
6. USB interface

4
1
2
3
75
6
8
10
9
4
Package contents
Package contents:
1. Digital Camera
2. Storage Driver for win98
3. Adobe Photo Deluxe for Mac
4. Adobe PhotoDeluxe for PC
5. Video cable
6. USB cable
7. Strap
8. Pouch
9. 2 x "AA" Batteries
10. User s manual

5
Nomenclature
1. Power, Macro switch
2. Shutter release button
3. Ready lamp (green)
4. Busy lamp (red)
5. View finder
6. LCD Panel
7. Flash
8. Lens
9. Card-slot door
10.Strap eyelet
11. Enter / Confirm button
12. Left selection button
13. Right selection button
14. Video-out terminal
15. DC terminal (adapter
optional).
16. USB connector
17. Tripod socket
18. Battery-chamber door

6
Loading the CF card
(+)
(-)
Loading the battery
1. To load the battery: (Refer to figure below)
2. Please note the correct positive (+) and negative (-) polarity
(As shown in figure below)
3. Close the battery cover.
1. Open the card-slot door as shown in the illustration.
2. Insert the CF card into the card slot.

7
Press the key
Press the key
LCD Panel Display
A. Mode button setting
B. Select button setting
(b.) Image size Selection
(a.) Flash Selection
Red-eye
reduction
Fill-in flash
Flash-off Auto Flash
1600x1200 800x608
(c.) Quality selection
Normal Best

(i.) Card / Format
Format
no yes
No Card
8
(e.) Digital zoom Selection
2x digital zoom on 2x digital zoom off
(f.) Self-Timer Selection
on off
(g.) Delete Selection
Del.All Last One
no no
Del.All Last One
yes yes
LCD Panel Display
(d.) TV/video Selection
NTSC PAL
C.Other
(h) Macro
on off
Rotate the function dial to
(j)Battery
Full Half Low

9
Basic Operations
Taking pictures:
1. Turn power on.
2. Select the image size (1600/800) and the quality (Best/ Normal)
3. Frame the subject in the viewfinder.
4. Make sure the green (camera-ready) lamp is on.
5. Lightly depress shutter release button gently until camera beeps.
(For best results please keep the lens clean and close lens cover
when not in use.)
Delete pictures:
1. Press menu button, use either or left/right button to highlight delete
feature.
2. Press menu button to confirm.
3. Use the Right/Left button to select single image or delete all and
then menu button to confirm.
4. Finally use left or right button to highlight yes and mode to confirm
deletion.
(When connect to TV or Video for play back images may be deleted by
following above steps.)
Flash mode:
The camera has four flash modes:
1. Auto flash->The flash will fire automatically in low light conditions.
2. Fill-in flash>The flash will fire regardless of lighting conditions, this
mode is recommended for back-lit conditions or to fill in shadows.
3. Flash off> Flash will not function in this mode, this mode is useful
for ie, taking pictures through glass, low light landscapes etc.
4. Red eye-reduction> This mode is to reduce the effect of red-eyes
with flash photography in low light.

10
Basic Operations
Self-timer mode:
In this mode the user can delay shutter release for approx 10 seconds
for inclusion in photo.
1. Use a tripod or a steady support to avoid camera shake.
2. Press the mode button to display self-timer symbol.
3. Compose the picture through the view-finder.
4. depress shutter release.
5. Red self-timer lamp light will blink for 10 seconds before image is
taken.
TV mode:
1. Turn on power.
2. Choose TV mode for NTSC/PAL by pressing menu and left/right
buttons to select, plug in Video Cable.
3. Choose from one of three options below on the TV Screen. Select
by using the Left/Right button and then press the menu button to
confirm.
3.1 Live view: Instant image capture with preview on TV. Image cap-
ture is, as described previously.
3.2 Single image display: To show pictures on TV monitor press
left/right buttons to scroll for the desired time.
3.3 Slide show: In this setting the camera will scroll through one
image at a time automatically, as a slide show.
To revert back to the main menu press the menu button or shutter
release button.

11
Software operations
Driver installation:
1.For Win 98 / 98SE
(1) Start Window 98 / 98SE
(2) Insert the CD supplied into the CD-ROM Drive.
(3) Connect the camera to the PC with the USB cable sup
plied.
(4) Follow the instructions shown on the screen.
(5) Disconnect the USB cable and restart the computer.
2. For OS Win 2000 / ME, connect the camera to the PC with
the USB cable supplied, the driver is configured automatical-
ly.
3. To locate images open MY COMPUTER and select remov-
able disc drive. All image files are located within.

12
INSTALLING
Adobe PhotoDeluxe
To use the supplied image editing application Adobe Photo Deluxe
Home Edition 4.0 (Windows¤ version) or Adobe Photo Deluxe 2.0
(Macintosh version), the following systems are required.
For the IBM-PC/AT and the compatible unit
CPU
OS
Memory
Hard disk
space
Monitor
CD-ROM
drive
Intel Pentium II processor of 233 MHz or more, or the
computer equipped with the fully compatible processor.
Windows¤95, Windows¤98 Windows2000.
Windows¤ NT 4.0 (Service Pack 5)
16 MB or more of built-in memory (For Windows¤ NT,
32 MB or more of built-in memory).
110 MB or more of available hard disk space.
Resolution 800 x 600/th color monitor for 16-bit color
video display
Necessary (when installing and using the software).
CPU
OS
Memory
Hard disk
space
Monitor
CD-ROM
drive
68040 or later processor or better, or Macintosh or
Power Macintosh
Mac OS 8.6, OS9
32MB RAM or higher
110 MB or more of available hard disk space.
The color monitor capable of displaying 256 colors
Necessary (when installing and using the software).
For Apple Macintosh

13
INSTALLING
Adobe PhotoDeluxe
Installing to the IBM-PC/AT and the compatible unit
1. Turn on the computer and start up Windows¤.
2. Insert the Adobe PhotoDeluxe 4.0 CD-ROM into the CD-ROM drive.
3. When the setup program starts up automatically displayed on the
screen.
¥ When the setup program does not start up automatically, select
"Start" "Run" and input "D:\ENGLISH\NSTALL\SETUP.EXE"
in the box of "Open" (when your CD-ROM drive is the D drive) and
click [OK].
Installing to the Apple Macintosh
1. Turn on the computer and start up Mac OS.
2. Insert the Adobe PhotoDeluxe 2.0 CD-ROM into the CD-ROM drive.
3. When the icon of Adobe PhotoDeluxe 2.0 CD-ROM is displayed on
the desktop, double-click its icon.
4. Double-click "English" folder to open it.
5. Double-click "PhotoDeluxeTM Installer" icon.
After that, follow the operations according to the indication displayed
on the screen.

14
* Sensor Resolution : 2.1M Pixel CCD
* Image Resolution : 1600 x 1200 pixels , 24 bit color
: 800 x 608 pixels , 24 bit color
* Image Compression : Best(1/5), Normal(1/10) - External
: Best(1/15), Normal(1/20) - Internal
* File Format : DCF
* Image Storage : External 8M CF card - 10 Pic.
( Best mode) , 20Pic. ( Normal mode)
: Internal - 8 Pic. ( Best mode ) ,
16 Pic. ( Normal mode)
* LCD Display : B/W LCD for functions.
* View Finder : Optical Reflective style View finder.
* Zoom : 2 x digital.
* Lens : Fixed Focus.
Macro 0.1-0.15M.
* Focal Length : f = 5 mm ( 33mm of 135 Camera)
* Focus Range : Normal-0.7M to infinity,
Macro-Up to 0.17M.
* Exposure : Auto ( EV 5-15 )
* Shutter Speed : 1 - 1/250
* Aperture Range : F3.6/11
* ISO Equivalent : 100-400
* Flash : Strobe flash (Auto, Fill, Off, Red-eye),
* Self-Timer : 10 seconds
* Tripod Mount : Standard
Basic Operations

15
Caution
* Interface : USB , CF card
* Video Out : NTSC / PAL
* Auto power off : 60 seconds
* Power Sources : a) 2 x "AA" Batteries.
b) USB power
c) AC Adaptor (optional)
* Certification : CE, FCC class B
* System requirment : Win 98 /98SE /ME /2000 ,
16M RAM Min.
, 110M Free Disk.CD-ROM
: Mac OS 9.0 or above
Basic Operations
1. Universal main adapter may be used with this camera, how-
ever the correct voltage and out put must be observed to
prevent damage to the camera( 3V 1000 MA).
2. Turn off power before disconnecting camera from mains.
3. After use, please turn off the camera and unplug the AC
adapter from the socket.
4. Keep the camera/mains devices dry and avoid any undue
heat, stress or impact damage.
5. Always remove batteries from the camera when not in use.

1
JD 2100fBedienungsanleitung
Wir beglückwünschen Sie zum Kauf Ihrer Kamera JD2100f.
Sie haben damit eine einfach zu bedienende und
zuverlässige Kamera erworben. Bitte lesen Sie die Bedienungs-
anleitung sorgfältig durch, bevor Sie die Kamera zum ersten
Mal benutzen. Bei genauer Kenntnis der Funktionsweise und
sorgfältigem Umgang mit der Kamera können Sie sich für viele
Jahre an den digitalen Bildern erfreuen, die Sie damit aufnehmen.

2
Produktmerkmale
Systemvoraussetzungen
1. CF-Karten Typ I bis 256 MB einsetzbar
2. Plug-und-Play über USB-Schnittstelle
3. Erkennung am PC als Wechseldatenträger
4. Videoausgang für NTSC und PAL
5. Natürliche Bildqualität
6. Einfache und leicht zu handhabende LCD-Anzeige
7. Automatische Abschaltung nach 60 Sekunden
1. Windows 98/98SE/ME/2000/XP, Mac: OS 9.0.4/9.1/9.2
2. Pentium PC mit 166 MHz oder höher
3. mindestens 32 MB verfügbarer Arbeitsspeicher
4. mindestens 110 MB freie Speicherkapazität
5. CD-ROM-Laufwerk
8. Geringes Gewicht
6. VGA-Farbmonitor
7. USB-Anschluß

3
Lieferumfang
1. Digitalkamera inclusive 8 MB CF-Karte
2. Treibersoftware
3. Software Adobe PhotoDeluxe für PC
4. Software Adobe PhotoDeluxe für Mac
5. Videokabel
6. USB-Kabel
7. Kameratragschlaufe
8. Kameratasche
9. 2 Stck. Alkaline Batterien Typ "AA"
10. Bedienungsanleitung
1
2
3
75
6
8
10
9
4

4
Teile der Kamera
1. Ein-/Aus-Schalter /
Schalter für Nahaufnahme
2. Auslöser
3. Bereitschaftsanzeige (grün)
4. Betriebsanzeige (rot)
5. Sucher
6. LCD-Anzeige
7. Blitz
8. Objektiv
9. Speicherkartenfach
10.Öse für Tragschlaufe
11. Taste Enter/Bestätigung
12. Wahlschalter, links
13. Wahlschalter, rechts
14. Videoausgangsbuchse
15. DC-Buchse
16. USB-Anschluss
17. Stativaufnahme
18. Batteriefachdeckel

5
1. Speicherkartenfach entsprechend Abbildung öffnen.
2. Speicherkarte einschieben.
3. Speicherkartenfach schließen
Einlegen der Batterien
Speicherkarte einlegen
1. Einlegen der Batterien entsprechend Abbildung.
2. Beim Einlegen der Batterien auf richtige Polung
entsprechend der Abbildung achten.
3. Batteriefach schließen.
(+)
(-)
Table of contents
Languages:
Other Jenoptik Digital Camera manuals
Jenoptik
Jenoptik JD 2100m User manual
Jenoptik
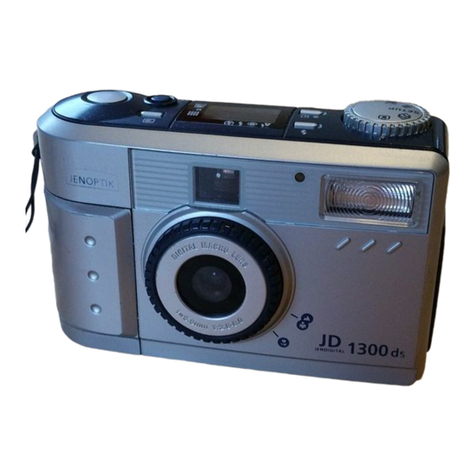
Jenoptik Jendigital JD 1300 ds User manual
Jenoptik
Jenoptik JDC 3.0S User manual

Jenoptik
Jenoptik B3LCD User manual
Jenoptik
Jenoptik JD C3.1z3 User manual
Jenoptik
Jenoptik JD 1300F User manual
Jenoptik
Jenoptik 10.0z3 EasyShot User manual
Jenoptik
Jenoptik JD 4.1Z8 User manual
Jenoptik
Jenoptik PROGRES GRYPHAX SUBRA Quick start guide
Jenoptik
Jenoptik JD 3.1exclusiv User manual
