manuals.online logo
Brands
  1. Home
  2. •
  3. Brands
  4. •
  5. JGR
  6. •
  7. Measuring Instrument
  8. •
  9. JGR XN1 RL1 User manual

JGR XN1 RL1 User manual

Connecting XN1 Ready Products Directly
to PC via Ethernet
www.jgroptics.com © 2020 JGR Optics Inc. All Rights Reserved
Connecting XN1 Ready Products Directly to PC via Ethernet
This guide will show you how to directly connect XN1 Ready products such as the RL1, SX1, PT1
and OA1to PC via Ethernet.
For more information, please visit www.jgroptics.com or email support@jgroptics.com
www.jgroptics.com © 2020 JGR Optics Inc. All Rights Reserved
1. Download and Install XN1 Terminal.
The software is available on: https://jgroptics.com/downloads/software
2. Download and Install the NI VISA runtime.
The drivers are available on: https://www.ni.com/cs-cz/support/downloads/drivers/download.ni-visa.html
3. Connect your XN1 Ready device to PC using the following cables:
USB 2.0 A (PC) to USB B (XN1 device)
Ethernet RJ-45 cable
www.jgroptics.com © 2020 JGR Optics Inc. All Rights Reserved
Step 3.
Connecting XN1 Ready Products Directly to PC via Ethernet
4. Open the XN1 Terminal software and click Detect Devices
5. Open the Connect to: dropdown menu and select your device on USB
www.jgroptics.com © 2020 JGR Optics Inc. All Rights Reserved
Step 4.
Step 5.
Connecting XN1 Ready Products Directly to PC via Ethernet
6. In the terminal window enter the following commands:
a) *idn?then press Enter (confirm communications)
b) SYST:COMM:LAN:ADDR “192.168.99.24” then press Enter (set the static IP address)
7. In the Setup page on your device, confirm the IP address has been set
www.jgroptics.com © 2020 JGR Optics Inc. All Rights Reserved
Connecting XN1 Ready Products Directly to PC via Ethernet
Step 6.
b)
Step 7.
a)
8. Change your computer to a static IP Address. In Windows 10,go to Settings then click Network &
Internet
9. Click Change adapter options
www.jgroptics.com © 2020 JGR Optics Inc. All Rights Reserved
Step 8. Step 9.
Connecting XN1 Ready Products Directly to PC via Ethernet
10. Right-click on Ethernet which has an Unidentified network and select Properties
11. Select Internet Protocol Version 4 (TCP/IPv4) and click on Properties
12. Select Use the following IP address: and enter the following information:
IP Address: 192.168.99.3
Subnet Mask: 255.255.255.0
Default gateway: (Leave Blank)
www.jgroptics.com © 2020 JGR Optics Inc. All Rights Reserved
Step 10. Step 11. Step 12.
Connecting XN1 Ready Products Directly to PC via Ethernet
13. Go back to the XN1 Terminal software and click Add Ethernet
14. Enter the following information:
a) IP: 192.168.99.24
Port: 5025
b) Click Test Connection
c) Click Add device
15. You now have a terminal window connected to the device via Ethernet. The USB cable is no longer
required and can be disconnected.
www.jgroptics.com © 2020 JGR Optics Inc. All Rights Reserved
Step 13. Step 14. Step 15.
a)
b)
c)
Connecting XN1 Ready Products Directly to PC via Ethernet
16.To access your device and check if your internal webserver is set correctly, enter 192.168.99.24 in
any web browser (recommended: Google Chrome). The webpage should load within a few seconds.
www.jgroptics.com © 2020 JGR Optics Inc. All Rights Reserved
Connecting XN1 Ready Products Directly to PC via Ethernet
www.jgroptics.com © 2020 JGR Optics Inc. All Rights Reserved
NOTE: To reset the Ethernet connection back to DHCP (default dynamic IP address)
a) Log onto the device webpage by typing the IP address in any browser
b) Go to Settings -> Network Settings
c) Enable Use DHCP
d) Click Save
b)
c)
d)
a)
Connecting XN1 Ready Products Directly to PC via Ethernet

This manual suits for next models

3

Other JGR Measuring Instrument manuals

JGR TLS5 User manual

JGR

JGR TLS5 User manual

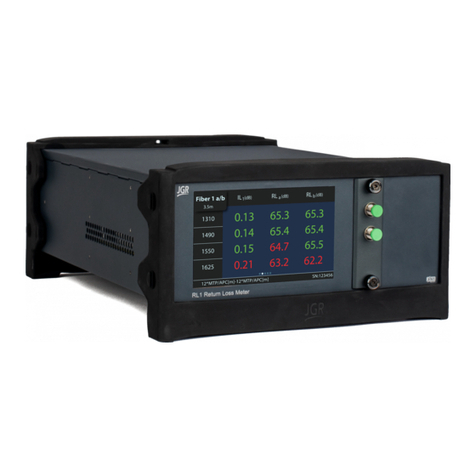
JGR RL1 User manual

JGR

JGR RL1 User manual

JGR BR1 User manual

JGR

JGR BR1 User manual

JGR RL1 User manual

JGR

JGR RL1 User manual

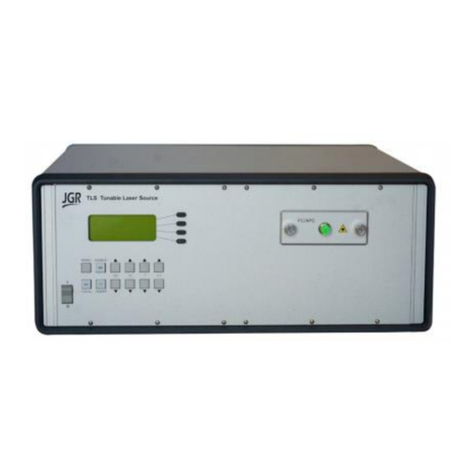
JGR TLS User manual

JGR

JGR TLS User manual

JGR RL1 User manual

JGR

JGR RL1 User manual

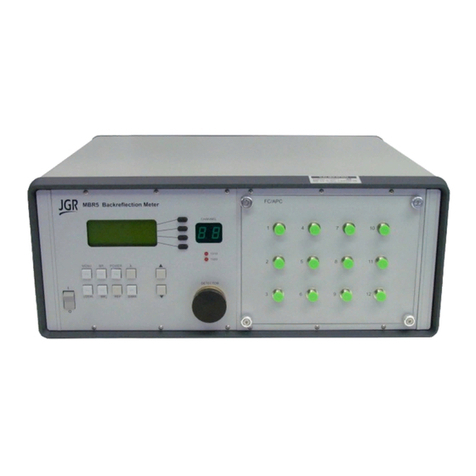
JGR MBR5 User manual

JGR

JGR MBR5 User manual

Popular Measuring Instrument manuals by other brands

Oval EX DELTA, EX DELTA-DIA manual

Oval

Oval EX DELTA, EX DELTA-DIA manual

AccuFitness FatTrack II user manual

AccuFitness

AccuFitness FatTrack II user manual

Milwaukee LDM 80 manual

Milwaukee

Milwaukee LDM 80 manual

Precision Digital Corporation PROVU Series instruction manual

Precision Digital Corporation

Precision Digital Corporation PROVU Series instruction manual

Gamatronic GMAC-5 user guide

Gamatronic

Gamatronic GMAC-5 user guide

GREISINGER GMH 3830 operating manual

GREISINGER

GREISINGER GMH 3830 operating manual

Fuji Electric ZAF-6 instruction manual

Fuji Electric

Fuji Electric ZAF-6 instruction manual

Simex STI-638 user manual

Simex

Simex STI-638 user manual

Barnant Company 559-3800 operating manual

Barnant Company

Barnant Company 559-3800 operating manual

PCB Piezotronics IMI SENSORS 645B01 Installation and operating manual

PCB Piezotronics

PCB Piezotronics IMI SENSORS 645B01 Installation and operating manual

SENSYS SBL10 manual

SENSYS

SENSYS SBL10 manual

Extech Instruments 461920 user guide

Extech Instruments

Extech Instruments 461920 user guide

Knauer K-7400S user manual

Knauer

Knauer K-7400S user manual

GREISINGER GMH 3431 operating manual

GREISINGER

GREISINGER GMH 3431 operating manual

Energometrika EnergoM 400 user manual

Energometrika

Energometrika EnergoM 400 user manual

AEMC MR417 user manual

AEMC

AEMC MR417 user manual

Prexiso P20LI quick start guide

Prexiso

Prexiso P20LI quick start guide

Rotem AMP-50 operating & maintenance manual

Rotem

Rotem AMP-50 operating & maintenance manual

manuals.online logo
manuals.online logoBrands
  • About & Mission
  • Contact us
  • Privacy Policy
  • Terms and Conditions

Copyright 2025 Manuals.Online. All Rights Reserved.