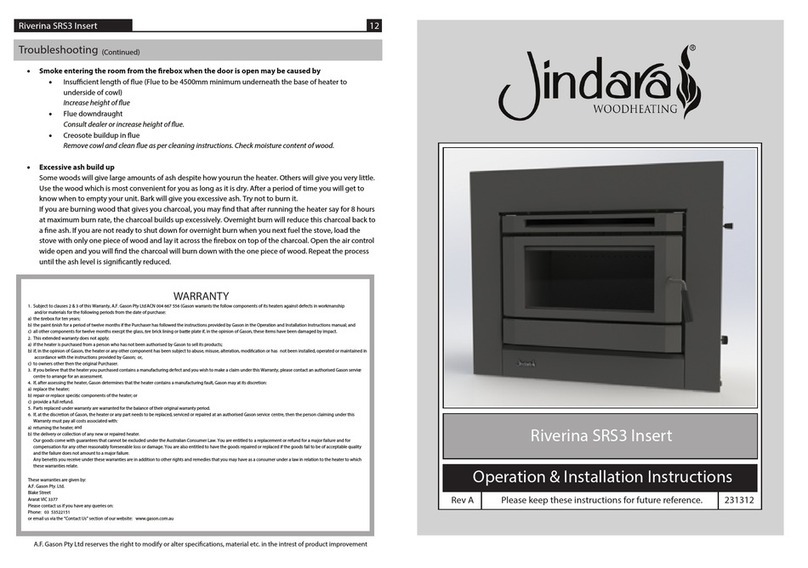
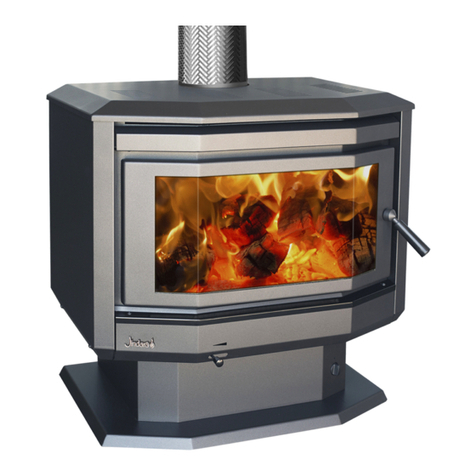
Hamersley Mk2 Insert 10 Hamersley Mk2 Insert 3
Installation
WARNING
!
Installation THE INSTALLATION OF THIS APPLIANCE MUST BE CARRIED OUT AS PER THIS
MANUAL AND THE FLUE MANUFACTURER’S SPECIFICATIONS.
WE RECOMMEND THAT YOU USE A QUALIFIED INSTALLER TO CARRY OUT
THE INSTALLATION.
If you have any other enquiries, please contact the dealer from whom you
purchased your heater.
THIS APPLIANCE WEIGHS IN EXCESS OF 140 KILOGRAMS. EXTREME CARE
SHOULD BE TAKEN WHEN HANDLING THE APPLIANCE.
This heater is to be installed into a masonry replace or a Jindara ZCV
Clearance cabinet.
Section showing Installation
Figure 1. Masonry Installation
WARNING
!
Brick Removal
IF BRICKS REQUIRE REMOVAL WHEN PREPARING THE FIREPLACE, ENSURE
THAT YOU DO NOT EXPOSE COMBUSTIBLE MATERIALS BEHIND THE
BRICKWORK OR WEAKEN THE INTEGRAL STRUCTURE OF THE CHIMNEY.
Operating your Jindara Wood Heater
Cleaning the glass
Generally the only time you will possibly need to clean your glass is after a long overnight burn. If you nd that you have
a wet sticky black lm on your glass (creosote), it is better to burn the heater as normal for one load of wood.When the
wood has burnt down to a hot bed of embers, open the door and leave it wide open until the glass cools suciently to
be wiped with a damp cloth.This should clean all the white smoky lm o the glass. Creosote on the glass is normally a
sign that you have tried to get too long an overnight burn or you have burnt excessively wet or green wood. If the lm on
the glass won’t come o with a wet cloth, you can use wet ash from the ash bed as a cleaner or commercial products
such as Crystal Clear, Johnson Foam Clean or Windex.
Normal Operations
When you get up in the morning, open up the air control of the heater to high position to start the embers glowing. Place
some wood on top of the embers and leave the door open 25mm. Once the fuel starts to ame close the
door.As the heater starts to heat up turn the fan on to low, (approx 20 minutes) and begin reducing the air control
towards a lower setting.
You will nd with the fan on low you will only need to run the heater between low and medium to maintain the
temperature you desire in your home.To obtain the maximum heat dissipation from the heater it is necessary to run the
fan at any time the heater is running above the low position.
For best results it is best to burn 290mm long wood and load your wood straight into the rebox front to rear.This will
give optimum eciency and recoverable heat, and minimise creosote formation and smoke emissions.
Overnight burn
Approximately 30 minutes before turning the heater down to overnight burn it is recommended to load the heater with
fuel for the overnight burn. Leave the air control in the medium to high position. Let the heater run for about thirty
minutes. This will reduce the moisture content in the fuel before shut down. (This will help reduce the creosote formation
in the rebox and ue.) Set the air control to the setting you have found best for your requirements. Turn the fan o and
retire. The aim when overnight burning is to have only a few hot embers left in the bottom of the rebox in the morning,
not huge lumps of wood.
WARNING
!
Operation of the fan
If rebox failure is reported and it is found that the rebox has been abused
through improper use of the fan, Jindara reserve the right to disallow any
warranty claims in relation to rebox failure.
WARNING
!
The Door
Leaving Door Open
As stated previously in relation to leaving the door open 25mm to encourage the re
to pick up at a faster rate, your heater has been tested to ensure that no
structural damage can take place if the door is inadvertently left open. However
your paint nish can be damaged if the door is left open for a long period with a
full rebox of fuel with the fan o. Closely supervise your heater while the door is
left open.
Closing the Door
Always ensure that before you close your door there is no wood protruding
beyond the front of the rebox opening. Do not use the door glass as a ’battering
ram’ to push the wood back into the rebox.Damage to the glass by such
impact is not covered by your warranty.
(continued)


