manuals.online logo
Brands
  1. Home
  2. •
  3. Brands
  4. •
  5. JLG
  6. •
  7. Boom Lift
  8. •
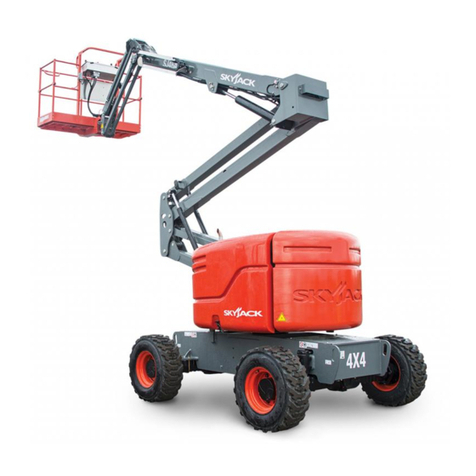
  9. JLG SkyTrak Setup guide

JLG SkyTrak Setup guide

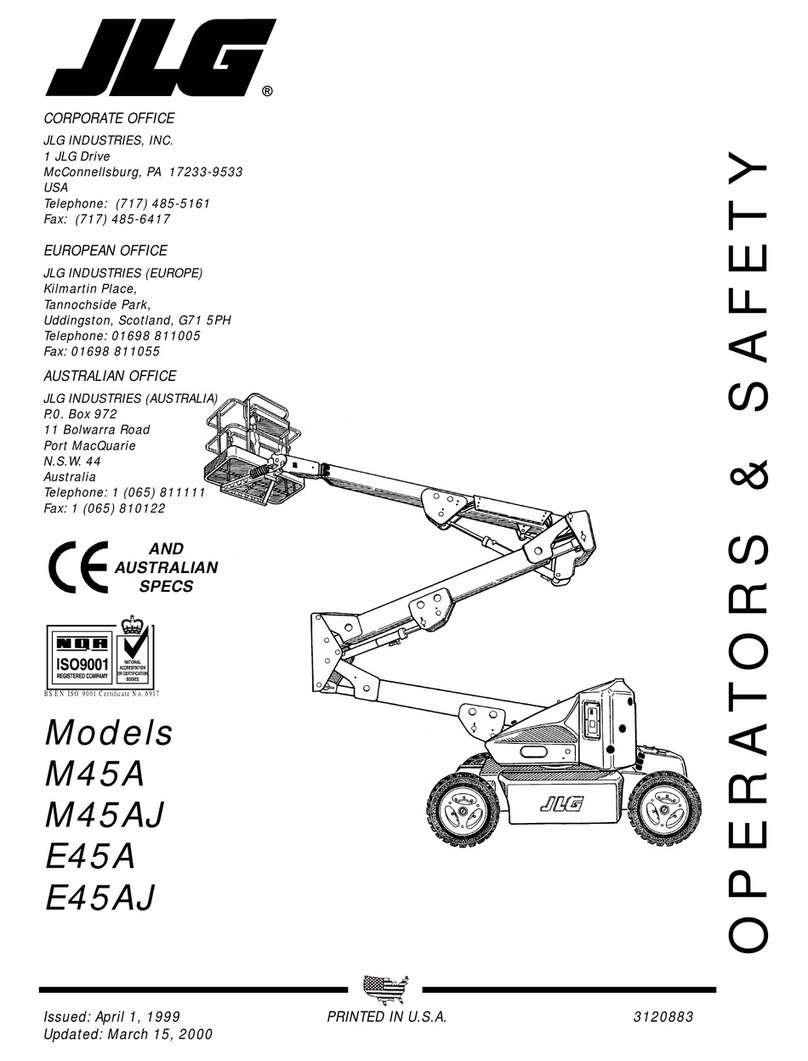
Other JLG Boom Lift manuals

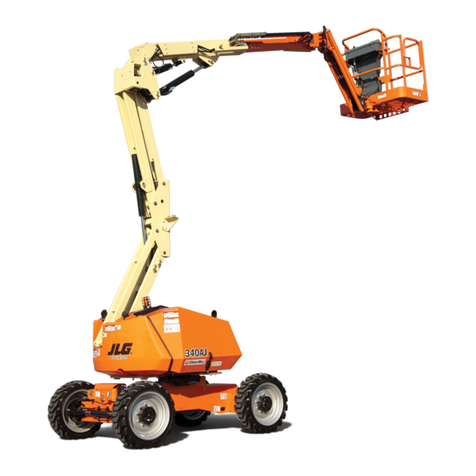
JLG 1932E3 User manual

JLG

JLG 1932E3 User manual

JLG 30e Installation and user guide

JLG

JLG 30e Installation and user guide

JLG Power Towers Nano Operating instructions

JLG

JLG Power Towers Nano Operating instructions

JLG TOUCAN 1010 User manual

JLG

JLG TOUCAN 1010 User manual

JLG 3369LE Use and care manual

JLG

JLG 3369LE Use and care manual

JLG 600S Use and care manual

JLG

JLG 600S Use and care manual

JLG 450A Installation and user guide

JLG

JLG 450A Installation and user guide

JLG 1500AJP Use and care manual

JLG

JLG 1500AJP Use and care manual

JLG 260MRT Use and care manual

JLG

JLG 260MRT Use and care manual

JLG 3507 User manual

JLG

JLG 3507 User manual

JLG RT3394 Use and care manual

JLG

JLG RT3394 Use and care manual

JLG E600 Use and care manual

JLG

JLG E600 Use and care manual

JLG EC450AJ Use and care manual

JLG

JLG EC450AJ Use and care manual

JLG 15MVL Series Use and care manual

JLG

JLG 15MVL Series Use and care manual

JLG 4045R Use and care manual

JLG

JLG 4045R Use and care manual

JLG 1500SJ Use and care manual

JLG

JLG 1500SJ Use and care manual

JLG EC600SJ Use and care manual

JLG

JLG EC600SJ Use and care manual

JLG Toucan 8e Use and care manual

JLG

JLG Toucan 8e Use and care manual

JLG 15MVL Series User manual

JLG

JLG 15MVL Series User manual

JLG 600SJC Installation and user guide

JLG

JLG 600SJC Installation and user guide

JLG TOUCAN 10E Installation and user guide

JLG

JLG TOUCAN 10E Installation and user guide

JLG E300AJ Use and care manual

JLG

JLG E300AJ Use and care manual

JLG TOUCAN 1010 I Use and care manual

JLG

JLG TOUCAN 1010 I Use and care manual

JLG 642 Use and care manual

JLG

JLG 642 Use and care manual

Popular Boom Lift manuals by other brands

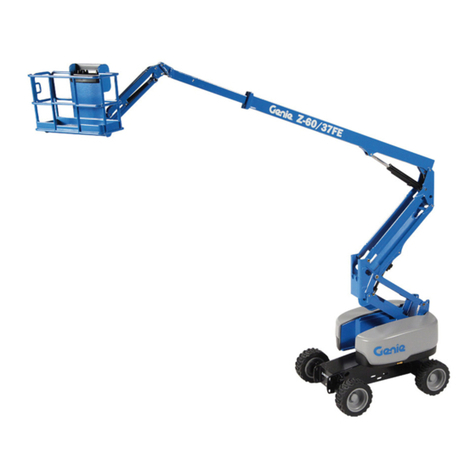
Genie Z-80 Operator's manual

Genie

Genie Z-80 Operator's manual

Terex Z80H-7733 Operator's manual

Terex

Terex Z80H-7733 Operator's manual

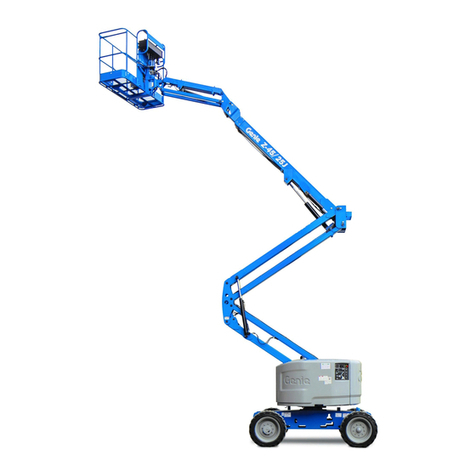
Genie Z-45/25 Service manual

Genie

Genie Z-45/25 Service manual

Terex Gyro 4020 Service manual

Terex

Terex Gyro 4020 Service manual

LGMG T65JE Maintenance manual

LGMG

LGMG T65JE Maintenance manual

Genie Z-135/70 installation instructions

Genie

Genie Z-135/70 installation instructions

Genie S-105 Service manual

Genie

Genie S-105 Service manual

Terex Genie Z-51/30 J Operator's manual

Terex

Terex Genie Z-51/30 J Operator's manual

Dieci Pegasus Operator's manual

Dieci

Dieci Pegasus Operator's manual

Snorkel A46JRT Operator's manual

Snorkel

Snorkel A46JRT Operator's manual

Oshkosh Corporation JLG H800AJ Operation and safety manual

Oshkosh Corporation

Oshkosh Corporation JLG H800AJ Operation and safety manual

Oshkosh JLG 1500SJ Service and maintenance manual

Oshkosh

Oshkosh JLG 1500SJ Service and maintenance manual

Skyjack SJ30AJE Service manual

Skyjack

Skyjack SJ30AJE Service manual

ELS LIFT VM10-J parts manual

ELS LIFT

ELS LIFT VM10-J parts manual

Skyjack SJ 46AJ operating manual

Skyjack

Skyjack SJ 46AJ operating manual

Manitowoc Grove GMK5170 Product guide

Manitowoc

Manitowoc Grove GMK5170 Product guide

Genie Genie Lift Service manual

Genie

Genie Genie Lift Service manual

Terex Genie Z-34 IC Service and repair manual

Terex

Terex Genie Z-34 IC Service and repair manual

manuals.online logo
manuals.online logoBrands
  • About & Mission
  • Contact us
  • Privacy Policy
  • Terms and Conditions

Copyright 2025 Manuals.Online. All Rights Reserved.

1
31200804
1.1 GENERAL GUIDELINES
•This repair procedure provides repair information for
a specific discrepancy. It is the responsibility of the
entity performing the repairs to determine if the
discrepancy can be corrected by this procedure. This
procedure is for the repair of the boom pivot
weldment only.
1.2 PARTS REQUIRED
SkyTrak Boom Pivot Repair Kit:
P/N 1001141603
Note: * The Self Aligning Bearings P/N 8065641 will be
factory installed in the Boom Pivot Plate Weldment P/N
1001141633.
1.3 WELD REPAIR GUIDELINES
•All welding must be in strict accordance with
EN288-3, EN288-4 or ANSI/AWS D1.1 standards.
•Disconnect the battery of the machine being repaired
prior to welding.
•Ground only to the component being welded. Do not
ground to any adjacent component or allow pins,
wear pads, wire ropes, bearings, gears, seals,
valves, electrical wiring, or hoses to be between the
grounding position and the area to be welded.
1.4 TOOLS & EQUIPMENT REQUIRED
1. Stands and lifting equipment capable of lifting/
supporting the affected components
2. Hand-held power grinder
3. Air carbon-arc equipment
4. Electric welding equipment
5. AWS 70 grade, low hydrogen rod or wire
6. Standard welder tools
7. Standard mechanic tools
8. Paint
1.5 PERSONNEL REQUIRED
1. Qualified JLG Equipment Mechanic
2. Certified Welder
1.6 MODELS AFFECTED
SkyTrak 8042, 10042 & 10054
1.7 BOOM PIVOT WELDMENT REMOVAL
1. Park the machine on a firm, level surface, fully retract
the boom, lower the boom, place the transmission
control lever in (N) NEUTRAL, engage the park brake
and shut the engine OFF.
2. Place a Do Not Operate Tag on both the ignition key
switch and steering wheel, stating that the machine
should not be operated.
3. Open the engine doors. Allow system
fluids to cool.
4. Remove components as required to
facilitate repair.
Note: Refer to Service Manual 31200353,
Section 3.4.1 for detailed boom assembly
removal.
5. Protect any hoses, wires and hydraulic
cylinder rods before preparing or welding
in the frame boom pivot area.
6. Safely support the components to
alleviate pressure or stresses at the
affected repair area(s).
CAUTION
Use all applicable Safety precautions while working
on, around or under any machinery.
P/N Qty Description
1001141633 1 Plate, Boom Pivot
8065641* 2 Bearing, Self Aligning
NOTICE
Failure to comply with the above weld repair guidelines
may result in component damage.
SkyTrak Boom Pivot
Repair Instructions
For Kit 1001141603
A
02/12
31200804
An Oshkosh Corporation Company
2 31200804
SkyTrak Boom Pivot Repair Instructions For Kit 1001141603
7. Using a portable grinder or air carbon-arc equipment,
remove both boom pivot plates (1) from the pivot
tower weldment (2).
8. Inspect the affected area of the pivot tower weldment
for cracks. If any discrepancies are evident, notify
JLG Safety 1-877-554-7233 (877-JLG-SAFE) for
further evaluation.
9. Grind the repair area (3) flush and prepare surfaces
for welding.
10. Locate the Boom Pivot Plate Weldment (4) P/N
1001141633 to the pivot tower weldment (2). See
“Boom Pivot Plate Welding Locations” on page 3.
Tack into place.
11. Completely weld the boom pivot plates to the pivot
tower weldment using the recommended weld
material with types and sizes. See “Boom Pivot Plate
Welding Locations” on page 3.
12. Inspect welds using the magnetic particle or
dye-penetrant inspection methods to assure there
are no cracks or deformities. If any cracks or
deformities exist, grind to remove affected area(s)
and repeat the weld and inspection procedures.
13. Remove the three retaining bars (5) connecting the
two pivot plates.
14. Clean, prime and paint the affected areas.
Note: Refer to Service Manual 31200353, Section 3.4.8
for detailed boom assembly installation.
15. Properly connect the battery.
16. Verify the proper operation of all boom functions
through a minimum of five cycles.
17. Inspect the repair areas for discrepancies. Contact
JLG Safety 1-877-554-7233 (877-JLG-SAFE) for
further evaluation if any discrepancies are found.
18. Close and secure the engine covers.
19. Remove the Do Not Operate Tags from both the
ignition key switch and the steering wheel.
20. Return machine to service.
NOTICE
Do not damage the parent metal during this procedure.
MH7000
2
1
MH7020
3
MH7010
5
2
5
5
4
3
31200804
SkyTrak Boom Pivot Repair Instructions For Kit 1001141603
1.8 BOOM PIVOT PLATE WELDING LOCATIONS
A. 5.220 - 5.340 in (134,1 - 135,6 mm)
B. 20.320 - 20.440 in (516,1 - 519,1 mm)
C. 2.180 in (55,3 mm)
D. 16.270 in (413,2 mm)
2X
0.50
0.50
A
B
D
C
MH7030
4 31200804
SkyTrak Boom Pivot Repair Instructions For Kit 1001141603
This Page Intentionally Left Blank