103/05/2019
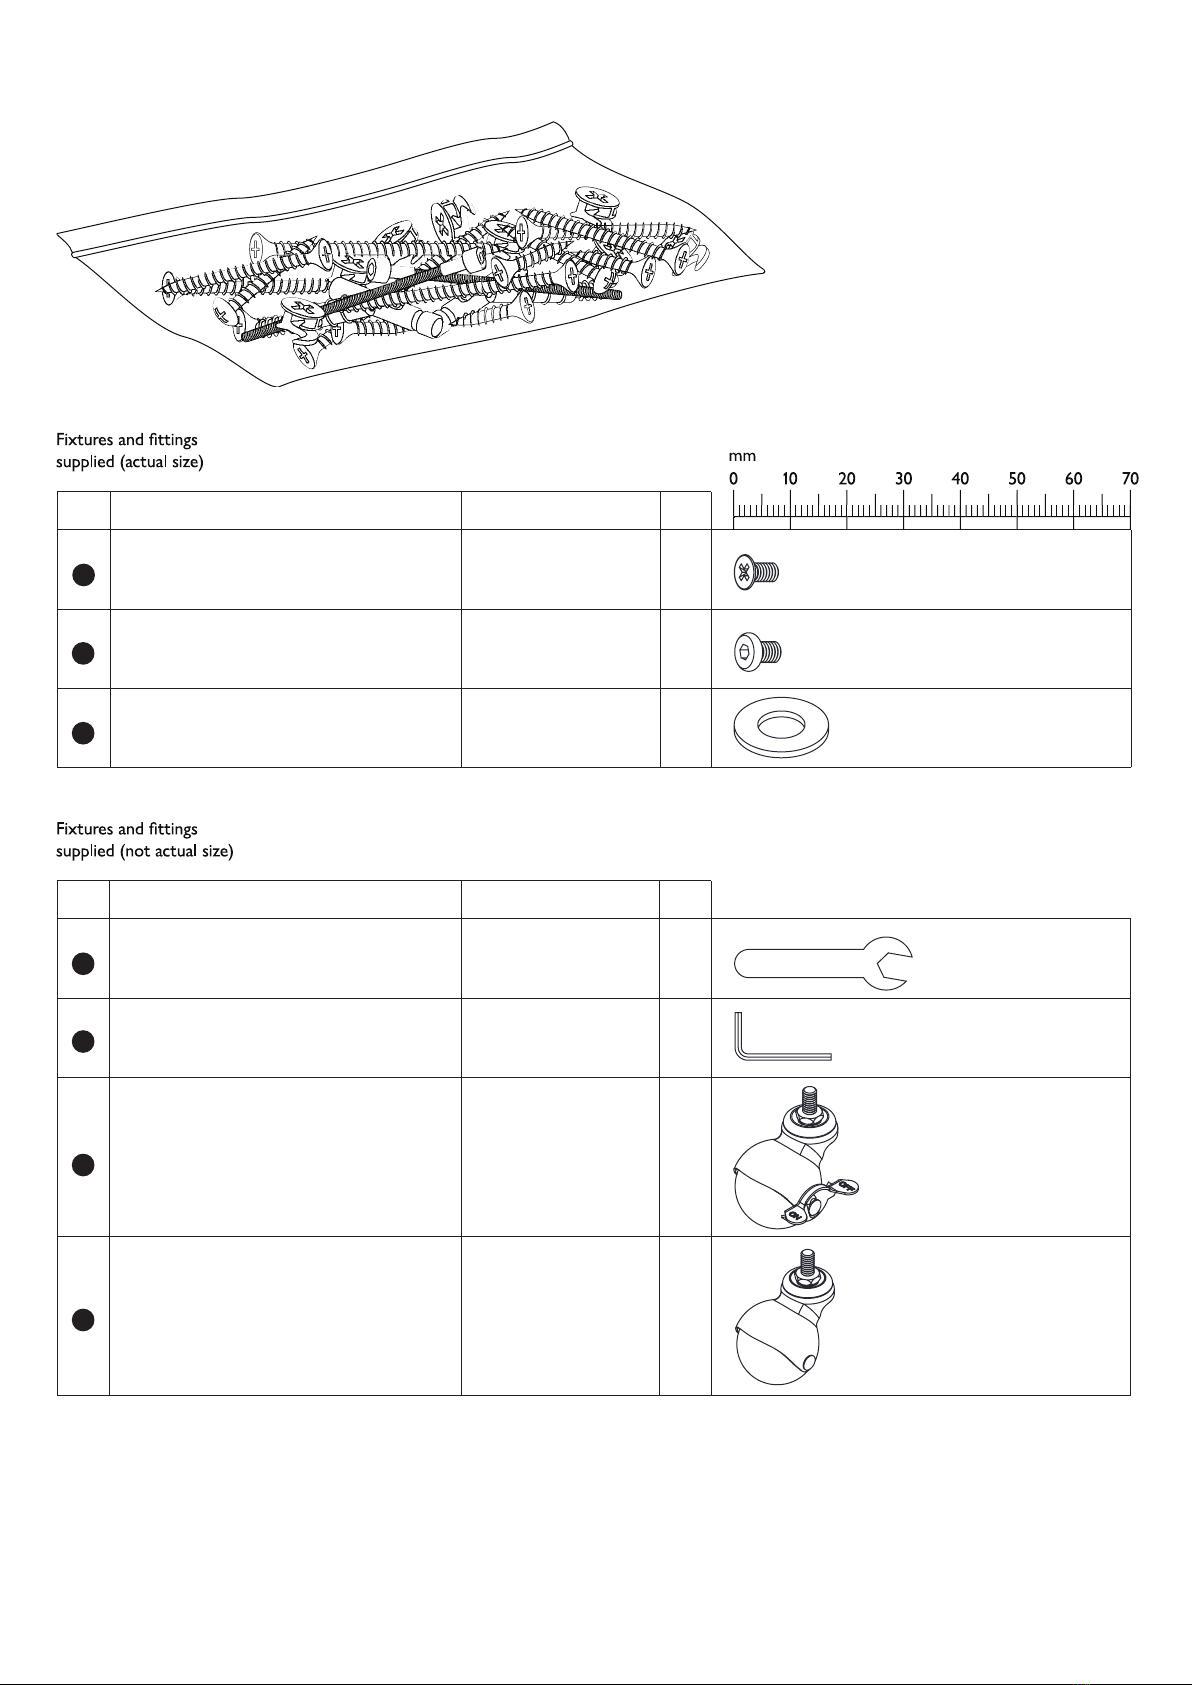
Thank you for purchasing the Riya drinks trolley Please read the instructions and warnings carefully before use, to
ensure safe and satisfactory operation of this product.
At John Lewis, we are committed to making great products possible.
From our in-house Design Team, to our Buyers, we work together to bring great design to life.
Our expert Product Technologists work collaboratively with our buyers and suppliers to ensure the legality, safety
and quality of the product we sell.
We are are all committed to designing and developing products to the highest industry standards.
We hope you are happy with your product and welcome any feedback or comments you may have.
The John Lewis Team
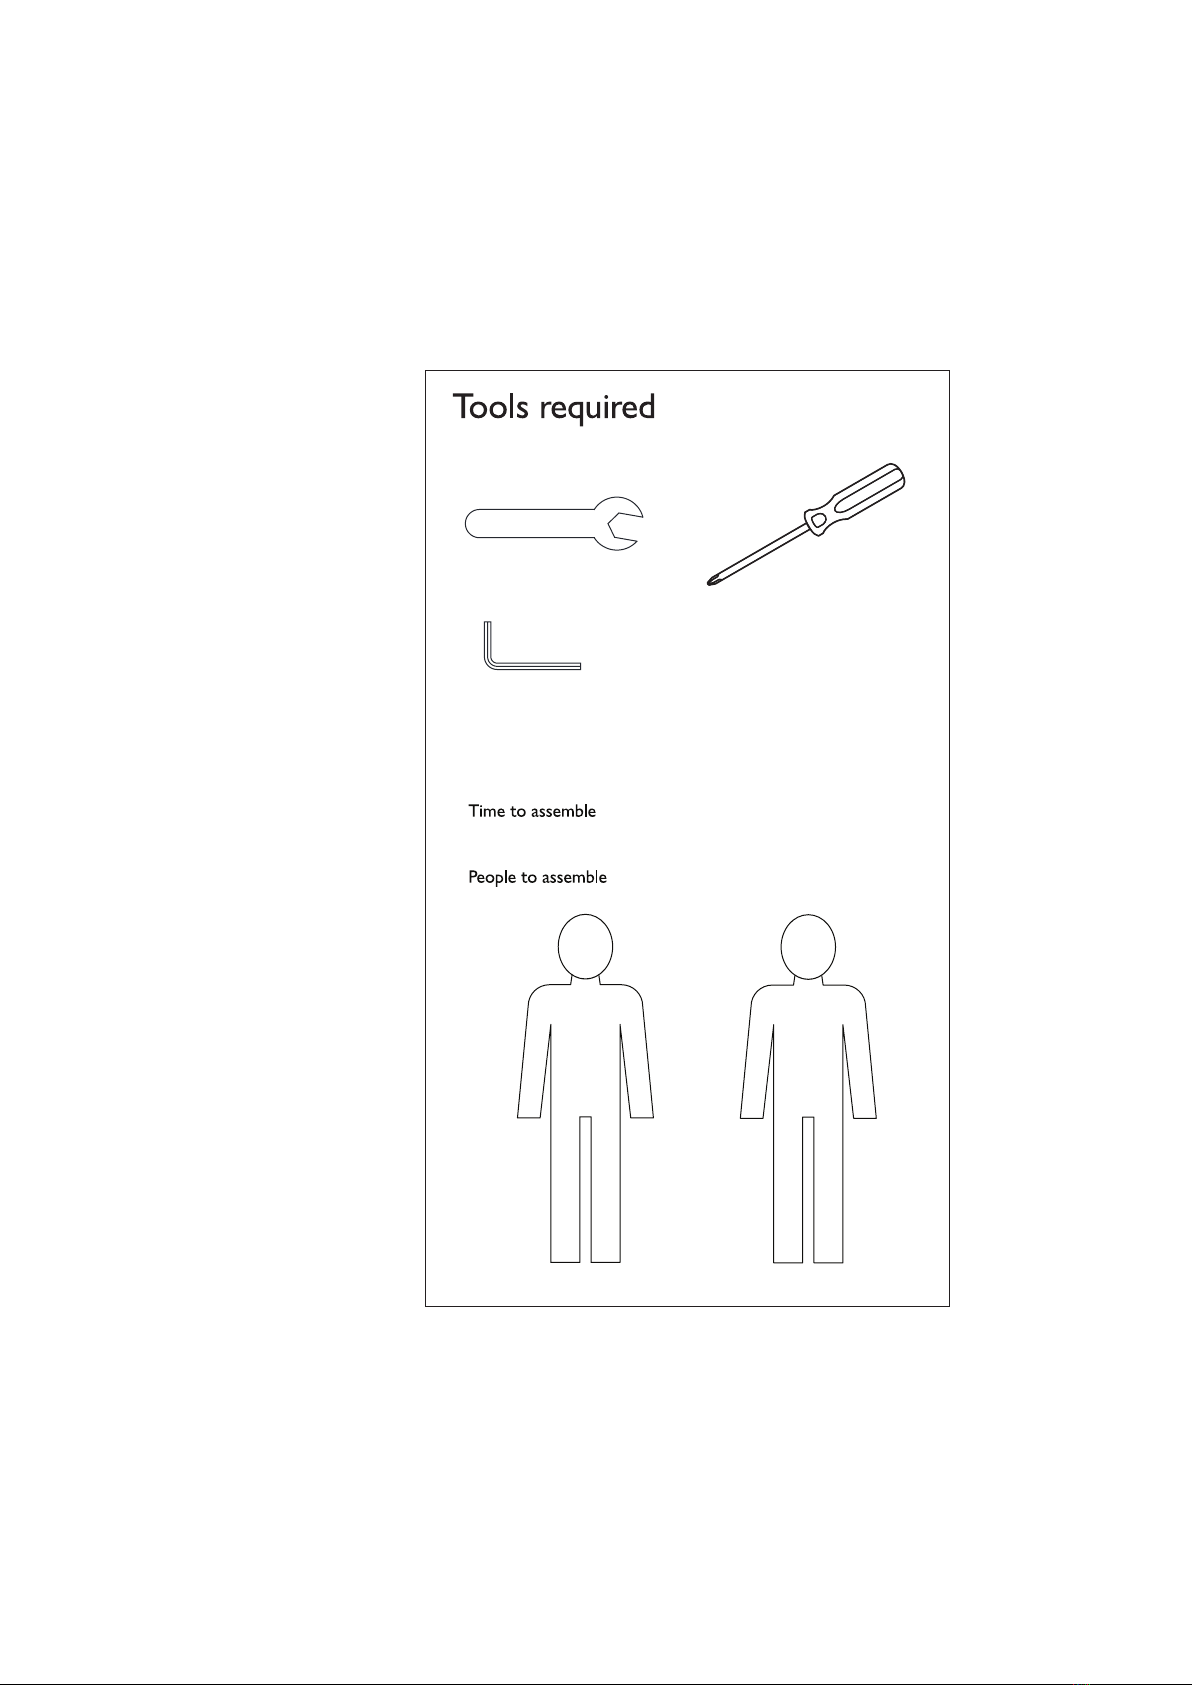
20 mins