Johnson AIR ROWER W8000 User manual

JOHNSON HEALTH TECH. CO., LTD.
No.26, Ching Chuan Rd., Taya Hsiang, Taichung Hsien 428, Taiwan, R.O.C.
TEL: +886-4-25667100 FAX: +886-4-25601087
E-mail: [email protected]
http://www.johnsonfitness.com
OWNER'S MANUAL
AIR ROWER W8000
Oct 12, 07’
SAP#0000082070, v2.0

TABLE OF CONTENTS
INSTRUCTION
IMPORTANT SAFETY INSTRUCTIONS
ASSEMBLY
• Unpacking The Air Rower
• Assembly Steps
USING THE WORKOUTS
• Manual Program
• Race Program
• Training Program
MAINTENANCE
PRODUCT SPECIFICATIONS
02
03
04
05
11
12
14
15
01
JOHNSON AIR ROWER W8000
SERIAL NUMBER LOCATION
SETUP THE AIR ROWER
• Getting Started
• Making A Choice Of Site
• Before Your First Row

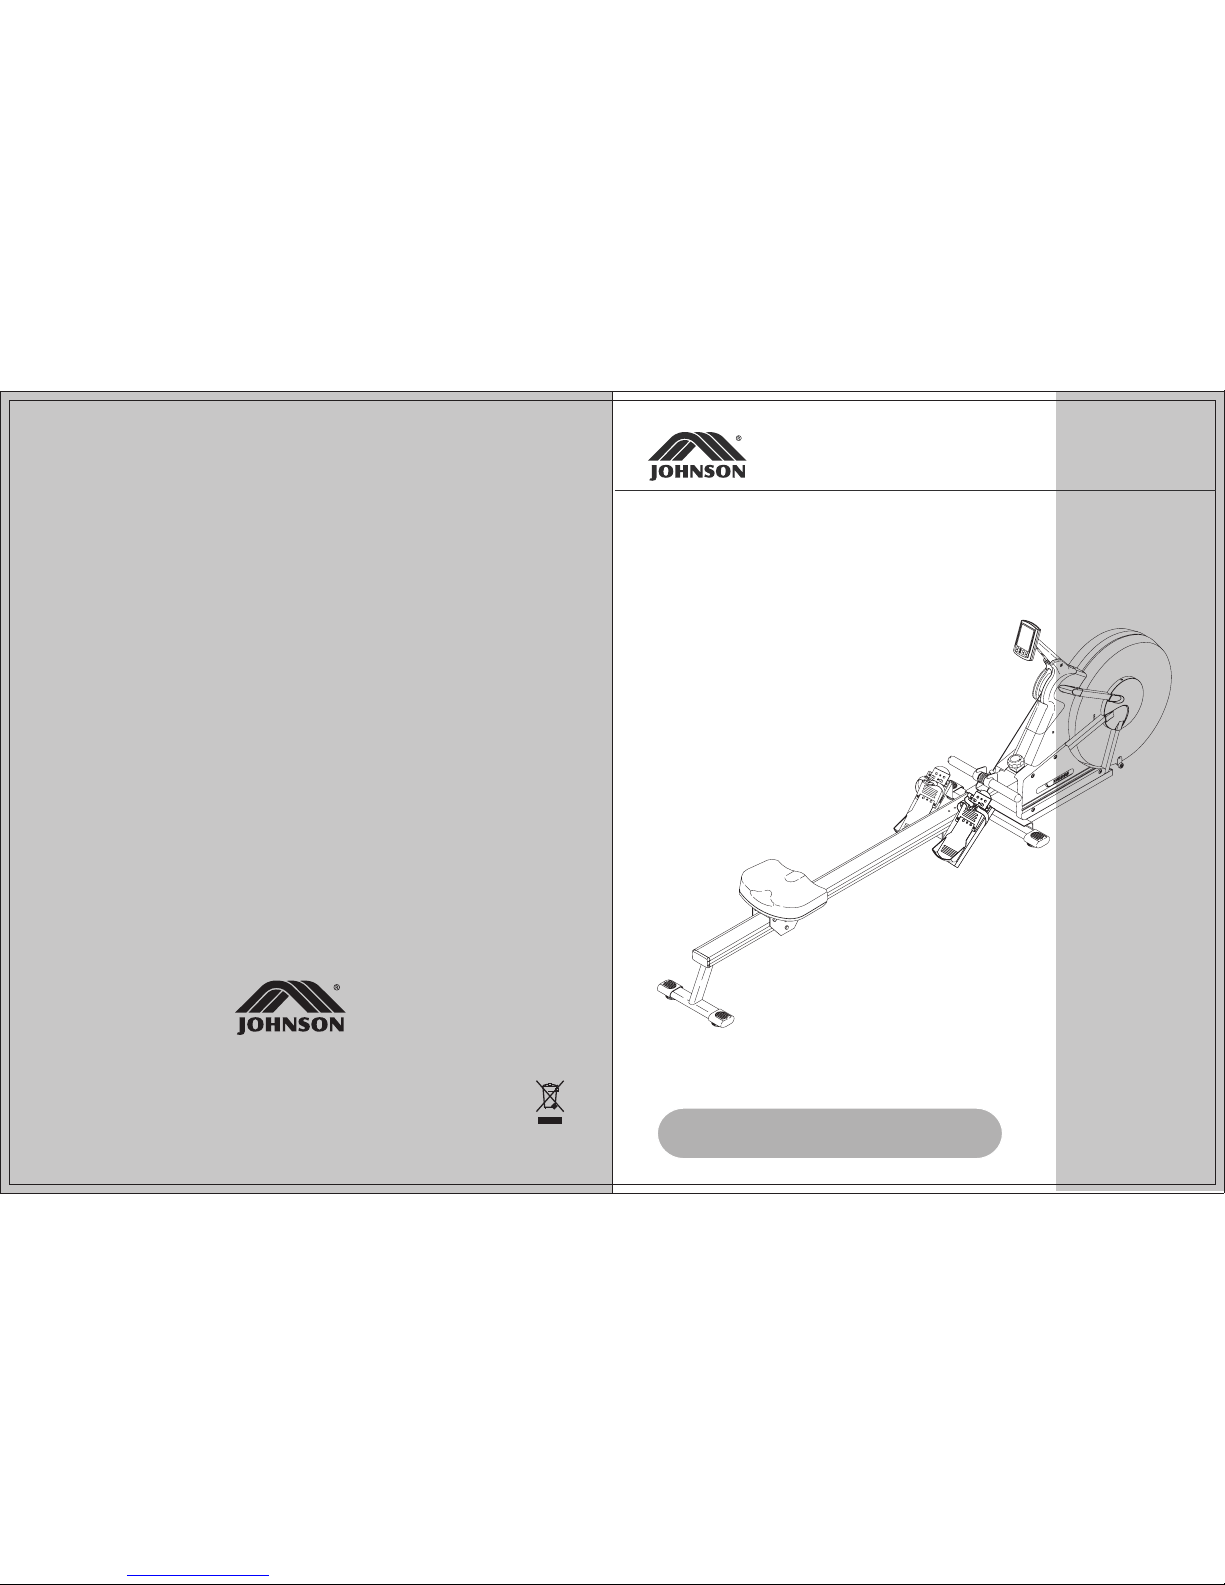
This Owner’s Manual describes the functions of the following product:
Johnson Air Rower – W8000
SAVE THIS OWNER’S MANUAL FOR FUTURE REFERENCE.
INSTRUCTION IMPORTANT SAFETY INSTRUCTIONS
0302
JOHNSON AIR ROWER W8000 JOHNSON AIR ROWER W8000
See "Product Specifications” (page 15) in this manual for product specific features, the Johnson
Air Rower W8000 is intended for commercial use.
It is recommended that all users of Johnson Fitness exercise equipment should be informed of
the following information prior to its use.
When using the Johnson air rower, always follow basic precautions:
READ AND SAVE ALL INSTRUCTIONS before assembling or using Johnson Air Rower.
It is strongly recommended to take the following safety instructions.
• CAUTION: If you experience chest pains, nausea, dizziness or shortness of breath, stop
exercising immediately and consult your physician before continuing.
• Use the Air Rower for its intended purpose as described in this manual. Do not use
attachments that have not been recommended by the manufacturer.
• Never drop or insert any object into any opening in the product. If an object should drop
inside, carefully retrieve it while the unit is not in use. If the item cannot be reached,
contact Johnson Fitness or authorized dealers.
• Never operate the Air Rower if it is not working properly, or if it has been damaged or
immersed in water. Return it to Johnson Fitness or authorized dealers for examination
and repair.
• Keep hands and feet clear at all times from moving parts to avoid injury.
• Do not reach into, or underneath the unit, and do not tip the unit on its side during
operation.
• Do not use the Johnson Air Rower outdoors, near swimming pools or in areas of high
humidity.
• Do not operate where aerosol (spray) products are being used or when oxygen is being
administered.
• Do not remove the fan cages. Service should only be done by an authorized service
technician.
• Close supervision is necessary when used near children, invalids or disabled people.
• When the Air Rower is in use, young children and pets should be kept at least three
meters / ten feet away.
• Assemble and operate the unit on a solid, level surface. Locate the unit at least one
meter / three feet of clearance from any obstructions, including walls and furniture.
• Do not wear any clothing that might catch on any moving parts of this treadmill.
• Do not stand rower up on end as the rower may tip over.
• Place handle against the chain guide or in handle hooks before letting go.
• Do not let handle fly into chain guide.
• Perform proper maintenance as described in the Maintenance section of this manual.
• To ensure your safety and to protect the unit, read all the instructions before assembling
and using the air rower.
• To ensure the proper use and safety of the air rower, make sure that all users read this
manual. Please make this manual a part of your facility’s training program. Remind the
users that before undertaking any fitness programme, they should obtain complete
physical examinations from their physicians. If, at any time while exercising, the user
experiences dizziness, pain, or shortness of breath, nausea or feels faint he or she must
stop immediately.

GETTING STARTED
SETUP THE AIR ROWER ASSEMBLY
0504
JOHNSON AIR ROWER W8000 JOHNSON AIR ROWER W8000
Read the Owners Manual before setting up the Johnson Fitness Air Rower. Place the air
rower in where they will be used before beginning the setup procedure.
MAKING A CHOICE OF SITE
The site should be well-lit and well-ventilated. Locate the Air Rower W8000 a structurally
solid and flat surface a few feet from the wall or any equipment. If the site has a heavy
plush carpet, to protect the carpeting and machinery, you should place a rigid plastic base
under the unit.
Please do not place the Air Rower in an area of high humidity, such as the vicinity of a
steam room, indoor pool, or sauna. Exposure to intensive water vapour or chlorine could
adversely affect the electronics, as well as other parts of the machine. To make exercise a
desirable daily activity for you, the unit should be in an attractive setting.
BEFORE YOUR FIRST ROW
1) Consult your physician. Be sure that it is not dangerous for you to undertake a strenuous
exercise program.
2) Improper technique such as extreme layback or jumping off the seat can result in injury.
3) Start each workout with several minutes of easy rowing for a warm-up.
4) Start your exercise program gradually. Row no more than 5 minutes the first day to let
your body adjust to the new exercise.
5) Gradually increase your rowing time and intensity over the first two weeks. Do not row
at full power until you are comfortable with the technique and have rowed for at least a
week. Like any physical activity, if you increase the volume and intensity too rapidly, fail
to warm up properly, or use poor technique, you will increase the risk of injury.
6) The best resistance setting for a great cardiovascular workout is in the range of 3-5.
Rowing with the resistance setting too high can be detrimental to your training program
because it may reduce your output and increase your risk of injury.
7) Aim for a stroke rate (spm) of between 24 and 30 spm (strokes per minute).
ASSEMBLY PARTS LIST
UNPACKING THE AIR ROWER
The Johnson Air Rower is carefully inspected before it is packaged. Carefully unpack the
unit and dispose of the box material.
CAUTION: The W8000 weights 41 kg (90 lbs). To avoid injury to the user and the unit, be
sure to have proper assistance to remove and move the unit.
NOTE: In case any of these parts are missing from the package, please contact Johnson
Fitness or the local authorized dealers.
Main Frame
Aluminum Rail
Pedal Assembly
Seat
Seat Bracket
Console
Front Foot
A
B
C
D
E
F
G
)
)
)
)
)
)
)
H05
H04
F07
F19
( M )
( F )
( A )
( G )
( C )
( L )
( B )
( H )
( J )
( I )
( E )
( D )
( K )
F18
D09
D10
H04
H05
B42
H
I
J
K
L
M
N
)
)
)
)
)
)
)
Rear Foot
Rear Foot Position Plate
Seat Rail End Cap
Seat Stop Bumper
Seat Rail Rod
Handlebar Bracket
Hardware Pack

0706
JOHNSON CLASS CYCLE P8000JOHNSON AIR ROWER W8000 JOHNSON AIR ROWER W8000
FASTENERS & ASSEMBLY TOOLS ASSEMBLY STEPS
STEP 1
H04
Secure the front foot to the frame bracket using two bolts (H04).
STEP 2
1) Attach the pedal assembly to the aluminum rail with four bolts (H04) and spring washers
(H05).
2) Attach the seat rail rod to the aluminum rail using one screw (F07) and flat washer (F19).
SOCKET BUTTON HEAD BOLT (M8 x 1.25P x 32L)
SOCKET BUTTON HEAD SCREW (M6 x 1.0P x 15L)
SPRING WASHER (SW6 6.1 x 12. 2 x 1.5t)
FLAT WASHER ( 10.2 x 19 x 2.0t)
NUT (3/8"-16NNC)
CROSS HEAD SCREW (M5 x 0.8P x 15L)
FLAT WASHER ( 5.2 x 12 x 1.2t)
SOCKET BUTTON HEAD SCREW (M8 x 1.25P x 19L)
SPRING WASHER (SW8 8.2 x 15.4 x 2t)
CROSS HEAD SCREW ( 4 x 10L)
SOCKET BUTTON HEAD BOLT (M8 x 1.25P x 40L)
NUT (M8 x 1.25P)
#5 L-TYPE (+ TYPE) WRENCH
OPEN END WRENCH (#8 #13 #14 #15)
REAR FOOT POSITION PLATE
HEX HEAD CAP BOLT (3/8”-16NNC 130L)
PARTS NO. DESCRIPTION QUANTITY SKETCH
B42
D09
D10
F06
F08
F07
F19
H04
H05
F20
N08
N09
Z01
Z02
F04
F18
White
Red
Blue
Black
Pink
Yellow
COLOR
OF BAG
H04
H05
F07
F19
2
4
4
4
2
2
2
10
8
2
1
1
1
2
1
2

STEP 3
1) Mount the seat to the seat bracket with 4 screws (D09) and washers (D10).
2) Slide the seat assembly onto the aluminum rail.
3)
Attach the seat stop bumper to the aluminum rail using the screw (F07) and washer (F19).
F19
F07
D10
D09
0908
JOHNSON CLASS CYCLE P8000
STEP 4
JOHNSON AIR ROWER W8000 JOHNSON AIR ROWER W8000
1) Place the rear foot position plate F04 inside the aluminum rail close to the edge. Attach
the rear foot to the aluminum rail and align the four holes of the aluminum rail with the
four holes of the rear foot. Thread the bolts (H04) with spring washers (H05) through the
rear foot into the rear foot position plate and tighten them.
2) Press the seat rail end cap into the aluminum rail, and use two screws (F20) to fix the cap.
1) Connect the sensor cables from the main frame and the aluminum rail.
STEP 5
2) Place the aluminum rail into the rail bracket of the main frame, and tighten them with
using two bolts (F18), four washers (F06) and two nuts (F08).
3) Mount the handlebar bracket to the rail bracket using two bolts (B42).
H05
F20
F04
H04
F15
N16
B42
F16
F06
F08
F06
F01

1110
JOHNSON CLASS CYCLE P8000
STEP 6
JOHNSON AIR ROWER W8000 JOHNSON AIR ROWER W8000
Plug the two console cable into the console. Secure the console to the console support
using the bolt (N08) and nylon nut (N09).
SERIAL NUMBER LOCATION
SERIAL # PLACEMENT
N09
N08

1312
JOHNSON AIR ROWER W8000 JOHNSON AIR ROWER W8000
USING THE WORKOUTS
To turn the screen display on, press POWER button. When the display comes on, "00:00" will be flashing
in the TIME window.
You can either choose Time or Distance as your target.
1. Choose Time and Starting: Use the buttons to enter your workout time. Time of between
1 and 180 minutes can be selected. When the time you choose is showing in the TIME window,
press START button. The timer will begin counting down to zero. When the workout time is
completed, the console will beep 3 times and the screen will flash 3 times.
2. Choose Distance and Starting: Press the SELECT button and *0* will be flashing in the METER
window. Use the buttons to enter your workout distance. Distance of between 100 and
30000 meters can be selected. When the distance you choose is showing in the METER window,
press START button. The console will begin counting down to zero. When the workout distance
is completed, the console will beep 3 times and the screen will flash 3 times.
With Race Program, you compete with the computer pacer.
1. Press RACE button and "500" will be flashing in the METER window.
2. Use buttons to enter your race distance. Distance of between 500 and 30000 meters can be
selected. When the distance you choose is showing in the METER window, press SELECT button
and "L09" will be flashing in the CAL. window.
3. Use buttons to enter your race speed ( PACE / 500M ). When the level you choose is
showing in the window, press START button.
L01 - 08:00 L02 - 07:30 L03 - 07:00 L04 - 06:30
L05 - 06:00 L06 - 05:30 L07 - 05:00 L08 - 04:30
L09 - 04:00 L10 - 03:30 L11 - 03:00 L12 - 02:30
L13 - 02:00 L14 - 01:30 L15 - 01:00
MANUAL PROGRAM
RACE PROGRAM
SPM training. You can either choose Time or Distance as your training target.
Choose Time and Starting
1. Press TRAINING button and "00:00" will be flashing in the Time window.
2. Use buttons to enter your training time. Time of between 1 and 180 minutes can be selected.
3. Press SELECT and "14" will be flashing in SPM window.
4. Use buttons to enter your desired SPM. SPM of between 6 and 99 / minute can be selected.
When the SPM you choose is showing in the window, press START button.
Choose Distance and Starting
1. Press TRAINING button to enter Training Mode.
2. Press SELECT button and "0" will be flashing in the METER window.
3. Use buttons to enter your training distance. Distance of between 100 and 30000 meters can be
selected.
4. Press SELECT and "14" will be flashing in SPM window.
5. Use buttons to enter your desired SPM. SPM of between 6 and 99 / minute can be selected.
When the SPM you choose is showing in the window, press START button.
TRAINING PROGRAM

15
JOHNSON FITNESS TREADMILL T8000/T8000 PRO
14
JOHNSON AIR ROWER W8000 JOHNSON AIR ROWER W8000
MAINTENANCE
Johnson Air Rower W8000 is for use in the commercial environment. However, as a club
manager or owner, you are responsible for cleaning and maintaining the unit’s integrity. If you
fail to maintain the bike as described below, it could affect or void the Johnson limited warranty.
NOTE: Safety of the equipment can be maintained only if the equipment is examined regularly
for damage or wear. Keep the equipment out of use until defective parts are repaired or
replaced. Pay special attention to parts that are subject to wear, such as the rope.
DAILY INSPECTION
Look and listen for loose fasteners, unusual noises, and any other indications that the
equipment may be in need of service. If you notice any of these, obtain service.
DAILY MAINTENANCE
Johnson Fitness recommends the Air Rower be cleaned before and after each workout. The
following daily maintenance tips will keep your unit operating at peak performance:
1) Use a damp, soft cloth with water or mild liquid detergent to clean all exposed surfaces.
DO NOT use ammonia, chlorine, or acid-based cleaners.
2) Keep the display console free of fingerprints and salt build-up caused by sweat.
3) Frequently vacuum the floor underneath the unit to prevent the accumulation of dust and
dirt, which can affect the smooth operation of the unit.
4) Check for dust inside flywheel with flashlight.
*Product specifications are subject to change without notice.
PRODUCT SPECIFICATIONS
Extra-large LCD display
Time, Distance, SPM (strokes per minute), Stroke, Watts, Heart Rate, Calories
Manual, Race, Training
Yes
Fan blade system
12
Coil spring poly-V belt
41 kg / 90 lbs
160 kg / 350 lbs
Battery powered for LCD display
Easy-to-grip wooden handrail
Fit-in-with adjustable footboard
Aluminum
W8000
CONSOLE
Display Screen
Display Readout
Programs
Telemetric Receiver
TECHNICAL DATA
Resistance Technology
Resistance Levels
Drive System
Product Weight
Max User Weight
Power Requirement
SPECIAL FEATURES
Handlebar Design
Pedals
Monorail
Table of contents
Other Johnson Home Gym manuals