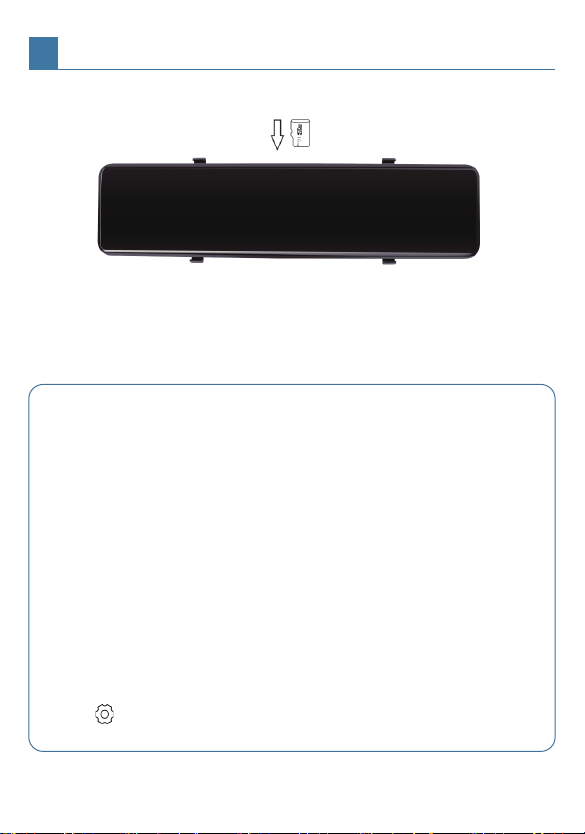
Please format the SD card regularly every month, a long time working produce
many locked files, which will stop the recording.
The rear camera is a fragile part. If it is damaged, please contact our customer
support team for replacement.
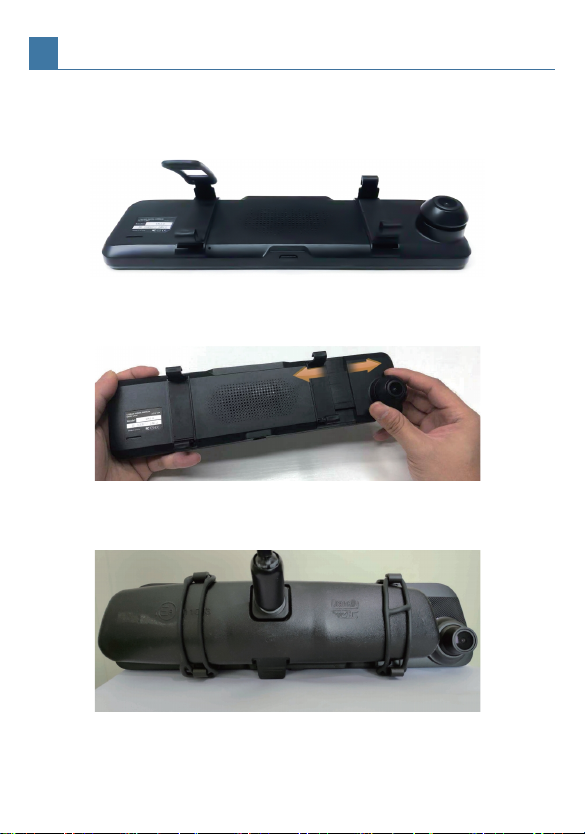
4. Insert the rear camera connection plug into the JOMISE G814 rear
camera port.
5. Hidden and route the rear camera cable in the car.
6. If you need to install a trigger cable to activate the reversing guidelines,
please find the positive cable of the reversing lamp, or ask a professional
for help.
● Make the connection first and ensure the machine work well before installing.
● Keep wiring away from moving parts like power seats or hinges in the trunk.
Avoid screws and sharp objects as this may damage wiring.
● When drilling holes in the car, please be mindful of the parts nearby to avoid
damaging them.
● Before attaching the double-sided tape, please remove the stain or oil with
alcohol cleaner from the surface.
● When the temperature is low please warm up the mounting surface before using
adhesive tape in order to improve the adhesion.
● The provided 3M sticker cannot be reused as the adhesive will not be strong
enough.
● Do not disassemble or change any part of this product, this will not be covered
by warranty.
NOTICE:
4INSTALLATION
8