Step 1 Step 2 Step 3
Connect wires to proper sockets in black
connector.
Put black connector to gray housing. Connect the cable with the hose clamp to
the gray 32 pin connector housing.
ul. Zgorzelicka 34 , 97-200 Tomaszow Mazowiecki POLAND
JuNa PPHU Manufacturer
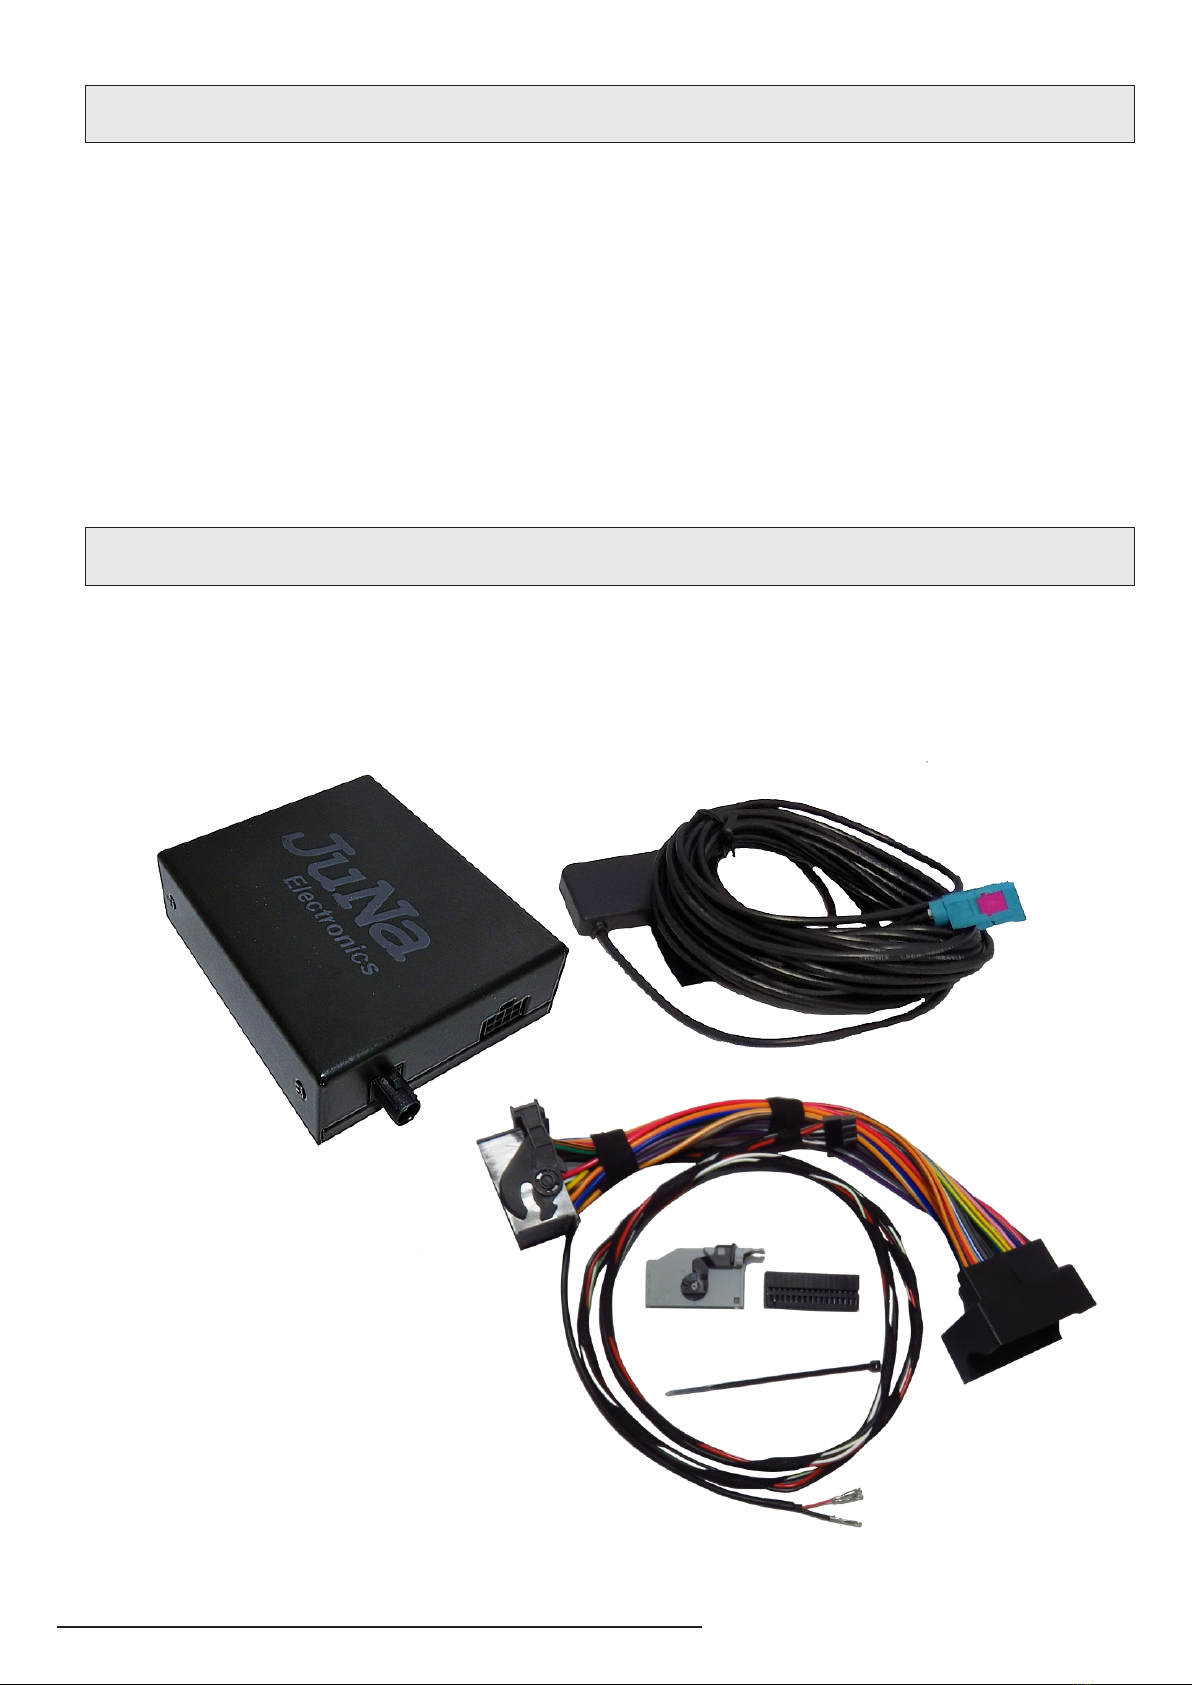
6. INSTALLATION 32 PIN HEADER FROM SET
Vehicle with RNS-E multimedia system can be equipped with TV tuner, rear camera, AUX, etc.
devices which are connected by 32 pin AMP Connector. In this case to connect JRDAB-02 module
it is necessary to disassemble factory 32 Pin AMP Connector and install wires form cable of
W-RD103 bundle. In case when vehicle is not equipped with additional devices uses 32 Pin AMP
Connector then it is necessary to use 32 Pin AMP Connector which is included in JRDAB-02 set and
install wires form cable of W-RD103 bundle.
Important:: If RNS-E system is equipped with factory AUX unit it is necessary to disconnect AUX
wires from 32 Pin Connector and replace them by wires form cable of W-RD103 bundle.
Both cases are connected according to diagram:
1 N.C.
2 N.C.
3 N.C.
4 N.C.
5 N.C.
6 AUX-IN | right [ W-RD103 - red ]
7 N.C.
8 N.C.
9 N.C.
10 N.C.
11 N.C.
12 N.C.
13 Audio-IN navigation system | right
14 Navigation system screen | mass
15 Video-IN navigation system | synchronization
16 Wideo-IN navigation system | green
17 N.C.
18 N.C.
19 Signal-IN low frequency (-) (unused)
20 Signal-IN low frequency (+) (unused)
21 AUX-IN | mass [ W-RD103 - black ]
22 AUX-IN | left [ W-RD103 - ]white
23 N.C.
24 N.C.
25 N.C.
26 N.C.
27 N.C.
28 Audio navigation system | mass
29 Audio-IN navigation system | left
30 Video navigation system | mass
31 Video-IN navigation system | blue
32 Video-IN navigation system | red
17pin
1pin
32pin
16pin
TV
tuner
Audio
JRDAB-02
An example of connecting the factory navigation and the JRDAB-02 module for the RNS-E radio
7