manuals.online logo
Brands
  1. Home
  2. •
  3. Brands
  4. •
  5. Juniper
  6. •
  7. Switch
  8. •
  9. Juniper EX8208 User manual

Juniper EX8208 User manual

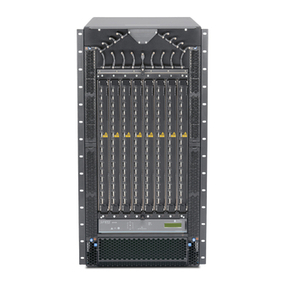
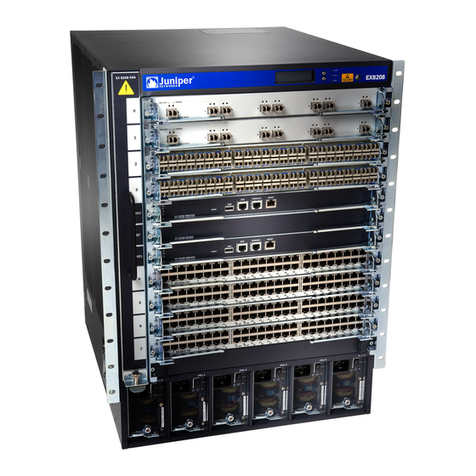
EX8208 Switch Quick Start
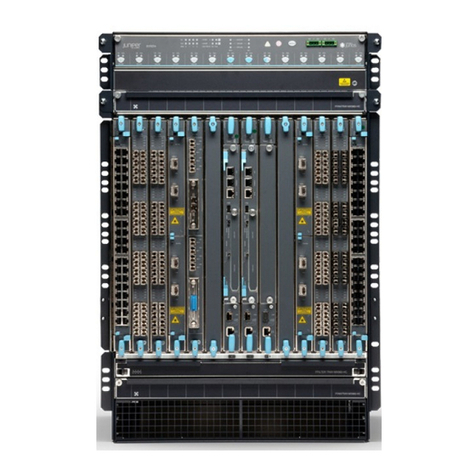
To install and configure a Juniper Networks EX8208 Ethernet Switch, you need:
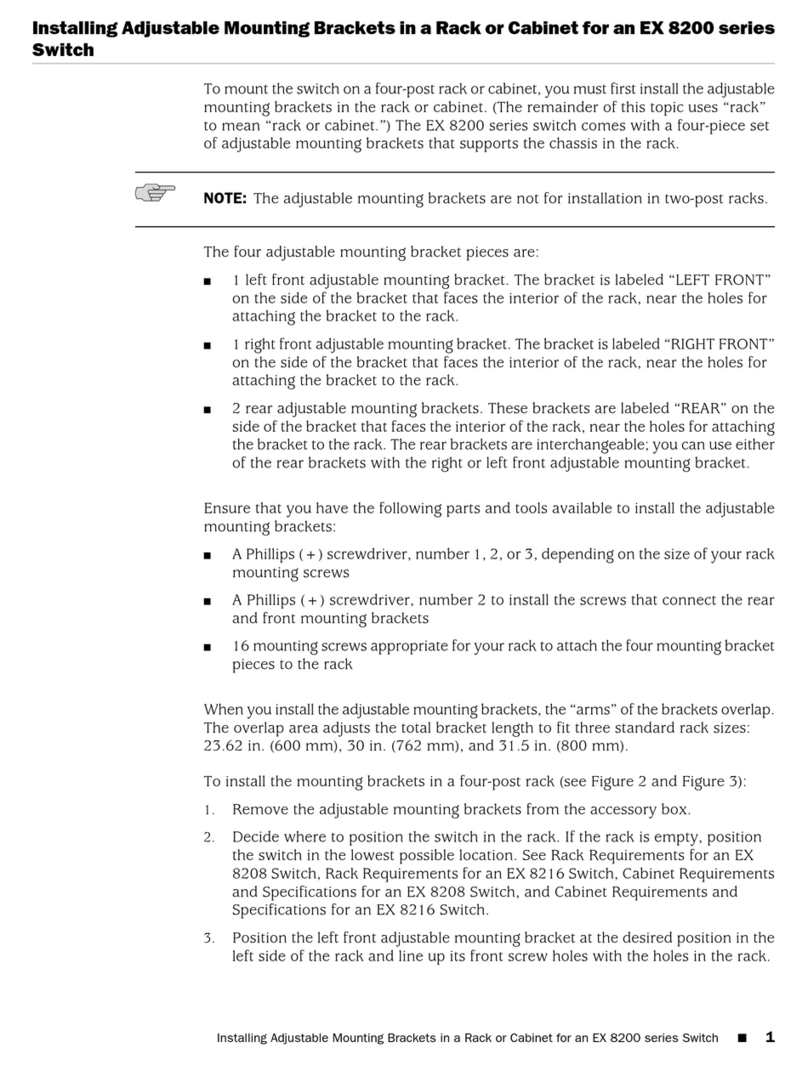
zAdjustable mounting brackets (4 pieces) with 12 screws (provided)
z40–44 mounting screws appropriate for your rack (16 to attach the adjustable
mounting brackets to the rack, 24 to attach the preinstalled front-mounting brackets to
the rack, and 4 if you will attach the optional power cord tray to the rack) (not provided)
zA power cord with a plug appropriate for your geographical location and a power cord
retainer (for each power supply) (provided)
zOptional power cord tray (provided)
zEthernet cable with an RJ-45 connector attached (provided)
zElectrostatic discharge (ESD) grounding strap (provided)
zPhillips (+) screwdrivers (one appropriate for your rack mounting screw size; a number
2 for the adjustable mounting bracket screws; a number 1 to remove power supplies if
you will install the switch without using a mechanical lift) (not provided)
zManagement host, such as a PC, with an Ethernet port (not provided)
NOTE: These instructions apply to four-post 19-in. rack installation. For information
about two-post 19-in. rack installation, more about the tasks described in this quick start,
and about other setup tasks, see the EX Series documentation at
http://www.juniper.net/techpubs/ .
Part 1: Mount the Switch
1. Attach the grounding strap to your bare wrist and to the ESD point on the chassis.
2. Ensure that the rack is properly secured to the building in its permanent location.
3. Install the adjustable mounting brackets in the rack in the lowest position that has
14 U space for the chassis (15 U if you will install the power cord tray).
NOTE: If you are mounting multiple units on the rack, mount the heaviest unit at the
bottom of the rack and mount the others from bottom to top in order of decreasing
weight.
4. (Optional) Attach the power cord tray to the rack.
5. To position the switch in the rack and align the bracket holes with the threaded rack
holes, use a mechanical lift or remove all switch components and have at least three
persons lift the switch and position it.
6. Install a mounting screw into each of the front-mounting bracket holes.
7. If you did not use a mechanical lift, reinstall the switch components.
Part 2: Connect Power to the Switch
Power supplies come preinstalled in the chassis. For each power supply:
1. Ensure that the power supply is fully inserted and latched securely in the chassis.
2. Flip the Enable switch to the Standby position.
3. Squeeze the sides of the power cord retainer clip. Insert the L-shaped clip ends into
the bracket holes on each side of the AC appliance inlet.
4. Insert the coupler end of the power cord into the AC appliance inlet.
5. Push the power cord into the slot in the adjustment nut. Turn the nut until it is against
the base of the coupler and the slot in the nut is turned 90° from the top of the switch.
6. If the AC power source outlet has a power switch, set it to the OFF (0) position.
7. Insert the power cord plug into the power source outlet.
8. If the AC power source outlet has a power switch, set it to the ON (|) position.
9. Verify that the INPUT OK LED on the power supply faceplate is lit and is on steadily.
10. Flip the power supply Enable switch to the “on” position.
Part 3: Perform Initial Configuration
NOTE: Before you begin the configuration, enable a DHCP client on the management
PC you will connect to the switch so that the switch can obtain an IP address
dynamically.
NOTE: Read the following steps before you begin the configuration. You must complete
the initial configuration using EZSetup within 10 minutes. The LCD panel displays a
count-down timer and the switch exits EZSetup after 10 minutes. It then reverts to the
factory default configuration, and the PC loses connectivity to the switch.
1. Transition the switch into initial setup mode using the Menu and Enter buttons to the
right of the LCD panel. To do this:
Juniper Networks, Junos, Steel-Belted Radius, NetScreen, and ScreenOS are registered trademarks of Juniper Networks, Inc. in the United States and other countries. The Juniper Networks Logo, the Junos logo, and JunosE are
trademarks of Juniper Networks, Inc. All other trademarks, service marks, registered trademarks, or registered service marks are the property of their respective owners. Juniper Networks assumes no responsibility for any inaccuracies
in this document. Juniper Networks reserves the right to change, modify, transfer, or otherwise revise this publication without notice. Products made or sold by Juniper Networks or components thereof might be covered by one or more
of the following patents that are owned by or licensed to Juniper Networks: U.S. Patent Nos. 5,473,599, 5,905,725, 5,909,440, 6,192,051, 6,333,650, 6,359,479, 6,406,312, 6,429,706, 6,459,579, 6,493,347, 6,538,518, 6,538,899,
6,552,918, 6,567,902, 6,578,186, and 6,590,785. Copyright © 2010, Juniper Networks, Inc. All rights reserved. Printed in USA. Part Number: 530-035823, Revision 01, 23 June 2010.
−Press Menu until you see MAINTENANCE MENU. Then press Enter.
−Press Menu until you see ENTER EZSetup. Then press Enter.
If EZSetup does not appear as an option in the menu, select Factory Default to
return the switch to the factory default configuration. EZSetup is displayed in the
menu only when the switch is set to the factory default configuration.
−Press Enter to confirm setup and continue with EZSetup.
2. Connect the Ethernet cable from the Ethernet port on the PC to the MGMT port on
the SRE module that is in slot SRE0.
The interface (the port labeled MGMT on the SRE module in slot SRE0) is now
configured as the DHCP server with the default IP address, 192.168.1.1. The switch
can assign an IP address to the management PC in the range 192.168.1.2 through
192.168.1.253.
3. From the PC, open a Web browser, type http://192.168.1.1 in the address field and
press the Enter key.
4. On the J-Web login page, enter root as the username, leave the password field
blank, and click Login.
5. On the Introduction page, click Next.
6. On the Basic Settings page, enter the hostname, enter and reenter a password,
specify the time zone, and synchronize the switch date and time settings with the
management PC or set them manually.
7. Click Next.
8. On the Management Options page select Out-of-band Management—Configure
management port to configure the management interface.
9. Click Next.
10. Specify the IP address and default gateway for the management interface.
11. Click Next.
12. On the Manage Access page, you may select options to enable Telnet, SSH, and
SNMP services. For SNMP, you can configure the read community, location, and
contact.
13. Click Next. The Summary page displays the settings you have selected.
14. Click Finish. The configuration is committed as the active switch configuration. You
can now log in with the CLI or the J-Web interface to continue configuring the switch.
NOTE: After the configuration is committed, the connectivity between the PC and the
switch might be lost. To reconnect, release and renew the IP address by executing the
appropriate commands on the PC or by removing and reinserting the Ethernet cable.
Safety Warnings Summary
This is a summary of safety warnings. For a complete list of warnings, including
translations, see the EX Series documentation at http://www.juniper.net/techpubs/.
WARNING: Failure to observe these safety warnings can result in personal injury
or death.
zPermit only trained and qualified personnel to install or replace switch components.
zPerform only the procedures described in this quick start and the EX Series
documentation. Other services must be performed only by authorized service
personnel.
zBefore installing the switch, read the planning instructions in the EX Series
documentation to make sure that the site meets power, environmental, and clearance
requirements for the switch.
zBefore connecting the switch to a power source, read the installation instructions in the
EX Series documentation.
zInstalling the EX8208 switch without using a mechanical lift requires at least three
persons to lift the switch onto the adjustable mounting brackets. To prevent injury, keep
your back straight and lift with your legs, not your back.
zIf the rack has stabilizing devices, install them in the rack before mounting or servicing
the switch in the rack.
zBefore installing or after removing an electrical component, always place it
component-side up on an antistatic mat placed on a flat, stable surface or in an
antistatic bag.
zDo not work on the switch or connect or disconnect cables during electrical storms.
zBefore working on equipment that is connected to power lines, remove jewelry,
including rings, necklaces, and watches. Metal objects heat up when connected to
power and ground and can cause serious burns or become welded to the terminals.
zDo not mix AC and DC power supplies in the same chassis.
Power Cable Warning (Japanese)
The attached power cable is only for this product. Do not use this cable for another
product.
Contacting Juniper Networks
For technical support, see http://www.juniper.net/support/requesting-support.html .
G

Other manuals for EX8208

6

Other Juniper Switch manuals

Juniper EX2200 Series User manual

Juniper

Juniper EX2200 Series User manual

Juniper EX4200 Series Operating and safety instructions

Juniper

Juniper EX4200 Series Operating and safety instructions

Juniper EX4600 Installation instructions

Juniper

Juniper EX4600 Installation instructions

Juniper EX4500 Series Installation instructions

Juniper

Juniper EX4500 Series Installation instructions

Juniper EX8200 Series User manual

Juniper

Juniper EX8200 Series User manual

Juniper EX2500 Installation instructions

Juniper

Juniper EX2500 Installation instructions

Juniper EX 3200 24T User manual

Juniper

Juniper EX 3200 24T User manual

Juniper EX4650 Series Installation instructions

Juniper

Juniper EX4650 Series Installation instructions

Juniper EX2300 Series Installation instructions

Juniper

Juniper EX2300 Series Installation instructions

Juniper EX Series Quick start guide

Juniper

Juniper EX Series Quick start guide

Juniper EX2200 Series User manual

Juniper

Juniper EX2200 Series User manual

Juniper EX4500 Series Installation instructions

Juniper

Juniper EX4500 Series Installation instructions

Juniper EX 4200 24F User manual

Juniper

Juniper EX 4200 24F User manual

Juniper EX4100 User manual

Juniper

Juniper EX4100 User manual

Juniper NETSCREEN-ISG 2000 User manual

Juniper

Juniper NETSCREEN-ISG 2000 User manual

Juniper QFX5110 Operator's manual

Juniper

Juniper QFX5110 Operator's manual

Juniper EX8208 User manual

Juniper

Juniper EX8208 User manual

Juniper QFX Series Installation instructions

Juniper

Juniper QFX Series Installation instructions

Juniper QFX5100 Installation instructions

Juniper

Juniper QFX5100 Installation instructions

Juniper EX2200 Series Installation instructions

Juniper

Juniper EX2200 Series Installation instructions

Juniper QFX5200-32C-L User manual

Juniper

Juniper QFX5200-32C-L User manual

Juniper QFX10008 User manual

Juniper

Juniper QFX10008 User manual

Juniper EX8208 User manual

Juniper

Juniper EX8208 User manual

Juniper EX8208 Installation instructions

Juniper

Juniper EX8208 Installation instructions

Popular Switch manuals by other brands

3Com WX3010 datasheet

3Com

3Com WX3010 datasheet

Signal Dynamics Switch Cubes user manual

Signal Dynamics

Signal Dynamics Switch Cubes user manual

Digga Torque Hub Installation, Operating and Troubleshooting Manual

Digga

Digga Torque Hub Installation, Operating and Troubleshooting Manual

Key Digital KD-X200ProK operating instructions

Key Digital

Key Digital KD-X200ProK operating instructions

Eaton LCS Instructional Leaflet

Eaton

Eaton LCS Instructional Leaflet

axing premium-line SPU 94-09 Operation instructions

axing

axing premium-line SPU 94-09 Operation instructions

Ruijie RG-S6100 Series Release notes

Ruijie

Ruijie RG-S6100 Series Release notes

NETGEAR GS105GE installation guide

NETGEAR

NETGEAR GS105GE installation guide

Siemens ASC10.51 Mounting instructions

Siemens

Siemens ASC10.51 Mounting instructions

IBM Rack-Based Local Console Switches user guide

IBM

IBM Rack-Based Local Console Switches user guide

STI Stopper Station Series manual

STI

STI Stopper Station Series manual

D-Link SmartPro DGS-1500-20 reference guide

D-Link

D-Link SmartPro DGS-1500-20 reference guide

Alcatel-Lucent OmniSwitch 6400 Series Hardware user's guide

Alcatel-Lucent

Alcatel-Lucent OmniSwitch 6400 Series Hardware user's guide

Vigitron MaxiiNet Vi3405 installation manual

Vigitron

Vigitron MaxiiNet Vi3405 installation manual

Hama AV-1000 operating instructions

Hama

Hama AV-1000 operating instructions

ASTEK A51606-SW quick start guide

ASTEK

ASTEK A51606-SW quick start guide

LEGRAND 0 672 33 quick start guide

LEGRAND

LEGRAND 0 672 33 quick start guide

TP-Link TL-SL2218 installation guide

TP-Link

TP-Link TL-SL2218 installation guide

manuals.online logo
manuals.online logoBrands
  • About & Mission
  • Contact us
  • Privacy Policy
  • Terms and Conditions

Copyright 2025 Manuals.Online. All Rights Reserved.